Introduction
The Hi-Link HLK-10M05 is a compact and efficient DC-DC converter module designed to provide a stable 5V output with a maximum current of 2A. This module is ideal for powering a wide range of electronic devices, including microcontrollers, sensors, and other low-power components. Its small size and high efficiency make it a popular choice for embedded systems, IoT devices, and portable electronics.
Common Applications and Use Cases
- Powering microcontrollers such as Arduino, ESP32, and Raspberry Pi Pico.
- Supplying stable power to sensors, relays, and other peripherals.
- Use in IoT devices, smart home systems, and portable electronics.
- Replacing bulky linear regulators in low-power applications.
Technical Specifications
The following table outlines the key technical details of the Hi-Link HLK-10M05 module:
Pin Configuration and Descriptions
The Hi-Link HLK-10M05 module has four pins for input and output connections. The pin configuration is as follows:
Usage Instructions
How to Use the Component in a Circuit
- Input Voltage Connection: Connect the VIN+ pin to the positive terminal of your DC power source (8V to 36V). Connect the VIN- pin to the ground of your power source.
- Output Voltage Connection: Connect the VOUT+ pin to the positive terminal of your load (e.g., microcontroller, sensor). Connect the VOUT- pin to the ground of your load.
- Load Considerations: Ensure that the total current drawn by the load does not exceed 2A to prevent damage to the module.
- Mounting: Secure the module in your circuit using screws or adhesive, ensuring proper ventilation for heat dissipation.
Important Considerations and Best Practices
- Input Voltage Range: Always ensure the input voltage is within the specified range (8V to 36V). Exceeding this range may damage the module.
- Heat Dissipation: For high-current applications, consider adding a heatsink or ensuring adequate airflow to prevent overheating.
- Polarity: Double-check the polarity of the input and output connections to avoid damage.
- Decoupling Capacitors: Add decoupling capacitors (e.g., 100µF and 0.1µF) near the input and output pins to reduce noise and improve stability.
Example: Using with Arduino UNO
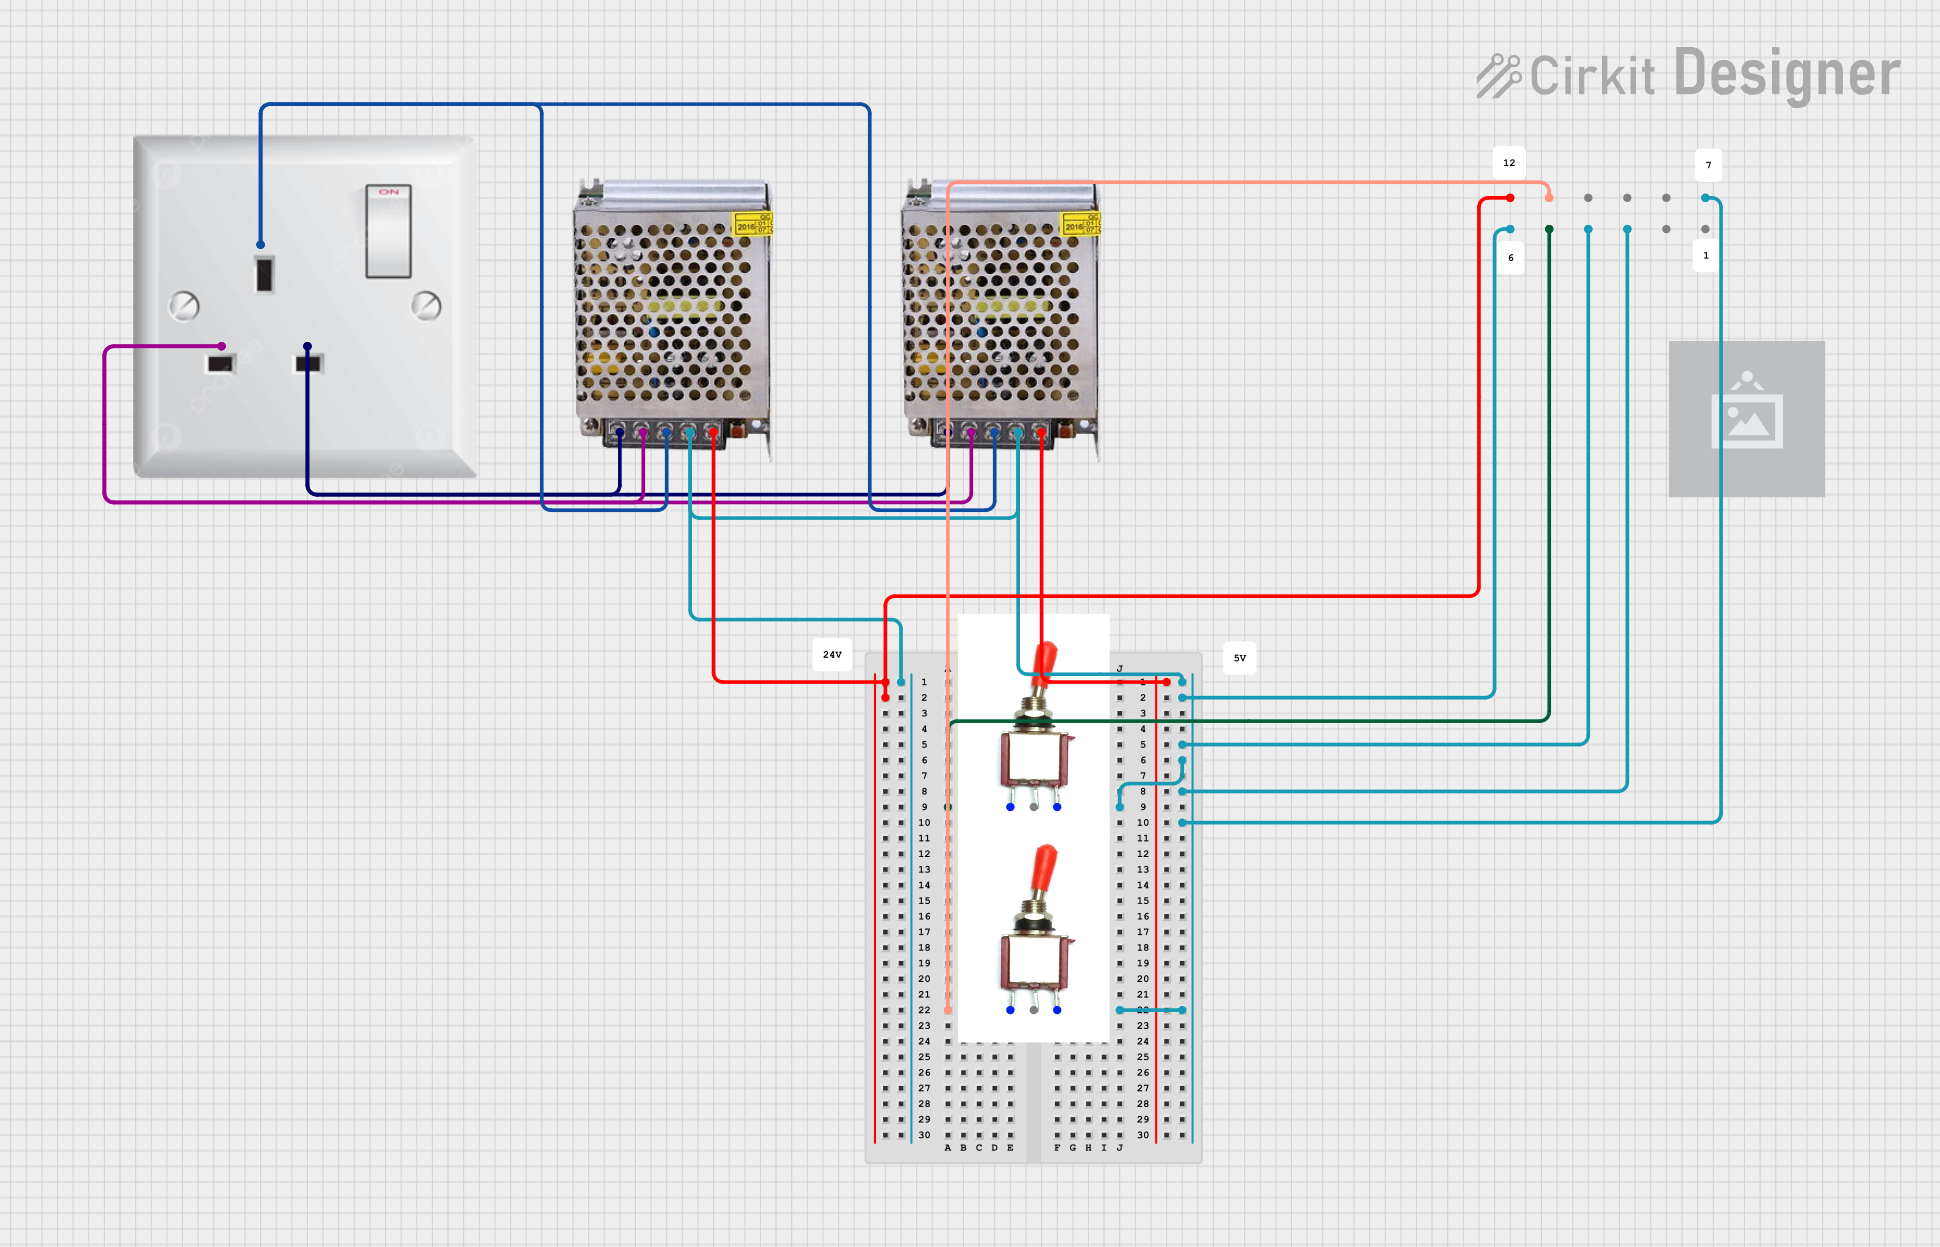
The Hi-Link HLK-10M05 can be used to power an Arduino UNO. Below is an example circuit and code:
Circuit Connections
- Connect the VIN+ pin of the HLK-10M05 to a 12V DC power source.
- Connect the VIN- pin to the ground of the power source.
- Connect the VOUT+ pin to the 5V pin of the Arduino UNO.
- Connect the VOUT- pin to the GND pin of the Arduino UNO.
Example Code
// Example code to blink an LED using Arduino UNO powered by HLK-10M05
// Ensure the HLK-10M05 is providing a stable 5V to the Arduino UNO.

const int ledPin = 13; // Built-in LED pin on Arduino UNO

void setup() {
  pinMode(ledPin, OUTPUT); // Set the LED pin as an output
}

void loop() {
  digitalWrite(ledPin, HIGH); // Turn the LED on
  delay(1000);                // Wait for 1 second
  digitalWrite(ledPin, LOW);  // Turn the LED off
  delay(1000);                // Wait for 1 second
}
Troubleshooting and FAQs
Common Issues and Solutions
No Output Voltage:
- Cause: Incorrect input voltage or polarity.
- Solution: Verify that the input voltage is within the 8V to 36V range and that the polarity is correct.
Overheating:
- Cause: Excessive load current or poor ventilation.
- Solution: Ensure the load current does not exceed 2A. Add a heatsink or improve airflow around the module.
Output Voltage Fluctuations:
- Cause: Insufficient decoupling or noisy input power.
- Solution: Add decoupling capacitors (e.g., 100µF and 0.1µF) near the input and output pins.
Module Not Working After Installation:
- Cause: Possible short circuit or damage due to incorrect wiring.
- Solution: Inspect the wiring for shorts or reversed polarity. Replace the module if damaged.
FAQs
Q1: Can the HLK-10M05 power a Raspberry Pi?
A1: The HLK-10M05 can provide 5V at 2A, which is sufficient for most Raspberry Pi models. However, ensure that the total current drawn by the Raspberry Pi and connected peripherals does not exceed 2A.
Q2: Is the module waterproof?
A2: No, the HLK-10M05 is not waterproof. Use it in a dry environment or enclose it in a waterproof case if necessary.
Q3: Can I use this module with a 24V battery?
A3: Yes, the HLK-10M05 supports input voltages up to 36V, so it can safely be used with a 24V battery.
Q4: Does the module require additional components to operate?
A4: No, the HLK-10M05 is a standalone module. However, adding decoupling capacitors can improve performance in noisy environments.


 Open Project in Cirkit Designer