How to Use Onduleur SolarMax 3000 S: Examples, Pinouts, and Specs
Introduction
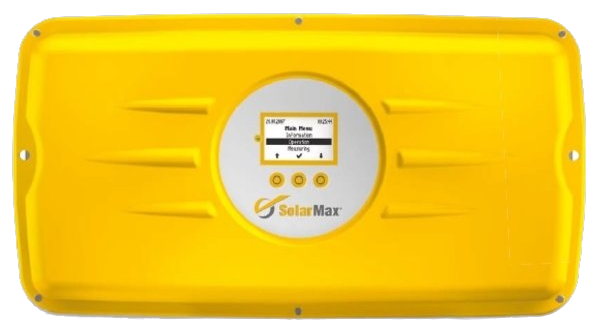
The SolarMax 3000 S is a high-performance solar inverter manufactured by SolarMax. It is designed to convert direct current (DC) generated by solar panels into alternating current (AC), making it suitable for residential and commercial electrical systems. With its compact design, high efficiency, and advanced monitoring features, the SolarMax 3000 S ensures optimal utilization of solar energy while maintaining reliability and ease of use.
Explore Projects Built with Onduleur SolarMax 3000 S
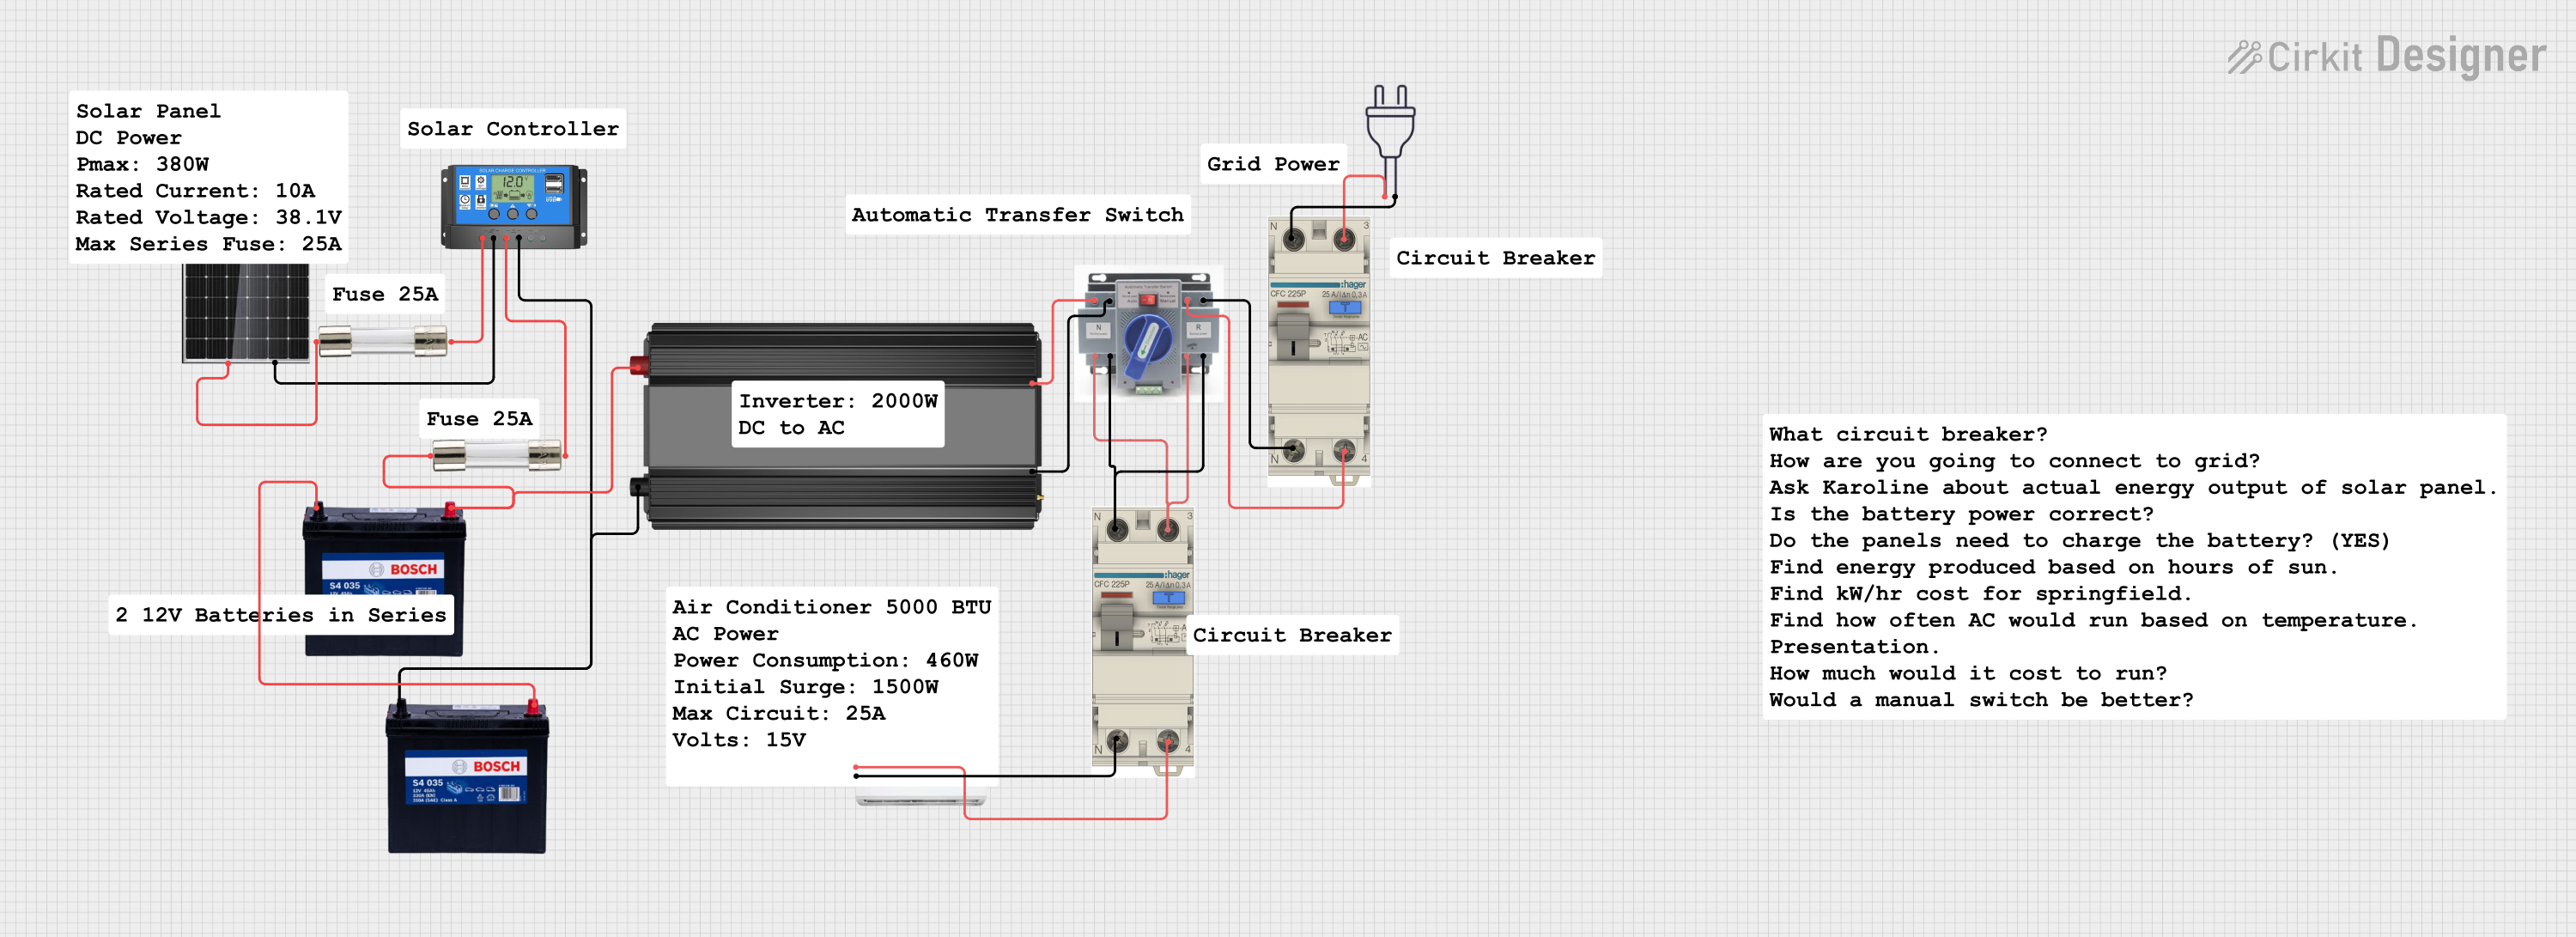
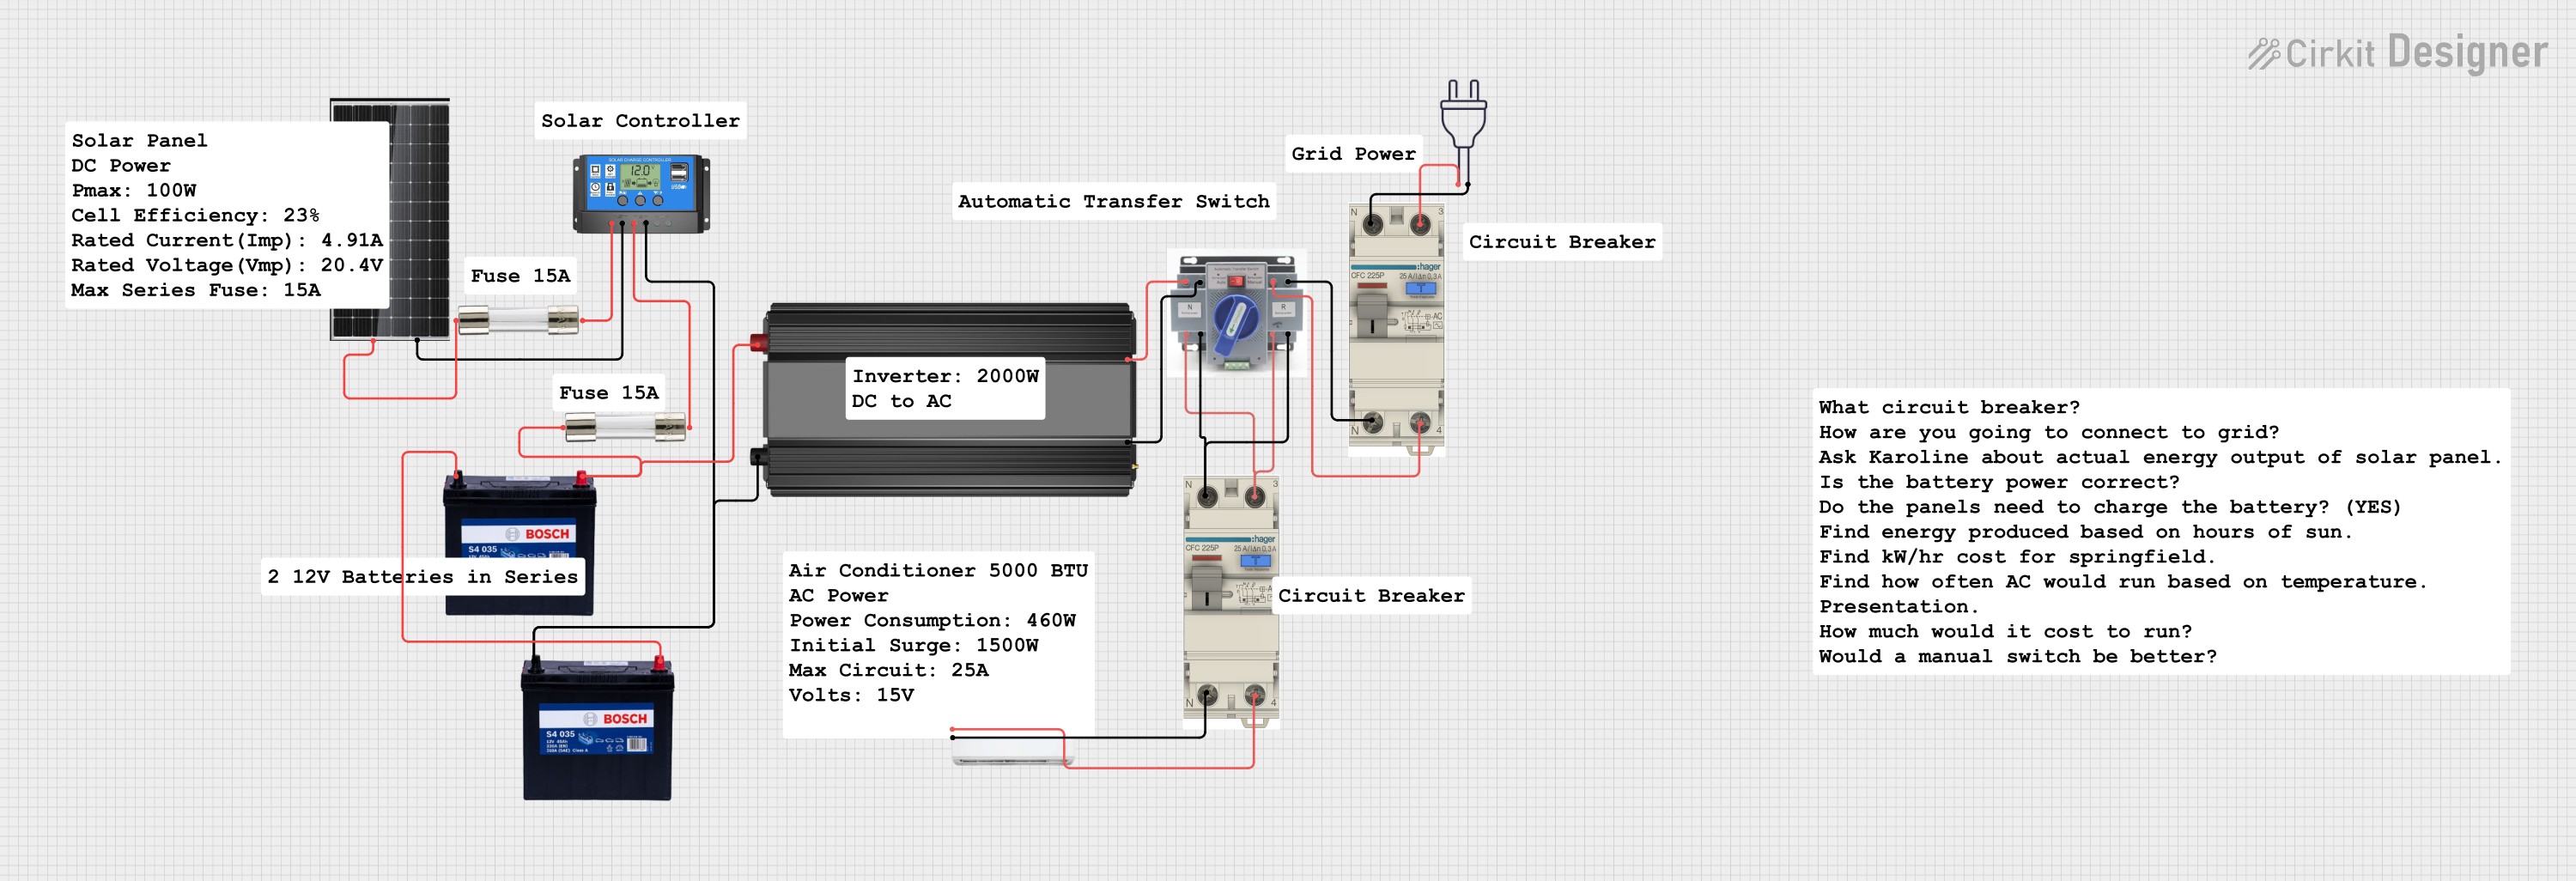

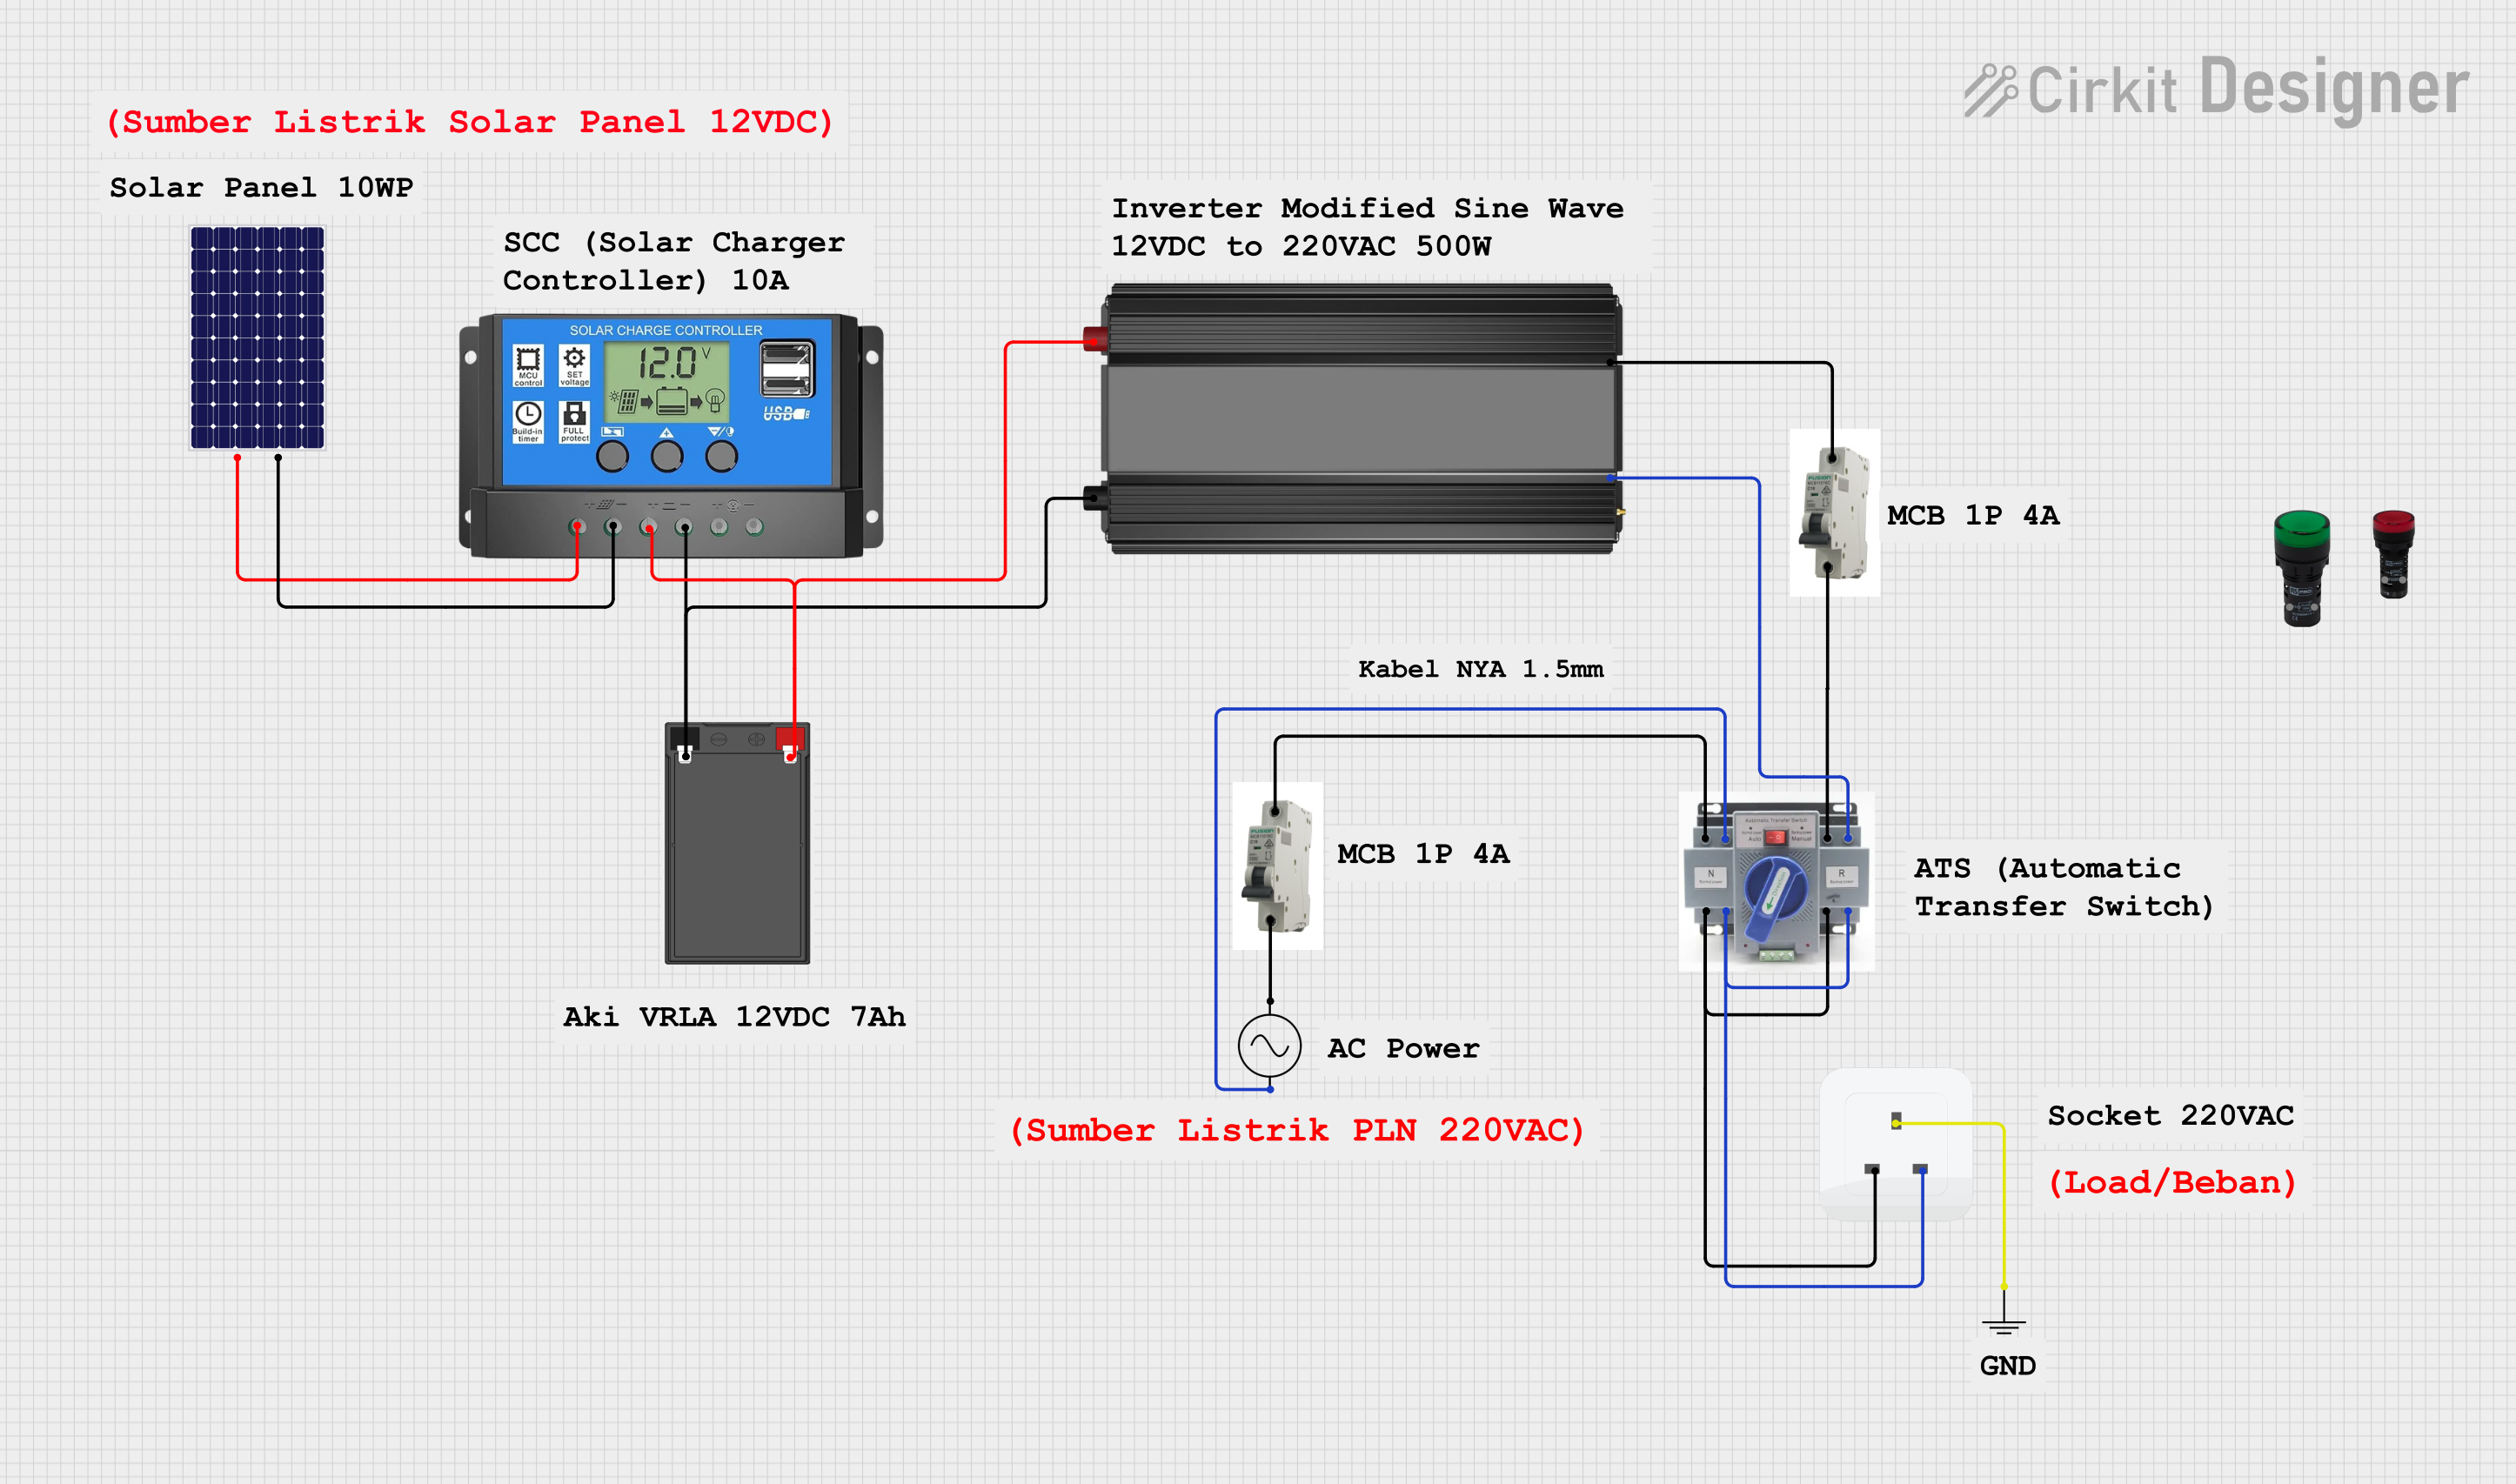
Explore Projects Built with Onduleur SolarMax 3000 S
Common Applications and Use Cases
- Residential solar energy systems
- Small to medium-sized commercial solar installations
- Grid-tied solar power systems
- Backup power systems with solar energy integration
- Energy monitoring and optimization in solar setups
Technical Specifications
Key Technical Details
| Parameter | Specification |
|---|---|
| Input Voltage (DC) | 150 V to 600 V |
| Maximum Input Current | 20 A |
| Output Voltage (AC) | 230 V ± 10% |
| Output Frequency | 50 Hz / 60 Hz |
| Maximum Output Power | 3000 W |
| Efficiency | Up to 97% |
| Operating Temperature | -25°C to +60°C |
| Communication Interface | RS485, Ethernet |
| Dimensions | 450 mm x 350 mm x 150 mm |
| Weight | 12 kg |
| Protection Rating | IP65 (dust-tight and water-resistant) |
Pin Configuration and Descriptions
The SolarMax 3000 S features several input and output terminals for connecting solar panels, the grid, and monitoring systems. Below is the pin configuration:
DC Input Terminals
| Pin Name | Description |
|---|---|
| DC+ | Positive terminal for solar panel connection |
| DC- | Negative terminal for solar panel connection |
AC Output Terminals
| Pin Name | Description |
|---|---|
| L | Live wire for AC output |
| N | Neutral wire for AC output |
| PE | Protective earth (ground) connection |
Communication Ports
| Port Name | Description |
|---|---|
| RS485 | For connecting to external monitoring systems |
| Ethernet | For network-based monitoring and control |
Usage Instructions
How to Use the SolarMax 3000 S in a Circuit
- Mounting the Inverter: Install the SolarMax 3000 S on a stable surface or wall using the provided mounting brackets. Ensure proper ventilation around the unit.
- Connecting the Solar Panels:
- Connect the positive terminal of the solar panel array to the DC+ input.
- Connect the negative terminal of the solar panel array to the DC- input.
- Connecting to the Grid:
- Connect the L (live), N (neutral), and PE (earth) terminals to the corresponding wires of the grid or load.
- Communication Setup:
- Use the RS485 or Ethernet port to connect the inverter to a monitoring system or network for real-time data tracking.
- Powering On:
- After all connections are secure, switch on the inverter. The device will automatically start converting DC to AC if the input voltage is within the specified range.
Important Considerations and Best Practices
- Ensure the input voltage from the solar panels is within the 150 V to 600 V range to avoid damage to the inverter.
- Use appropriately rated cables for DC and AC connections to handle the maximum current.
- Install the inverter in a shaded, well-ventilated area to prevent overheating.
- Regularly clean the inverter and check for loose connections to maintain optimal performance.
- Use the monitoring interface to track energy production and system health.
Arduino UNO Integration (Optional Monitoring)
The SolarMax 3000 S can be monitored using an Arduino UNO via the RS485 interface. Below is an example code snippet for reading data from the inverter:
#include <SoftwareSerial.h>

// Define RS485 communication pins
#define RX_PIN 10  // Arduino pin connected to RS485 receiver
#define TX_PIN 11  // Arduino pin connected to RS485 transmitter

// Initialize SoftwareSerial for RS485 communication
SoftwareSerial rs485(RX_PIN, TX_PIN);

void setup() {
  Serial.begin(9600);  // Start serial communication with PC
  rs485.begin(9600);   // Start RS485 communication with inverter

  Serial.println("SolarMax 3000 S Monitoring Initialized");
}

void loop() {
  // Request data from the inverter
  rs485.write("DATA_REQUEST");  // Replace with actual command for your inverter

  // Wait for a response
  delay(100);

  // Check if data is available
  if (rs485.available()) {
    String data = "";
    while (rs485.available()) {
      data += (char)rs485.read();  // Read data from RS485
    }
    Serial.println("Inverter Data: " + data);  // Print data to Serial Monitor
  }

  delay(1000);  // Wait 1 second before the next request
}
Note: Replace
"DATA_REQUEST"with the actual command required by the SolarMax 3000 S for data retrieval. Consult the inverter's communication protocol documentation for details.
Troubleshooting and FAQs
Common Issues and Solutions
| Issue | Possible Cause | Solution |
|---|---|---|
| Inverter does not power on | No DC input or incorrect wiring | Check solar panel connections and input voltage. |
| Low efficiency or power output | Shading on solar panels or dirty panels | Clean the solar panels and ensure no shading. |
| Communication failure via RS485 | Incorrect wiring or baud rate mismatch | Verify RS485 connections and baud rate settings. |
| Overheating | Poor ventilation or high ambient temperature | Install the inverter in a cooler, well-ventilated area. |
FAQs
Can the SolarMax 3000 S operate off-grid?
- No, the SolarMax 3000 S is designed for grid-tied systems and requires a connection to the grid to function.
What is the warranty period for the SolarMax 3000 S?
- The warranty period is typically 5 years, but this may vary depending on the region and distributor.
How can I update the firmware of the SolarMax 3000 S?
- Firmware updates can be performed via the Ethernet port using the SolarMax monitoring software. Refer to the user manual for detailed instructions.
What safety certifications does the SolarMax 3000 S have?
- The inverter complies with international safety standards, including CE and IEC certifications.
By following this documentation, users can effectively install, operate, and maintain the SolarMax 3000 S for optimal solar energy utilization.