How to Use Adafruit 2.23in Monochrome OLED Bonnet for Raspberry Pi: Examples, Pinouts, and Specs
Introduction
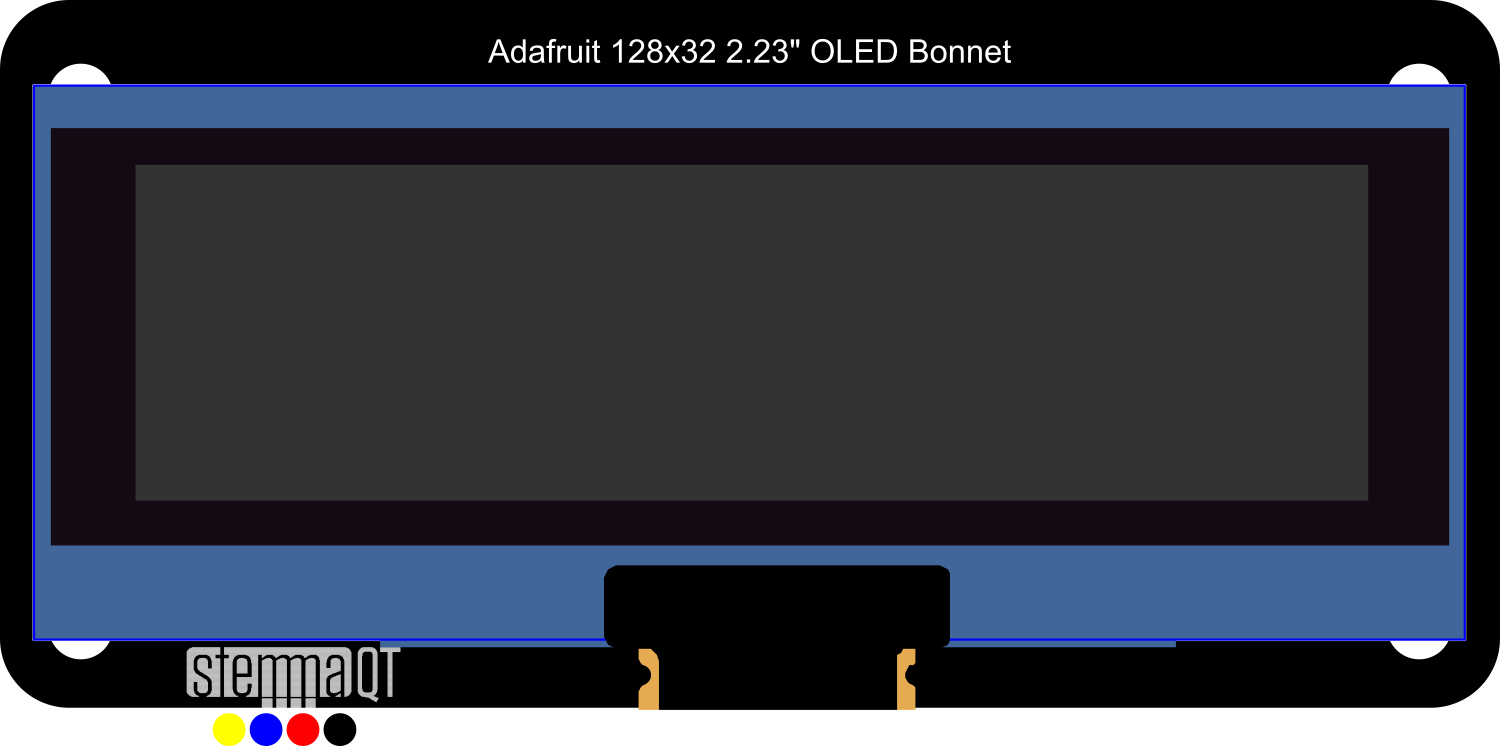
The Adafruit 2.23in Monochrome OLED Bonnet is an add-on board for the Raspberry Pi, designed to provide a high-contrast, high-resolution OLED display for your projects. This display is perfect for adding a small screen to your Raspberry Pi, with 128x32 pixels to display text, graphics, and animations. It's commonly used in wearable tech, small handheld devices, and status display for IoT projects.
Explore Projects Built with Adafruit 2.23in Monochrome OLED Bonnet for Raspberry Pi


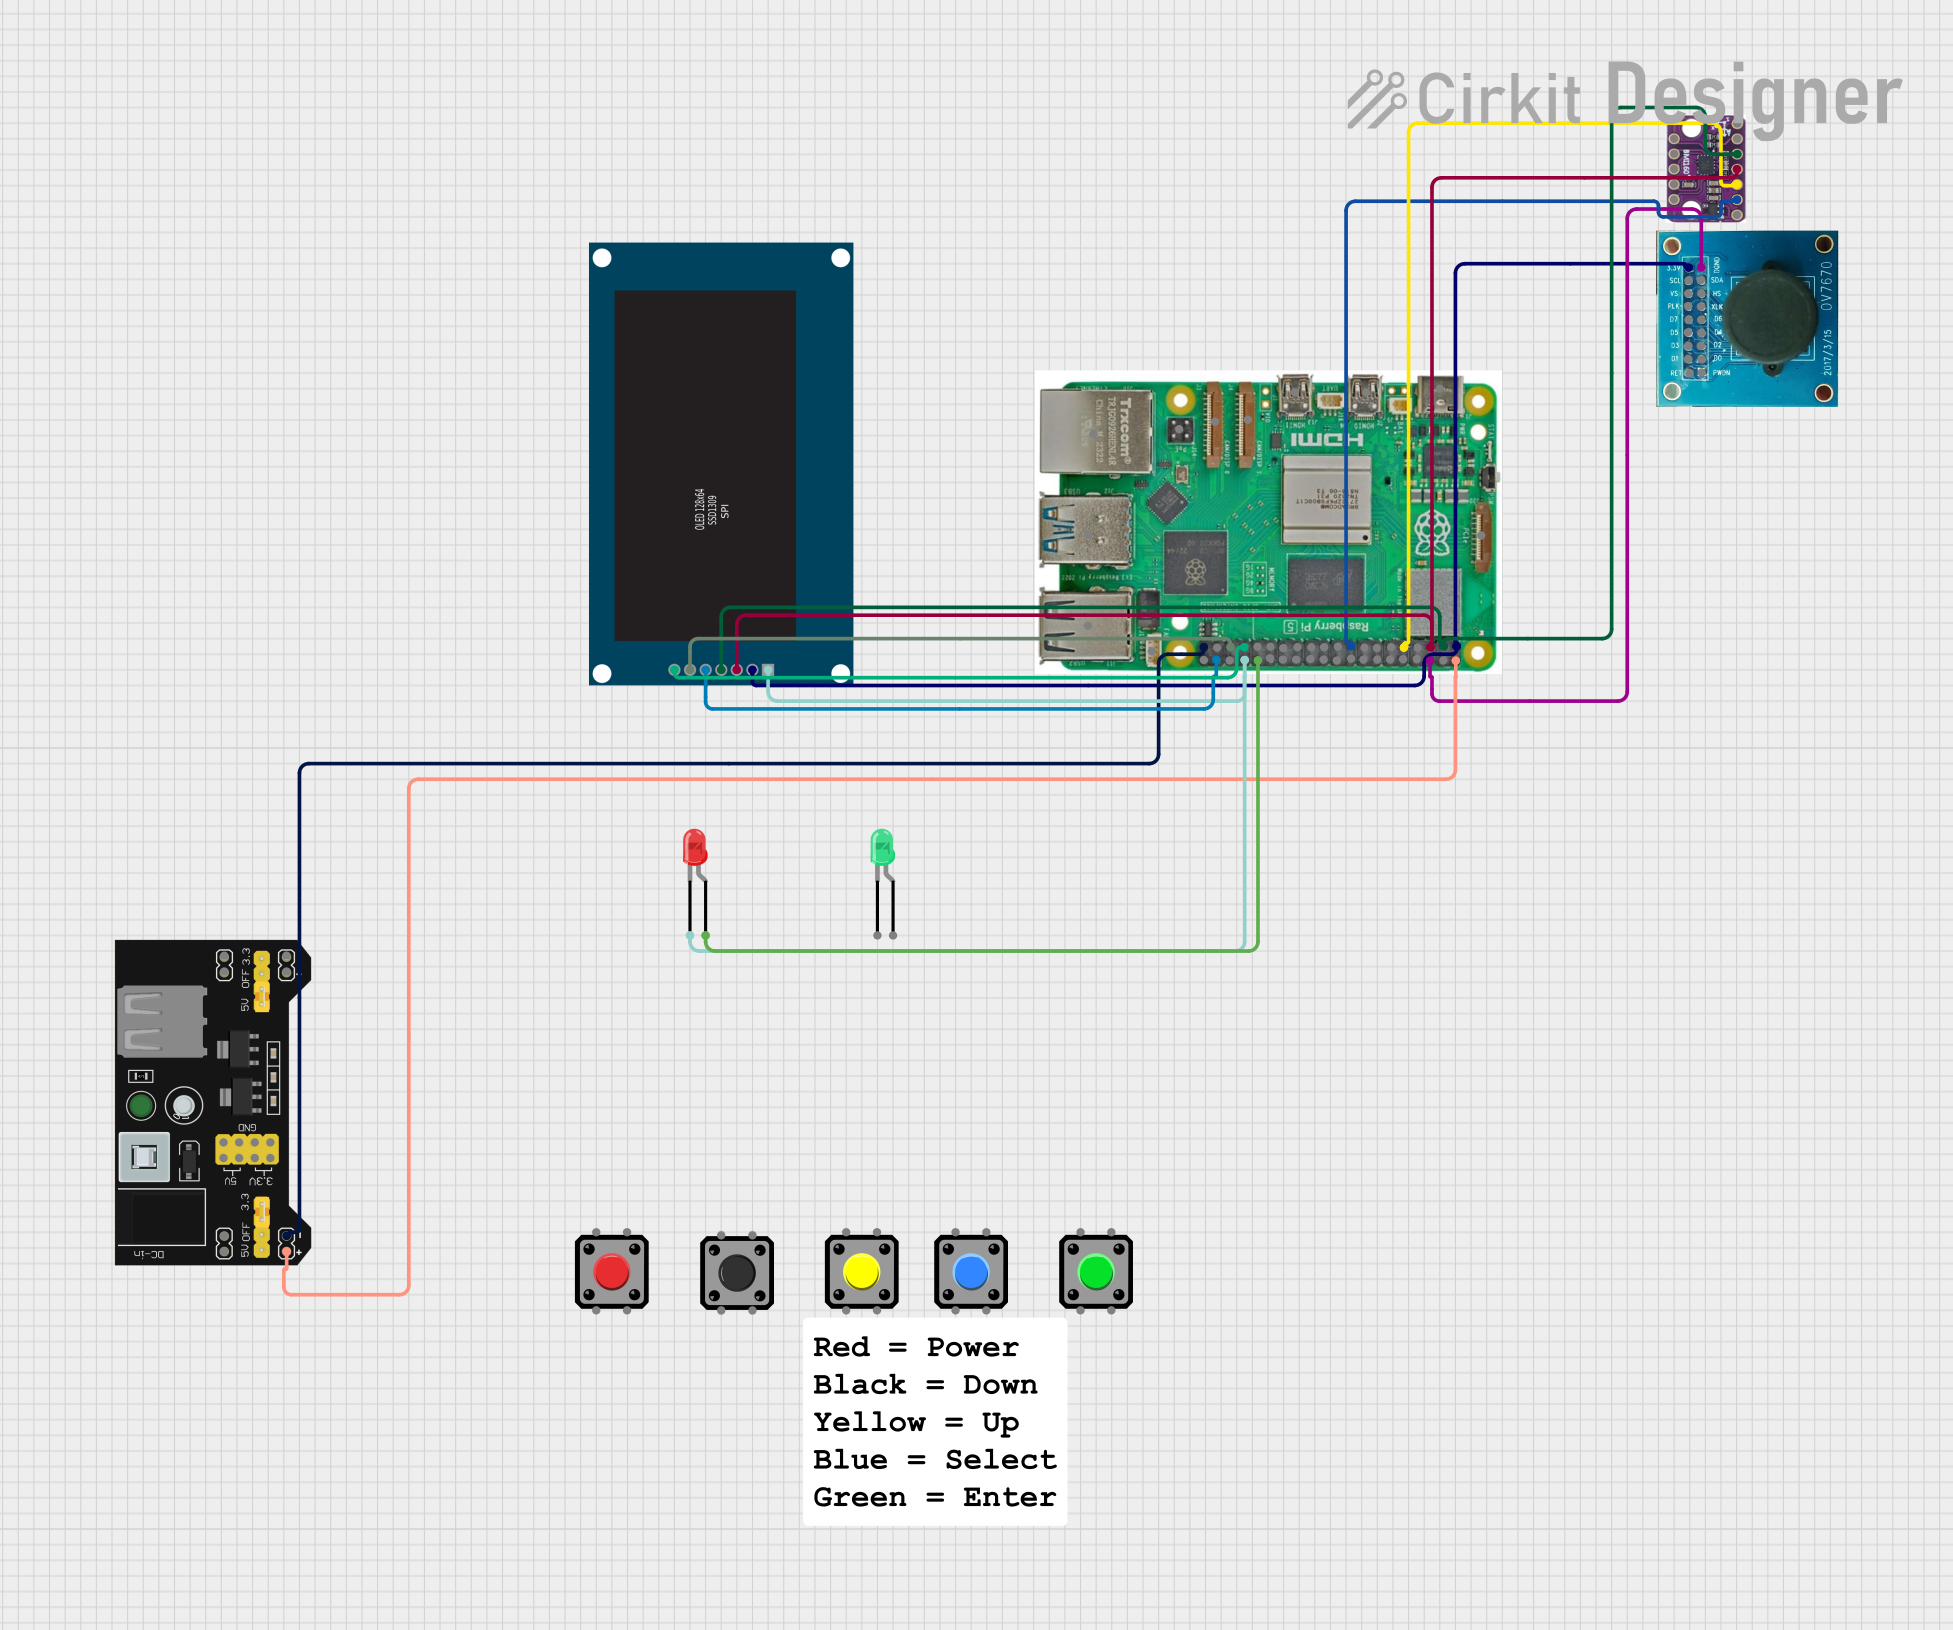
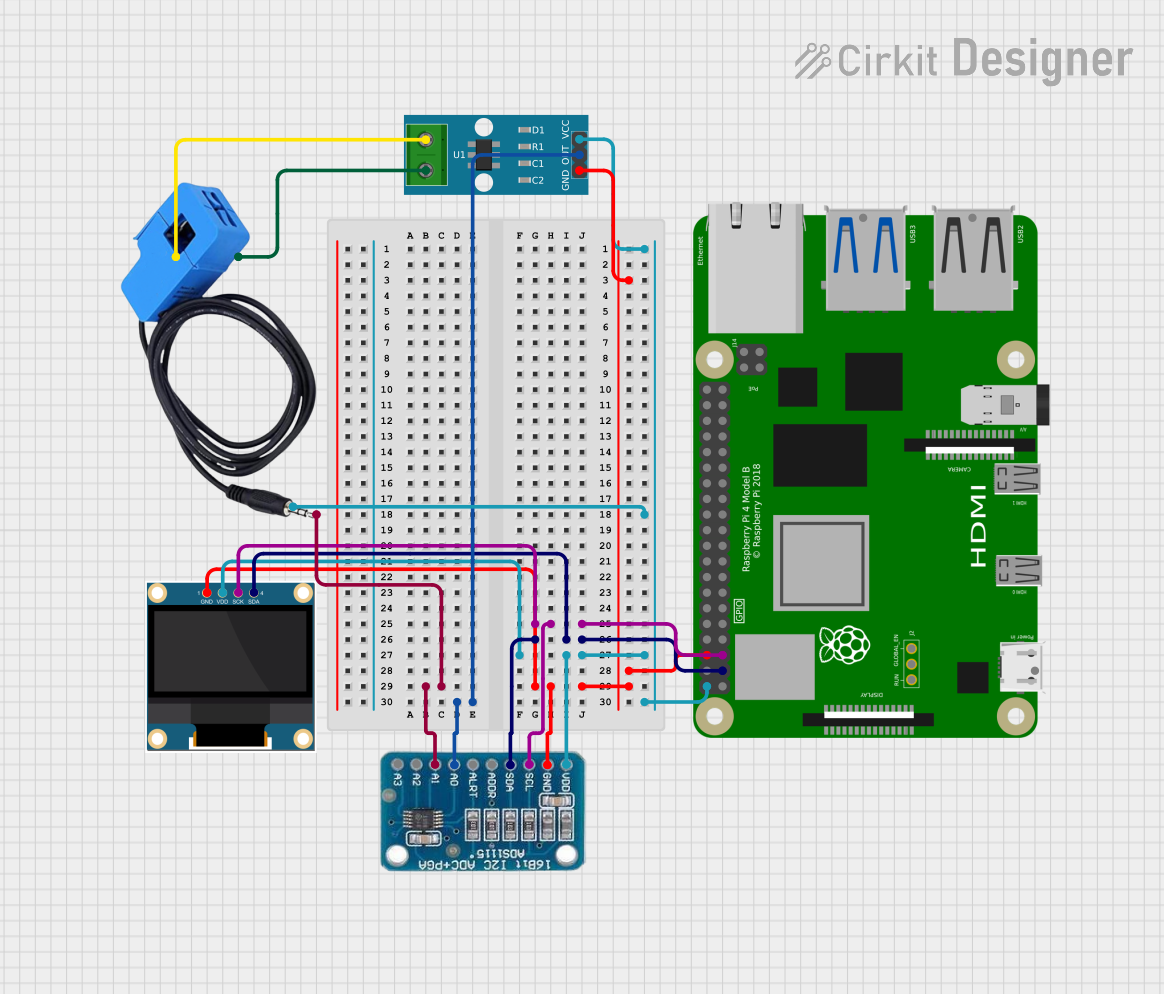
Explore Projects Built with Adafruit 2.23in Monochrome OLED Bonnet for Raspberry Pi
Common Applications and Use Cases
- Status display for servers or networking equipment
- User interface for small-scale projects
- Wearable electronic displays
- Miniature game systems
- Debugging tool for displaying system metrics
Technical Specifications
Key Technical Details
- Display Type: Monochrome OLED
- Resolution: 128x32 pixels
- Interface: I2C
- Operating Voltage: 3.3V (powered by Raspberry Pi)
- Dimensions: 65mm x 30mm x 8.5mm
Pin Configuration and Descriptions
| Pin Number | Name | Description |
|---|---|---|
| 1 | 3V3 | 3.3V Power Supply |
| 2 | 5V | 5V Power Supply (Not used by OLED) |
| 3 | SDA | I2C Data |
| 4 | 5V | 5V Power Supply (Not used by OLED) |
| 5 | SCL | I2C Clock |
| 6 | GND | Ground Connection |
Usage Instructions
How to Use the Component in a Circuit
- Connecting the Bonnet: Attach the OLED Bonnet directly onto the GPIO header of the Raspberry Pi ensuring that the pins are aligned correctly.
- Software Setup: Install the necessary libraries and drivers to interface with the OLED display. Adafruit provides a Python library for easy integration.
- Programming the Display: Use the provided library functions to draw text, graphics, or animations on the display.
Important Considerations and Best Practices
- Power Supply: Ensure that the Raspberry Pi's power supply is sufficient to power both the Pi and the OLED Bonnet.
- I2C Address: The default I2C address for the display is usually
0x3C. Make sure that no other devices on the I2C bus have the same address. - Library Compatibility: Always use the latest version of the Adafruit library for the OLED Bonnet to ensure compatibility and access to the latest features.
Troubleshooting and FAQs
Common Issues Users Might Face
- Display Not Lighting Up: Check the connection between the Bonnet and the Raspberry Pi. Ensure that the I2C interface is enabled in the Raspberry Pi's configuration settings.
- Garbled or No Display: Verify that the correct I2C address is being used in your code. Also, check for any conflicting devices on the I2C bus.
- Dim Display: Adjust the contrast settings in your code. If the issue persists, check the power supply for adequate voltage and current.
Solutions and Tips for Troubleshooting
- Ensure Proper Installation: Double-check that the Bonnet is properly seated on the Raspberry Pi's GPIO header.
- Check I2C Connection: Use
i2cdetectcommand to verify that the Raspberry Pi is detecting the OLED Bonnet. - Update Libraries: Make sure you have the latest Adafruit Python libraries installed.
FAQs
Q: Can I use this display with other single-board computers?
A: While designed for the Raspberry Pi, it may be possible to use this display with other single-board computers that support I2C, provided you have the correct software drivers.
Q: How do I install the Adafruit Python library for the OLED Bonnet?
A: You can install the Adafruit Python library using the following commands:
sudo pip3 install adafruit-circuitpython-ssd1306
Q: Can I display images on the OLED Bonnet?
A: Yes, you can display bitmap images, but they need to be converted to a monochrome format suitable for the display's resolution.
Q: How do I control the brightness of the display?
A: The brightness (also known as contrast) can be controlled programmatically through the Adafruit library functions.
For further assistance, refer to the Adafruit forums or the community support channels for the Raspberry Pi.