How to Use 3 watt LED: Examples, Pinouts, and Specs
Introduction
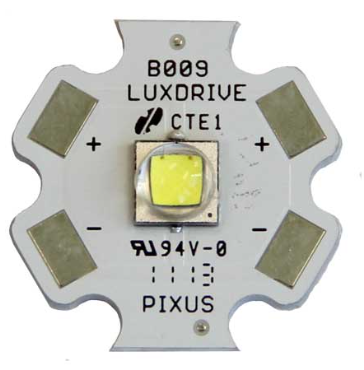
The CREE CREEXML2-W318 is a high-performance 3-watt LED designed for energy-efficient and high-brightness lighting applications. This LED is built using advanced semiconductor technology, ensuring long life, excellent thermal management, and consistent performance. It is widely used in applications such as flashlights, automotive lighting, architectural lighting, and general-purpose illumination.
Explore Projects Built with 3 watt LED


Explore Projects Built with 3 watt LED
Common Applications:
- Flashlights and portable lighting
- Automotive headlights and taillights
- Architectural and decorative lighting
- Industrial and commercial lighting
- DIY lighting projects
Technical Specifications
The following table outlines the key technical specifications of the CREE CREEXML2-W318 3-watt LED:
| Parameter | Value |
|---|---|
| Manufacturer | CREE |
| Part Number | CREEXML2-W318 |
| Power Rating | 3 Watts |
| Forward Voltage (Vf) | 2.8V to 3.5V |
| Forward Current (If) | 700mA (typical) |
| Luminous Flux | Up to 280 lumens |
| Color Temperature | 3000K to 6500K (varies by model) |
| Viewing Angle | 115° |
| Thermal Resistance (Rθj) | 2.5°C/W |
| Operating Temperature | -40°C to +85°C |
| Package Type | High-power ceramic base |
Pin Configuration and Descriptions
The CREE CREEXML2-W318 is a two-terminal device with the following pin configuration:
| Pin | Name | Description |
|---|---|---|
| 1 | Anode | Positive terminal (connect to +V) |
| 2 | Cathode | Negative terminal (connect to GND) |
Usage Instructions
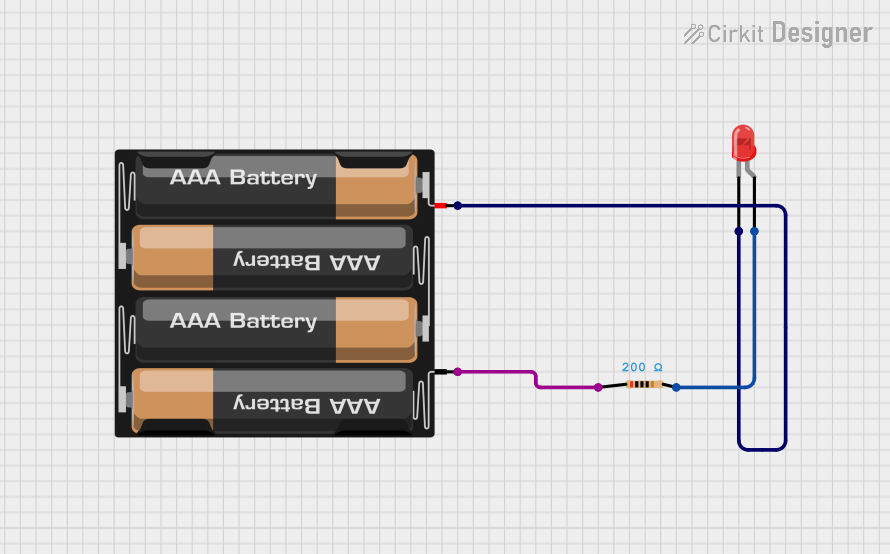
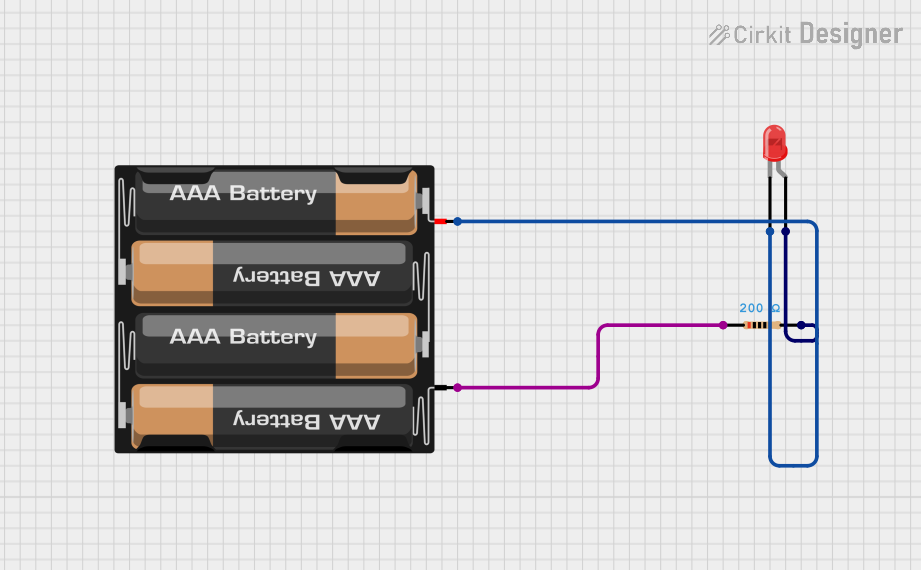
How to Use the 3-Watt LED in a Circuit
- Power Supply: Use a constant current LED driver to power the LED. Ensure the driver provides a current of 700mA and a voltage within the range of 2.8V to 3.5V.
- Heat Management: Mount the LED on a heat sink to dissipate heat effectively. This prevents overheating and ensures long-term reliability.
- Polarity: Connect the anode to the positive terminal of the power supply and the cathode to the ground. Reversing the polarity may damage the LED.
- Series Resistor (Optional): If using a simple power source without a constant current driver, include a series resistor to limit the current. Calculate the resistor value using Ohm's Law:
[ R = \frac{V_{supply} - V_f}{I_f} ]
where (V_{supply}) is the supply voltage, (V_f) is the forward voltage, and (I_f) is the forward current.
Example Circuit with Arduino UNO
The CREE CREEXML2-W318 can be controlled using an Arduino UNO and a MOSFET for PWM dimming. Below is an example circuit and code:
Circuit Diagram:
- Connect the LED's anode to the drain of an N-channel MOSFET (e.g., IRF540N).
- Connect the LED's cathode to the ground.
- Connect the MOSFET's source to the ground.
- Connect the MOSFET's gate to Arduino pin 9 through a 220-ohm resistor.
- Use a 12V power supply to power the LED (ensure the current is limited to 700mA).
Arduino Code:
// Example code to control the brightness of a 3-watt LED using PWM
// Pin 9 is used for PWM output to control the MOSFET gate

const int ledPin = 9; // PWM pin connected to the MOSFET gate

void setup() {
  pinMode(ledPin, OUTPUT); // Set pin 9 as an output
}

void loop() {
  // Gradually increase brightness
  for (int brightness = 0; brightness <= 255; brightness++) {
    analogWrite(ledPin, brightness); // Set PWM duty cycle
    delay(10); // Wait 10ms for smooth transition
  }

  // Gradually decrease brightness
  for (int brightness = 255; brightness >= 0; brightness--) {
    analogWrite(ledPin, brightness); // Set PWM duty cycle
    delay(10); // Wait 10ms for smooth transition
  }
}
Important Considerations:
- Thermal Management: Always use a heat sink to prevent thermal damage.
- Current Limiting: Never exceed the recommended forward current of 700mA.
- Polarity Check: Double-check the polarity before powering the LED.
- Driver Selection: Use a constant current driver for optimal performance and safety.
Troubleshooting and FAQs
Common Issues and Solutions:
LED Does Not Light Up:
- Cause: Incorrect polarity or insufficient voltage.
- Solution: Verify the anode and cathode connections. Ensure the power supply provides at least 2.8V.
LED Flickers:
- Cause: Unstable power supply or loose connections.
- Solution: Use a stable constant current driver and check all connections.
LED Overheats:
- Cause: Insufficient heat dissipation.
- Solution: Attach a proper heat sink and ensure good thermal contact.
LED Burns Out:
- Cause: Excessive current or reverse polarity.
- Solution: Use a current-limiting resistor or constant current driver. Double-check polarity.
FAQs:
Q: Can I power the LED directly from a 5V or 12V source?
A: No, you must use a current-limiting resistor or a constant current driver to prevent damage.Q: What is the recommended heat sink size?
A: The heat sink size depends on the operating environment, but it should have a thermal resistance of less than 10°C/W.Q: Can I use this LED for outdoor applications?
A: Yes, but ensure it is enclosed in a weatherproof housing to protect it from moisture and dust.Q: How do I calculate the resistor value for a 12V power supply?
A: Use the formula (R = \frac{V_{supply} - V_f}{I_f}). For example, with (V_{supply} = 12V), (V_f = 3V), and (I_f = 0.7A), (R = \frac{12 - 3}{0.7} = 12.86 , \Omega). Use a 13Ω resistor.
This concludes the documentation for the CREE CREEXML2-W318 3-watt LED.