Cirkit Designer Logo
Cirkit Designer
Your all-in-one circuit design IDE
Home / 
Component Documentation

How to Use Adafruit Red 15x7 CharliePlex FeatherWing: Examples, Pinouts, and Specs

Image of Adafruit Red 15x7 CharliePlex FeatherWing
Cirkit Designer LogoDesign with Adafruit Red 15x7 CharliePlex FeatherWing in Cirkit Designer

Introduction

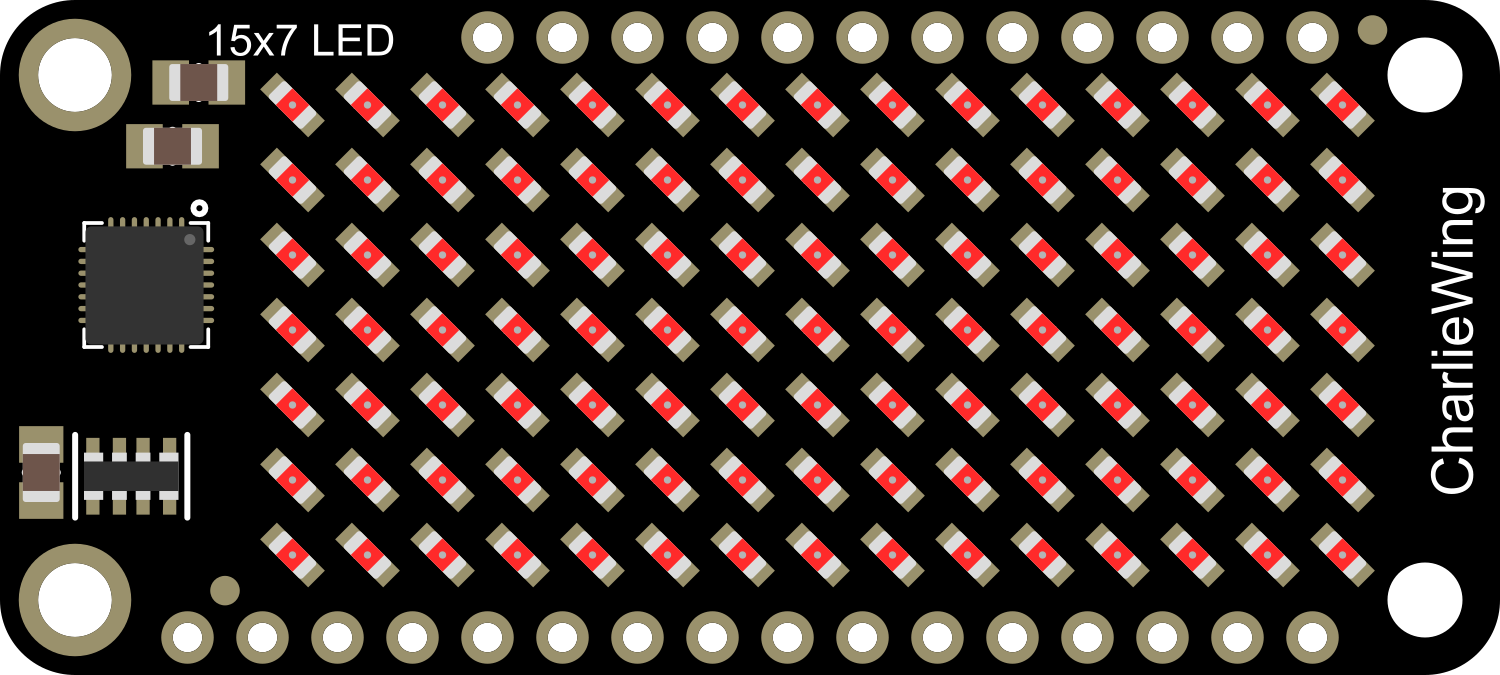
The Adafruit Red 15x7 CharliePlex FeatherWing is an innovative LED matrix display that utilizes the Charlieplexing technique to control multiple LEDs using a minimal number of GPIO pins. This seven-segment display FeatherWing features 15 red LED segments, enabling users to display numeric digits, letters, and some special characters. It is designed to be compatible with the Feather ecosystem, making it a versatile addition to any project requiring a compact and bright display.

Explore Projects Built with Adafruit Red 15x7 CharliePlex FeatherWing

Use Cirkit Designer to design, explore, and prototype these projects online. Some projects support real-time simulation. Click "Open Project" to start designing instantly!
ESP32-Based Vibration Feedback System with Quad Alphanumeric Display and ADXL343 Accelerometer
Image of EC444 - Quest 3: A project utilizing Adafruit Red 15x7 CharliePlex FeatherWing in a practical application
This circuit features an Adafruit HUZZAH32 ESP32 Feather board as the central microcontroller, which is connected to an Adafruit Quad AlphaNumeric Featherwing display and an Adafruit ADXL343 accelerometer via I2C communication (SCL and SDA lines). The ESP32 controls a vibration motor connected to one of its GPIO pins (A5_IO4) and shares a common power supply (3.3V) and ground (GND) with the other components. The purpose of this circuit is likely to read acceleration data, display information on the alphanumeric display, and provide haptic feedback through the vibration motor.
Cirkit Designer LogoOpen Project in Cirkit Designer
Arduino UNO and OLED FeatherWing Display: Battery-Powered Hello World Project
Image of ARDUINO_SSD1306: A project utilizing Adafruit Red 15x7 CharliePlex FeatherWing in a practical application
This circuit consists of an Arduino UNO connected to an Adafruit OLED FeatherWing display via I2C communication (SDA and SCL lines). The Arduino is powered through a Vcc source and provides 3.3V and GND connections to the OLED display. The Arduino runs a program to display 'Hello, World!' on the OLED screen.
Cirkit Designer LogoOpen Project in Cirkit Designer
Touch-Sensitive Interface with Adafruit MPR121 and Feather 32u4 Bluefruit
Image of MPR121: A project utilizing Adafruit Red 15x7 CharliePlex FeatherWing in a practical application
This circuit integrates an Adafruit MPR121 capacitive touch sensor with an Adafruit Feather 32u4 Bluefruit microcontroller. The MPR121 is powered by the Feather and communicates via I2C (SCL and SDA) to detect touch inputs, which can be processed or transmitted wirelessly by the Feather.
Cirkit Designer LogoOpen Project in Cirkit Designer
Adafruit Feather 32u4 Bluefruit with MPR121 Capacitive Touch Sensor Interface
Image of ALi WTSE: A project utilizing Adafruit Red 15x7 CharliePlex FeatherWing in a practical application
This circuit integrates an Adafruit MPR121 capacitive touch sensor with an Adafruit Feather 32u4 Bluefruit microcontroller. The MPR121 is powered by the 3.3V supply from the Feather and communicates with the microcontroller via I2C, with SCL connected to pin 3 and SDA connected to pin 2 of the Feather. This setup allows the Feather to detect touch inputs from the MPR121 for further processing or wireless communication.
Cirkit Designer LogoOpen Project in Cirkit Designer

Explore Projects Built with Adafruit Red 15x7 CharliePlex FeatherWing

Use Cirkit Designer to design, explore, and prototype these projects online. Some projects support real-time simulation. Click "Open Project" to start designing instantly!
Image of EC444 - Quest 3: A project utilizing Adafruit Red 15x7 CharliePlex FeatherWing in a practical application
ESP32-Based Vibration Feedback System with Quad Alphanumeric Display and ADXL343 Accelerometer
This circuit features an Adafruit HUZZAH32 ESP32 Feather board as the central microcontroller, which is connected to an Adafruit Quad AlphaNumeric Featherwing display and an Adafruit ADXL343 accelerometer via I2C communication (SCL and SDA lines). The ESP32 controls a vibration motor connected to one of its GPIO pins (A5_IO4) and shares a common power supply (3.3V) and ground (GND) with the other components. The purpose of this circuit is likely to read acceleration data, display information on the alphanumeric display, and provide haptic feedback through the vibration motor.
Cirkit Designer LogoOpen Project in Cirkit Designer
Image of ARDUINO_SSD1306: A project utilizing Adafruit Red 15x7 CharliePlex FeatherWing in a practical application
Arduino UNO and OLED FeatherWing Display: Battery-Powered Hello World Project
This circuit consists of an Arduino UNO connected to an Adafruit OLED FeatherWing display via I2C communication (SDA and SCL lines). The Arduino is powered through a Vcc source and provides 3.3V and GND connections to the OLED display. The Arduino runs a program to display 'Hello, World!' on the OLED screen.
Cirkit Designer LogoOpen Project in Cirkit Designer
Image of MPR121: A project utilizing Adafruit Red 15x7 CharliePlex FeatherWing in a practical application
Touch-Sensitive Interface with Adafruit MPR121 and Feather 32u4 Bluefruit
This circuit integrates an Adafruit MPR121 capacitive touch sensor with an Adafruit Feather 32u4 Bluefruit microcontroller. The MPR121 is powered by the Feather and communicates via I2C (SCL and SDA) to detect touch inputs, which can be processed or transmitted wirelessly by the Feather.
Cirkit Designer LogoOpen Project in Cirkit Designer
Image of ALi WTSE: A project utilizing Adafruit Red 15x7 CharliePlex FeatherWing in a practical application
Adafruit Feather 32u4 Bluefruit with MPR121 Capacitive Touch Sensor Interface
This circuit integrates an Adafruit MPR121 capacitive touch sensor with an Adafruit Feather 32u4 Bluefruit microcontroller. The MPR121 is powered by the 3.3V supply from the Feather and communicates with the microcontroller via I2C, with SCL connected to pin 3 and SDA connected to pin 2 of the Feather. This setup allows the Feather to detect touch inputs from the MPR121 for further processing or wireless communication.
Cirkit Designer LogoOpen Project in Cirkit Designer

Common Applications and Use Cases

  • Digital clocks and timers
  • Counter displays
  • Message boards
  • Interactive name tags
  • Data monitoring displays

Technical Specifications

Key Technical Details

  • Operating Voltage: 3.3V to 5V
  • Maximum Current: 500mA (total for all LEDs on)
  • Display Color: Red
  • Number of Segments: 15
  • Communication: I2C interface

Pin Configuration and Descriptions

Pin Number Description
1 GND (Ground)
2 VCC (Power Supply, 3.3V to 5V)
3 SDA (I2C Data)
4 SCL (I2C Clock)
5 RST (Reset, optional)

Usage Instructions

How to Use the Component in a Circuit

  1. Power Connection: Connect the VCC pin to the 3.3V or 5V output on your Feather board and the GND pin to a ground pin on the Feather board.
  2. I2C Connection: Connect the SDA and SCL pins to the corresponding I2C data and clock lines on your Feather board.
  3. Optional Reset: The RST pin can be connected to a digital pin on your Feather board if you wish to control the reset function programmatically.

Important Considerations and Best Practices

  • Ensure that the power supply voltage matches the operating voltage of the FeatherWing to prevent damage.
  • Use pull-up resistors on the I2C lines if they are not already present on your Feather board.
  • When displaying static images or characters, it is recommended to use a low duty cycle or implement a dimming feature to prolong the life of the LEDs.
  • Avoid exceeding the maximum current rating by limiting the number of LEDs lit at any given time.

Example Code for Arduino UNO

#include <Wire.h>
#include <Adafruit_GFX.h>
#include <Adafruit_IS31FL3731.h>

// Initialize display driver for the 15x7 CharliePlex FeatherWing
Adafruit_IS31FL3731_Wing wing = Adafruit_IS31FL3731_Wing();

void setup() {
  Wire.begin(); // Start I2C
  wing.begin(); // Initialize the display
}

void loop() {
  wing.clear(); // Clear the display buffer

  // Display a pattern or character
  wing.drawChar(0, 0, 'A', LED_ON, LED_OFF, 1);
  
  // Write the buffer to the display
  wing.display();
  
  delay(1000); // Wait for a second
}

Code Comments

  • #include statements include the necessary libraries for controlling the CharliePlex FeatherWing.
  • Adafruit_IS31FL3731_Wing wing creates an instance of the display driver.
  • Wire.begin() initializes the I2C communication.
  • wing.begin() initializes the display with the default I2C address.
  • wing.clear() clears the display buffer to prepare for new data.
  • wing.drawChar() is used to draw a character on the display at the specified position.
  • wing.display() sends the buffer data to the display to update the visual output.
  • delay(1000) pauses the program for a specified duration (in milliseconds).

Troubleshooting and FAQs

Common Issues

  • Display Not Lighting Up: Ensure that the power connections are correct and secure. Check that the I2C lines are connected properly and that the correct I2C address is being used in the code.
  • Dim or Flickering LEDs: This may be due to insufficient power supply or too many LEDs being lit simultaneously. Check the power supply and reduce the number of active LEDs if necessary.
  • Garbled or Incorrect Characters: Make sure that the display buffer is being cleared before drawing new characters and that the correct font size and orientation are being used.

Solutions and Tips for Troubleshooting

  • Double-check wiring connections and solder joints for any loose connections or shorts.
  • Use a multimeter to verify the voltage levels at the VCC and GND pins of the FeatherWing.
  • Ensure that the I2C pull-up resistors are in place and functioning correctly.
  • If using multiple I2C devices, verify that there are no address conflicts.
  • Consult the Adafruit forums or support channels for assistance if the issue persists.

FAQs

Q: Can I chain multiple CharliePlex FeatherWings together? A: Yes, you can chain multiple displays together, but you will need to ensure that each has a unique I2C address and that your power supply can handle the increased current draw.

Q: How do I change the brightness of the display? A: The brightness can be controlled programmatically using the display driver's functions for setting the PWM values of the LEDs.

Q: Is it possible to display custom characters or images? A: Yes, the display is capable of showing custom characters or images by setting individual LED segments. You can use the Adafruit GFX library to create and display custom graphics.