
How to Use LCD 16X4: Examples, Pinouts, and Specs
 Design with LCD 16X4 in Cirkit Designer
Introduction
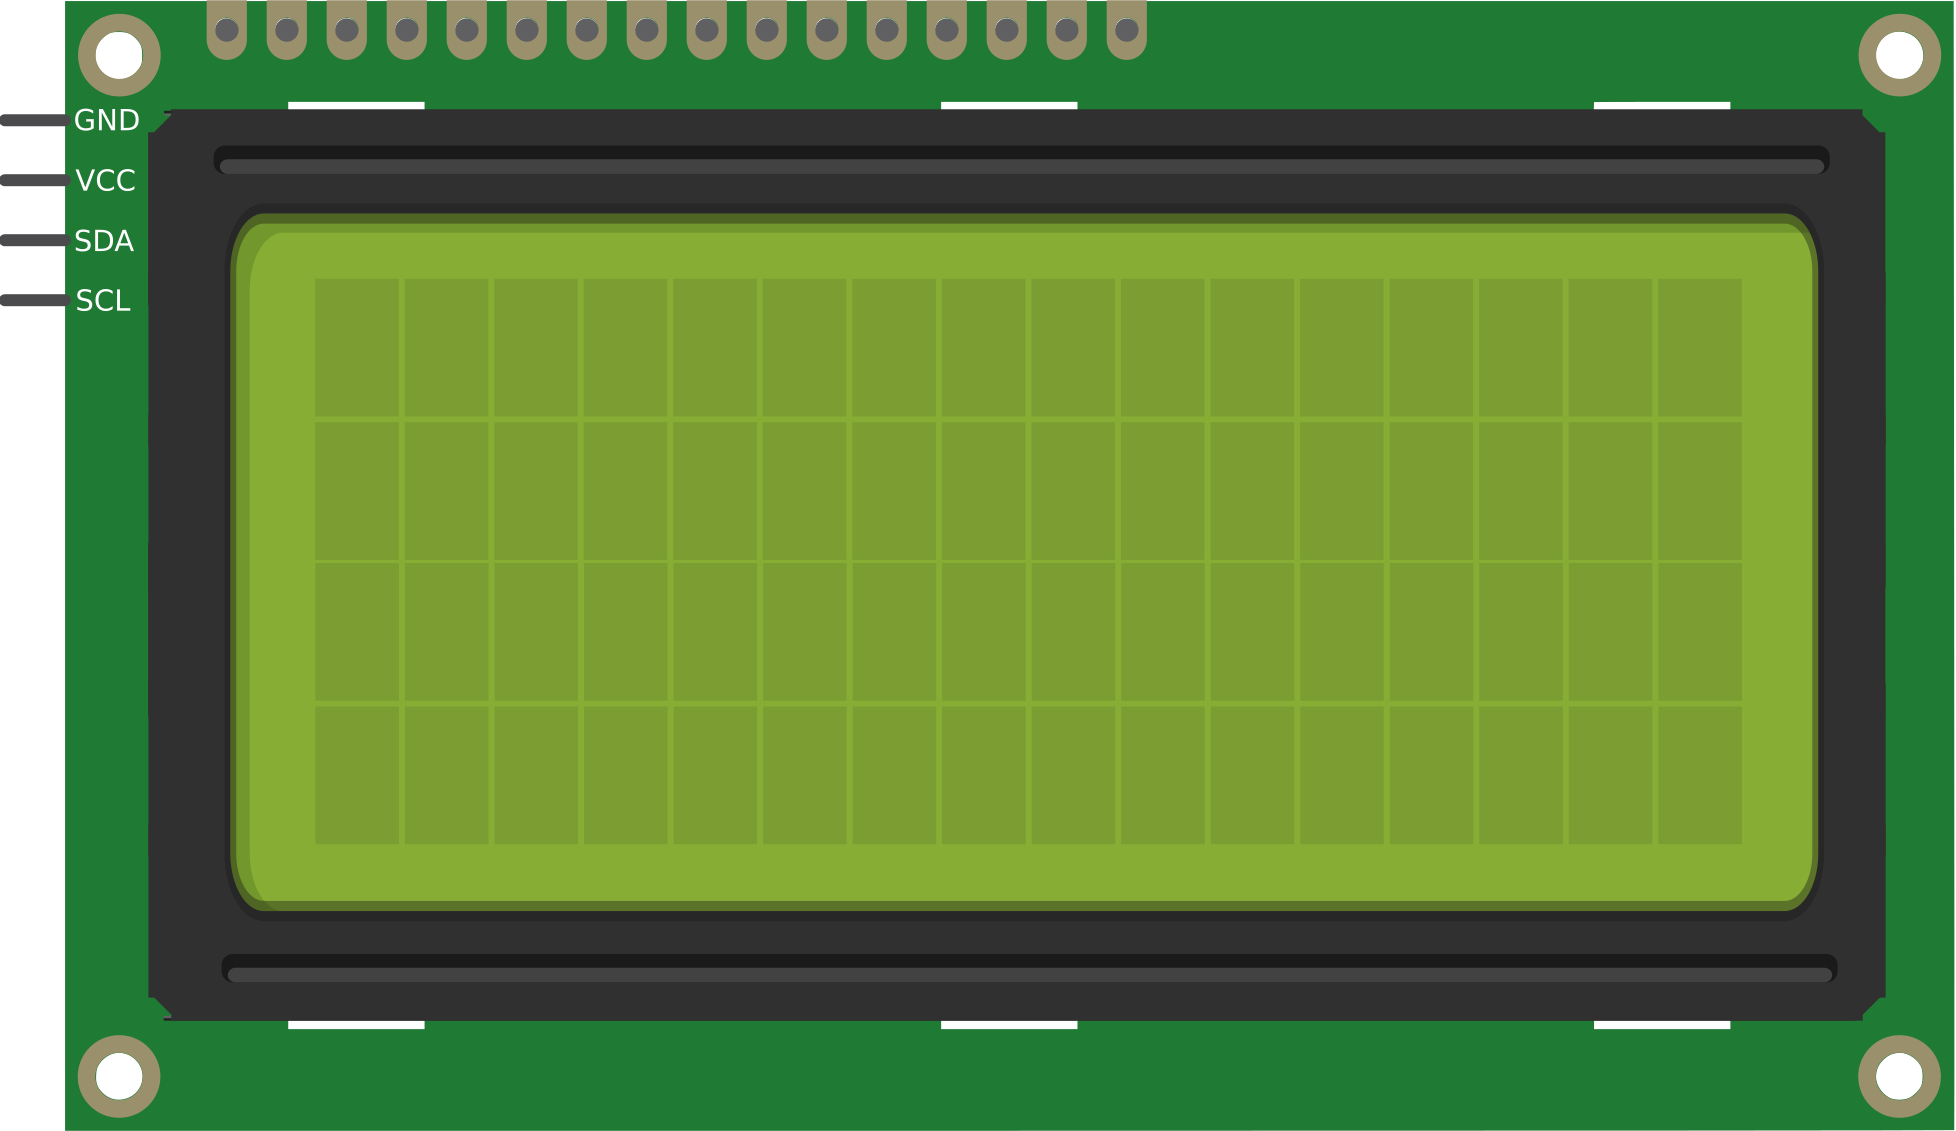
The LCD 16X4 is a Liquid Crystal Display capable of displaying 16 characters per line across 4 lines. Manufactured by Arduino (Part ID: UNO), this display is widely used in embedded systems for presenting textual information such as sensor readings, system status, or user prompts. Its compact size and ease of integration make it a popular choice for hobbyists and professionals alike.
Explore Projects Built with LCD 16X4
 Open Project in Cirkit Designer
 Open Project in Cirkit Designer
 Open Project in Cirkit Designer
 Open Project in Cirkit Designer
Explore Projects Built with LCD 16X4
Open Project in Cirkit DesignerOpen Project in Cirkit DesignerOpen Project in Cirkit DesignerOpen Project in Cirkit DesignerCommon Applications
- Displaying sensor data in IoT projects
- User interfaces for embedded systems
- Menu navigation in control systems
- Educational and prototyping purposes
Technical Specifications
The following table outlines the key technical details of the LCD 16X4:
| Parameter | Value |
|---|---|
| Display Type | Liquid Crystal Display (LCD) |
| Characters per Line | 16 |
| Number of Lines | 4 |
| Operating Voltage | 4.7V to 5.3V |
| Operating Current | 1mA (without backlight) |
| Backlight Voltage | 4.2V to 4.6V |
| Backlight Current | 120mA (typical) |
| Communication Interface | Parallel (4-bit or 8-bit) |
| Dimensions | 87mm x 60mm x 14mm |
Pin Configuration
The LCD 16X4 has a 16-pin interface. The table below describes each pin:
| Pin Number | Pin Name | Description |
|---|---|---|
| 1 | VSS | Ground (0V) connection |
| 2 | VDD | Power supply (4.7V to 5.3V) |
| 3 | VO | Contrast adjustment (connect to a potentiometer) |
| 4 | RS | Register Select (0: Command, 1: Data) |
| 5 | RW | Read/Write control (0: Write, 1: Read) |
| 6 | E | Enable signal (triggers data read/write) |
| 7 | D0 | Data bit 0 (used in 8-bit mode only) |
| 8 | D1 | Data bit 1 (used in 8-bit mode only) |
| 9 | D2 | Data bit 2 (used in 8-bit mode only) |
| 10 | D3 | Data bit 3 (used in 8-bit mode only) |
| 11 | D4 | Data bit 4 (used in both 4-bit and 8-bit modes) |
| 12 | D5 | Data bit 5 (used in both 4-bit and 8-bit modes) |
| 13 | D6 | Data bit 6 (used in both 4-bit and 8-bit modes) |
| 14 | D7 | Data bit 7 (used in both 4-bit and 8-bit modes) |
| 15 | A (LED+) | Backlight anode (connect to +5V through a resistor) |
| 16 | K (LED-) | Backlight cathode (connect to ground) |
Usage Instructions
Connecting the LCD 16X4 to an Arduino UNO
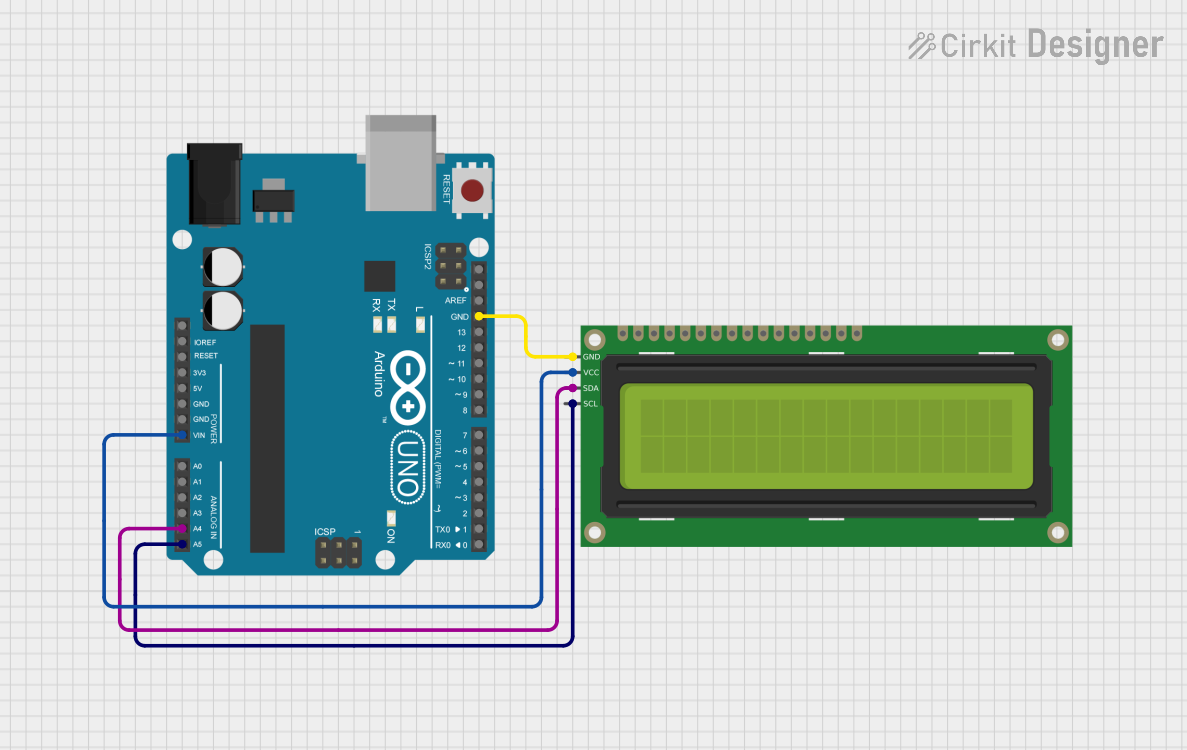
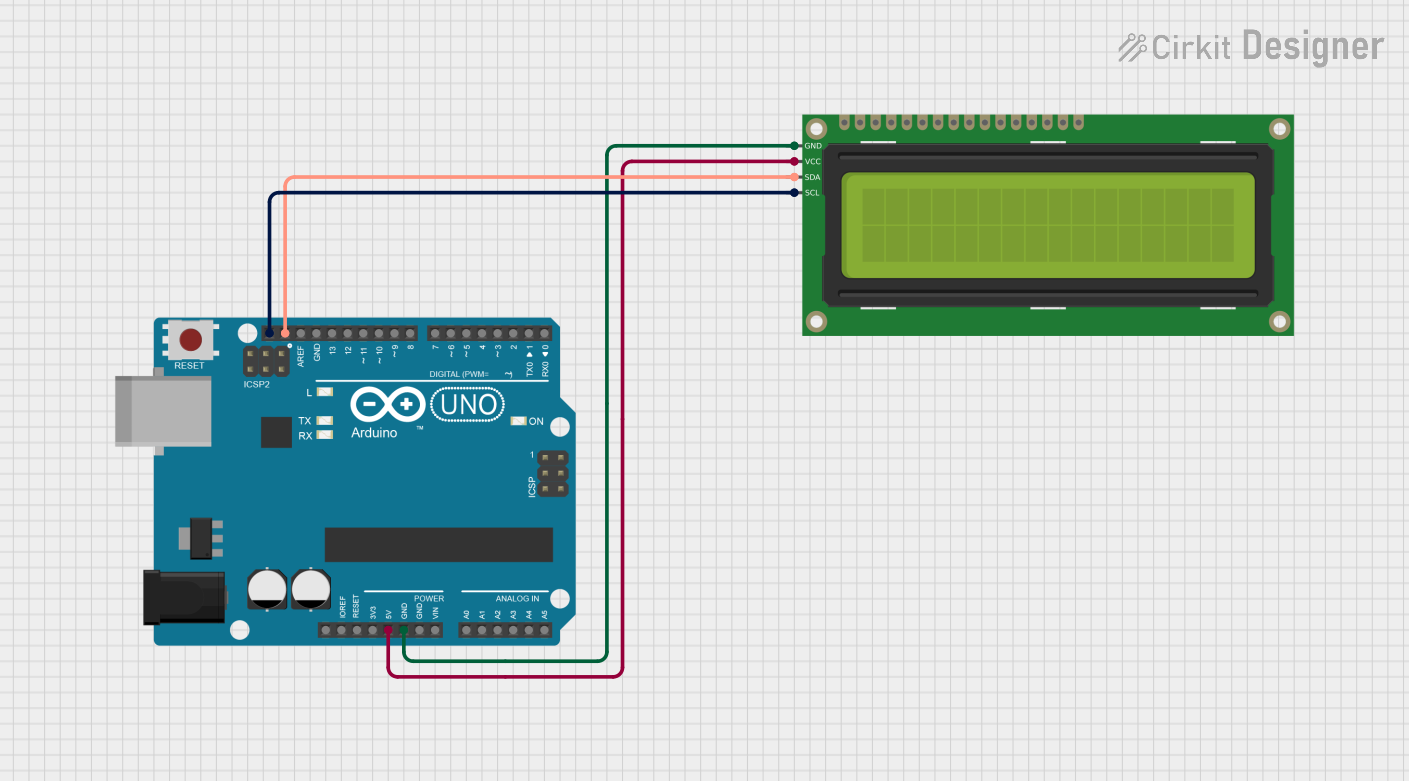
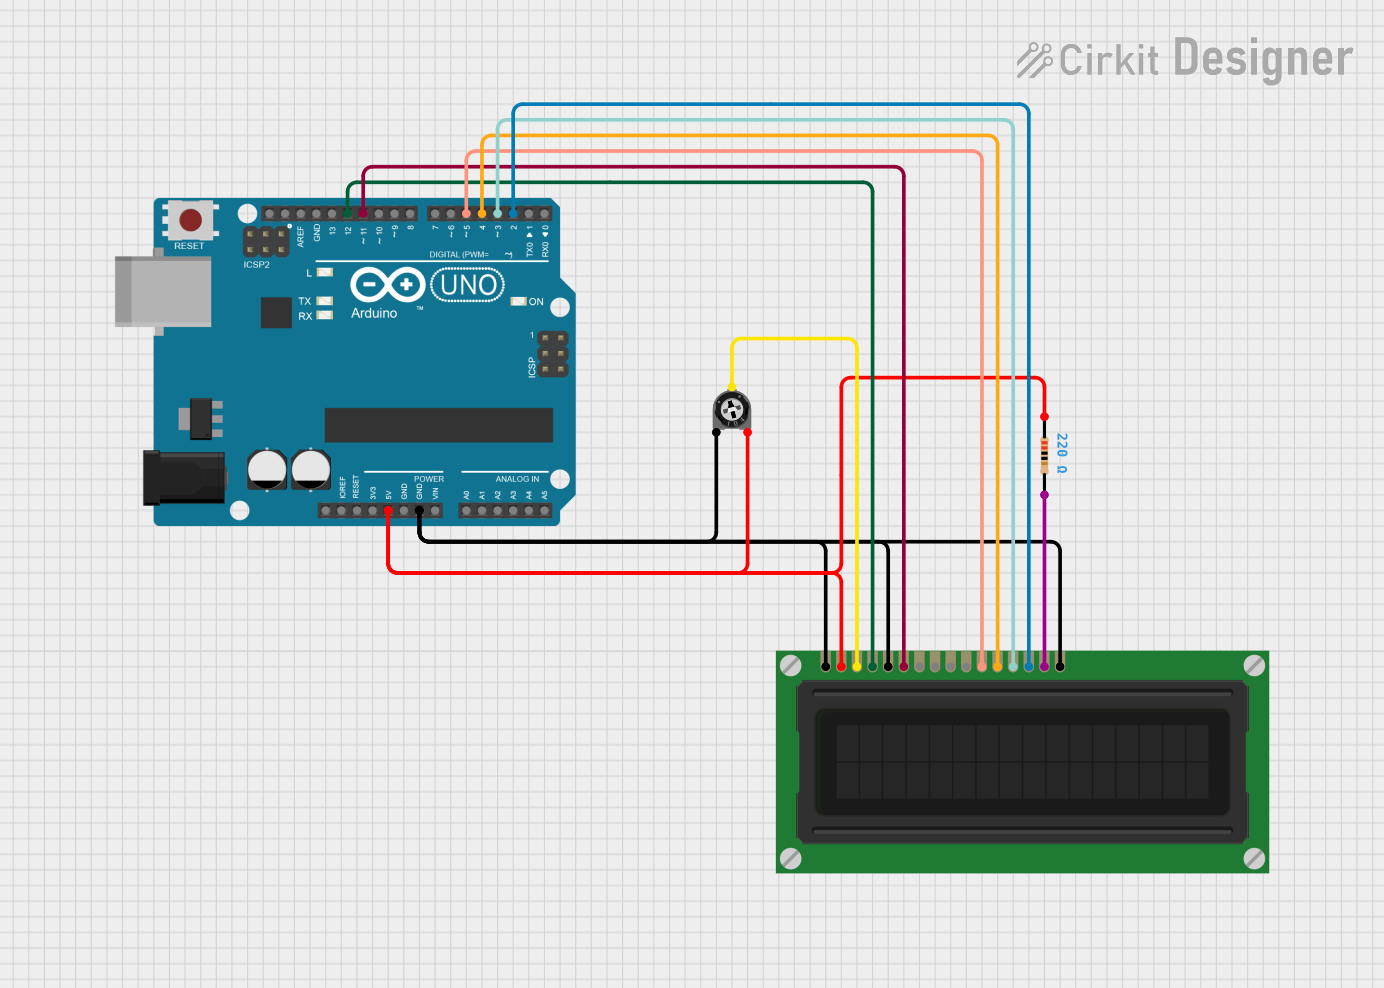
The LCD 16X4 can be connected to an Arduino UNO using the 4-bit mode for efficient pin usage. Below is a typical wiring configuration:
| LCD Pin | Arduino Pin | Description |
|---|---|---|
| VSS | GND | Ground |
| VDD | 5V | Power supply |
| VO | Potentiometer | Contrast adjustment |
| RS | Digital Pin 12 | Register Select |
| RW | GND | Write mode |
| E | Digital Pin 11 | Enable |
| D4 | Digital Pin 5 | Data bit 4 |
| D5 | Digital Pin 4 | Data bit 5 |
| D6 | Digital Pin 3 | Data bit 6 |
| D7 | Digital Pin 2 | Data bit 7 |
| A (LED+) | 5V (via 220Ω) | Backlight power (with resistor) |
| K (LED-) | GND | Backlight ground |
Arduino Code Example
Below is an example code to display text on the LCD 16X4 using the Arduino LiquidCrystal library:
#include <LiquidCrystal.h>

// Initialize the library with the pins connected to the LCD
// (RS, E, D4, D5, D6, D7)
LiquidCrystal lcd(12, 11, 5, 4, 3, 2);

void setup() {
  // Set up the LCD's number of columns and rows
  lcd.begin(16, 4);

  // Print a message to the LCD
  lcd.setCursor(0, 0); // Set cursor to column 0, row 0
  lcd.print("Hello, World!");

  lcd.setCursor(0, 1); // Set cursor to column 0, row 1
  lcd.print("LCD 16x4 Demo");

  lcd.setCursor(0, 2); // Set cursor to column 0, row 2
  lcd.print("Line 3 Example");

  lcd.setCursor(0, 3); // Set cursor to column 0, row 3
  lcd.print("Line 4 Example");
}

void loop() {
  // No actions in the loop for this example
}
Important Considerations
- Contrast Adjustment: Use a 10kΩ potentiometer connected to the VO pin to adjust the display contrast.
- Backlight Resistor: Always use a current-limiting resistor (e.g., 220Ω) for the backlight to prevent damage.
- Power Supply: Ensure a stable 5V power supply to avoid flickering or malfunction.
- Pin Connections: Double-check all connections to avoid short circuits or incorrect data display.
Troubleshooting and FAQs
Common Issues
No Display on the LCD
- Solution: Check the power supply and ensure the contrast is adjusted using the potentiometer.
- Tip: Verify that the backlight is functioning; if not, check the resistor and connections to pins 15 (A) and 16 (K).
Garbled or Incorrect Characters
- Solution: Ensure proper wiring of the data pins (D4-D7) and the RS, RW, and E pins.
- Tip: Confirm that the code matches the wiring configuration.
Backlight Not Working
- Solution: Check the resistor value and connections to the backlight pins.
- Tip: Use a multimeter to verify voltage across pins 15 and 16.
LCD Not Responding to Commands
- Solution: Ensure the Enable (E) pin is correctly connected and receiving signals.
- Tip: Test the LCD with a simpler sketch to isolate the issue.
FAQs
Can I use the LCD 16X4 in 8-bit mode?
- Yes, but it requires additional pins (D0-D3) to be connected, which may not be ideal for Arduino UNO due to limited I/O pins.
What is the maximum viewing angle of the LCD?
- The LCD 16X4 typically has a viewing angle of 45° to 60°, depending on the manufacturer.
Can I power the LCD with 3.3V?
- No, the LCD requires a minimum of 4.7V for proper operation.
How do I clear the display?
- Use the
lcd.clear()function in your Arduino code to clear all text from the display.
- Use the
By following this documentation, you can effectively integrate and troubleshoot the LCD 16X4 in your projects.