
How to Use SparkFun VoiceBox Shield: Examples, Pinouts, and Specs
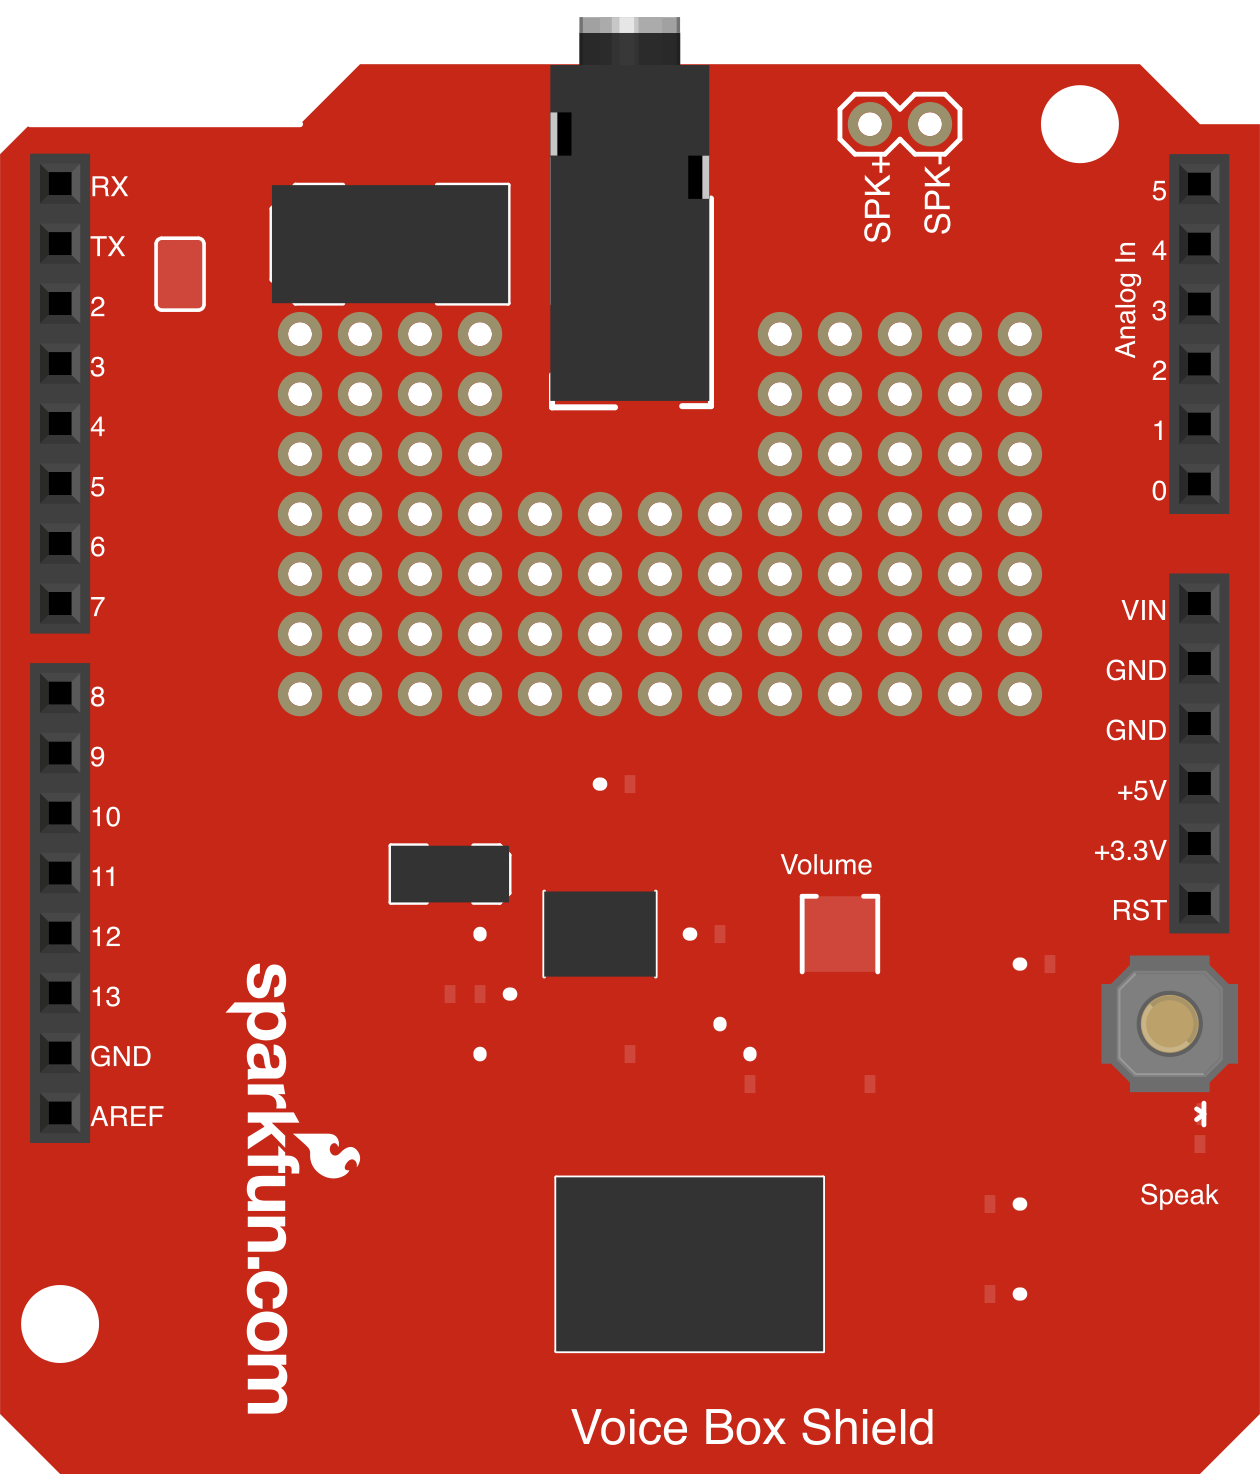
 Design with SparkFun VoiceBox Shield in Cirkit Designer
Introduction
The SparkFun VoiceBox Shield (Manufacturer Part ID: DEV-10661) is an Arduino-compatible shield designed to add voice recognition and playback capabilities to your projects. This shield is powered by the SpeakJet IC, a versatile speech synthesis chip capable of generating speech, sound effects, and tones. With this shield, users can create interactive systems that respond to voice commands or provide audio feedback.
Explore Projects Built with SparkFun VoiceBox Shield
 Open Project in Cirkit Designer
 Open Project in Cirkit Designer
 Open Project in Cirkit Designer
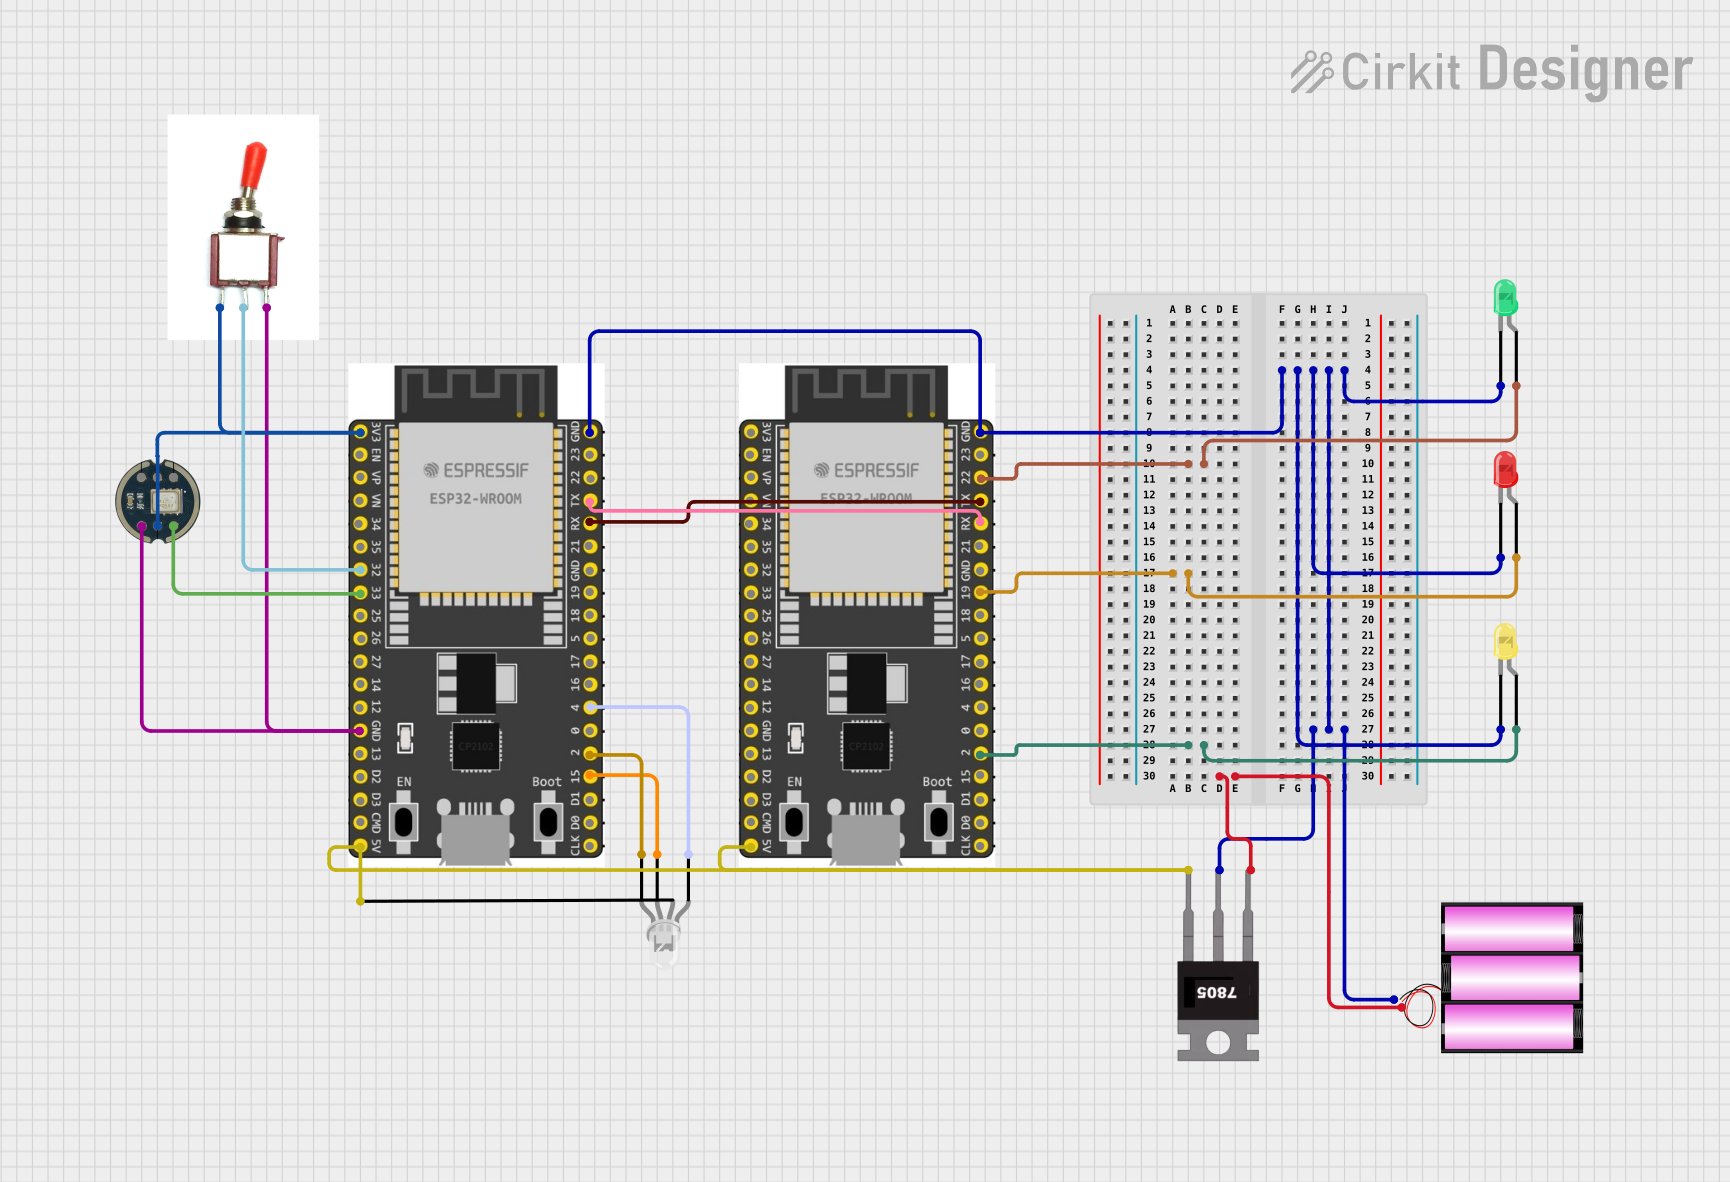 Open Project in Cirkit Designer
Explore Projects Built with SparkFun VoiceBox Shield
Open Project in Cirkit DesignerOpen Project in Cirkit DesignerOpen Project in Cirkit DesignerOpen Project in Cirkit DesignerCommon Applications and Use Cases
- Voice-controlled robotics
- Talking devices or interactive displays
- Audio feedback systems for accessibility
- Home automation with voice commands
- Educational projects for learning speech synthesis
Technical Specifications
The following table outlines the key technical details of the SparkFun VoiceBox Shield:
| Specification | Details |
|---|---|
| Manufacturer | SparkFun Electronics |
| Part Number | DEV-10661 |
| Operating Voltage | 5V (powered via Arduino) |
| Communication | UART (TX/RX pins) |
| Speech Synthesis IC | SpeakJet (5-channel synthesizer with 64 phonemes, 43 sound effects, etc.) |
| Audio Output | Mono audio output via 3.5mm jack or speaker pins |
| Speaker Support | 8-ohm speaker (recommended) |
| Dimensions | 2.7" x 2.1" (68.6mm x 53.3mm) |
Pin Configuration and Descriptions
The SparkFun VoiceBox Shield connects to an Arduino board and uses the following pins:
| Pin | Function |
|---|---|
| D2 (RX) | Receives data from the Arduino (used for UART communication with SpeakJet). |
| D3 (TX) | Sends data to the Arduino (used for UART communication with SpeakJet). |
| D5 | Controls the onboard LED (optional for status indication). |
| Speaker+ | Positive terminal for connecting an external speaker. |
| Speaker- | Negative terminal for connecting an external speaker. |
| Audio Out | 3.5mm jack for mono audio output. |
Usage Instructions
How to Use the SparkFun VoiceBox Shield in a Circuit
- Attach the Shield to an Arduino: Align the pins of the VoiceBox Shield with the headers on your Arduino board and press gently to secure the connection.
- Connect an Audio Output:
- For a speaker: Connect an 8-ohm speaker to the
Speaker+andSpeaker-terminals. - For headphones or external amplifiers: Use the 3.5mm audio jack.
- For a speaker: Connect an 8-ohm speaker to the
- Power the System: Power the Arduino via USB or an external power source. The shield will draw power from the Arduino.
- Upload Code: Write and upload a sketch to the Arduino to send commands to the SpeakJet IC via UART.
Important Considerations and Best Practices
- Speaker Selection: Use an 8-ohm speaker for optimal performance. Avoid using speakers with lower impedance, as they may overload the circuit.
- Volume Control: The SpeakJet IC does not have built-in volume control. Use an external amplifier with volume adjustment if needed.
- UART Configuration: Ensure the Arduino's UART baud rate matches the SpeakJet's default baud rate (9600 bps).
- Avoid Overloading: Do not send commands to the SpeakJet IC too quickly, as it may not process them correctly. Add delays between commands if necessary.
Example Code for Arduino UNO
Below is an example sketch to send a simple command to the SpeakJet IC to produce a sound:
// Include the SoftwareSerial library for communication with the SpeakJet IC
#include <SoftwareSerial.h>

// Define RX and TX pins for SoftwareSerial
#define RX_PIN 2
#define TX_PIN 3

// Create a SoftwareSerial object
SoftwareSerial speakJetSerial(RX_PIN, TX_PIN);

void setup() {
  // Initialize the SoftwareSerial communication at 9600 baud
  speakJetSerial.begin(9600);

  // Send a simple command to the SpeakJet IC to produce a sound
  // The command below plays a "Hello" sound using predefined phonemes
  speakJetSerial.write(0xC1); // Reset SpeakJet
  delay(100); // Wait for reset to complete
  speakJetSerial.write(0xF0); // Start command
  speakJetSerial.write(0x4A); // Phoneme: "H"
  speakJetSerial.write(0x45); // Phoneme: "E"
  speakJetSerial.write(0x4C); // Phoneme: "L"
  speakJetSerial.write(0x4C); // Phoneme: "L"
  speakJetSerial.write(0x4F); // Phoneme: "O"
  speakJetSerial.write(0x20); // End command
}

void loop() {
  // No actions in the loop for this example
}
Troubleshooting and FAQs
Common Issues and Solutions
No Sound Output:
- Ensure the speaker is properly connected to the
Speaker+andSpeaker-terminals. - Verify that the 3.5mm audio jack is not in use simultaneously with the speaker.
- Check the Arduino sketch for correct UART communication settings (baud rate: 9600 bps).
- Ensure the speaker is properly connected to the
Distorted or Low-Quality Audio:
- Use an 8-ohm speaker as recommended.
- Avoid overdriving the SpeakJet IC by sending commands too quickly.
SpeakJet Not Responding:
- Confirm that the shield is securely attached to the Arduino.
- Check the RX and TX pin connections and ensure they match the Arduino sketch.
- Reset the SpeakJet IC by sending the
0xC1reset command.
Arduino Upload Fails:
- Disconnect the shield temporarily while uploading the sketch to the Arduino.
- Ensure no other devices are using the Arduino's RX/TX pins during upload.
FAQs
Q: Can I use the VoiceBox Shield with an Arduino Mega?
A: Yes, but you may need to modify the sketch to use the Mega's additional UART ports instead of SoftwareSerial.
Q: Can I play pre-recorded audio files with this shield?
A: No, the SpeakJet IC generates speech and sound effects programmatically. It does not support playback of pre-recorded audio files.
Q: How do I adjust the pitch or speed of the speech?
A: The SpeakJet IC allows you to modify pitch, speed, and other parameters using specific commands. Refer to the SpeakJet datasheet for details.
Q: Is the shield compatible with 3.3V Arduino boards?
A: The shield is designed for 5V operation. Using it with 3.3V boards may require level shifting for proper communication.