
How to Use DHT22: Examples, Pinouts, and Specs
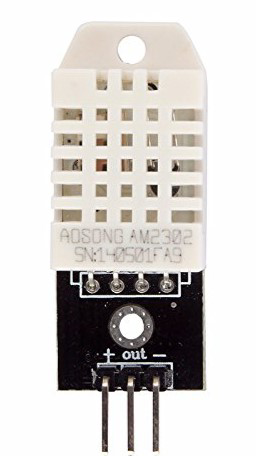
 Design with DHT22 in Cirkit Designer
Introduction
The DHT22 is a digital temperature and humidity sensor that provides accurate readings of temperature in Celsius and humidity in percentage. It features a capacitive humidity sensor and a thermistor to measure the surrounding air, outputting a digital signal on a single data pin. The DHT22 is widely used in weather stations, HVAC systems, greenhouses, and other applications requiring reliable environmental monitoring.
Key advantages of the DHT22 include its high accuracy, long-term stability, and ease of use with microcontrollers like Arduino and Raspberry Pi. It is an excellent choice for projects where precise temperature and humidity measurements are critical.
Explore Projects Built with DHT22
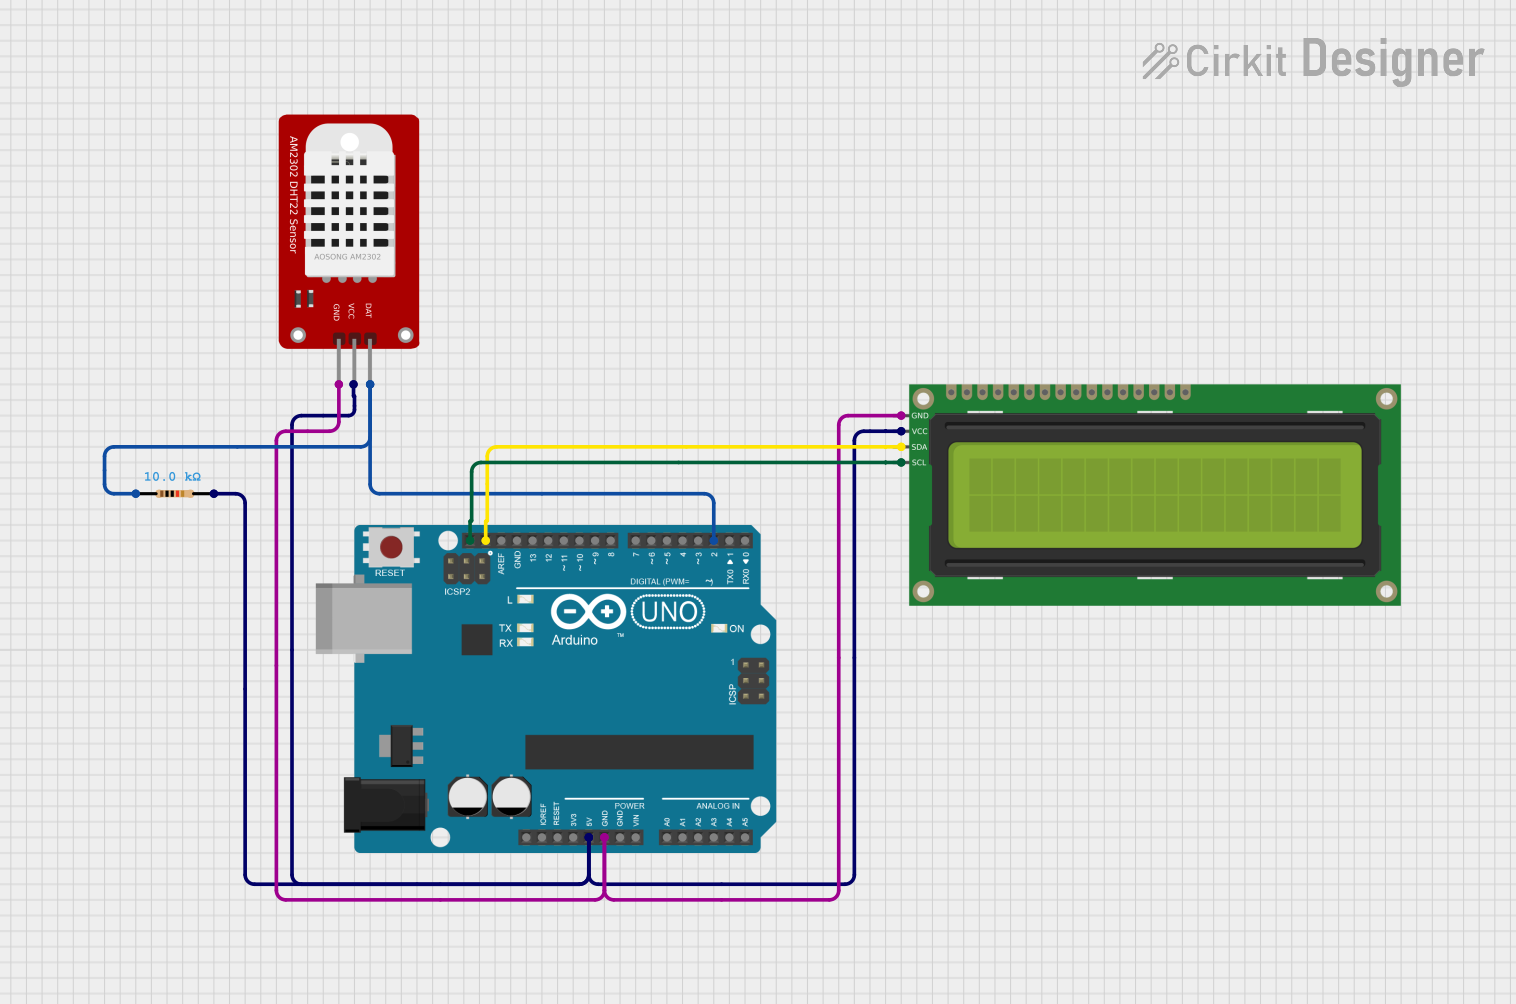 Open Project in Cirkit Designer
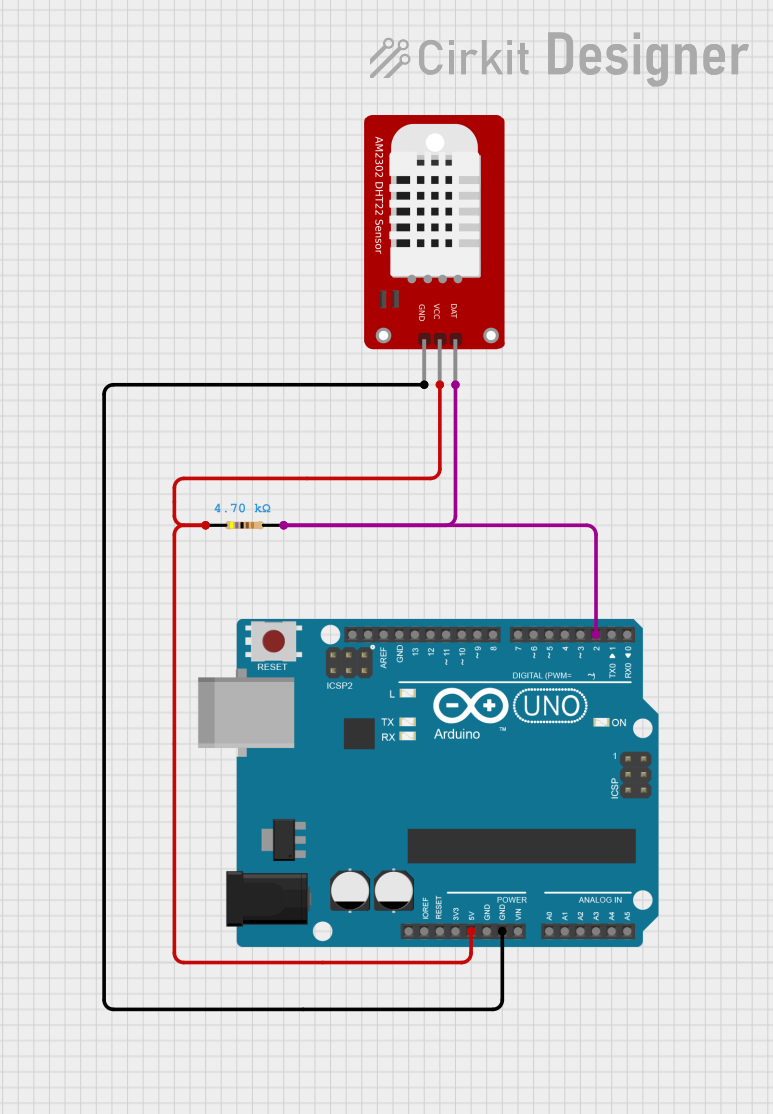 Open Project in Cirkit Designer
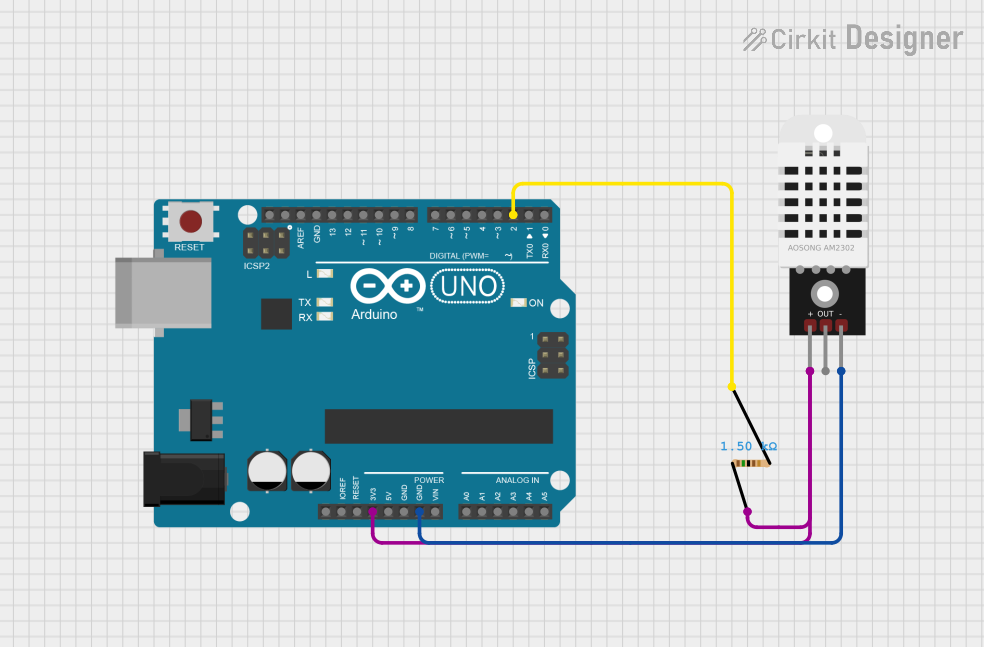 Open Project in Cirkit Designer
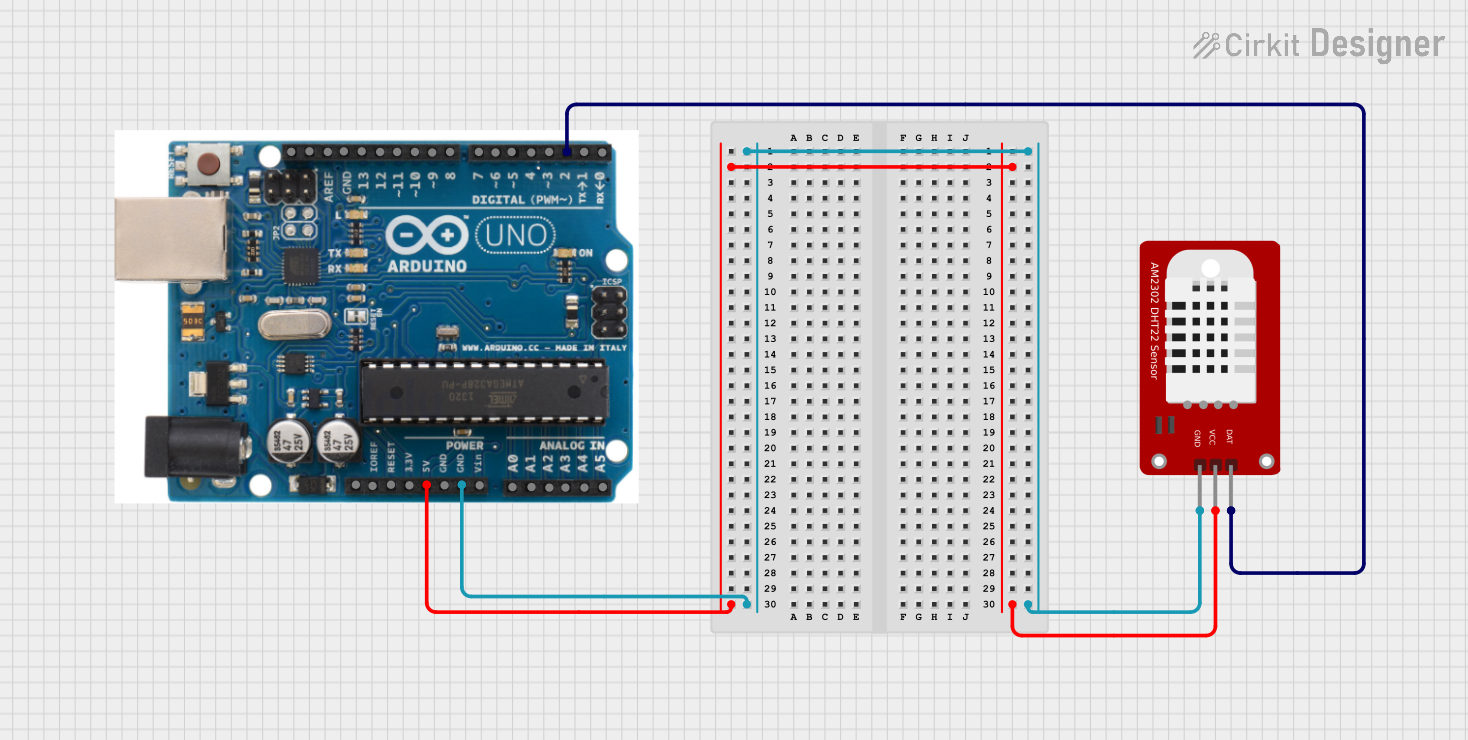 Open Project in Cirkit Designer
Explore Projects Built with DHT22
Open Project in Cirkit DesignerOpen Project in Cirkit DesignerOpen Project in Cirkit DesignerOpen Project in Cirkit DesignerTechnical Specifications
The DHT22 sensor has the following key technical details:
| Parameter | Value |
|---|---|
| Operating Voltage | 3.3V to 5.5V |
| Operating Current | 0.3mA (measuring), 60µA (standby) |
| Temperature Range | -40°C to +80°C |
| Temperature Accuracy | ±0.5°C |
| Humidity Range | 0% to 100% RH |
| Humidity Accuracy | ±2% RH |
| Sampling Rate | 0.5 Hz (1 reading every 2 seconds) |
| Communication Protocol | Single-wire digital signal |
| Dimensions | 15.1mm x 25mm x 7.7mm |
Pin Configuration and Descriptions
The DHT22 has four pins, as described in the table below:
| Pin Number | Name | Description |
|---|---|---|
| 1 | VCC | Power supply pin. Connect to 3.3V or 5V. |
| 2 | DATA | Digital data output. Connect to a microcontroller GPIO pin with a pull-up resistor. |
| 3 | NC | Not connected. Leave this pin unconnected. |
| 4 | GND | Ground pin. Connect to the ground of the circuit. |
Note: A 10kΩ pull-up resistor is typically required between the DATA pin and VCC for proper communication.
Usage Instructions
How to Use the DHT22 in a Circuit
- Power the Sensor: Connect the VCC pin to a 3.3V or 5V power source and the GND pin to the ground.
- Connect the Data Pin: Attach the DATA pin to a GPIO pin on your microcontroller. Use a 10kΩ pull-up resistor between the DATA pin and VCC.
- Install Required Libraries: If using an Arduino, install the "DHT sensor library" by Adafruit from the Arduino Library Manager.
- Write Code: Use the library functions to initialize the sensor and read temperature and humidity values.
Example Arduino Code
Below is an example of how to use the DHT22 with an Arduino UNO:
// Include the DHT library
#include <DHT.h>

// Define the DHT sensor type and the pin it's connected to
#define DHTPIN 2      // Pin connected to the DATA pin of DHT22
#define DHTTYPE DHT22 // Specify the sensor type (DHT22)

// Initialize the DHT sensor
DHT dht(DHTPIN, DHTTYPE);

void setup() {
  Serial.begin(9600); // Start the serial communication
  Serial.println("DHT22 Sensor Initialization");
  dht.begin();        // Initialize the DHT sensor
}

void loop() {
  delay(2000); // Wait 2 seconds between readings (DHT22 sampling rate)

  // Read temperature and humidity
  float humidity = dht.readHumidity();
  float temperature = dht.readTemperature();

  // Check if the readings are valid
  if (isnan(humidity) || isnan(temperature)) {
    Serial.println("Failed to read from DHT sensor!");
    return;
  }

  // Print the readings to the Serial Monitor
  Serial.print("Humidity: ");
  Serial.print(humidity);
  Serial.print(" %\t");
  Serial.print("Temperature: ");
  Serial.print(temperature);
  Serial.println(" °C");
}
Important Considerations and Best Practices
- Sampling Rate: The DHT22 has a sampling rate of 0.5 Hz, meaning it can provide one reading every 2 seconds. Avoid polling the sensor more frequently to prevent communication errors.
- Pull-Up Resistor: Always use a 10kΩ pull-up resistor on the DATA pin to ensure reliable communication.
- Cable Length: Keep the cable length between the sensor and the microcontroller as short as possible to avoid signal degradation. For longer distances, consider using shielded cables.
- Environmental Factors: Avoid placing the sensor in direct sunlight or near heat sources, as this can affect accuracy.
Troubleshooting and FAQs
Common Issues and Solutions
No Data or Incorrect Readings:
- Ensure the pull-up resistor is correctly connected between the DATA pin and VCC.
- Verify that the sensor is powered with the correct voltage (3.3V to 5.5V).
- Check the wiring and ensure there are no loose connections.
"Failed to Read from DHT Sensor" Error:
- Ensure the DATA pin is connected to the correct GPIO pin on the microcontroller.
- Confirm that the DHT library is correctly installed and initialized in the code.
- Avoid polling the sensor more frequently than once every 2 seconds.
Inconsistent or Fluctuating Readings:
- Check for electromagnetic interference (EMI) from nearby devices.
- Use shorter or shielded cables to reduce noise.
FAQs
Q: Can the DHT22 measure negative temperatures?
A: Yes, the DHT22 can measure temperatures as low as -40°C.
Q: What is the difference between the DHT11 and DHT22?
A: The DHT22 is more accurate and has a wider temperature and humidity range compared to the DHT11. However, it is slightly more expensive.
Q: Can I use the DHT22 with a 3.3V microcontroller?
A: Yes, the DHT22 operates within a voltage range of 3.3V to 5.5V, making it compatible with 3.3V microcontrollers like the ESP8266 or ESP32.
Q: How do I extend the cable length for the DHT22?
A: Use shielded cables and keep the length under 20 meters for reliable communication. For longer distances, consider using signal amplifiers or repeaters.
By following this documentation, you can effectively integrate the DHT22 sensor into your projects for accurate temperature and humidity monitoring.