How to Use SHT21: Examples, Pinouts, and Specs
Introduction
The SHT21 is a precision sensor for measuring relative humidity and temperature. It offers a calibrated digital output using an I2C interface, which makes it simple to integrate with microcontrollers such as the Arduino UNO. The SHT21 is widely used in weather stations, HVAC systems, medical devices, and consumer electronics due to its high accuracy, reliability, and low power consumption.
Explore Projects Built with SHT21
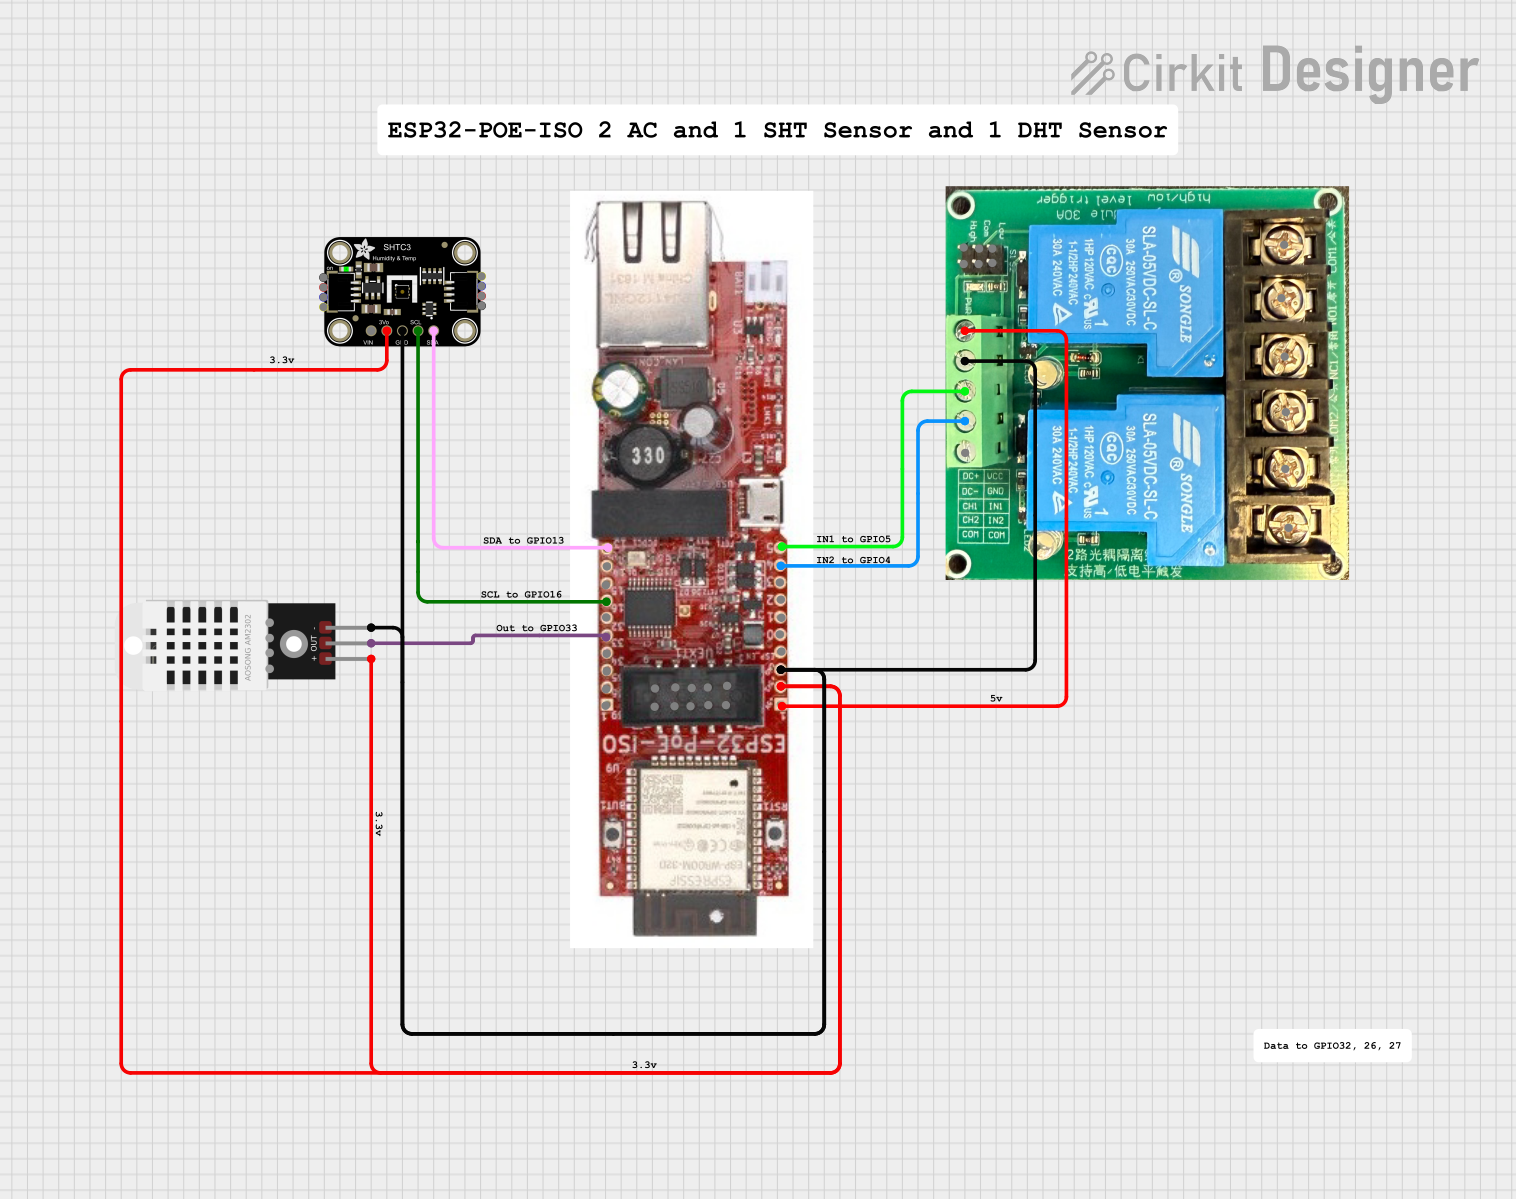
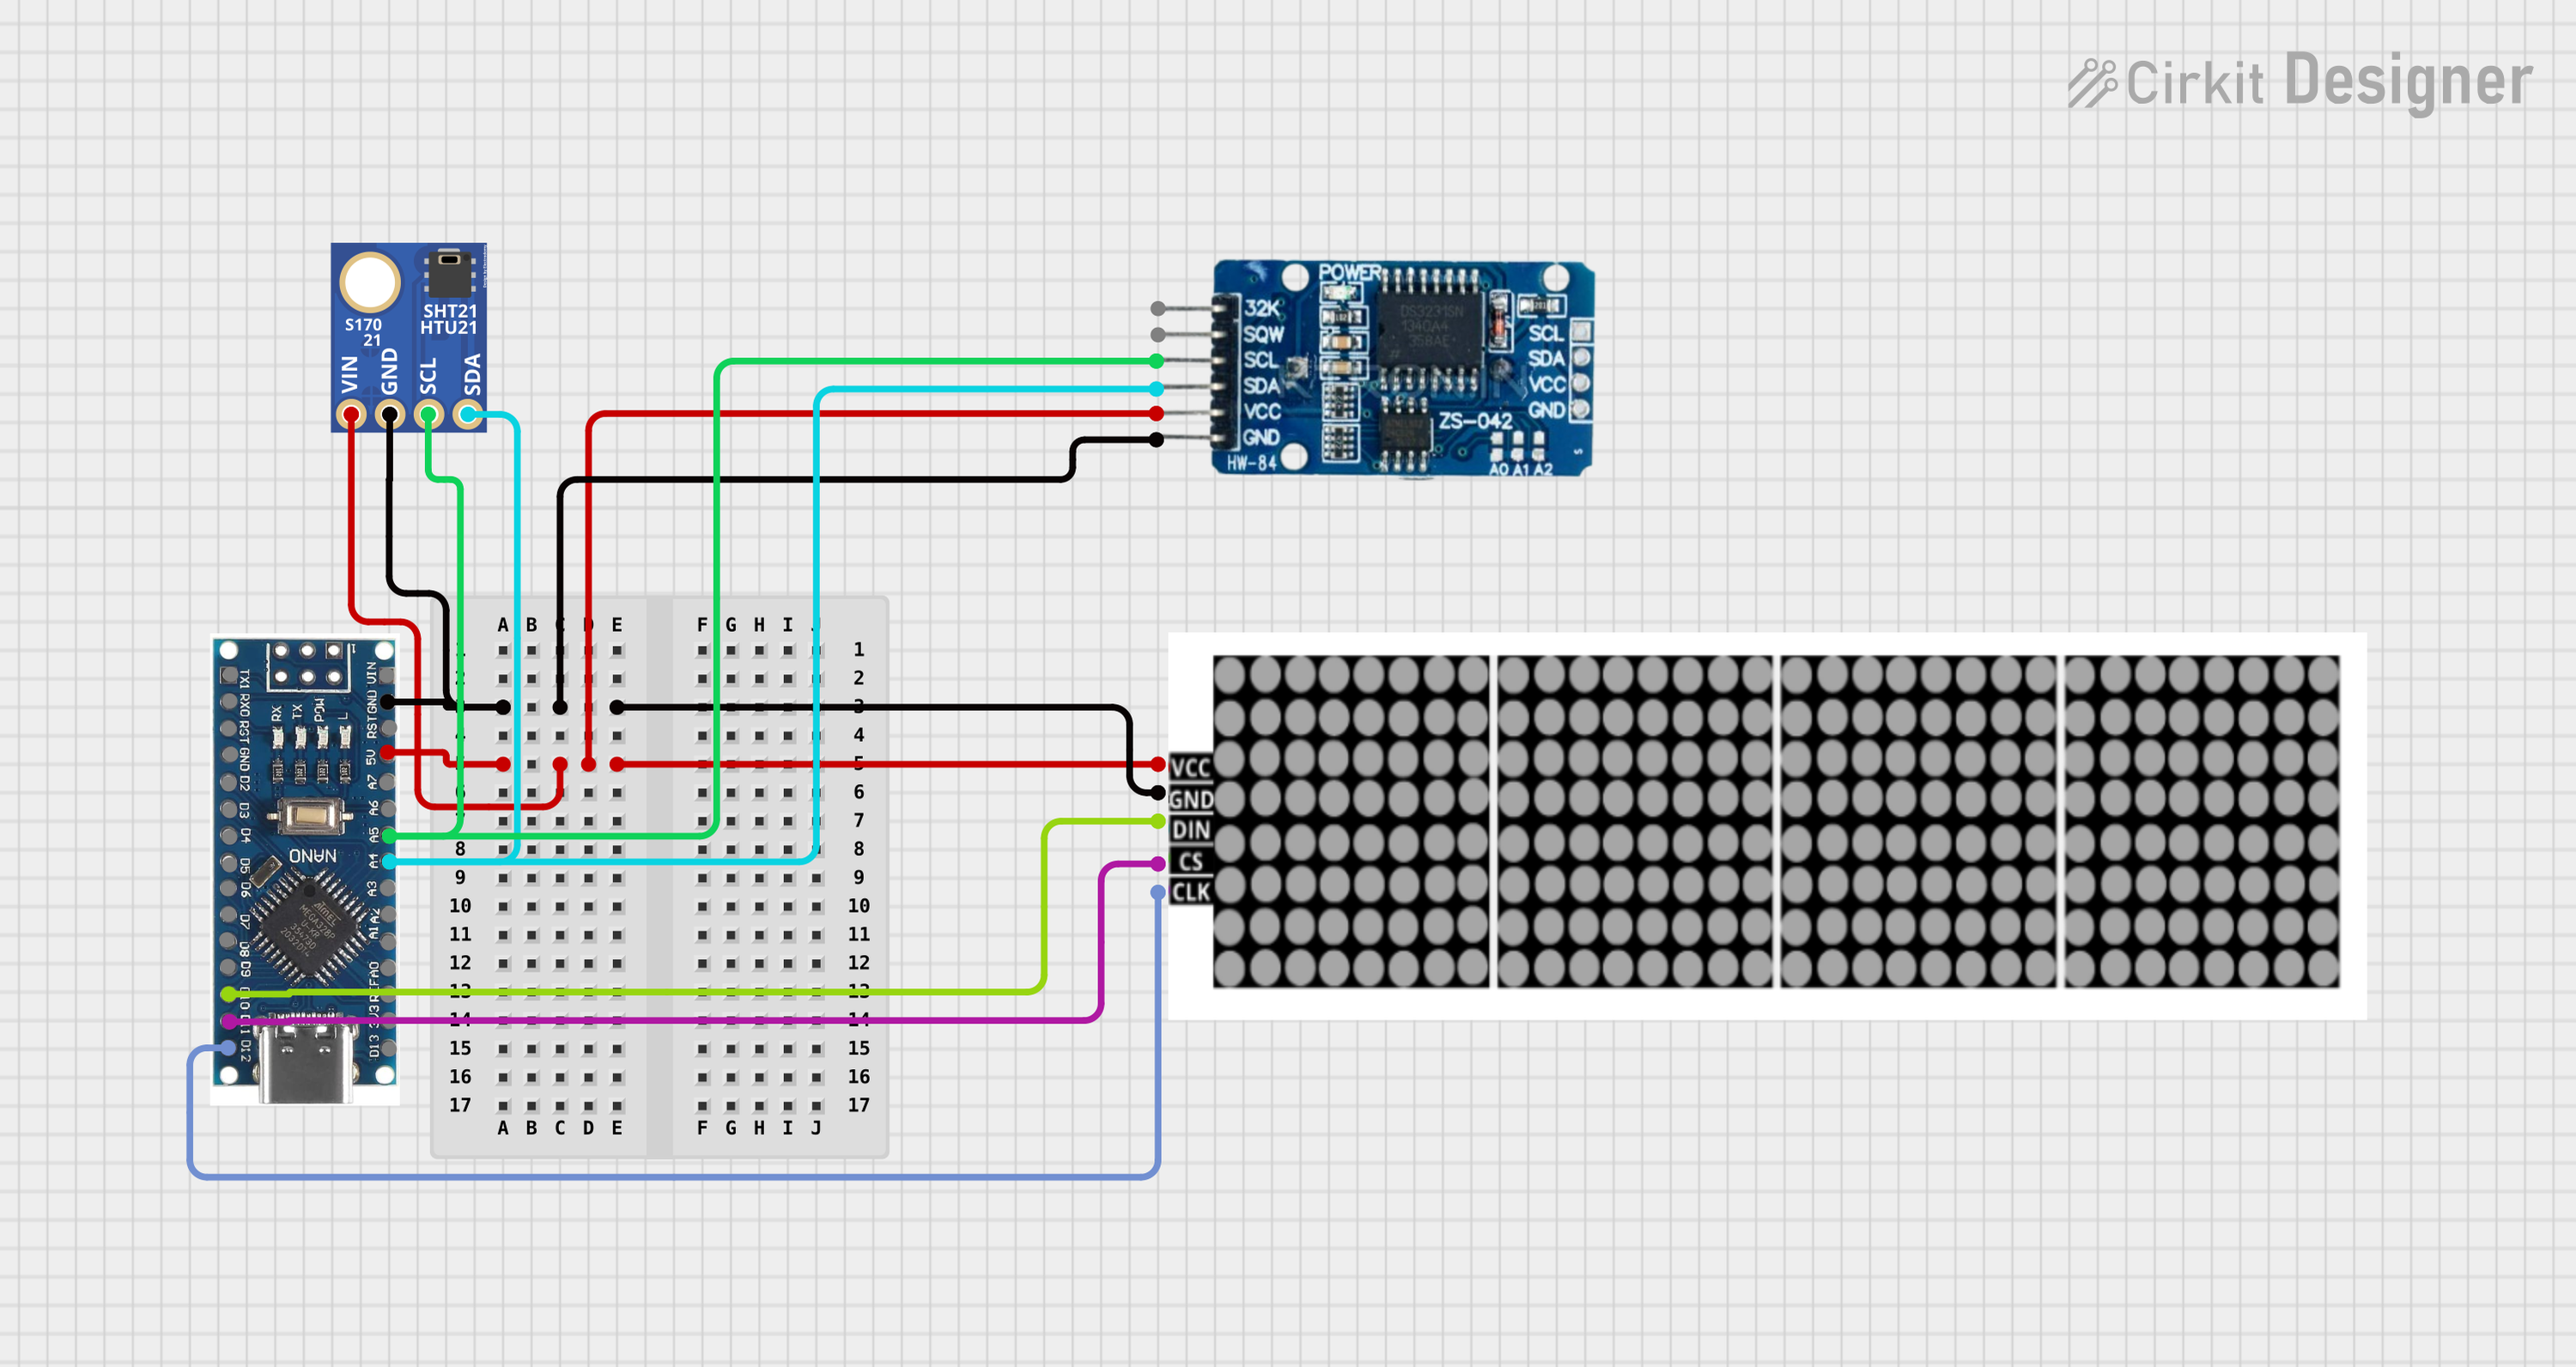
Explore Projects Built with SHT21
Technical Specifications
Key Technical Details
- Supply Voltage (VDD): 2.1V to 3.6V
- Measuring Range (Relative Humidity): 0 to 100% RH
- Measuring Range (Temperature): -40°C to +125°C
- Accuracy (Relative Humidity): ±2% RH (10 to 90% RH)
- Accuracy (Temperature): ±0.3°C (25°C)
- Resolution (Relative Humidity): 0.04% RH
- Resolution (Temperature): 0.01°C
- I2C Interface: Fully calibrated, two-wire serial interface
- Response Time (Relative Humidity): 8 sec (tau63%)
- Response Time (Temperature): 5 sec (tau63%)
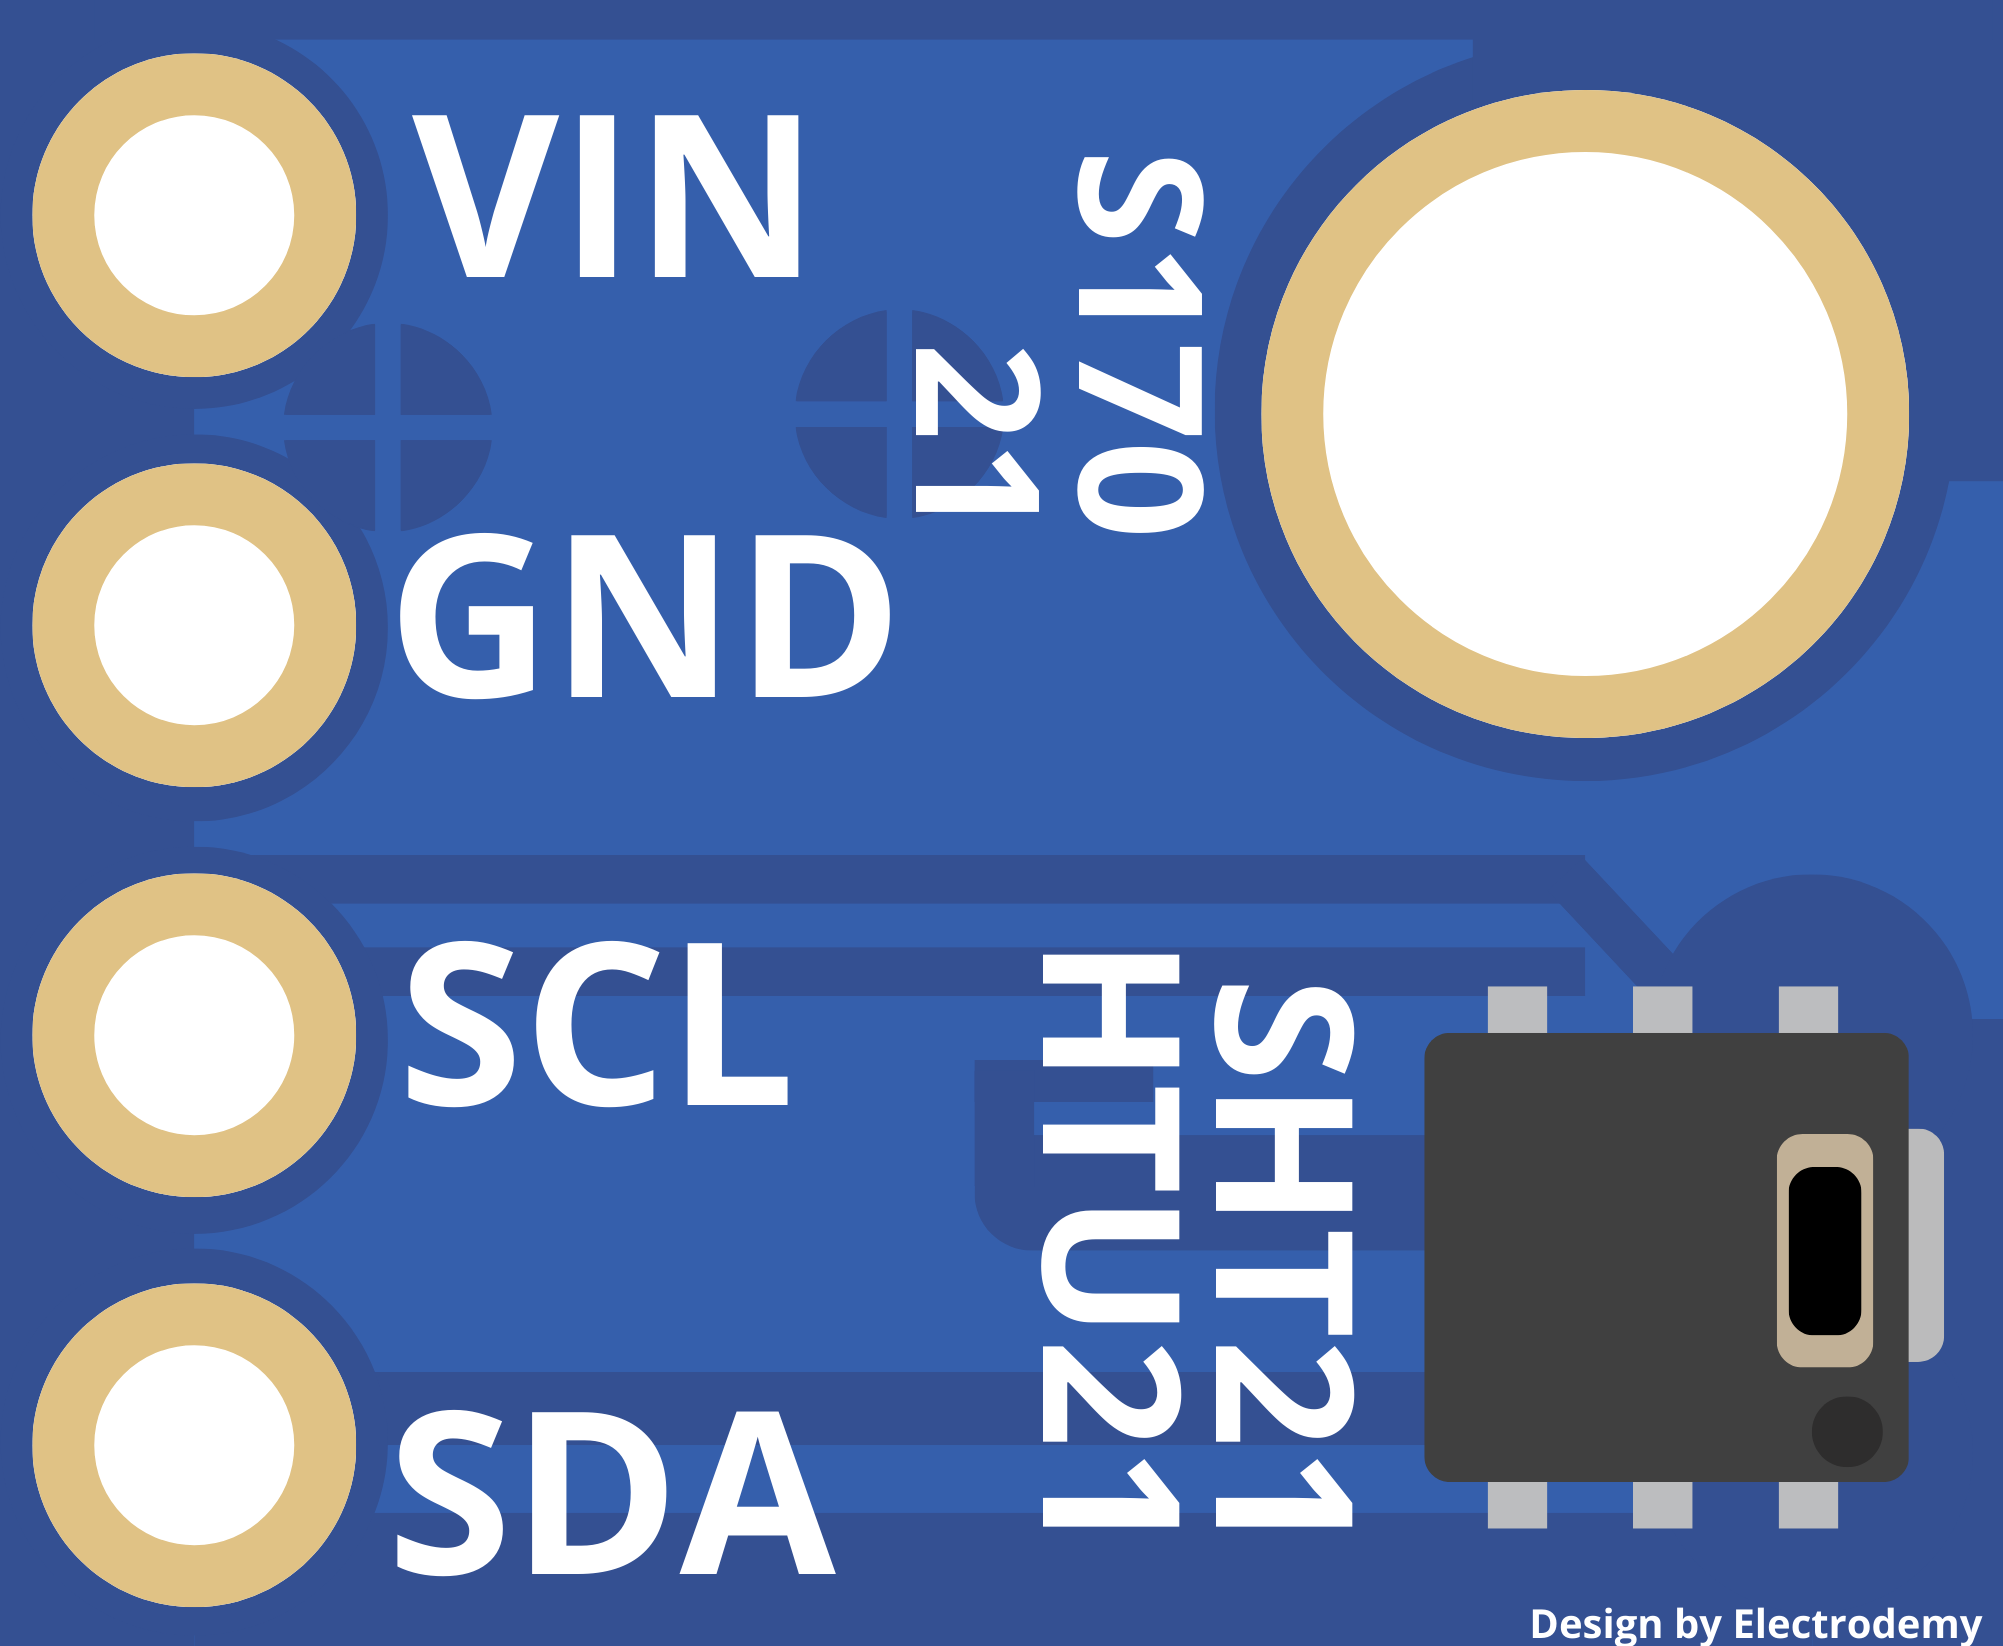
Pin Configuration and Descriptions
| Pin Number | Name | Description |
|---|---|---|
| 1 | VDD | Power supply voltage |
| 2 | SDA | Serial Data Line for I2C communication |
| 3 | SCL | Serial Clock Line for I2C communication |
| 4 | GND | Ground |
Usage Instructions
Integration with a Circuit
To use the SHT21 sensor in a circuit:
- Connect the VDD pin to a 2.1V to 3.6V power supply.
- Connect the GND pin to the ground of the power supply.
- Connect the SDA and SCL pins to the corresponding I2C data and clock lines on your microcontroller.
Best Practices
- Use pull-up resistors on the SDA and SCL lines, typically 10kΩ.
- Ensure that the power supply is stable and within the specified voltage range.
- Avoid placing the sensor in direct sunlight or near heat sources to prevent inaccurate readings.
- For accurate humidity readings, allow for sufficient air flow around the sensor.
Arduino UNO Example Code
#include <Wire.h>
#include "SHT21.h"

SHT21 sht21;

void setup() {
  Serial.begin(9600);
  Wire.begin();
  sht21.begin();
}

void loop() {
  float humidity = sht21.getHumidity(); // Get humidity reading
  float temperature = sht21.getTemperature(); // Get temperature reading

  Serial.print("Humidity: ");
  Serial.print(humidity);
  Serial.println("%");

  Serial.print("Temperature: ");
  Serial.print(temperature);
  Serial.println("C");

  delay(2000); // Wait for 2 seconds before reading again
}
Troubleshooting and FAQs
Common Issues
- Sensor not responding: Ensure that the I2C address is correct and that the SDA and SCL lines are connected properly with pull-up resistors.
- Inaccurate readings: Check for proper airflow around the sensor and that it's not exposed to direct sunlight or heat sources.
- No communication: Verify that the power supply is within the specified range and that the sensor is not damaged.
FAQs
Q: Can the SHT21 operate at 5V? A: No, the SHT21 is designed to operate between 2.1V and 3.6V. Using a higher voltage can damage the sensor.
Q: How can I calibrate the sensor? A: The SHT21 comes factory-calibrated. However, for critical applications, you may perform additional calibration using known humidity and temperature sources.
Q: What is the I2C address of the SHT21? A: The SHT21 has a fixed I2C address of 0x40.
Q: How long should I wait between measurements? A: The SHT21 requires a minimum of 20ms for a humidity measurement and 85ms for a temperature measurement. However, for power saving, a longer delay can be used.
For further assistance, please refer to the manufacturer's datasheet or contact technical support.