How to Use My battery case: Examples, Pinouts, and Specs
Introduction
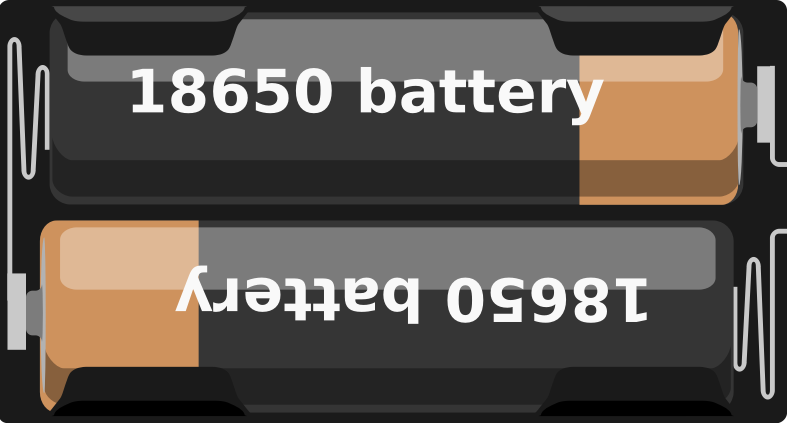
The My Battery Case is a protective enclosure designed to house and secure two 18650 lithium-ion batteries. It is commonly used in portable electronics, DIY projects, and devices that require a compact, reliable power source. The case provides easy access to the battery terminals for electrical connections while ensuring safety and durability.
Explore Projects Built with My battery case


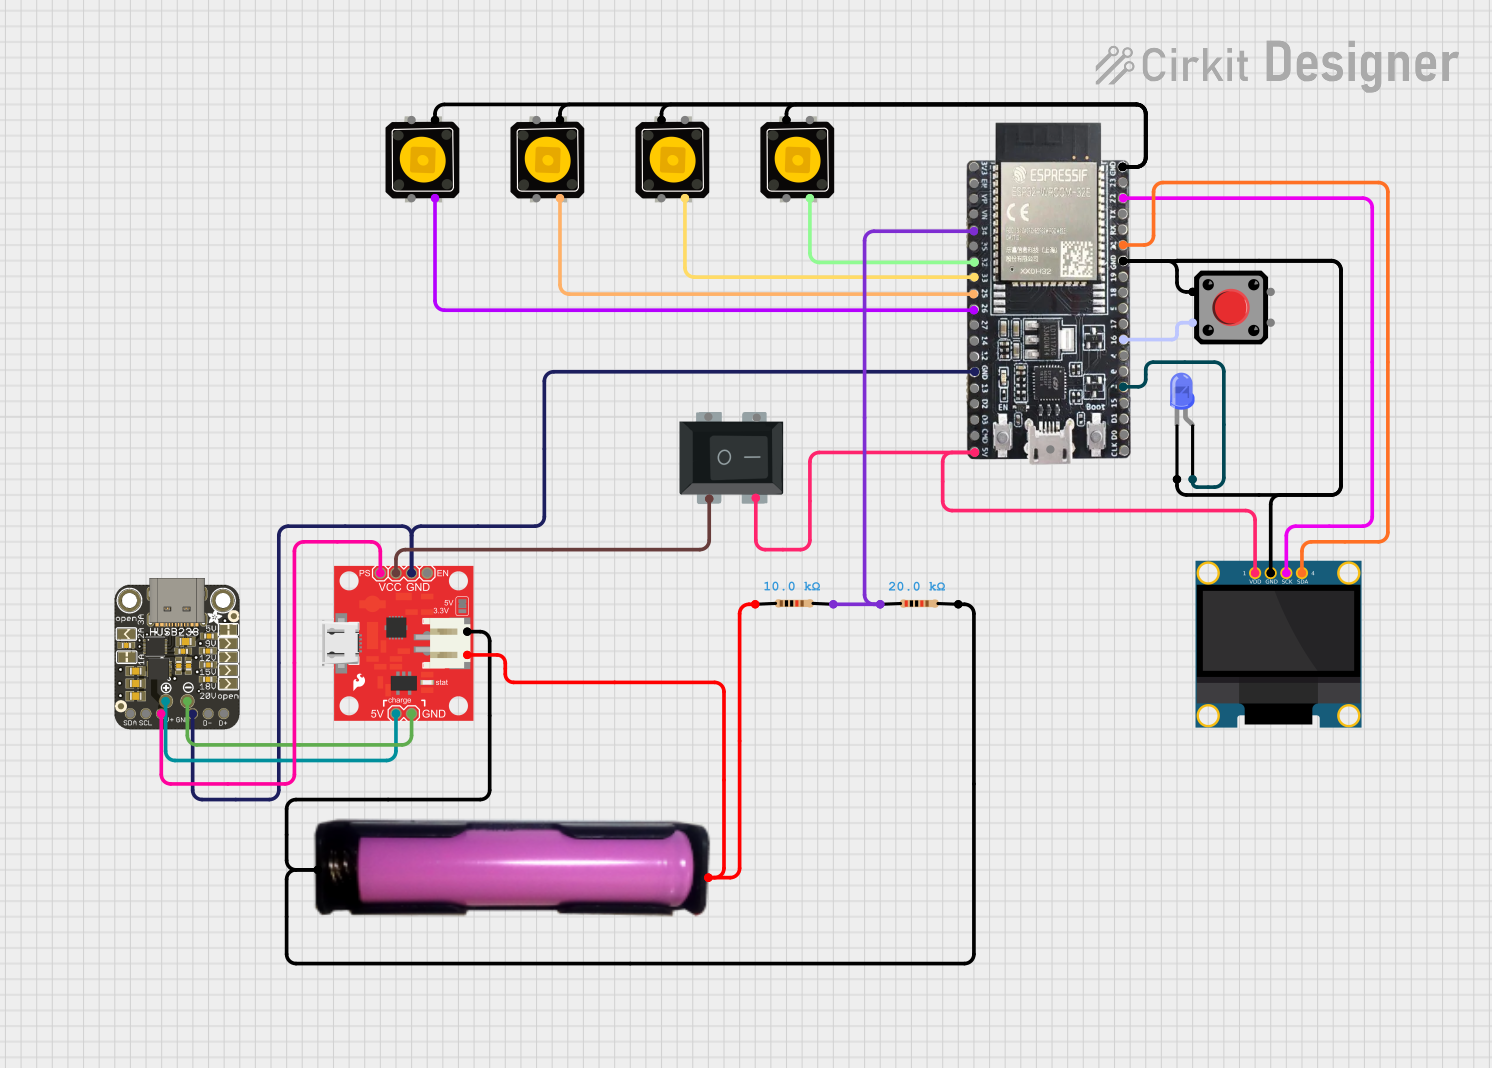
Explore Projects Built with My battery case
Common Applications and Use Cases
- Portable power packs
- DIY electronics projects
- Custom-built flashlights
- Remote control devices
- Backup power for small electronics
Technical Specifications
Key Technical Details
- Battery Compatibility: 2 x 18650 lithium-ion batteries
- Material: Durable plastic or other insulating material
- Terminals: Positive and negative terminals for each battery
- Safety Features: Overcharge and discharge protection (if applicable)
Pin Configuration and Descriptions
| Pin Number | Description | Notes |
|---|---|---|
| 1 | Positive Terminal 1 | For the first 18650 battery |
| 2 | Negative Terminal 1 | For the first 18650 battery |
| 3 | Positive Terminal 2 | For the second 18650 battery |
| 4 | Negative Terminal 2 | For the second 18650 battery |
| 5 | Common Ground | Shared ground if applicable |
| 6 | Output Positive | Combined positive output |
| 7 | Output Negative | Combined negative output |
Usage Instructions
How to Use the Component in a Circuit
Battery Installation:
- Open the battery case.
- Insert the two 18650 batteries in the correct orientation, ensuring the positive and negative ends match the case's markings.
- Close the case securely.
Making Connections:
- Connect the positive terminal of the battery case to the positive input of your device or circuit.
- Connect the negative terminal of the battery case to the negative input of your device or circuit.
Powering an Arduino UNO:
- Since the Arduino UNO operates at 5V and the 18650 batteries provide a nominal voltage of 3.7V each, a step-up voltage regulator may be required if batteries are used in parallel. If used in series, ensure that the voltage does not exceed the maximum input voltage of the Arduino UNO.
Important Considerations and Best Practices
- Always check the polarity before making connections to prevent damage.
- Do not mix old and new batteries or batteries of different capacities.
- Ensure that the batteries are properly seated and that the case is closed to prevent short circuits.
- If the case includes a built-in protection circuit, do not bypass it.
- Remove batteries if the case will not be used for an extended period.
Troubleshooting and FAQs
Common Issues Users Might Face
- Battery case does not power the device: Check the battery orientation and ensure the case is closed properly. Also, verify that the batteries are charged.
- Intermittent power: Ensure that the terminals are clean and that there is a good connection between the batteries and the case terminals.
Solutions and Tips for Troubleshooting
- If the device is not powering on, double-check the connections and the charge of the batteries.
- Clean the terminals with a dry cloth if there is any corrosion or residue.
- Ensure that the case is not physically damaged and that the batteries are in good condition.
FAQs
Q: Can I use rechargeable 18650 batteries with this case? A: Yes, the case is designed for 18650 batteries, which are typically rechargeable.
Q: Is it safe to carry the battery case in my pocket? A: It is generally safe if the case is properly closed and the batteries are secured. However, avoid carrying loose metal objects that could short the terminals.
Q: How do I know if my batteries are compatible with this case? A: Ensure that your batteries are 18650 size and that they do not exceed the maximum voltage and current ratings of the case.
Q: Can I use this battery case to power an Arduino UNO directly? A: Yes, but you may need a voltage regulator if the combined voltage of the batteries exceeds the recommended input voltage for the Arduino UNO.
Q: Does the battery case include overcharge protection? A: This depends on the specific model of the case. Some cases include built-in protection circuits, while others do not.
Note: The information provided in this documentation is based on a generic 218650 battery case. Specific features and specifications may vary depending on the manufacturer and model.*