
How to Use SHT 40: Examples, Pinouts, and Specs
 Design with SHT 40 in Cirkit Designer
Introduction
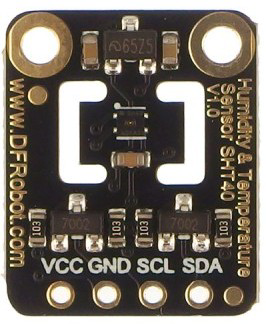
The SHT 40, manufactured by DFRobot (Part ID: SEN0428), is a digital humidity and temperature sensor that delivers highly accurate measurements for both parameters. It is designed with a compact form factor, low power consumption, and high precision, making it ideal for applications in environmental monitoring, HVAC systems, IoT devices, and industrial automation.
This sensor leverages advanced CMOSens® technology to ensure reliable performance and long-term stability. Its I2C interface simplifies integration into microcontroller-based systems, including Arduino and Raspberry Pi platforms.
Explore Projects Built with SHT 40
 Open Project in Cirkit Designer
 Open Project in Cirkit Designer
 Open Project in Cirkit Designer
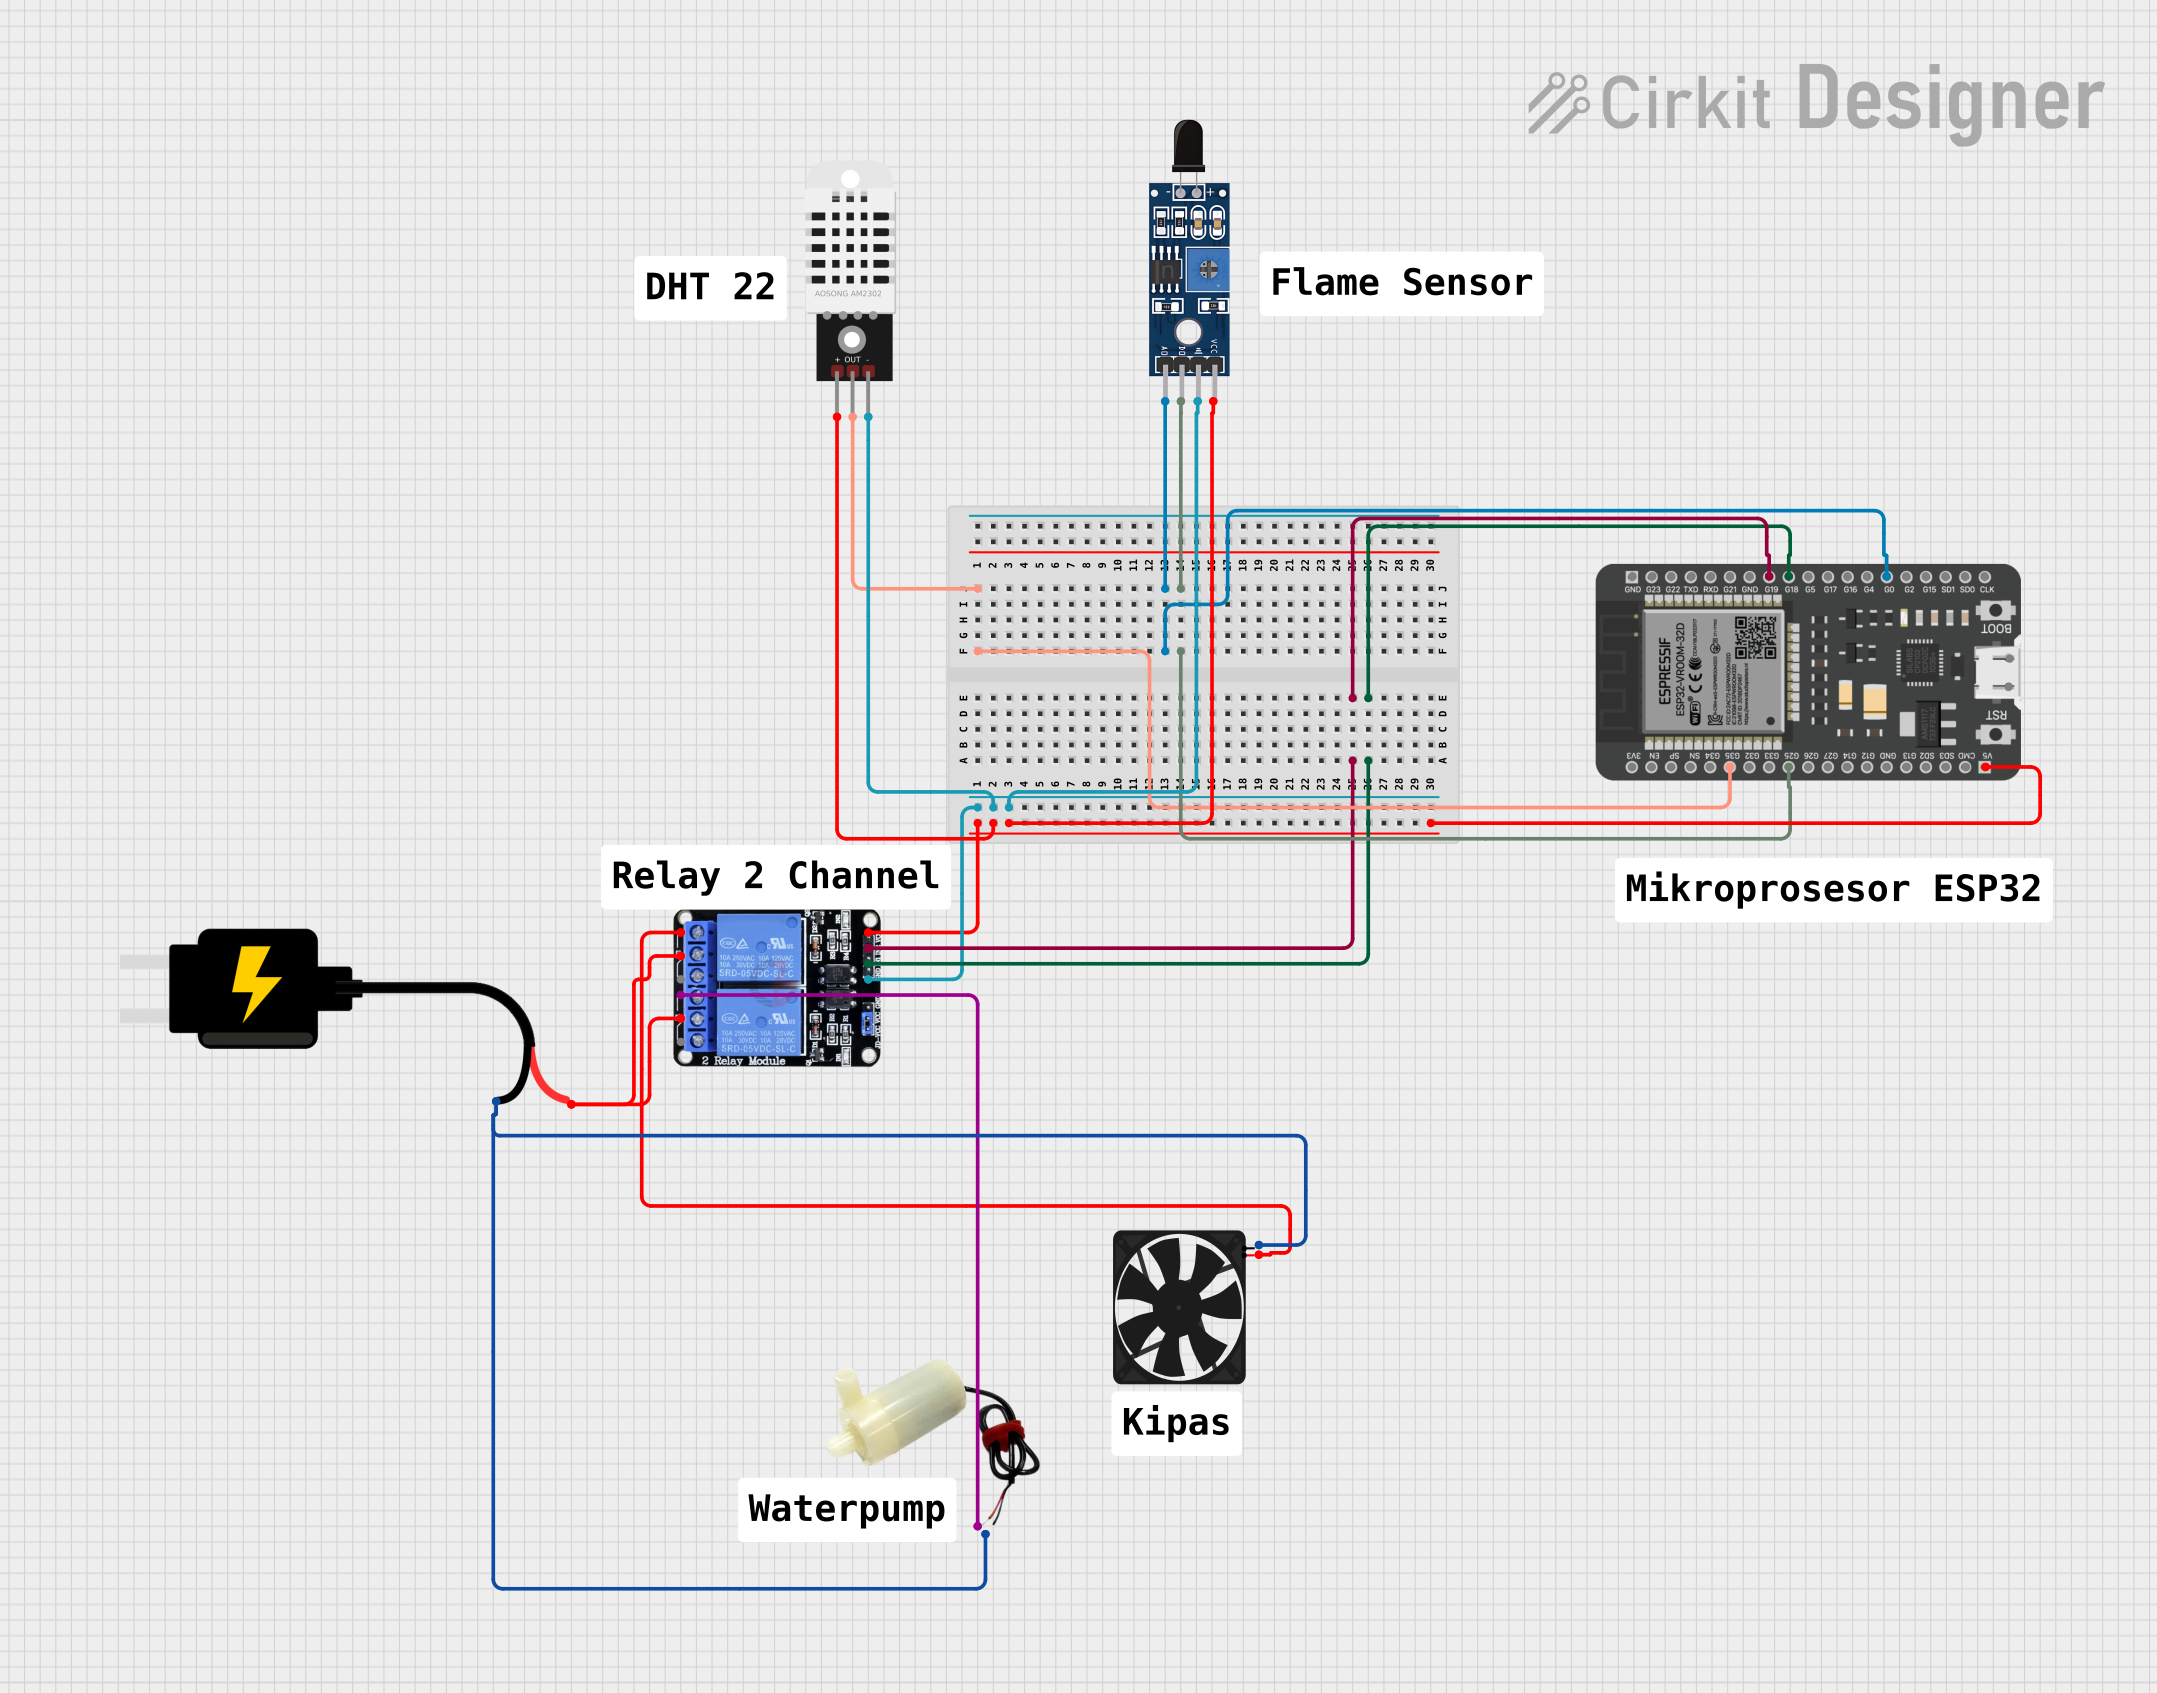
 Open Project in Cirkit Designer
Explore Projects Built with SHT 40

 Open Project in Cirkit Designer
 Open Project in Cirkit Designer
 Open Project in Cirkit Designer
 Open Project in Cirkit Designer
Technical Specifications
Below are the key technical details of the SHT 40 sensor:
| Parameter | Value |
|---|---|
| Supply Voltage | 2.4V to 5.5V |
| Average Current | 0.4 µA (at 1 Hz measurement rate) |
| Humidity Measurement Range | 0% RH to 100% RH |
| Humidity Accuracy | ±1.8% RH (typical) |
| Temperature Measurement Range | -40°C to 125°C |
| Temperature Accuracy | ±0.2°C (typical) |
| Communication Interface | I2C |
| I2C Address | 0x44 (default) |
| Operating Temperature | -40°C to 125°C |
| Dimensions | 2.5 mm x 2.5 mm x 0.9 mm |
Pin Configuration and Descriptions
The SHT 40 sensor has four pins, as described in the table below:
| Pin | Name | Description |
|---|---|---|
| 1 | VDD | Power supply pin (2.4V to 5.5V) |
| 2 | GND | Ground pin |
| 3 | SDA | I2C data line |
| 4 | SCL | I2C clock line |
Usage Instructions
How to Use the SHT 40 in a Circuit
- Power Supply: Connect the VDD pin to a 3.3V or 5V power source and the GND pin to ground.
- I2C Communication: Connect the SDA and SCL pins to the corresponding I2C pins on your microcontroller. Use pull-up resistors (typically 4.7 kΩ) on both SDA and SCL lines if not already present on your board.
- Address Selection: The default I2C address of the SHT 40 is 0x44. Ensure no other devices on the I2C bus share this address.
Important Considerations and Best Practices
- Placement: Place the sensor in an area with good airflow for accurate environmental readings. Avoid placing it near heat sources or in direct sunlight.
- Power Supply Noise: Use a decoupling capacitor (e.g., 0.1 µF) between VDD and GND to reduce power supply noise.
- Startup Time: Allow the sensor to stabilize for at least 1 ms after power-up before taking measurements.
- Measurement Frequency: For optimal performance, limit the measurement frequency to 1 Hz to minimize self-heating effects.
Example Code for Arduino UNO
Below is an example of how to use the SHT 40 sensor with an Arduino UNO. This code reads temperature and humidity data and displays it on the serial monitor.
#include <Wire.h>
#include "DFRobot_SHT40.h" // Include the SHT 40 library

DFRobot_SHT40 sht40; // Create an instance of the SHT 40 sensor

void setup() {
  Serial.begin(9600); // Initialize serial communication
  Wire.begin();       // Initialize I2C communication

  if (!sht40.begin()) {
    Serial.println("SHT 40 initialization failed!");
    while (1); // Halt execution if initialization fails
  }
  Serial.println("SHT 40 initialized successfully.");
}

void loop() {
  float temperature, humidity;

  // Read temperature and humidity from the sensor
  if (sht40.readTemperatureAndHumidity(temperature, humidity)) {
    Serial.print("Temperature: ");
    Serial.print(temperature);
    Serial.println(" °C");

    Serial.print("Humidity: ");
    Serial.print(humidity);
    Serial.println(" %RH");
  } else {
    Serial.println("Failed to read data from SHT 40.");
  }

  delay(1000); // Wait 1 second before the next reading
}
Notes:
- Install the
DFRobot_SHT40library from the Arduino Library Manager before running the code. - Ensure the I2C pull-up resistors are properly connected if not already present on your board.
Troubleshooting and FAQs
Common Issues and Solutions
Sensor Not Detected on I2C Bus:
- Ensure the SDA and SCL pins are correctly connected to the microcontroller.
- Verify that the I2C address (0x44) does not conflict with other devices on the bus.
- Check for proper pull-up resistors on the SDA and SCL lines.
Incorrect or Unstable Readings:
- Ensure the sensor is placed in an area with stable environmental conditions.
- Verify that the power supply voltage is within the specified range (2.4V to 5.5V).
- Add a decoupling capacitor (0.1 µF) between VDD and GND to reduce noise.
Library Not Found:
- Install the
DFRobot_SHT40library from the Arduino Library Manager. - Ensure the library is correctly included in your sketch using
#include.
- Install the
FAQs
Q: Can the SHT 40 measure both temperature and humidity simultaneously?
A: Yes, the SHT 40 can measure both parameters simultaneously and provides the data via the I2C interface.
Q: What is the maximum cable length for I2C communication with the SHT 40?
A: The maximum cable length depends on the pull-up resistor values and the I2C clock speed. For standard applications, keep the cable length under 1 meter to ensure reliable communication.
Q: Is the SHT 40 suitable for outdoor use?
A: The SHT 40 is not waterproof and should be protected from direct exposure to water or extreme environmental conditions. Use a protective enclosure if deploying outdoors.
Q: Can the sensor operate at 5V logic levels?
A: Yes, the SHT 40 supports a supply voltage range of 2.4V to 5.5V, making it compatible with both 3.3V and 5V systems.