
How to Use Arch V1.1: Examples, Pinouts, and Specs
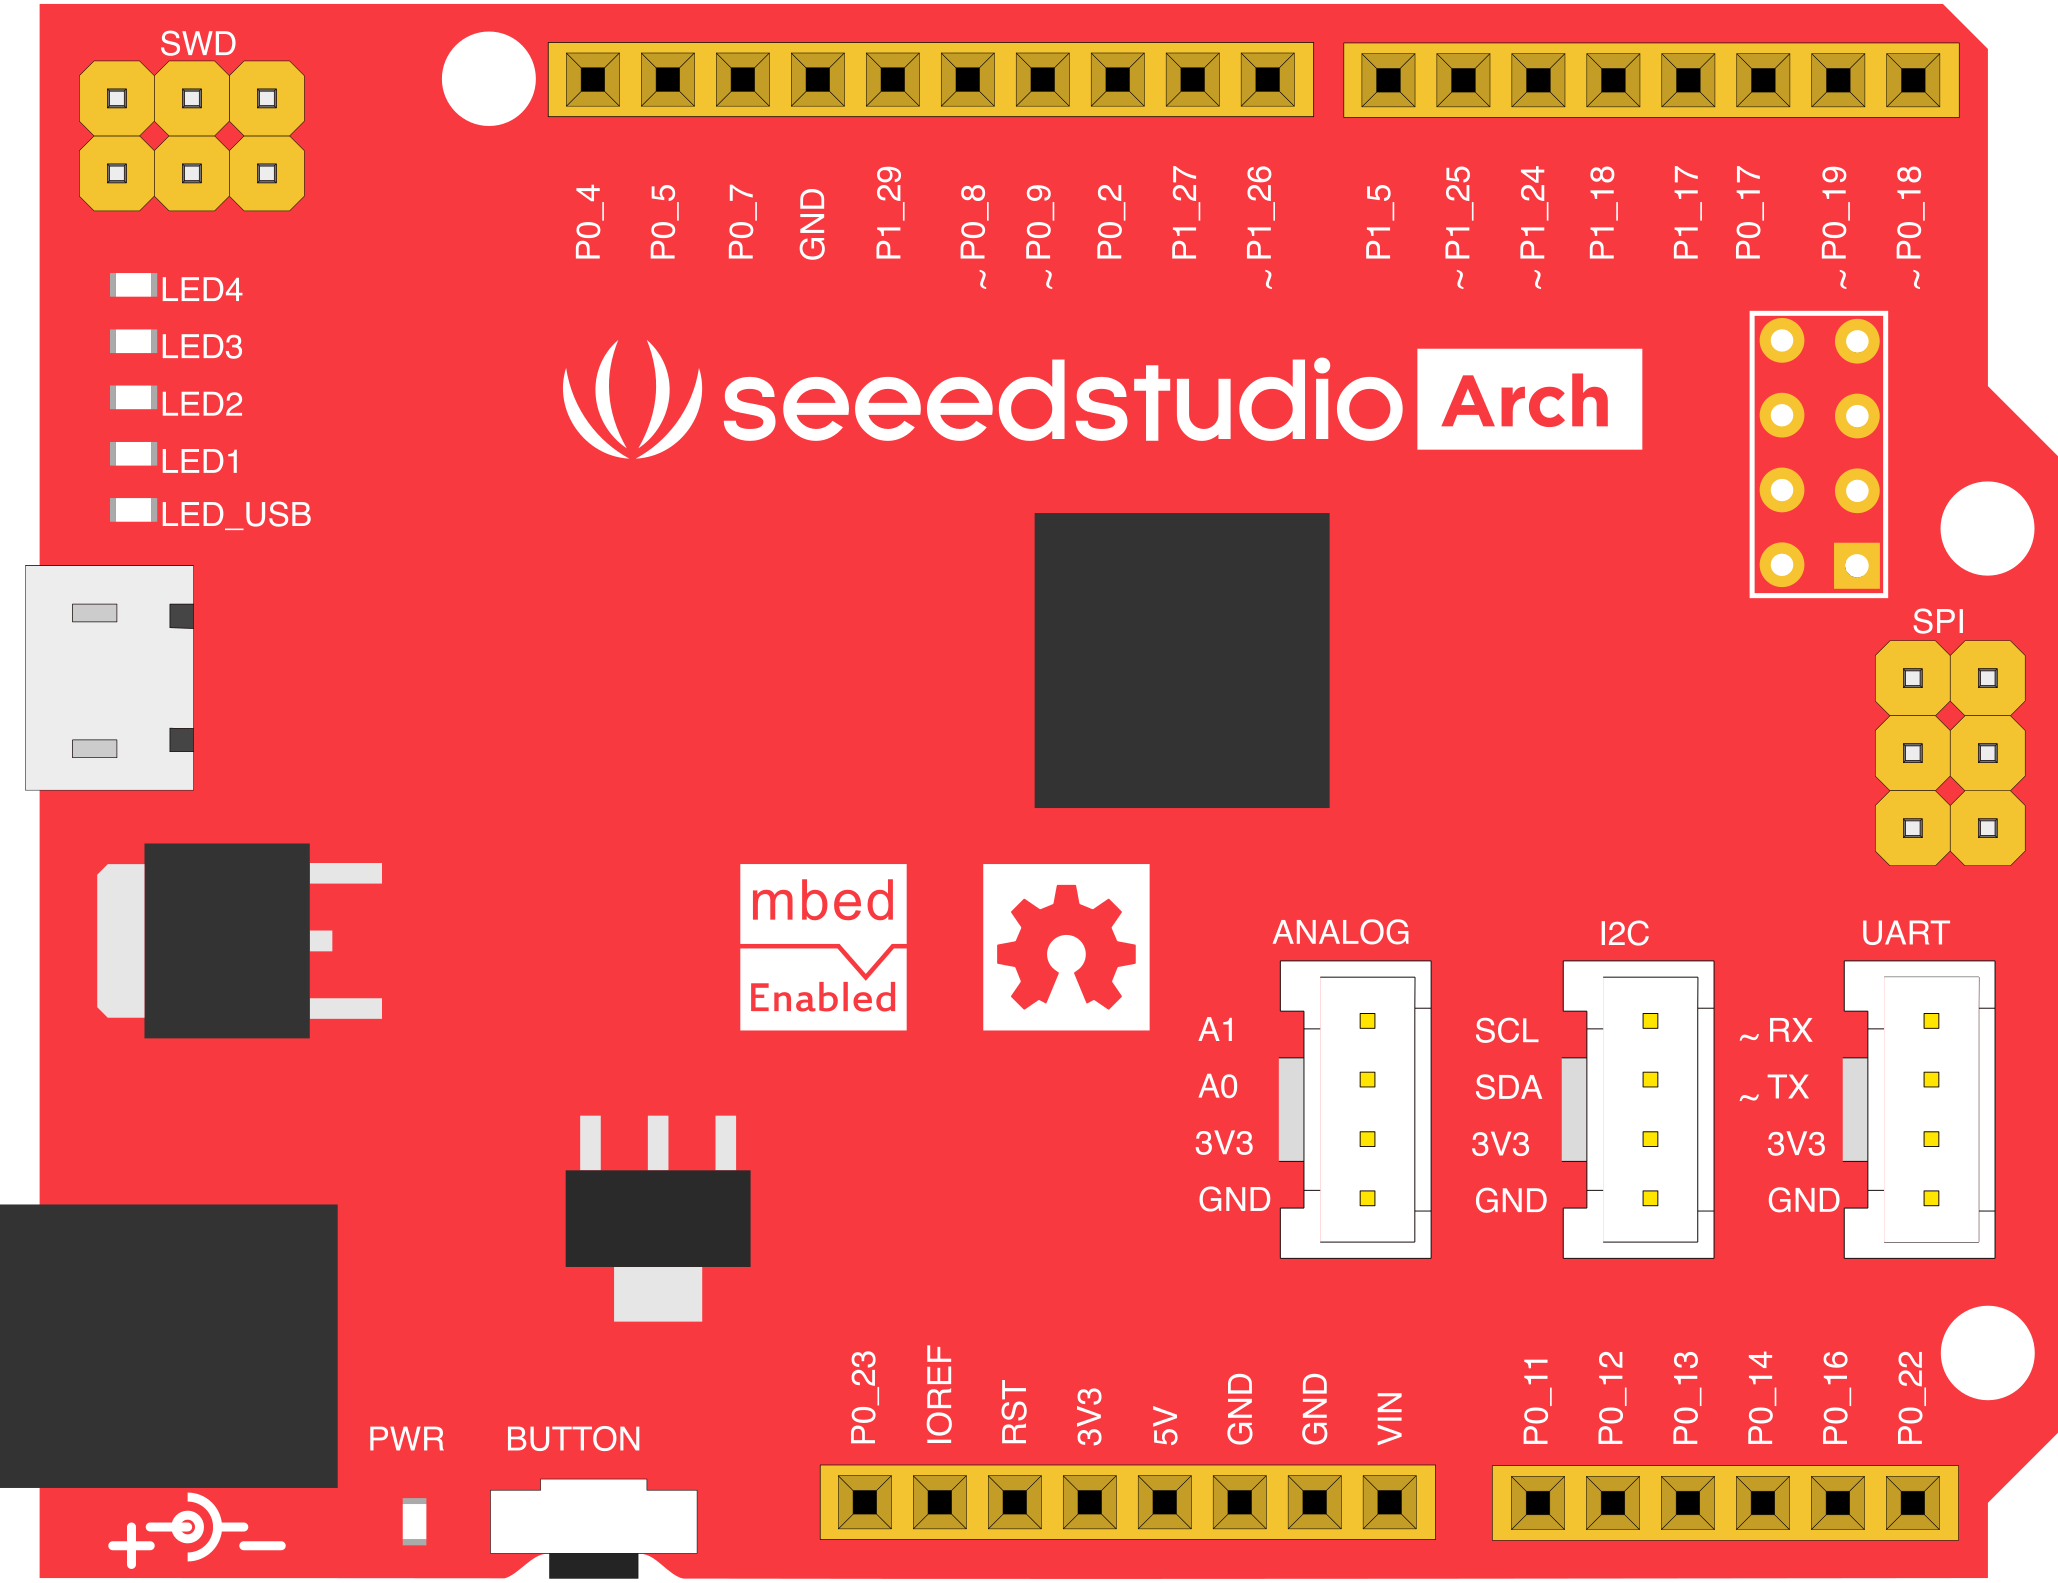
 Design with Arch V1.1 in Cirkit Designer
Introduction
The Arch V1.1, manufactured by Seeed Studio (Part ID: Arch V1.1), is a versatile architecture board designed for prototyping and testing various electronic circuits. It features multiple input/output options and is compatible with a wide range of components, making it an excellent choice for both beginners and experienced developers. The board is particularly well-suited for rapid development and experimentation in IoT, robotics, and embedded systems.
Explore Projects Built with Arch V1.1
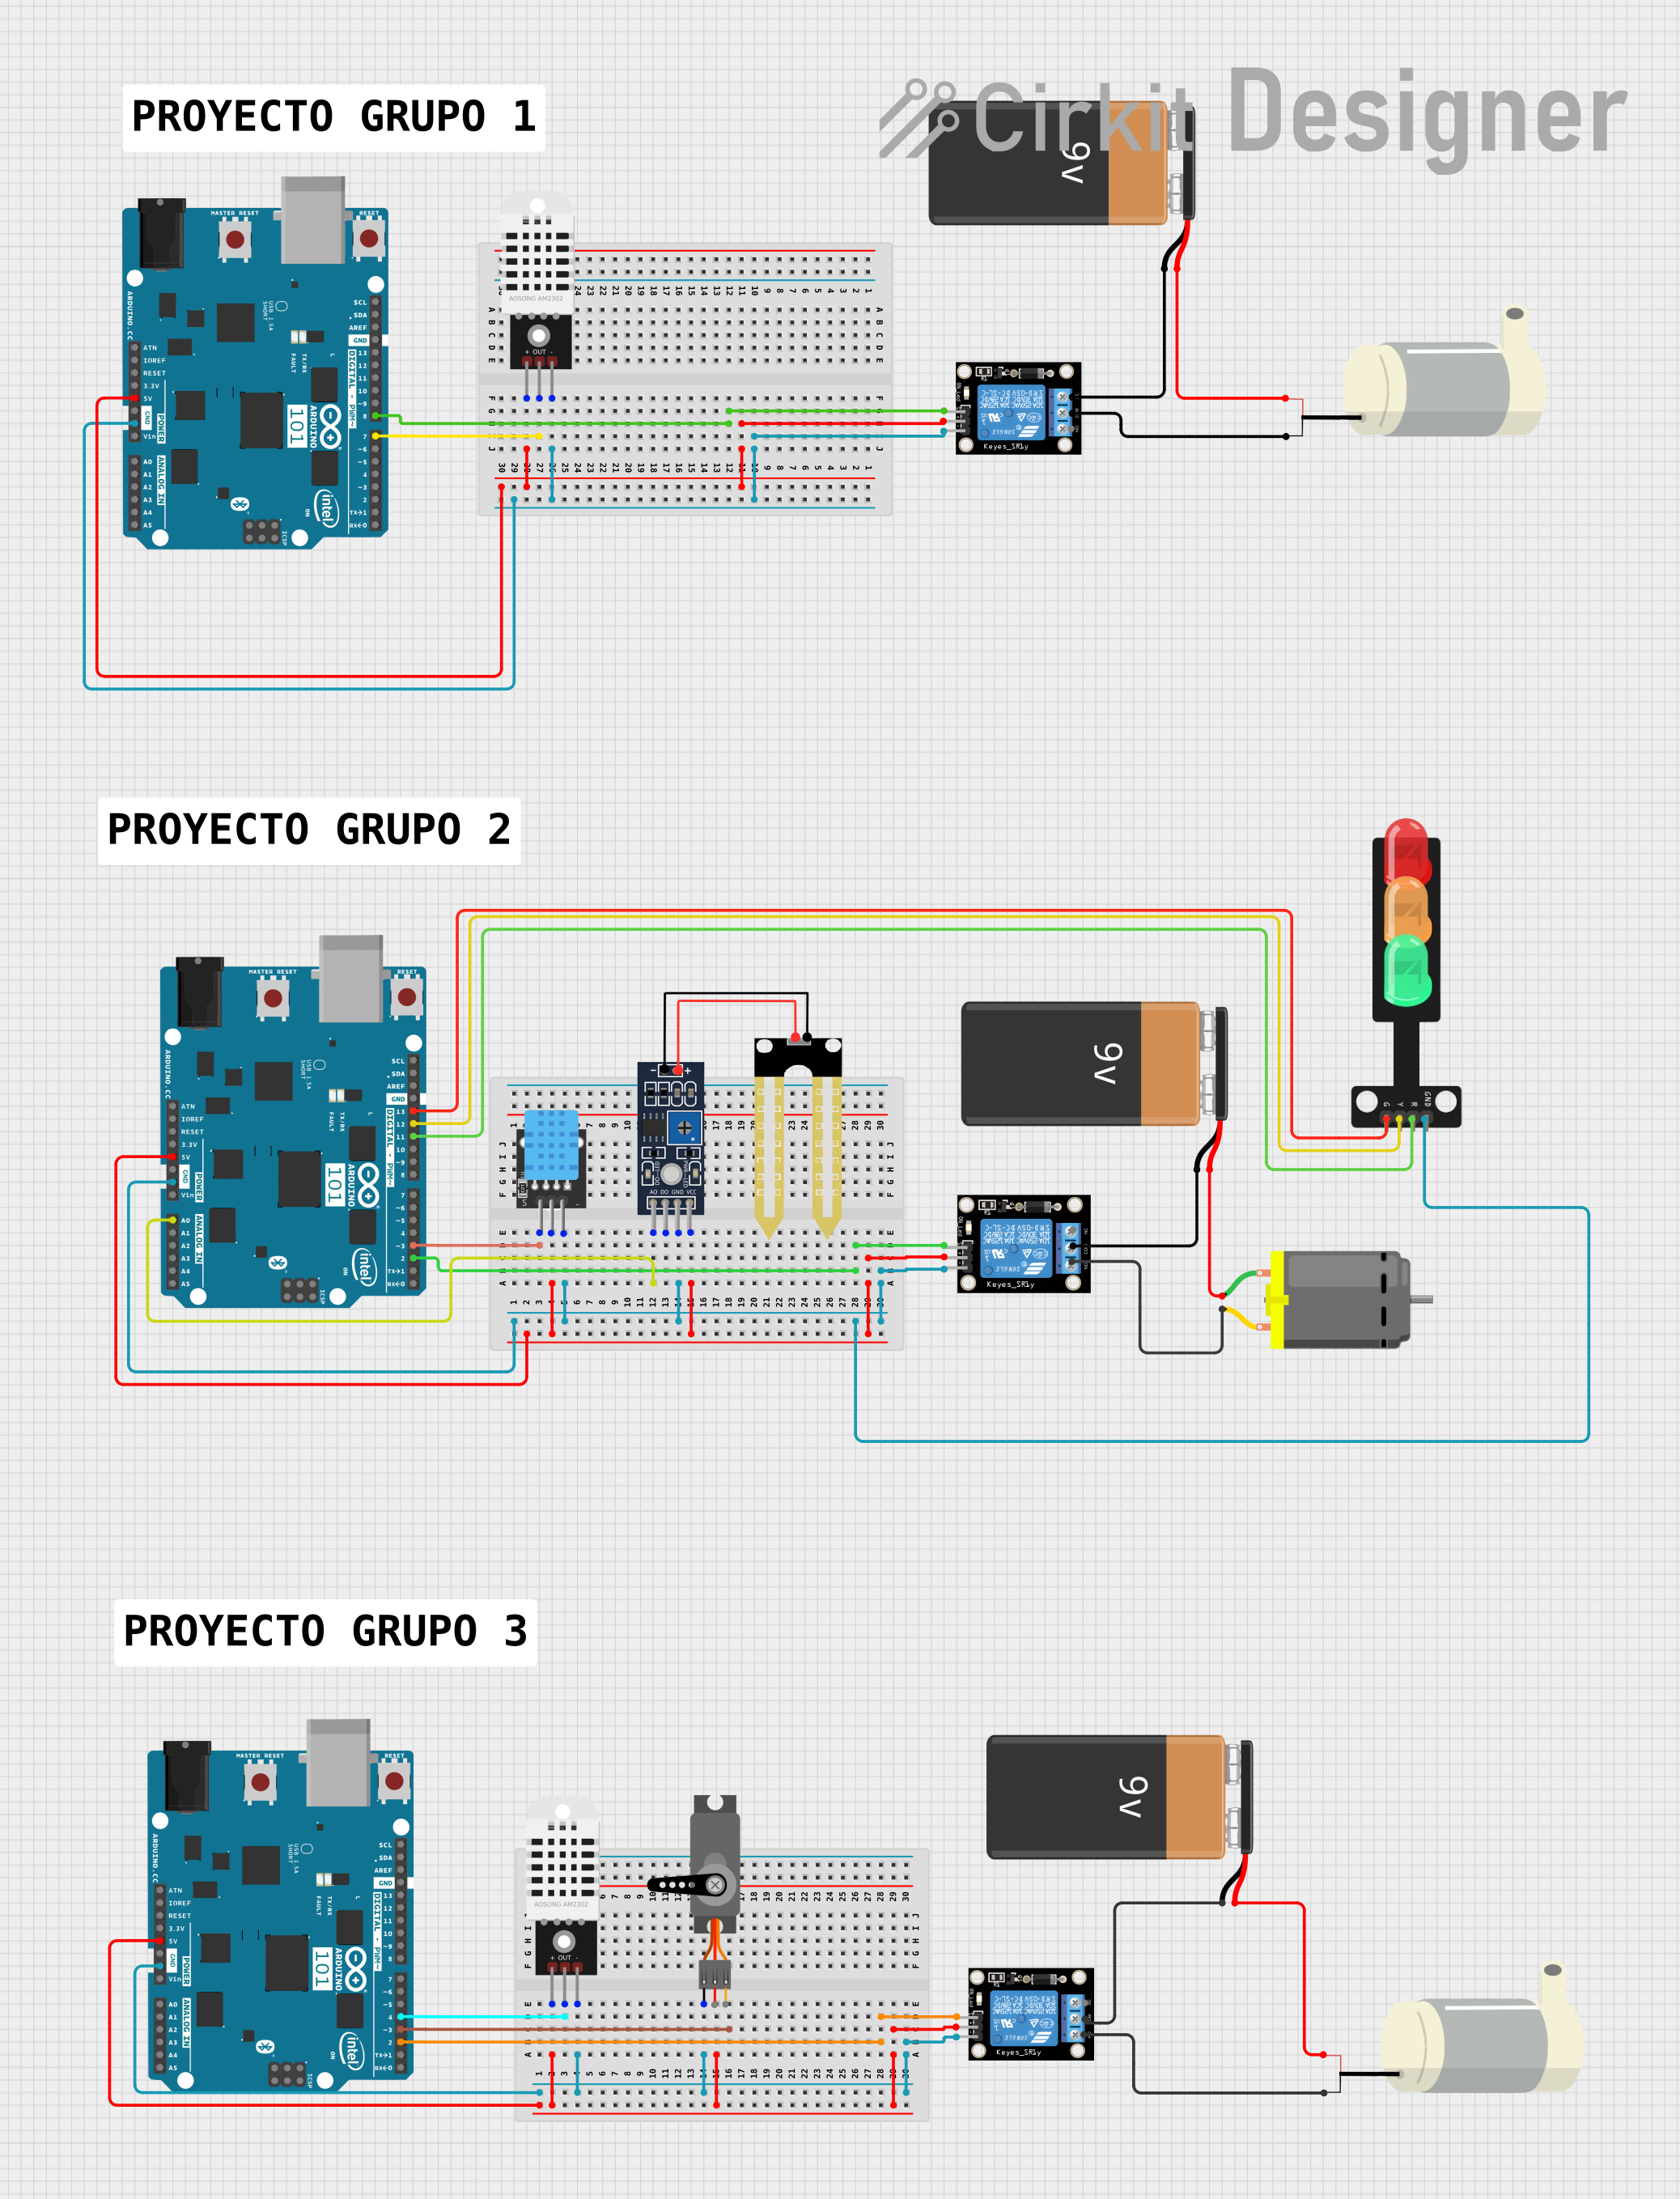 Open Project in Cirkit Designer
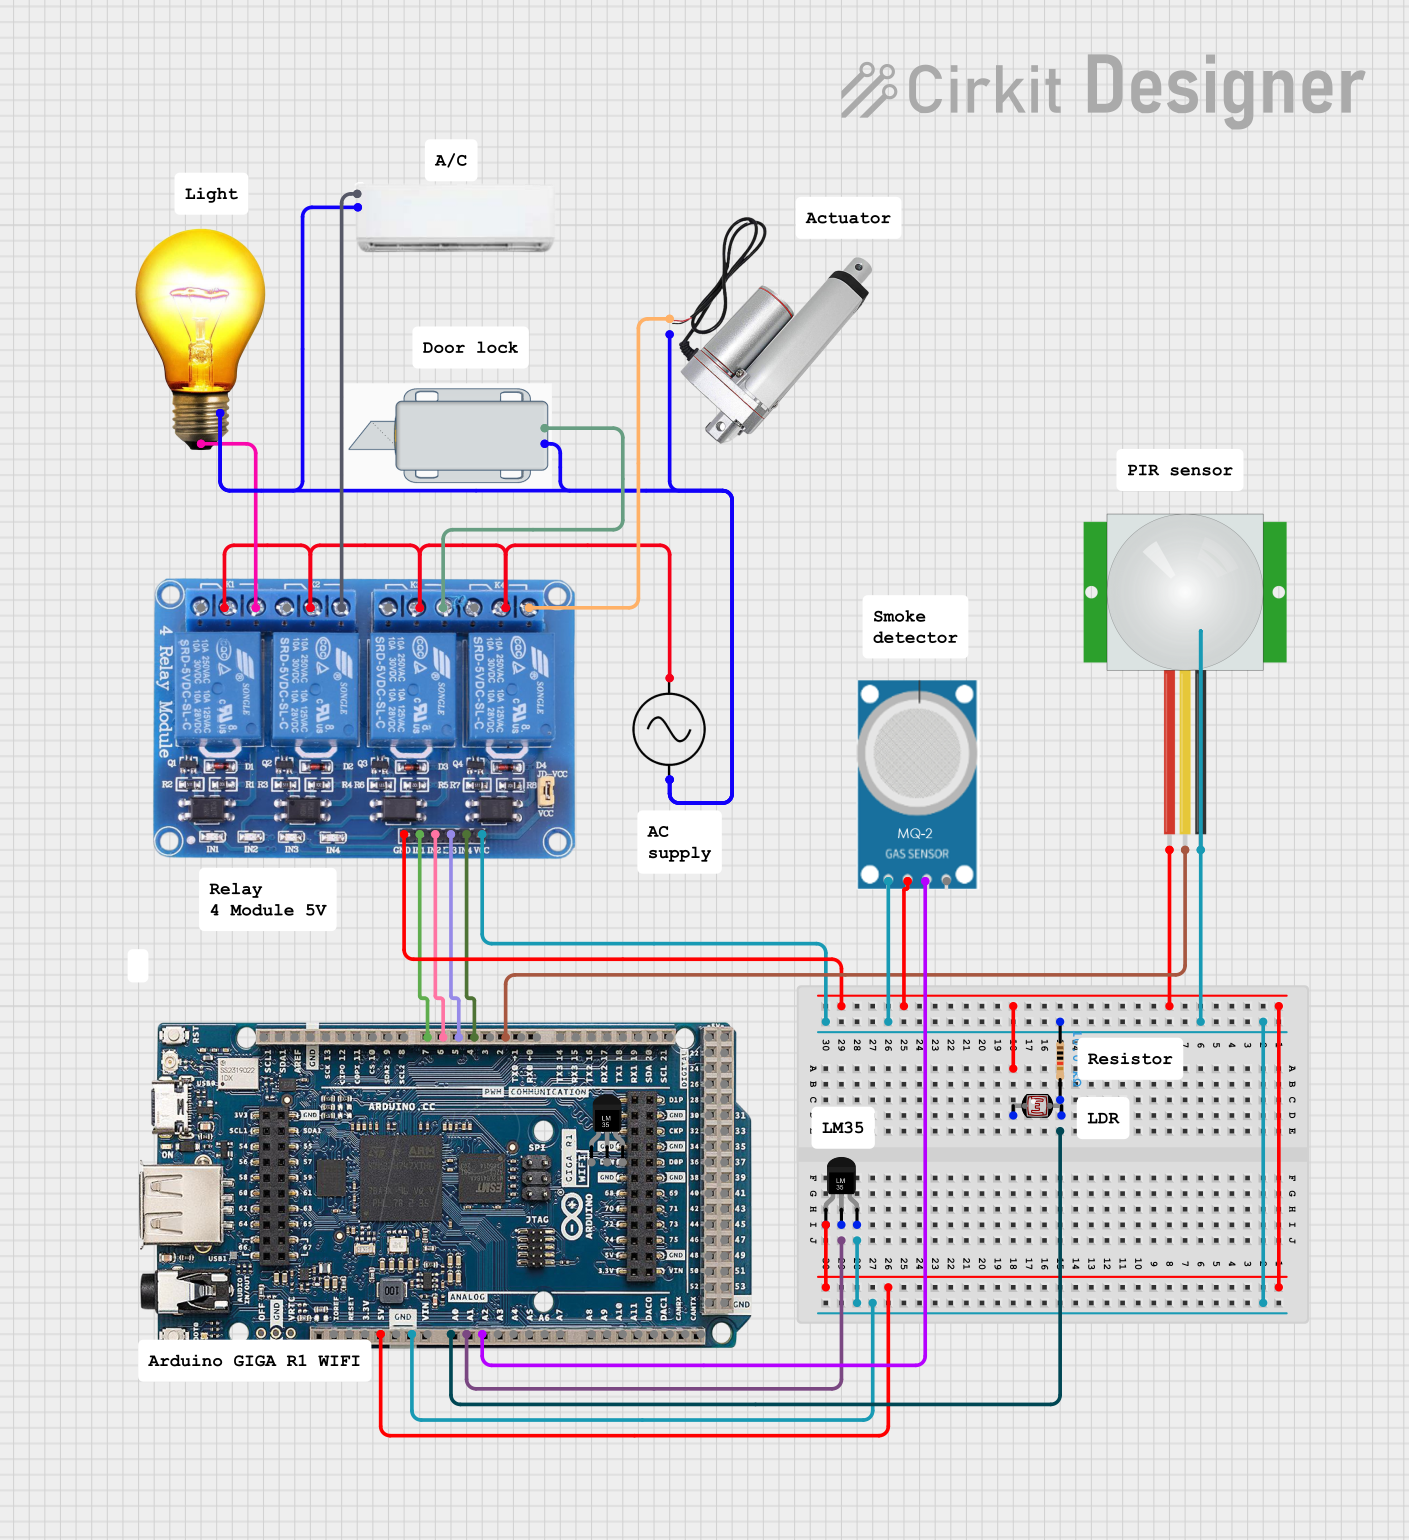 Open Project in Cirkit Designer
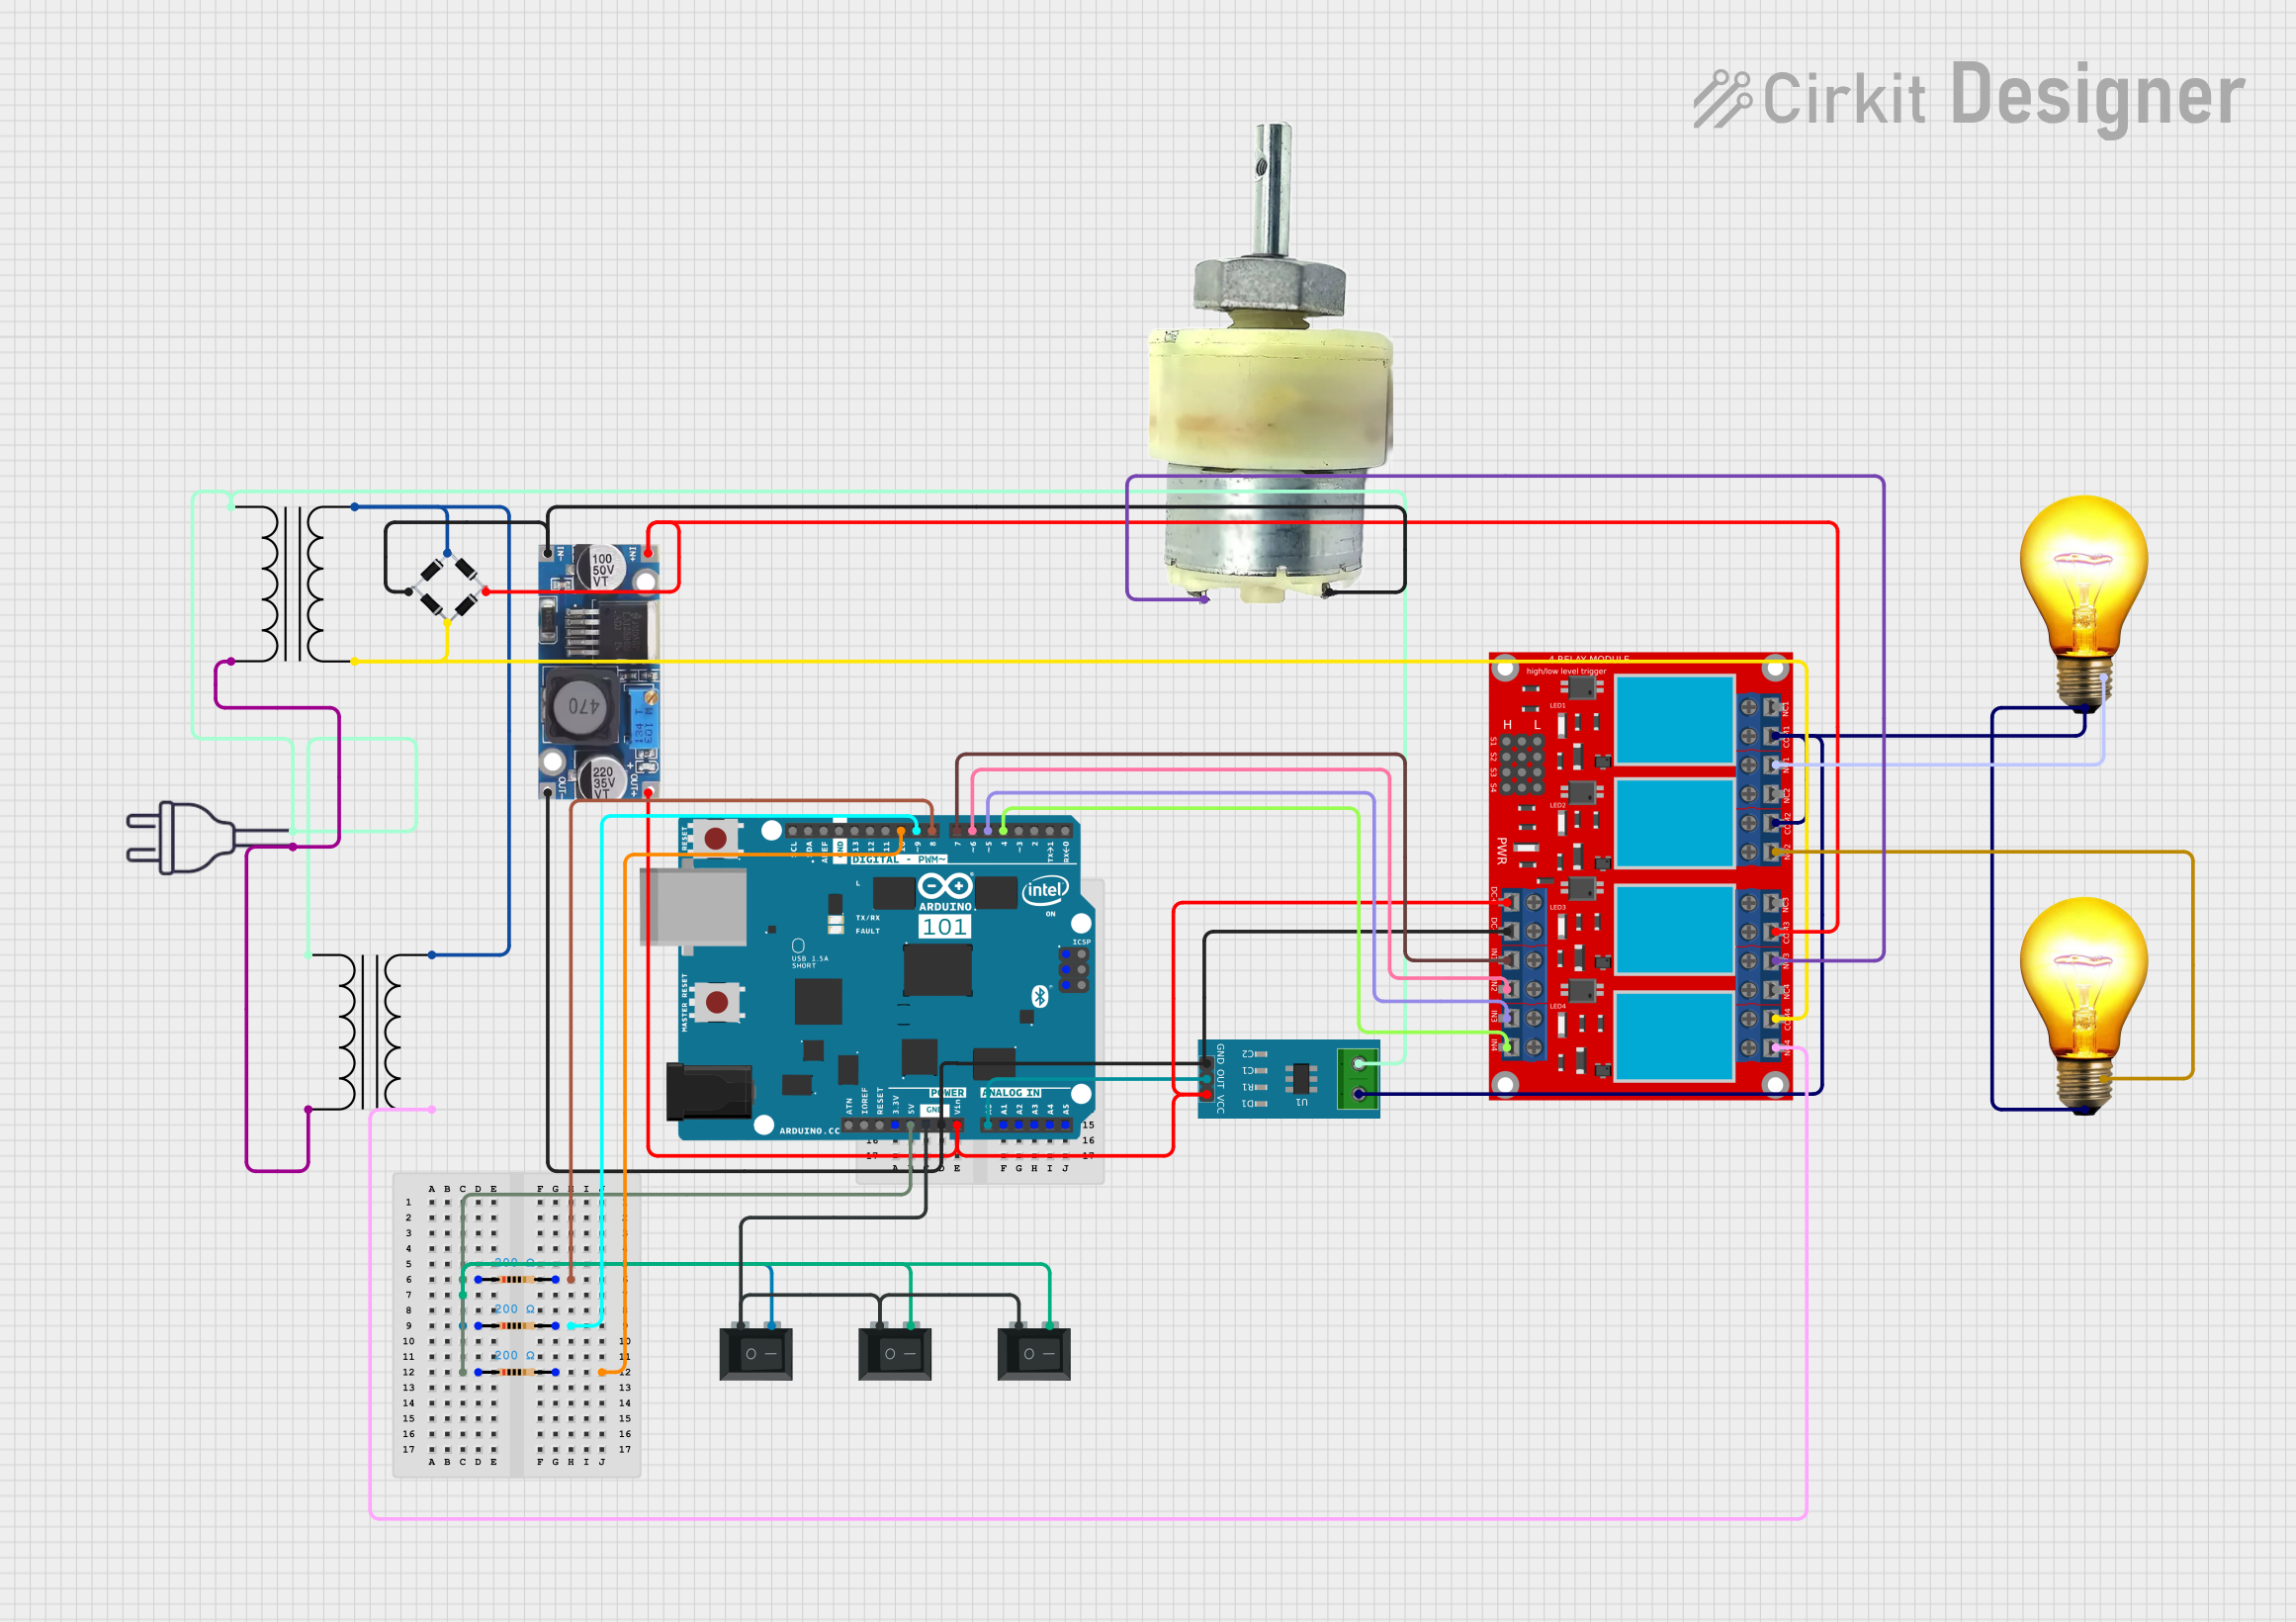 Open Project in Cirkit Designer
 Open Project in Cirkit Designer
Explore Projects Built with Arch V1.1
Open Project in Cirkit DesignerOpen Project in Cirkit DesignerOpen Project in Cirkit DesignerOpen Project in Cirkit DesignerCommon Applications and Use Cases
- Prototyping IoT devices and smart systems
- Testing and debugging electronic circuits
- Educational projects for learning embedded systems
- Robotics and automation control systems
- Integration with sensors, actuators, and communication modules
Technical Specifications
The Arch V1.1 is equipped with robust features to support a variety of applications. Below are its key technical specifications:
General Specifications
| Parameter | Value |
|---|---|
| Manufacturer | Seeed Studio |
| Part ID | Arch V1.1 |
| Microcontroller | ARM Cortex-M0 (NXP LPC11U35) |
| Operating Voltage | 3.3V |
| Input Voltage (USB) | 5V |
| Digital I/O Pins | 17 |
| Analog Input Pins | 6 |
| Communication Interfaces | UART, I2C, SPI |
| Flash Memory | 64 KB |
| SRAM | 8 KB |
| Dimensions | 55mm x 25mm |
Pin Configuration and Descriptions
The Arch V1.1 features a standard pinout for easy integration with other components. Below is the pin configuration:
| Pin Number | Pin Name | Description |
|---|---|---|
| 1 | GND | Ground |
| 2 | 3.3V | 3.3V Power Output |
| 3 | 5V | 5V Power Output |
| 4 | A0 | Analog Input 0 |
| 5 | A1 | Analog Input 1 |
| 6 | A2 | Analog Input 2 |
| 7 | A3 | Analog Input 3 |
| 8 | A4 | Analog Input 4 |
| 9 | A5 | Analog Input 5 |
| 10 | D0 (RX) | Digital I/O or UART Receive |
| 11 | D1 (TX) | Digital I/O or UART Transmit |
| 12 | D2 | Digital I/O |
| 13 | D3 (PWM) | Digital I/O with PWM capability |
| 14 | D4 | Digital I/O |
| 15 | D5 (PWM) | Digital I/O with PWM capability |
| 16 | D6 | Digital I/O |
| 17 | D7 | Digital I/O |
Usage Instructions
The Arch V1.1 is designed for ease of use in prototyping and development. Follow the steps below to get started:
How to Use the Component in a Circuit
- Power the Board: Connect the Arch V1.1 to your computer or a power source using a micro-USB cable. The board operates at 3.3V but can accept 5V input via USB.
- Connect Components: Use the digital and analog pins to connect sensors, actuators, or other peripherals. Ensure proper pin mapping based on the pin configuration table.
- Program the Board: The Arch V1.1 supports drag-and-drop programming. Simply copy the compiled firmware (e.g.,
.binfile) to the board's USB storage. - Test the Circuit: Once the firmware is uploaded, test the circuit functionality by observing the connected components.
Important Considerations and Best Practices
- Voltage Levels: Ensure that all connected components operate within the 3.3V logic level to avoid damage.
- Pin Usage: Avoid exceeding the current limits of the I/O pins (maximum 4mA per pin).
- Firmware Updates: Regularly check for firmware updates from Seeed Studio to ensure compatibility and performance.
- Debugging: Use the UART interface for debugging and monitoring serial data.
Example Code for Arduino UNO Compatibility
The Arch V1.1 can be programmed using the Arduino IDE. Below is an example code snippet to read an analog sensor connected to pin A0 and output the value via the serial monitor:
// Example code for Arch V1.1
// Reads an analog value from pin A0 and prints it to the serial monitor

void setup() {
  Serial.begin(9600); // Initialize serial communication at 9600 baud
}

void loop() {
  int sensorValue = analogRead(A0); // Read the analog value from pin A0
  Serial.print("Sensor Value: ");   // Print a label for the value
  Serial.println(sensorValue);     // Print the sensor value
  delay(500);                       // Wait for 500ms before the next reading
}
Troubleshooting and FAQs
Common Issues Users Might Face
Board Not Recognized by Computer:
- Ensure the USB cable is properly connected and functional.
- Verify that the correct drivers are installed for the Arch V1.1.
Firmware Not Uploading:
- Check that the firmware file is in the correct format (e.g.,
.bin). - Ensure the board is in programming mode by resetting it if necessary.
- Check that the firmware file is in the correct format (e.g.,
Components Not Responding:
- Double-check the wiring and connections to the pins.
- Verify that the components are compatible with the 3.3V logic level.
Serial Monitor Not Displaying Data:
- Confirm that the correct COM port is selected in the Arduino IDE.
- Ensure the baud rate in the Serial Monitor matches the
Serial.begin()setting.
Solutions and Tips for Troubleshooting
- Reset the Board: If the board becomes unresponsive, press the reset button to restart it.
- Check Power Supply: Ensure the board is receiving adequate power from the USB connection.
- Inspect Connections: Use a multimeter to verify continuity and proper voltage levels at the pins.
- Consult Documentation: Refer to the official Seeed Studio documentation for additional support and resources.
By following this guide, you can effectively utilize the Arch V1.1 for your prototyping and development needs.