
How to Use Adafruit LM4040 Voltage Reference : Examples, Pinouts, and Specs
 Design with Adafruit LM4040 Voltage Reference in Cirkit Designer
Introduction
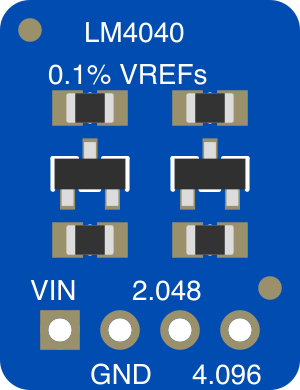
The Adafruit LM4040 Voltage Reference (Part ID: 2200) is a precision voltage reference designed to provide a stable and accurate output voltage. This component is ideal for use in analog circuits, as a reference for Analog-to-Digital Converters (ADCs), and in any application requiring a reliable voltage reference. Its small form factor and high precision make it a popular choice for engineers and hobbyists alike.
Explore Projects Built with Adafruit LM4040 Voltage Reference
 Open Project in Cirkit Designer
 Open Project in Cirkit Designer
 Open Project in Cirkit Designer
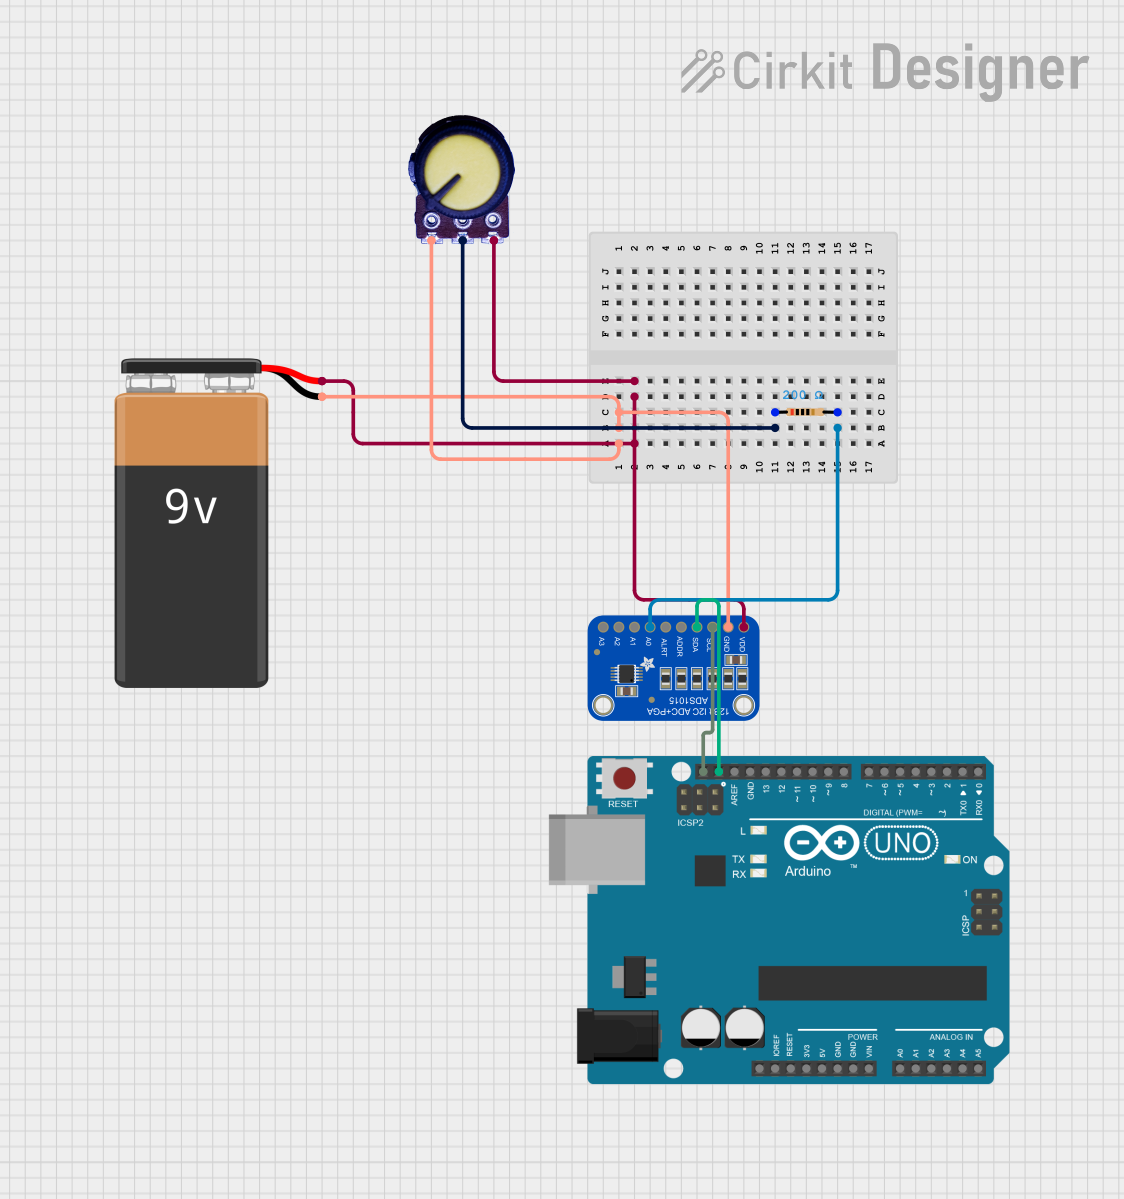 Open Project in Cirkit Designer
Explore Projects Built with Adafruit LM4040 Voltage Reference
Open Project in Cirkit DesignerOpen Project in Cirkit DesignerOpen Project in Cirkit DesignerOpen Project in Cirkit DesignerCommon Applications
- Analog-to-Digital Converters (ADCs) for precise measurements
- Calibration of measurement instruments
- Voltage references in precision analog circuits
- Data acquisition systems
- Sensor interfacing and signal conditioning
Technical Specifications
The Adafruit LM4040 Voltage Reference is available in multiple voltage options. Below are the key technical details:
| Parameter | Value |
|---|---|
| Manufacturer | Adafruit |
| Part ID | 2200 |
| Output Voltage Options | 2.048V, 2.5V, 4.096V, 5.0V |
| Output Voltage Tolerance | ±0.1% |
| Temperature Coefficient | 100 ppm/°C |
| Operating Current | 60 µA to 15 mA |
| Operating Temperature Range | -40°C to +85°C |
| Package Type | TO-92 or SOT-23 |
Pin Configuration
The LM4040 is a 3-pin device. Below is the pinout description:
| Pin | Name | Description |
|---|---|---|
| 1 | Cathode | Connect to the positive terminal of the power supply |
| 2 | Anode | Connect to ground |
| 3 | NC | No connection (leave unconnected) |
Usage Instructions
How to Use the LM4040 in a Circuit
- Power Supply Connection: Connect the cathode pin to the positive terminal of your power supply and the anode pin to ground. Ensure the input voltage is higher than the reference voltage for proper operation.
- Load Connection: The output voltage is available across the cathode and anode pins. Connect your load or ADC reference pin to the cathode.
- Bypass Capacitor: For improved stability, place a 0.1 µF ceramic capacitor close to the cathode pin.
Important Considerations
- Input Voltage: Ensure the input voltage is at least 0.2V higher than the reference voltage to maintain proper regulation.
- Load Current: The LM4040 can source up to 15 mA. Exceeding this limit may damage the component.
- Temperature Effects: While the LM4040 has a low temperature coefficient, extreme temperature variations can slightly affect the output voltage.
- PCB Layout: Minimize noise by keeping the traces to the cathode and anode pins as short as possible.
Example: Using LM4040 with Arduino UNO
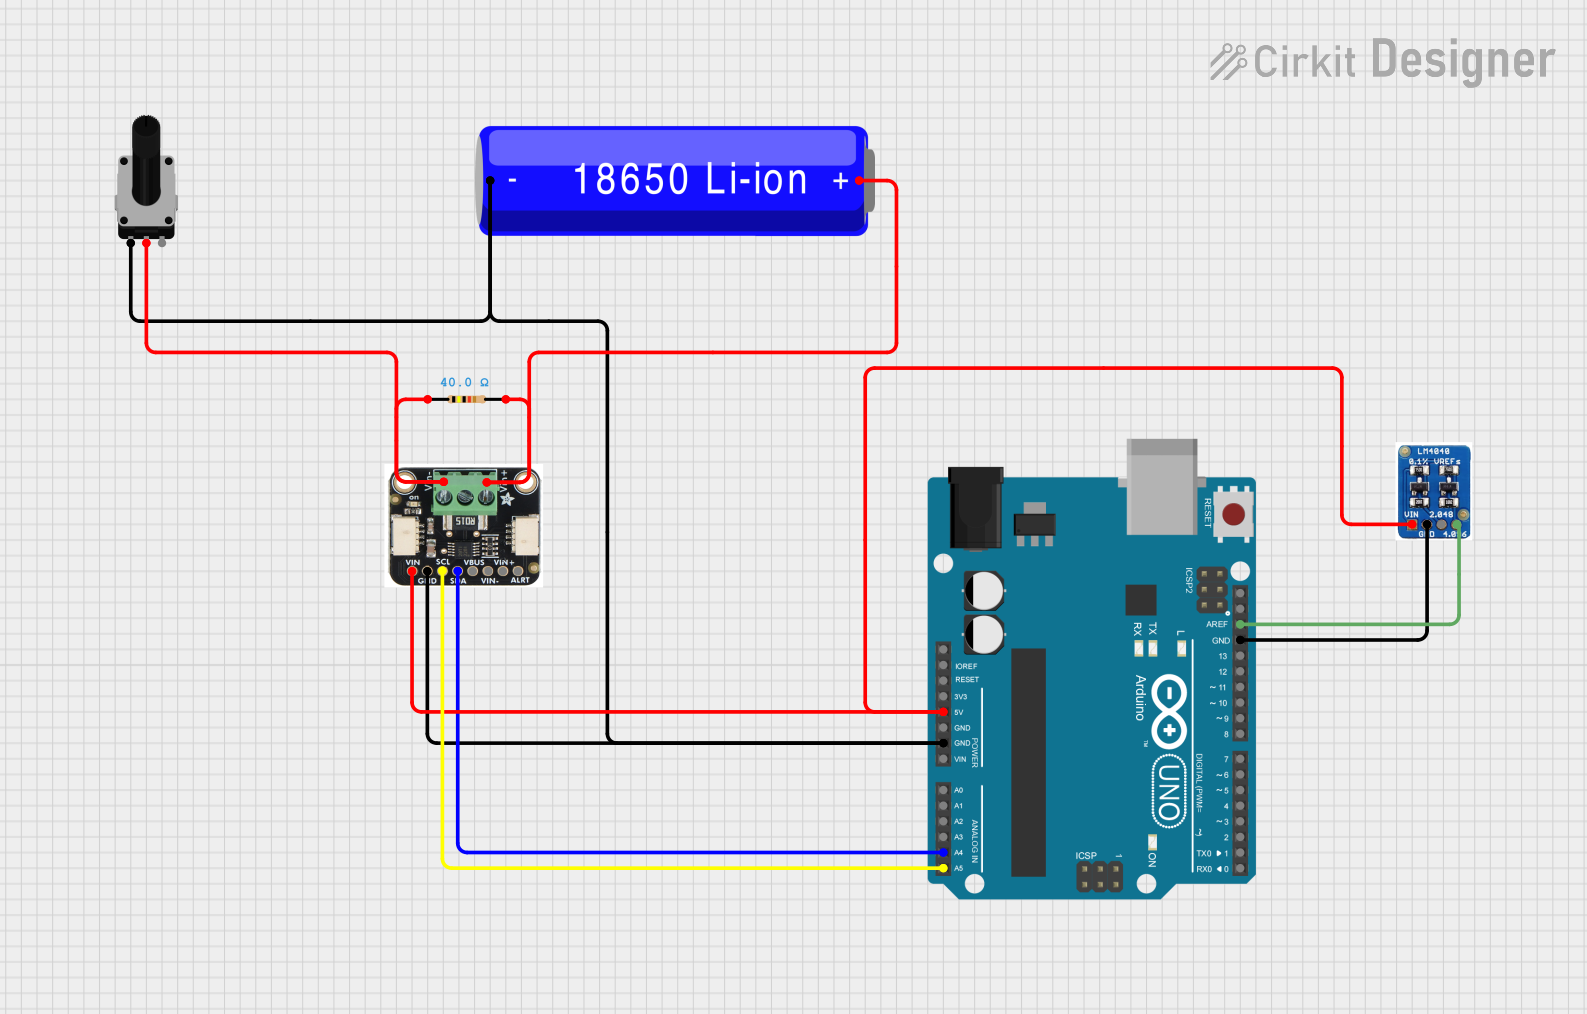
The LM4040 can be used as a reference voltage for the Arduino UNO's ADC. Below is an example of how to connect and use it:
Circuit Diagram
- Connect the LM4040 cathode to the Arduino's AREF pin.
- Connect the LM4040 anode to the Arduino's GND pin.
- Use a 0.1 µF capacitor between the cathode and anode for stability.
Arduino Code
// Example code to use LM4040 as an external reference for Arduino ADC
// Ensure the LM4040 is connected to the AREF pin and GND

void setup() {
  // Set the ADC reference to external (using LM4040)
  analogReference(EXTERNAL);

  // Initialize serial communication for debugging
  Serial.begin(9600);
}

void loop() {
  // Read the analog value from pin A0
  int sensorValue = analogRead(A0);

  // Convert the analog value to voltage
  // Assuming LM4040 provides a 2.048V reference
  float voltage = sensorValue * (2.048 / 1023.0);

  // Print the voltage to the Serial Monitor
  Serial.print("Voltage: ");
  Serial.print(voltage);
  Serial.println(" V");

  // Wait for 1 second before the next reading
  delay(1000);
}
Troubleshooting and FAQs
Common Issues
- No Output Voltage:
- Ensure the input voltage is at least 0.2V higher than the reference voltage.
- Verify the connections to the cathode and anode pins.
- Unstable Output Voltage:
- Add a 0.1 µF ceramic capacitor across the cathode and anode pins.
- Check for noise or interference in the circuit.
- Overheating:
- Ensure the load current does not exceed 15 mA.
- Verify the input voltage is within the recommended range.
FAQs
Q: Can I use the LM4040 with a 3.3V system?
A: Yes, as long as the reference voltage is lower than 3.3V and the input voltage is sufficient.
Q: What happens if I exceed the maximum load current?
A: Exceeding 15 mA can damage the LM4040 or cause it to malfunction. Always limit the load current.
Q: Do I need an external resistor with the LM4040?
A: No, the LM4040 is a shunt voltage reference and does not require an external resistor for operation.
Q: Can I use the LM4040 without a capacitor?
A: While it may work without a capacitor, adding a 0.1 µF capacitor improves stability and reduces noise.
By following this documentation, you can effectively integrate the Adafruit LM4040 Voltage Reference into your projects for precise and stable voltage regulation.