How to Use battery 3.7V: Examples, Pinouts, and Specs
Introduction
The 3.7V rechargeable lithium-ion battery is a widely used power source in modern electronics. It provides a nominal voltage of 3.7 volts and is known for its high energy density, lightweight design, and rechargeability. These batteries are commonly found in portable devices such as smartphones, tablets, wearables, and small robotics. They are also used in DIY electronics projects and as backup power supplies for embedded systems.
Explore Projects Built with battery 3.7V

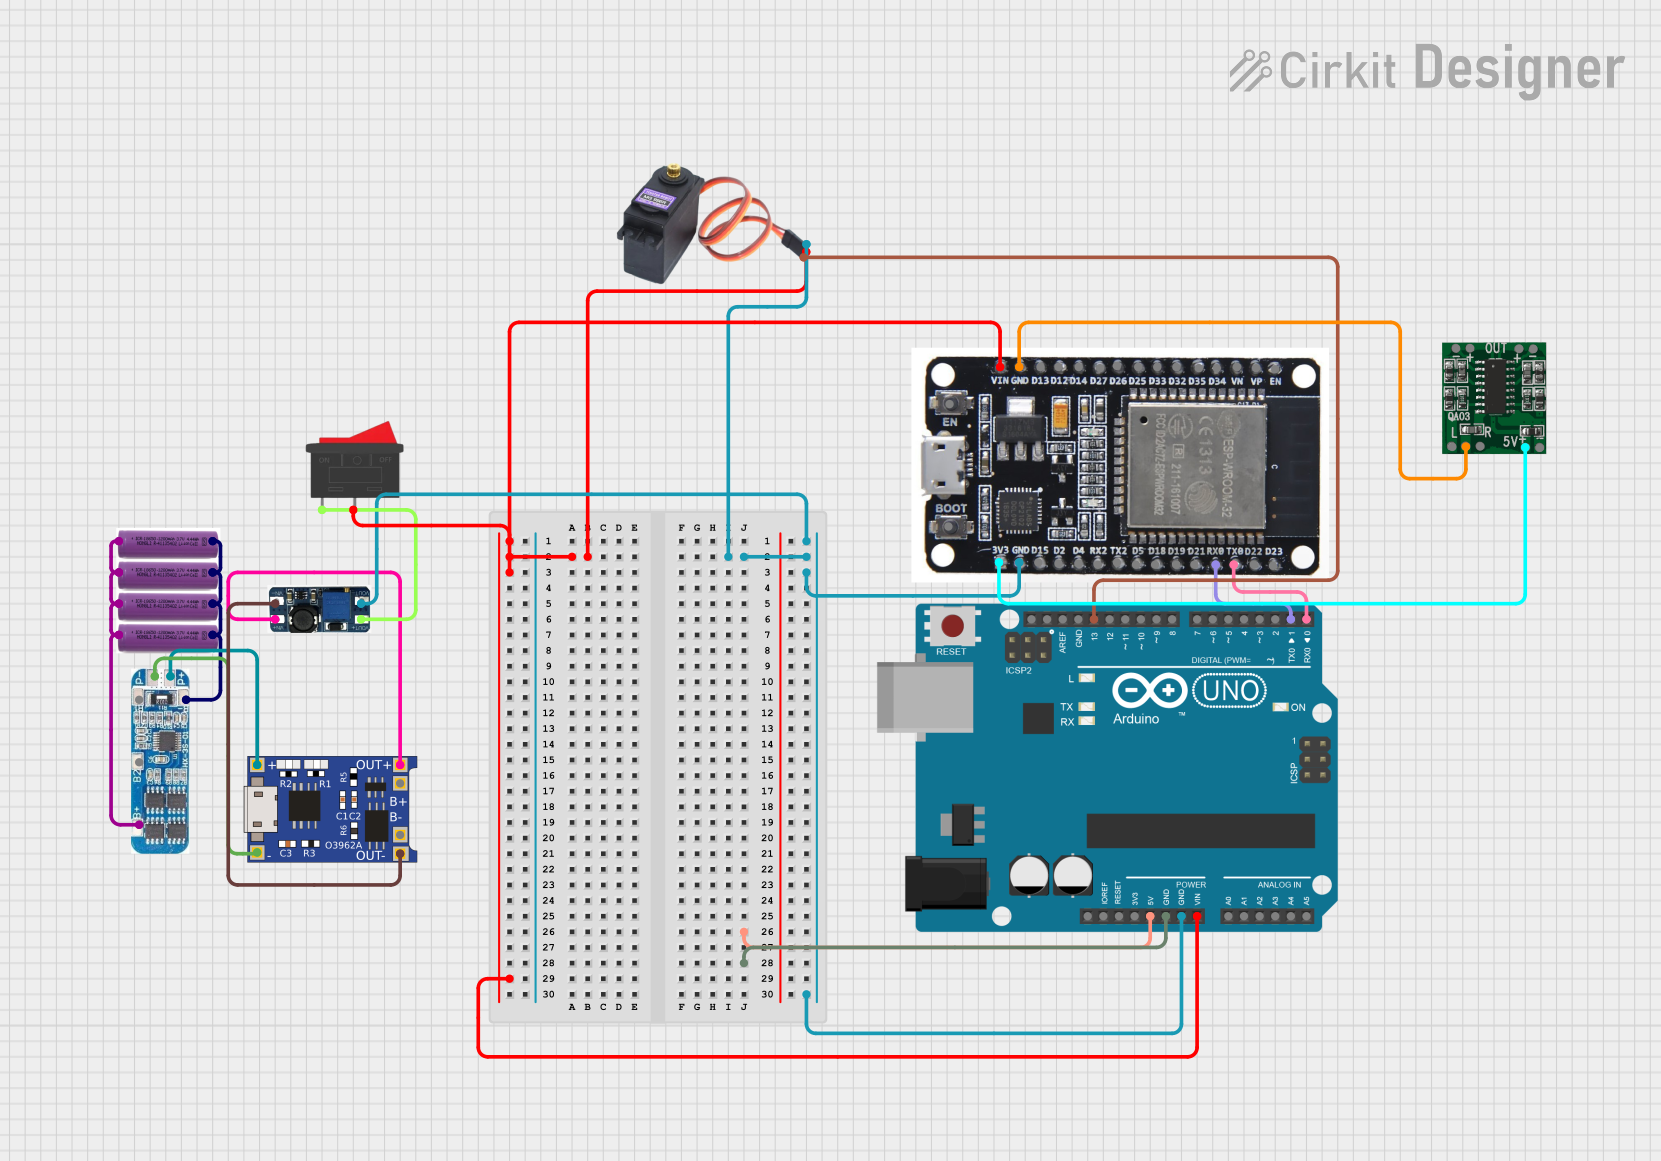
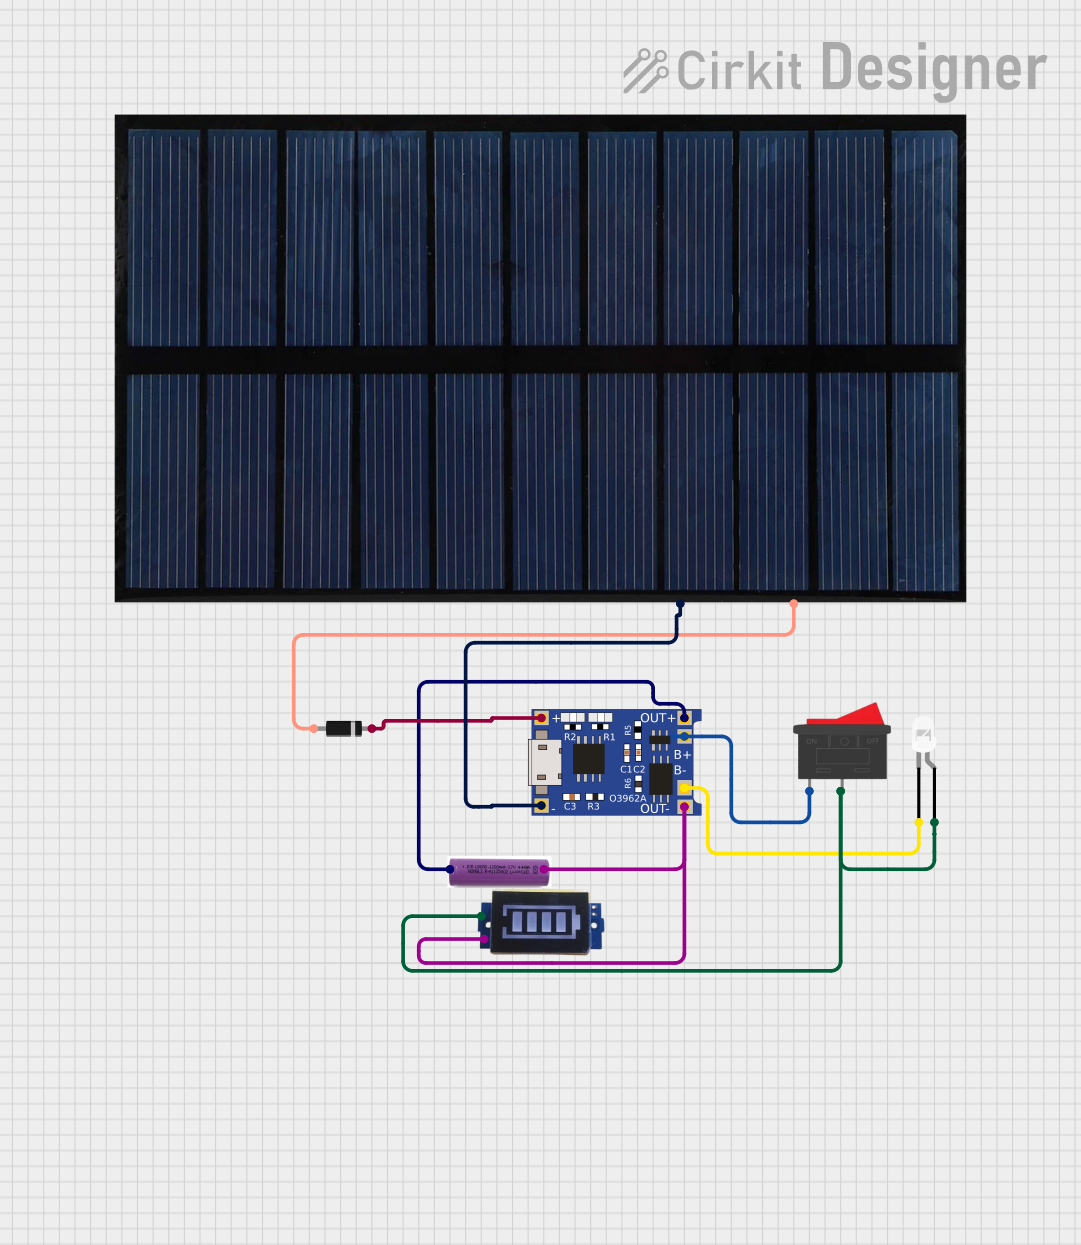
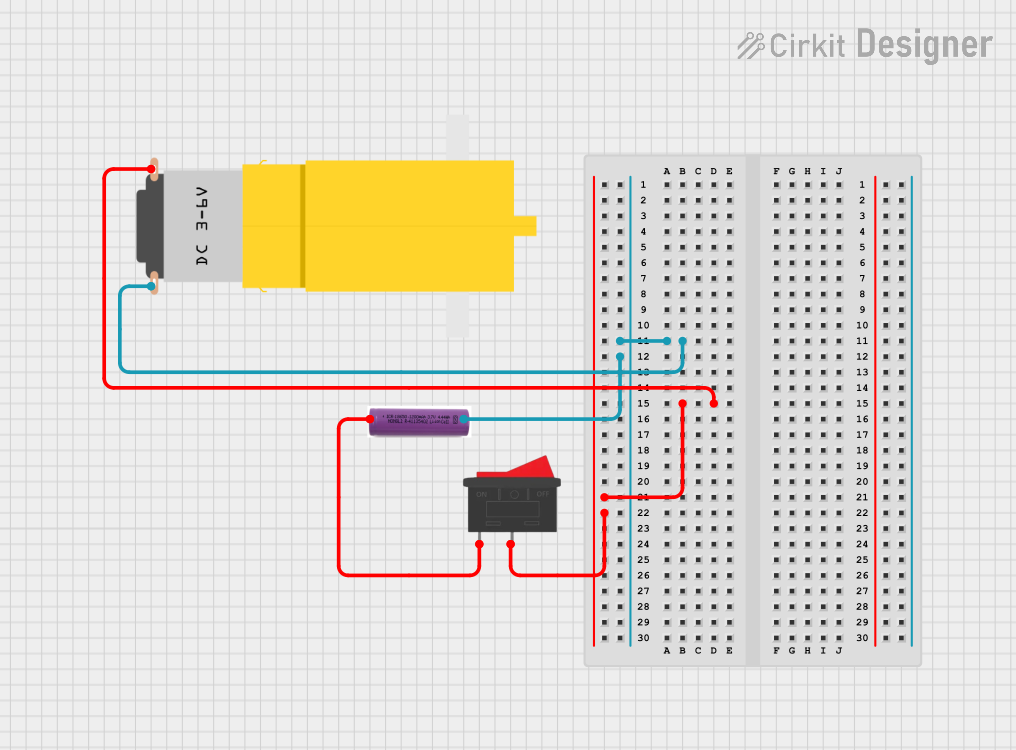
Explore Projects Built with battery 3.7V
Common Applications and Use Cases
- Portable electronics (e.g., smartphones, cameras, and wearables)
- DIY projects and prototyping
- Robotics and small motorized devices
- Power banks and backup power systems
- Internet of Things (IoT) devices
Technical Specifications
Below are the key technical details of a typical 3.7V lithium-ion battery. Note that specific values may vary depending on the manufacturer and model.
| Parameter | Specification |
|---|---|
| Nominal Voltage | 3.7V |
| Full Charge Voltage | 4.2V ± 0.05V |
| Cut-off Voltage | 2.75V to 3.0V |
| Capacity Range | 500mAh to 5000mAh (varies by model) |
| Chemistry | Lithium-ion |
| Maximum Discharge Current | Typically 1C to 3C (varies by model) |
| Charging Current | Standard: 0.5C, Fast: 1C |
| Operating Temperature | -20°C to 60°C |
| Storage Temperature | -20°C to 45°C |
| Cycle Life | 300 to 500 charge/discharge cycles |
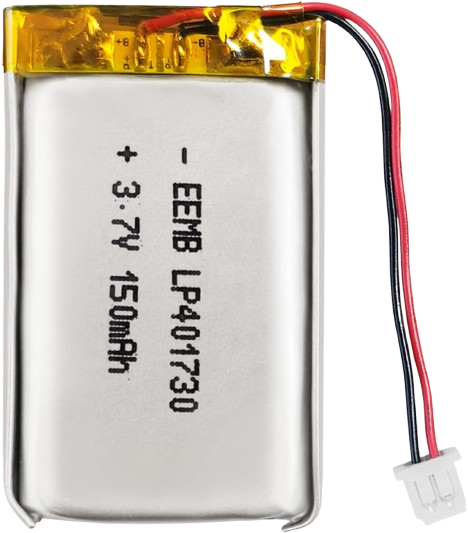
Pin Configuration and Descriptions
Most 3.7V lithium-ion batteries have two terminals: positive (+) and negative (-). Some models may include additional pins for features like temperature monitoring or protection circuitry.
| Pin | Label | Description |
|---|---|---|
| 1 | + | Positive terminal (connect to the positive rail) |
| 2 | - | Negative terminal (connect to the ground rail) |
| 3* | T | Temperature sensor pin (optional, varies by model) |
*Note: The temperature sensor pin (T) is not present in all models. Check the datasheet for your specific battery.
Usage Instructions
How to Use the Battery in a Circuit
- Connection: Connect the positive terminal (+) to the positive rail of your circuit and the negative terminal (-) to the ground rail. Ensure proper polarity to avoid damage.
- Charging: Use a dedicated lithium-ion battery charger module (e.g., TP4056) to safely charge the battery. Do not exceed the recommended charging voltage (4.2V) or current.
- Discharging: Ensure the load does not draw more current than the battery's maximum discharge rating. Use a protection circuit module (PCM) to prevent over-discharge.
- Protection: Many lithium-ion batteries come with built-in protection circuits to prevent overcharging, over-discharging, and short circuits. If your battery lacks this feature, use an external PCM.
Important Considerations and Best Practices
- Avoid Overcharging: Never charge the battery above 4.2V, as this can cause overheating or damage.
- Prevent Over-Discharge: Do not let the battery voltage drop below 2.75V, as this can permanently reduce capacity.
- Temperature Safety: Avoid exposing the battery to extreme temperatures. High heat can cause swelling or leakage, while freezing temperatures can reduce performance.
- Storage: Store the battery at around 40% to 60% charge in a cool, dry place if not in use for extended periods.
- Handling: Do not puncture, crush, or short-circuit the battery. Mishandling can lead to fire or explosion.
Example: Using a 3.7V Battery with an Arduino UNO
To power an Arduino UNO with a 3.7V battery, you will need a DC-DC boost converter to step up the voltage to 5V. Below is an example circuit and code:
Circuit Setup
- Connect the battery's positive terminal to the input (+) of the boost converter.
- Connect the battery's negative terminal to the input (-) of the boost converter.
- Connect the output (+) of the boost converter to the Arduino's 5V pin.
- Connect the output (-) of the boost converter to the Arduino's GND pin.
Arduino Code Example
// Example code to blink an LED using an Arduino UNO powered by a 3.7V battery
// Ensure the battery is connected via a boost converter to provide 5V to the Arduino

const int ledPin = 13; // Pin connected to the onboard LED

void setup() {
  pinMode(ledPin, OUTPUT); // Set the LED pin as an output
}

void loop() {
  digitalWrite(ledPin, HIGH); // Turn the LED on
  delay(1000);                // Wait for 1 second
  digitalWrite(ledPin, LOW);  // Turn the LED off
  delay(1000);                // Wait for 1 second
}
Troubleshooting and FAQs
Common Issues and Solutions
Battery Not Charging:
- Cause: Faulty charger or incorrect charging voltage.
- Solution: Verify the charger is functioning and outputs 4.2V. Check connections.
Battery Drains Quickly:
- Cause: Over-discharge or aging battery.
- Solution: Avoid discharging below 2.75V. Replace the battery if it has reached the end of its cycle life.
Battery Swelling or Heating:
- Cause: Overcharging, short circuit, or exposure to high temperatures.
- Solution: Stop using the battery immediately. Replace it and ensure proper charging practices.
Arduino Not Powering On:
- Cause: Insufficient voltage or current from the battery.
- Solution: Use a boost converter to step up the voltage to 5V. Ensure the battery can supply enough current.
FAQs
Can I use a 3.7V battery directly with a 5V device? No, you need a DC-DC boost converter to step up the voltage to 5V.
How do I know when the battery is fully charged? Most chargers have an indicator LED that turns green when the battery reaches 4.2V.
Is it safe to leave the battery connected to the charger? It is not recommended to leave the battery connected to the charger for extended periods after it is fully charged.
Can I use a 3.7V battery in parallel to increase capacity? Yes, but ensure all batteries are of the same type, capacity, and charge level. Use a balancing circuit for safety.