How to Use Raspberry Pi 5 10.1" LCD Screen: Examples, Pinouts, and Specs
Introduction
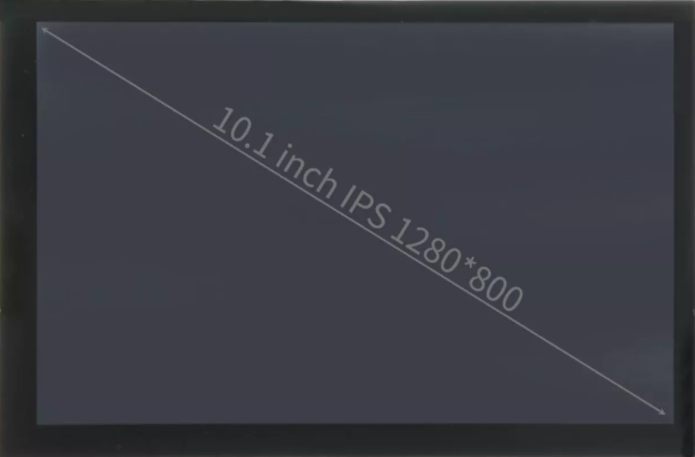
The Raspberry Pi 5 10.1" LCD Screen by Approt II is a high-resolution display designed specifically for use with the Raspberry Pi 5. This LCD screen offers a 10.1-inch IPS panel with vibrant colors, wide viewing angles, and a responsive touch interface (optional, depending on the model). It is ideal for projects requiring a large, clear display, such as media centers, portable computing devices, or interactive kiosks.
Explore Projects Built with Raspberry Pi 5 10.1" LCD Screen


Explore Projects Built with Raspberry Pi 5 10.1" LCD Screen
Common Applications and Use Cases
- Media Centers: Perfect for building a Raspberry Pi-based media center with a high-quality display.
- Portable Computing: Use it as a monitor for portable Raspberry Pi laptops or tablets.
- IoT Dashboards: Display real-time data for IoT projects.
- Interactive Kiosks: Ideal for touch-based applications in retail or education.
- Prototyping: Great for developers needing a reliable display for testing and debugging.
Technical Specifications
Below are the key technical details for the Raspberry Pi 5 10.1" LCD Screen:
General Specifications
| Parameter | Value |
|---|---|
| Screen Size | 10.1 inches |
| Resolution | 1280 x 800 pixels (WXGA) |
| Display Type | IPS LCD |
| Aspect Ratio | 16:10 |
| Brightness | 300 cd/m² |
| Contrast Ratio | 800:1 |
| Viewing Angle | 178° (horizontal and vertical) |
| Touch Support | Optional (capacitive touch) |
| Backlight | LED |
| Power Consumption | 6W (typical) |
| Operating Temperature | -10°C to 60°C |
Electrical Specifications
| Parameter | Value |
|---|---|
| Input Voltage | 5V DC (via USB or GPIO) |
| Current Consumption | 1.2A (typical) |
| Interface | HDMI for video, USB for touch |
| Connector Type | HDMI (video), USB Type-A (touch) |
Pin Configuration and Descriptions
The screen connects to the Raspberry Pi 5 via HDMI and USB. Below is the pin configuration for the USB touch interface:
| Pin | Name | Description |
|---|---|---|
| 1 | VCC | 5V power supply |
| 2 | D- | USB data line (-) |
| 3 | D+ | USB data line (+) |
| 4 | GND | Ground |
Usage Instructions
Connecting the LCD Screen to Raspberry Pi 5
- Power the Screen:
- Connect the USB cable from the screen to one of the Raspberry Pi 5's USB ports. This provides both power and touch functionality (if applicable).
- Connect the HDMI Cable:
- Use the HDMI cable to connect the screen to the Raspberry Pi 5's micro-HDMI port.
- Enable Touch Support (if applicable):
- If using the touch-enabled version, ensure the USB connection is secure. The Raspberry Pi OS should automatically detect the touch interface without additional drivers.
Configuring the Display
- Boot up the Raspberry Pi 5 with the screen connected.
- Open the terminal and edit the
config.txtfile to ensure proper resolution:sudo nano /boot/config.txt - Add or modify the following lines to match the screen's resolution:
# Set the HDMI mode to 1280x800 resolution hdmi_group=2 hdmi_mode=28 - Save the file and reboot the Raspberry Pi:
sudo reboot
Example Code for Touchscreen Calibration
If the touch interface requires calibration, you can use the xinput_calibrator tool. Install it with the following commands:
```bash
Update the package list
sudo apt update
Install the xinput_calibrator package
sudo apt install -y xinput-calibrator
Run the calibration tool
xinput_calibrator
Follow the on-screen instructions to calibrate the touch interface.
Best Practices
- Use a high-quality HDMI cable to ensure stable video output.
- Avoid bending or twisting the USB and HDMI cables to prevent damage.
- If using the screen in a portable project, consider securing it in a protective case.
- Ensure proper ventilation to prevent overheating during extended use.
Troubleshooting and FAQs
Common Issues and Solutions
No Display Output:
- Cause: Incorrect HDMI connection or resolution settings.
- Solution: Verify the HDMI cable is securely connected. Check the
config.txtfile for correct resolution settings.
Touchscreen Not Working:
- Cause: USB cable not connected or driver issue.
- Solution: Ensure the USB cable is properly connected. Run
lsusbto check if the touch interface is detected. If not, try reconnecting the USB cable or rebooting the Raspberry Pi.
Screen Flickering:
- Cause: Insufficient power supply.
- Solution: Use a reliable 5V power source capable of supplying at least 2.5A to the Raspberry Pi.
Display Resolution Incorrect:
- Cause: Misconfigured
config.txtfile. - Solution: Edit the
config.txtfile and set the correct resolution as described in the usage instructions.
- Cause: Misconfigured
FAQs
Q1: Can I use this screen with other Raspberry Pi models?
A1: Yes, the screen is compatible with other Raspberry Pi models that support HDMI output. However, resolution settings may need adjustment.
Q2: Does the screen support multi-touch gestures?
A2: Yes, the capacitive touch version supports multi-touch gestures, such as pinch-to-zoom.
Q3: Can I power the screen using an external USB power adapter?
A3: Yes, the screen can be powered using a 5V USB power adapter if you do not want to use the Raspberry Pi's USB port.
Q4: Is the screen sunlight-readable?
A4: The screen is not designed for direct sunlight readability but performs well in indoor environments.
Q5: Do I need additional drivers for the touch interface?
A5: No, the touch interface is plug-and-play with Raspberry Pi OS. For other operating systems, additional drivers may be required.