How to Use Mini Stepper Motor - 200 Steps - 20x30mm NEMA-8 Size: Examples, Pinouts, and Specs
Introduction
The Mini Stepper Motor - 200 Steps - 20x30mm NEMA-8 Size (Manufacturer Part ID: 4411) by Adafruit is a compact and highly precise stepper motor designed for applications requiring fine control in small spaces. With 200 steps per revolution, this motor offers excellent resolution and smooth operation. Its NEMA-8 size (20x30mm) makes it ideal for projects where space is limited, such as robotics, 3D printers, and automation systems.
Explore Projects Built with Mini Stepper Motor - 200 Steps - 20x30mm NEMA-8 Size
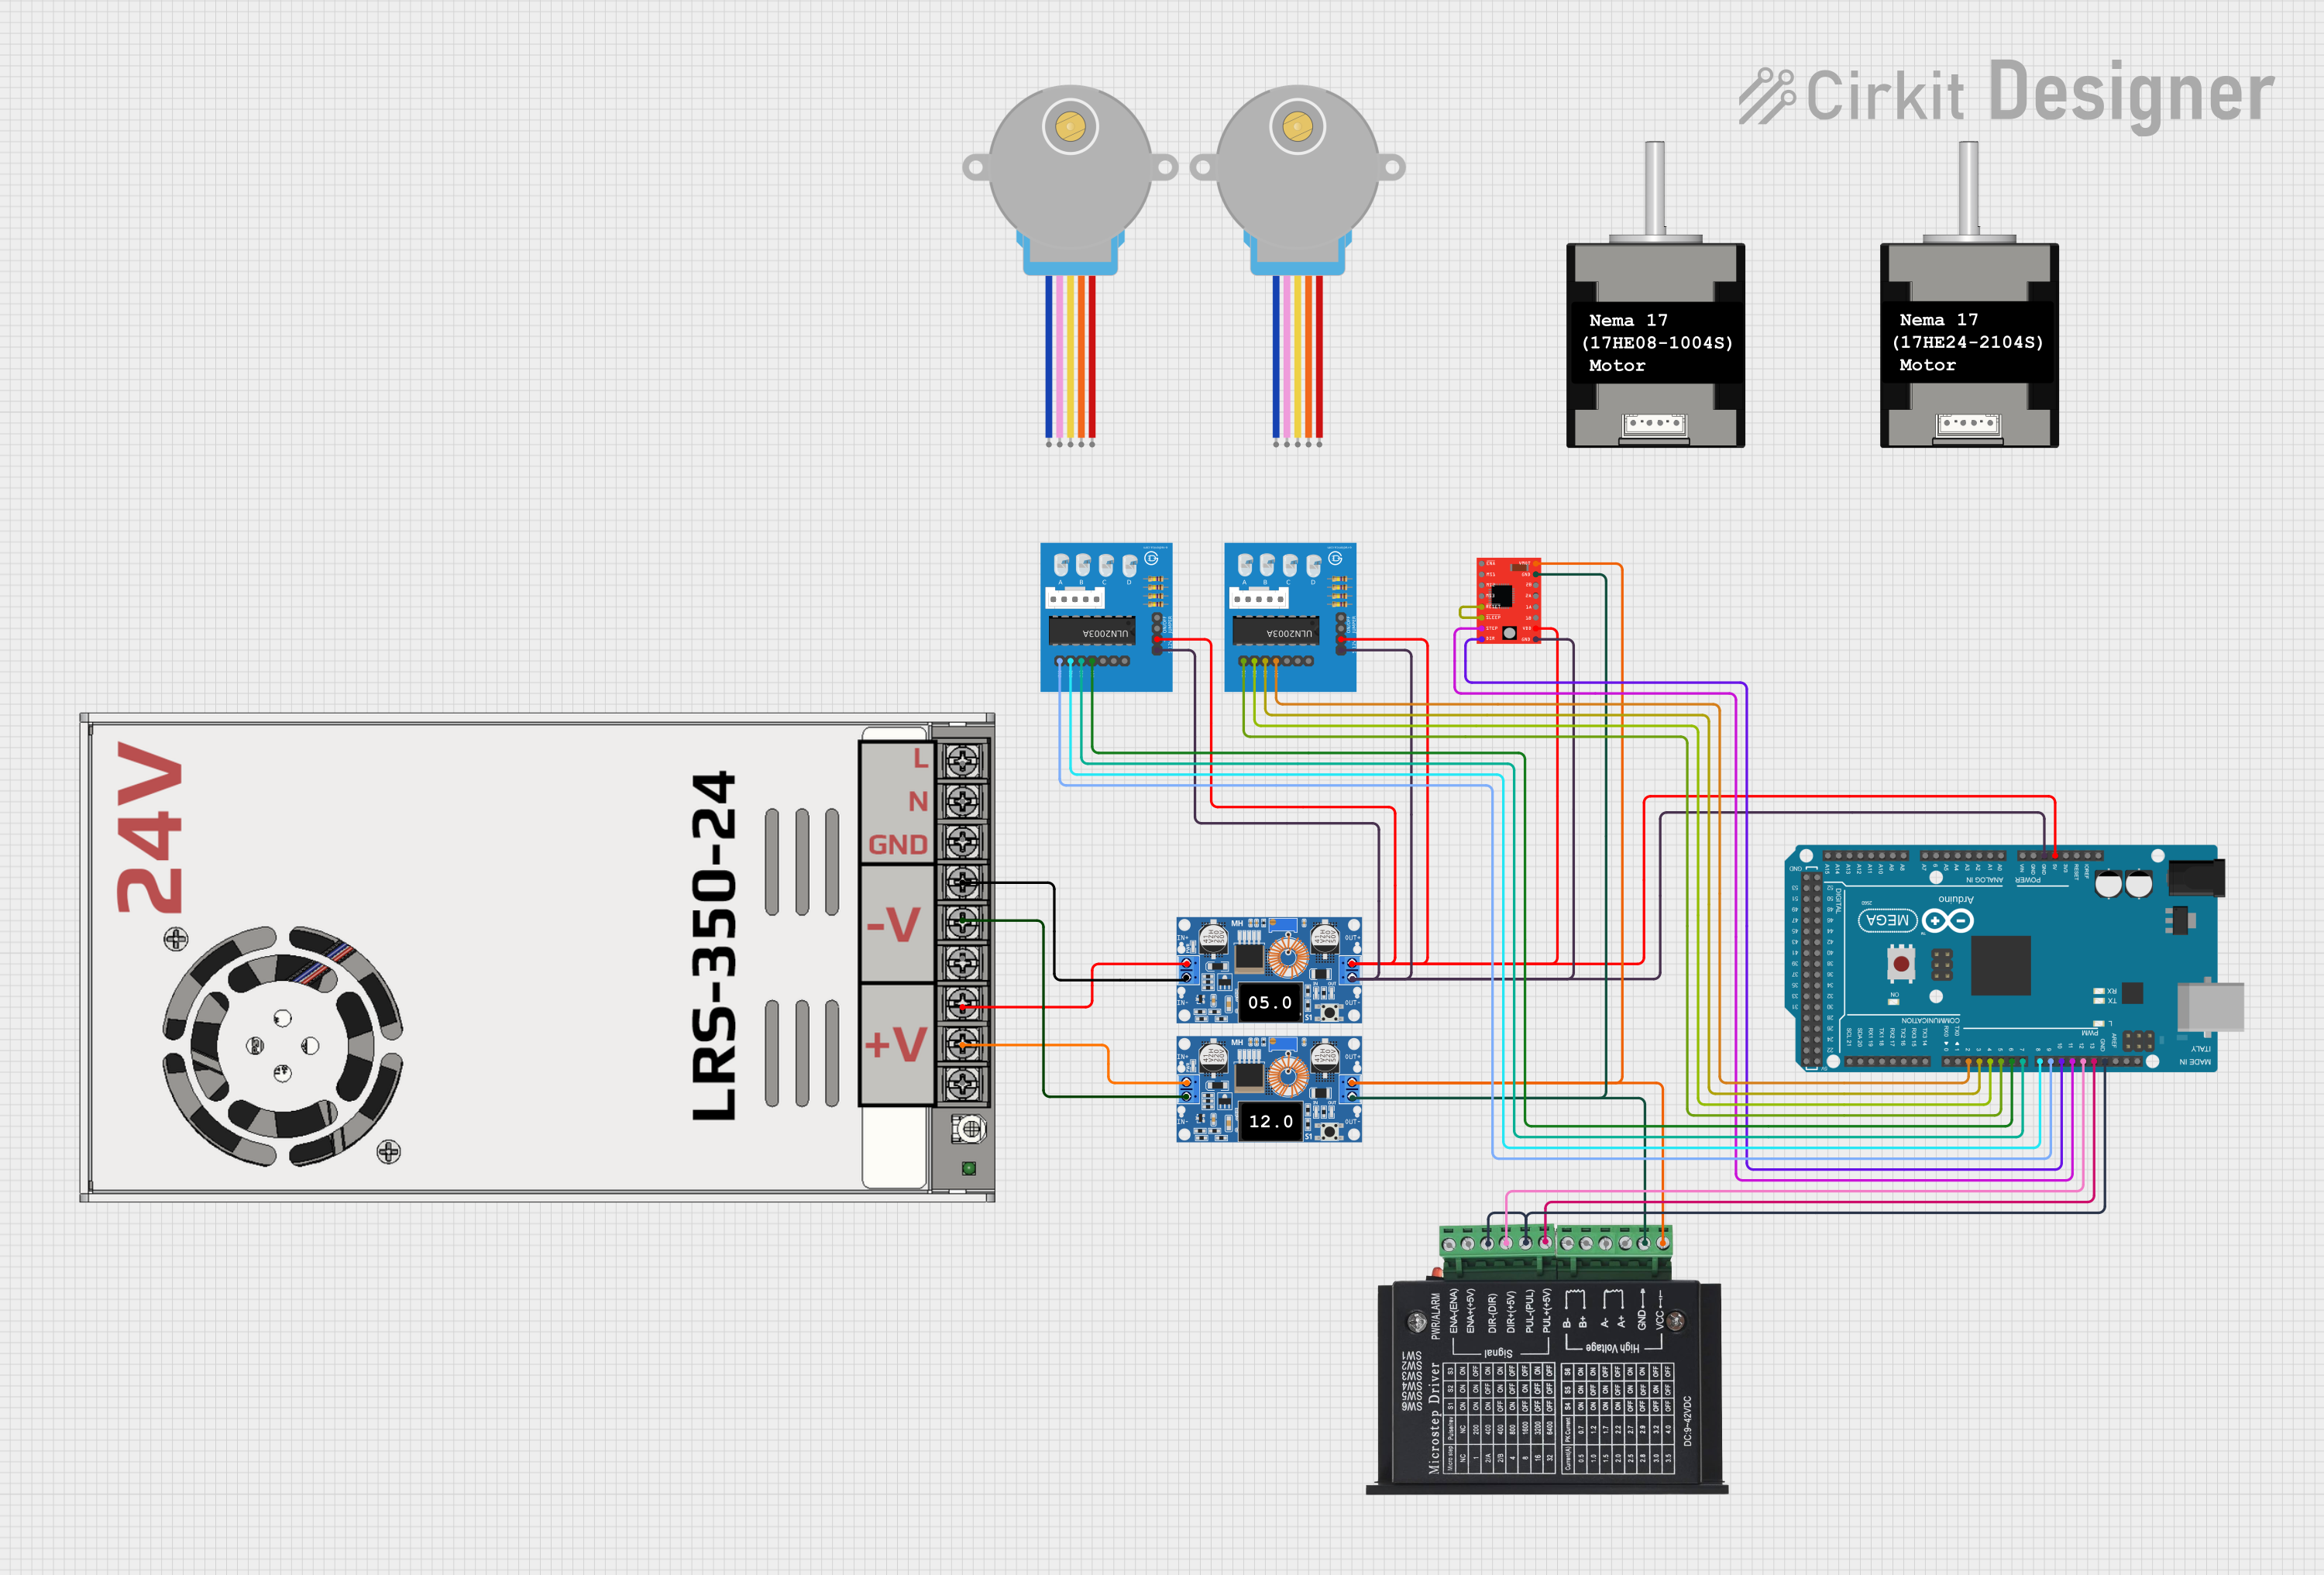
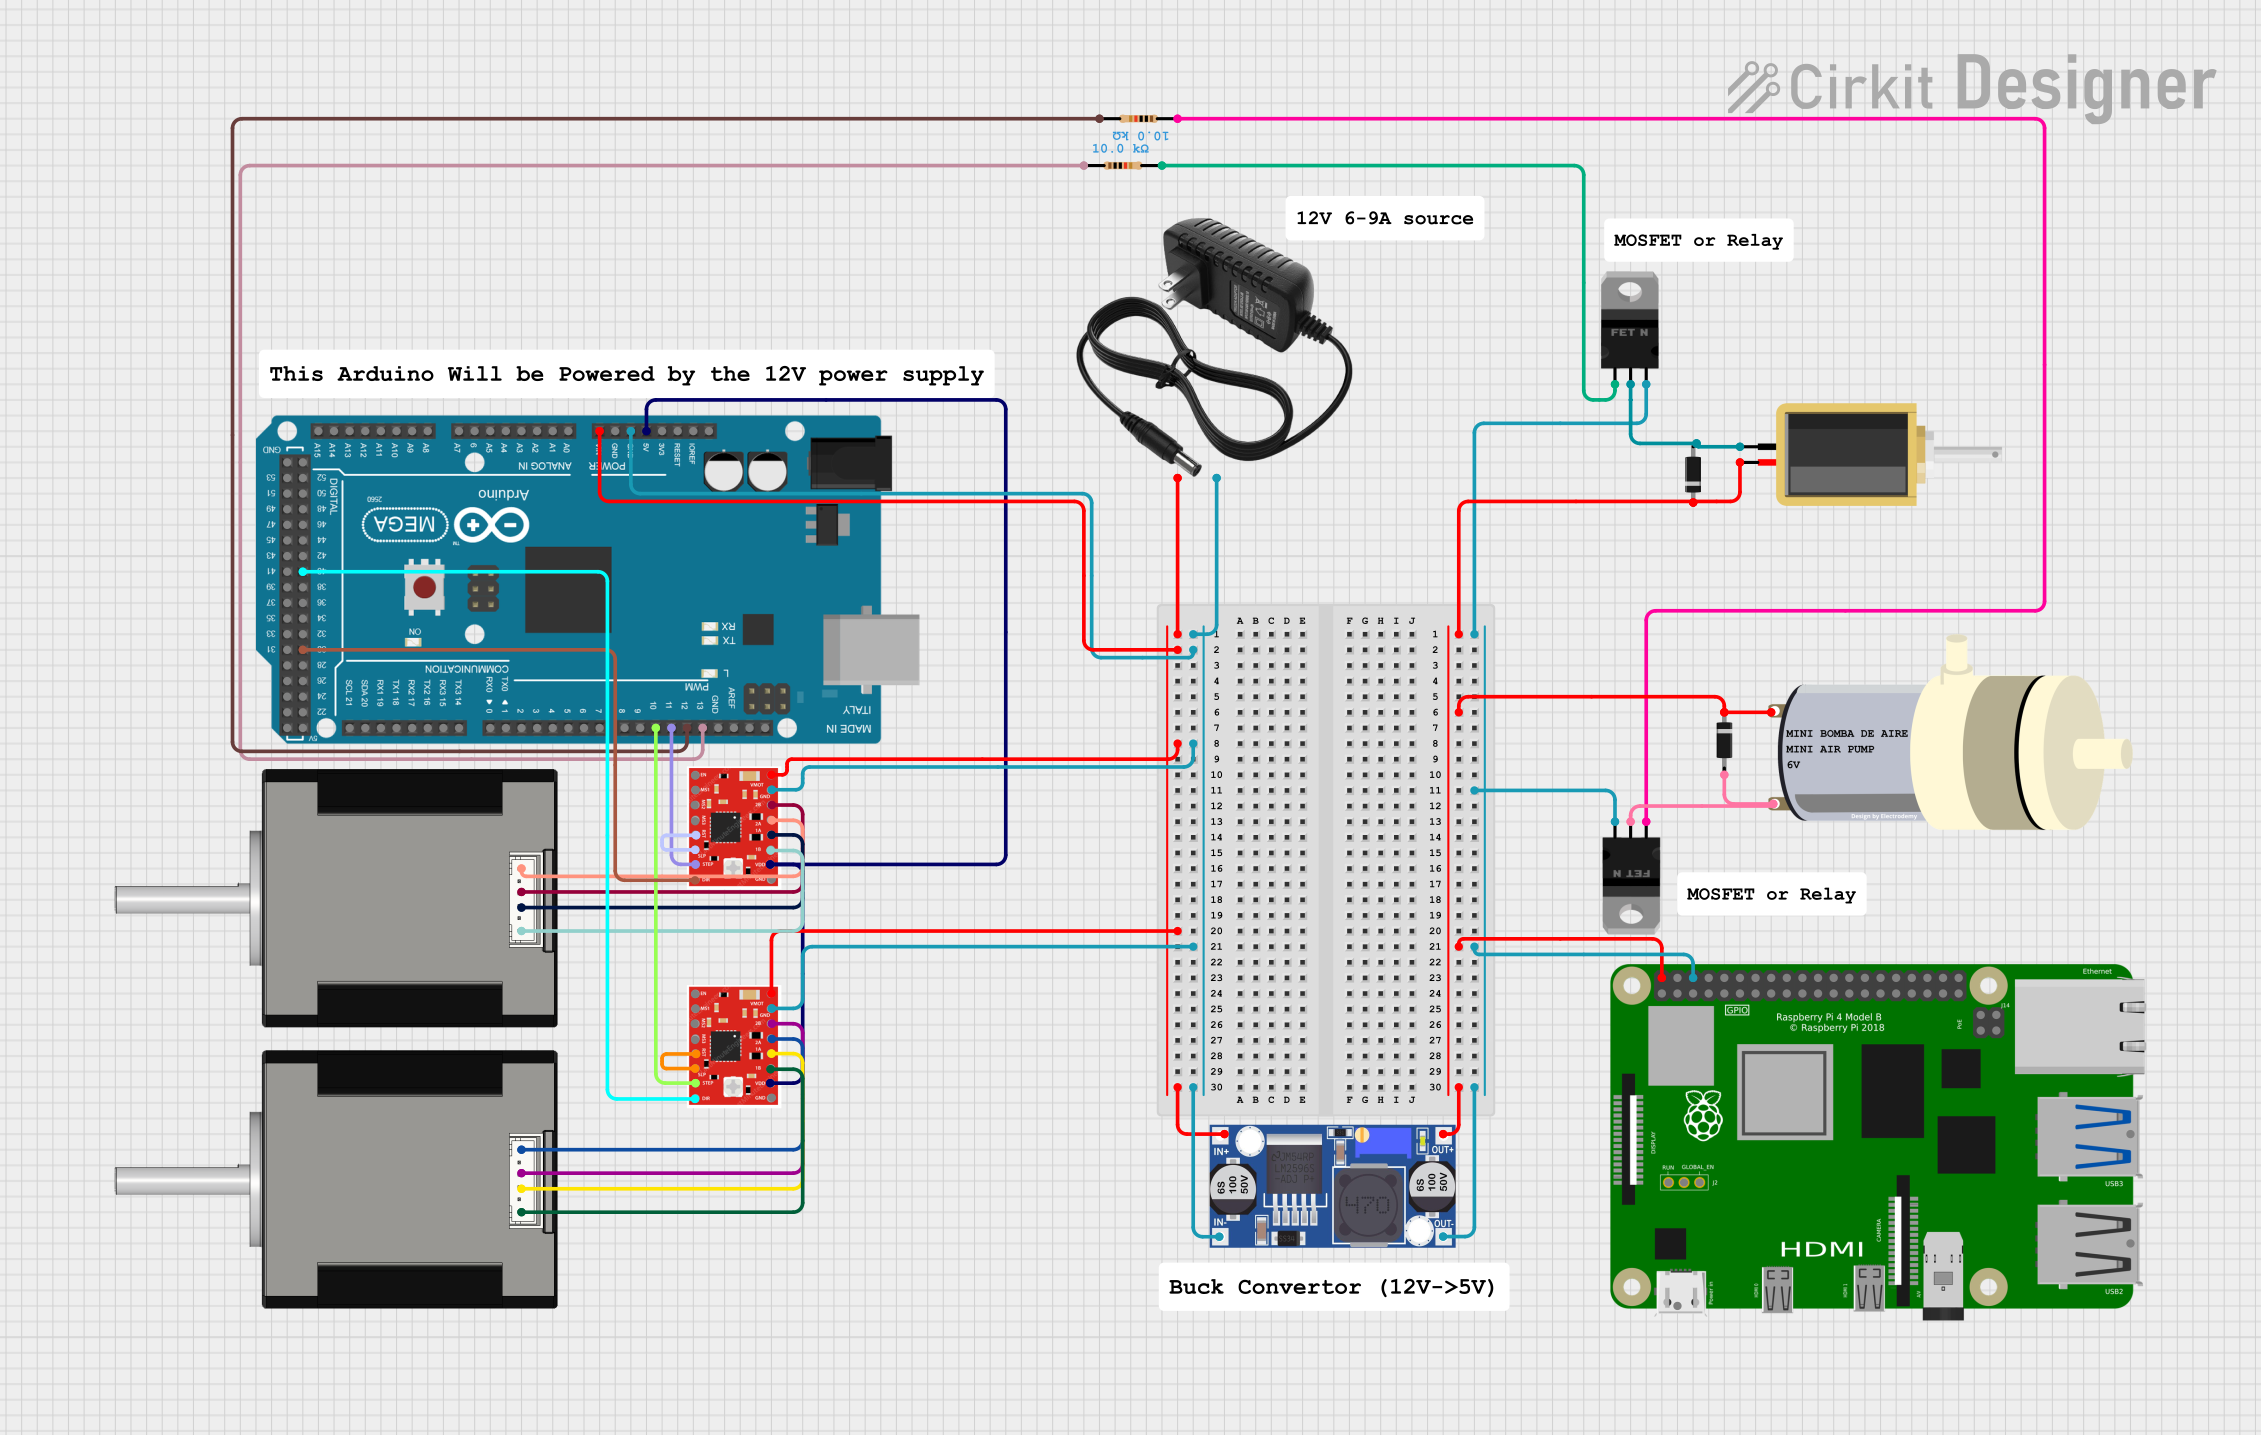
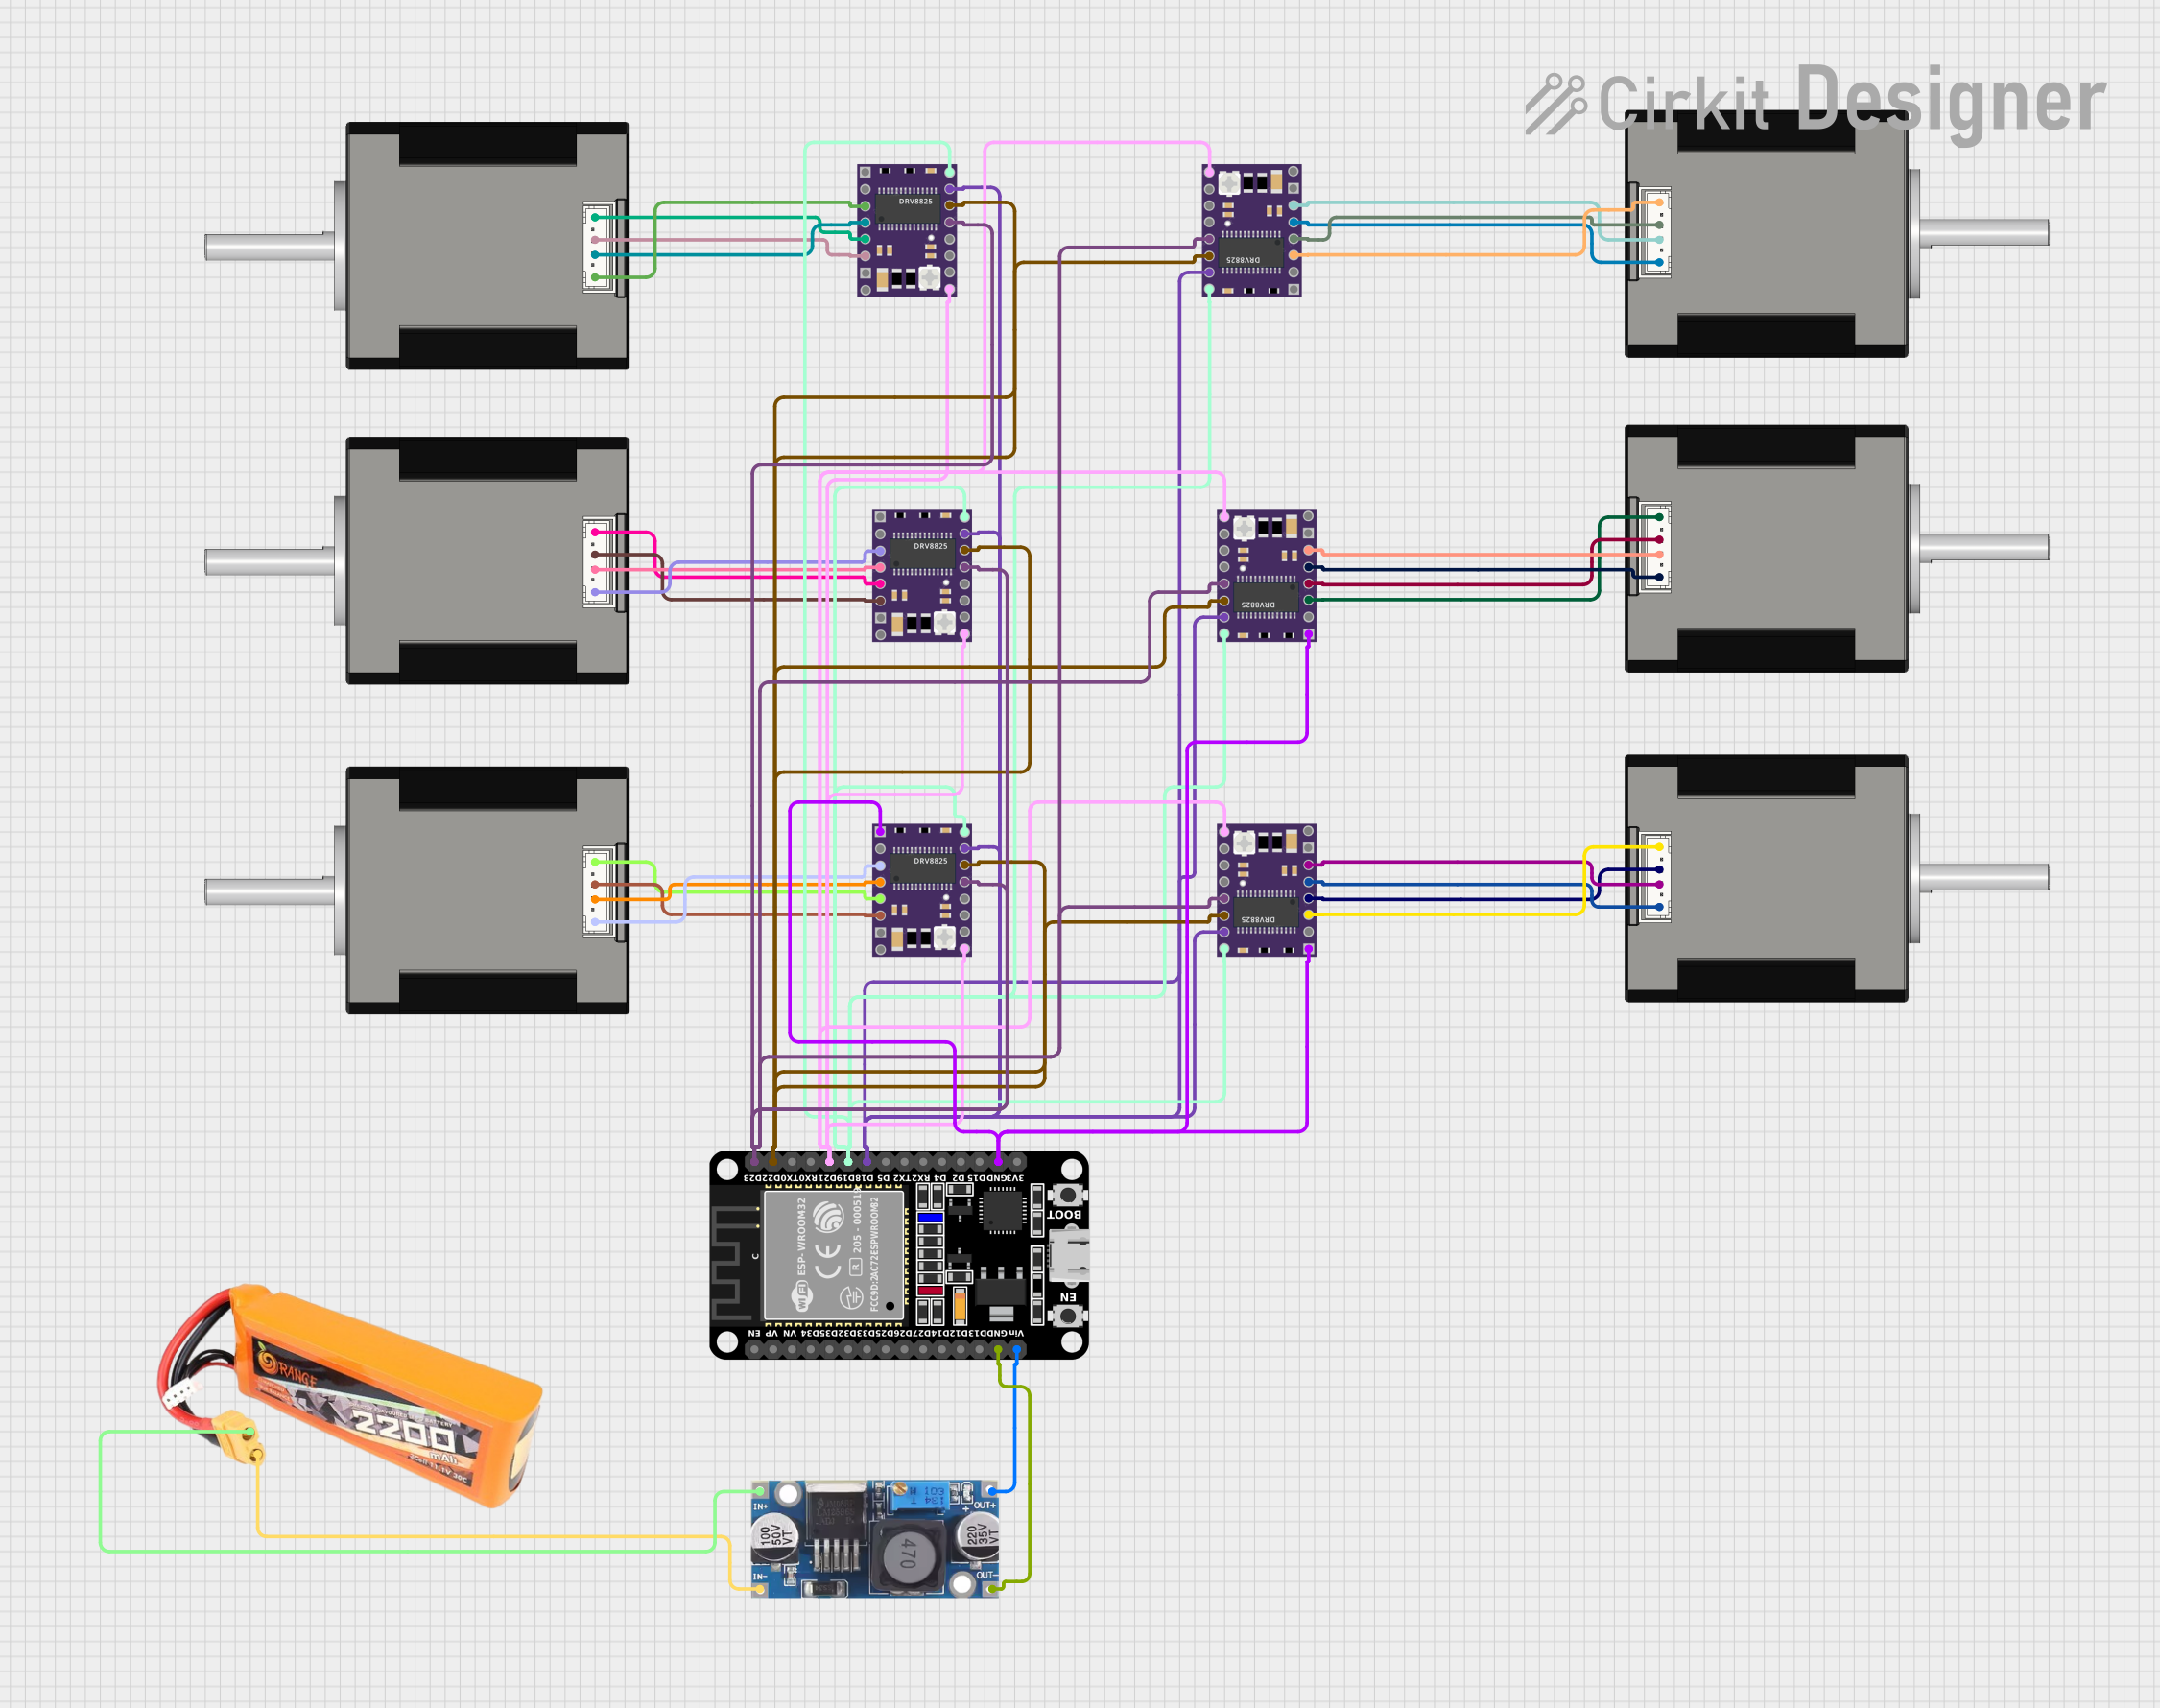

Explore Projects Built with Mini Stepper Motor - 200 Steps - 20x30mm NEMA-8 Size
Common Applications
- Robotics and mechatronics
- 3D printers and CNC machines
- Camera sliders and gimbals
- Precision positioning systems
- Small-scale automation projects
Technical Specifications
Below are the key technical details of the Mini Stepper Motor:
| Parameter | Value |
|---|---|
| Manufacturer | Adafruit |
| Manufacturer Part ID | 4411 |
| Motor Type | Bipolar Stepper Motor |
| Step Angle | 1.8° (200 steps per revolution) |
| Rated Voltage | 3.9V |
| Rated Current | 0.6A per phase |
| Resistance per Phase | 6.5Ω |
| Holding Torque | 0.014Nm (14mNm) |
| Shaft Diameter | 4mm |
| Motor Dimensions | 20mm x 30mm (NEMA-8 size) |
| Weight | 28g |
Pin Configuration
The Mini Stepper Motor has four wires for its bipolar configuration. The table below describes the wire colors and their corresponding coil connections:
| Wire Color | Function |
|---|---|
| Red | Coil A+ |
| Blue | Coil A- |
| Green | Coil B+ |
| Black | Coil B- |
Usage Instructions
How to Use the Component in a Circuit
- Power Requirements: Ensure your motor driver or controller can supply the rated voltage (3.9V) and current (0.6A per phase). A common driver for this motor is the A4988 or DRV8825 stepper motor driver.
- Wiring: Connect the motor wires to the driver as follows:
- Red and Blue wires to one coil (Coil A).
- Green and Black wires to the other coil (Coil B).
- Driver Configuration: Set the current limit on your driver to match the motor's rated current (0.6A per phase) to prevent overheating.
- Microstepping: If your driver supports microstepping, configure it to achieve smoother motion and higher resolution.
Arduino UNO Example Code
Below is an example of how to control the Mini Stepper Motor using an Arduino UNO and an A4988 driver:
// Include the Stepper library for easy control of stepper motors
#include <Stepper.h>

// Define the number of steps per revolution for the motor
#define STEPS_PER_REV 200

// Initialize the Stepper library with the motor's steps and pin connections
// Pins 8 and 9 control Coil A, Pins 10 and 11 control Coil B
Stepper stepperMotor(STEPS_PER_REV, 8, 9, 10, 11);

void setup() {
  // Set the motor speed (in RPM)
  stepperMotor.setSpeed(60); // 60 RPM
  Serial.begin(9600);
  Serial.println("Stepper Motor Test");
}

void loop() {
  // Rotate the motor one full revolution clockwise
  Serial.println("Rotating clockwise...");
  stepperMotor.step(STEPS_PER_REV);

  delay(1000); // Wait for 1 second

  // Rotate the motor one full revolution counterclockwise
  Serial.println("Rotating counterclockwise...");
  stepperMotor.step(-STEPS_PER_REV);

  delay(1000); // Wait for 1 second
}
Important Considerations and Best Practices
- Current Limiting: Always set the current limit on your driver to prevent overheating or damage to the motor.
- Power Supply: Use a stable power supply capable of providing sufficient current for the motor and driver.
- Heat Management: Prolonged operation at high currents may cause the motor to heat up. Ensure proper ventilation or cooling if necessary.
- Microstepping: For smoother motion, enable microstepping on your driver. This reduces noise and improves precision.
Troubleshooting and FAQs
Common Issues and Solutions
Motor Not Moving:
- Check the wiring to ensure the motor wires are connected to the correct driver terminals.
- Verify that the driver is receiving power and is properly configured.
- Ensure the current limit on the driver matches the motor's rated current.
Motor Vibrates but Doesn't Rotate:
- This may indicate incorrect wiring. Double-check the coil connections (Red/Blue for Coil A, Green/Black for Coil B).
- Ensure the stepper driver is functioning correctly.
Motor Overheating:
- Reduce the current limit on the driver to match the motor's rated current (0.6A per phase).
- Check for proper ventilation or cooling.
Skipping Steps or Inconsistent Motion:
- Ensure the power supply provides sufficient current for the motor and driver.
- Enable microstepping on the driver for smoother operation.
FAQs
Q: Can I use this motor with a unipolar driver?
A: No, this is a bipolar stepper motor and requires a bipolar driver such as the A4988 or DRV8825.
Q: What is the maximum speed of this motor?
A: The maximum speed depends on the driver, power supply, and load. Typically, it can achieve up to 1000 RPM under optimal conditions.
Q: Can I use this motor for continuous rotation?
A: Yes, stepper motors can rotate continuously, but they are designed for precise positioning rather than high-speed continuous motion.
Q: How do I identify the motor's coil pairs?
A: Use a multimeter to measure resistance between wires. Wires with measurable resistance belong to the same coil.
By following this documentation, you can effectively integrate the Mini Stepper Motor - 200 Steps - 20x30mm NEMA-8 Size into your projects for precise and reliable motion control.