How to Use Adafruit Music Maker Shield no Amp: Examples, Pinouts, and Specs
Introduction
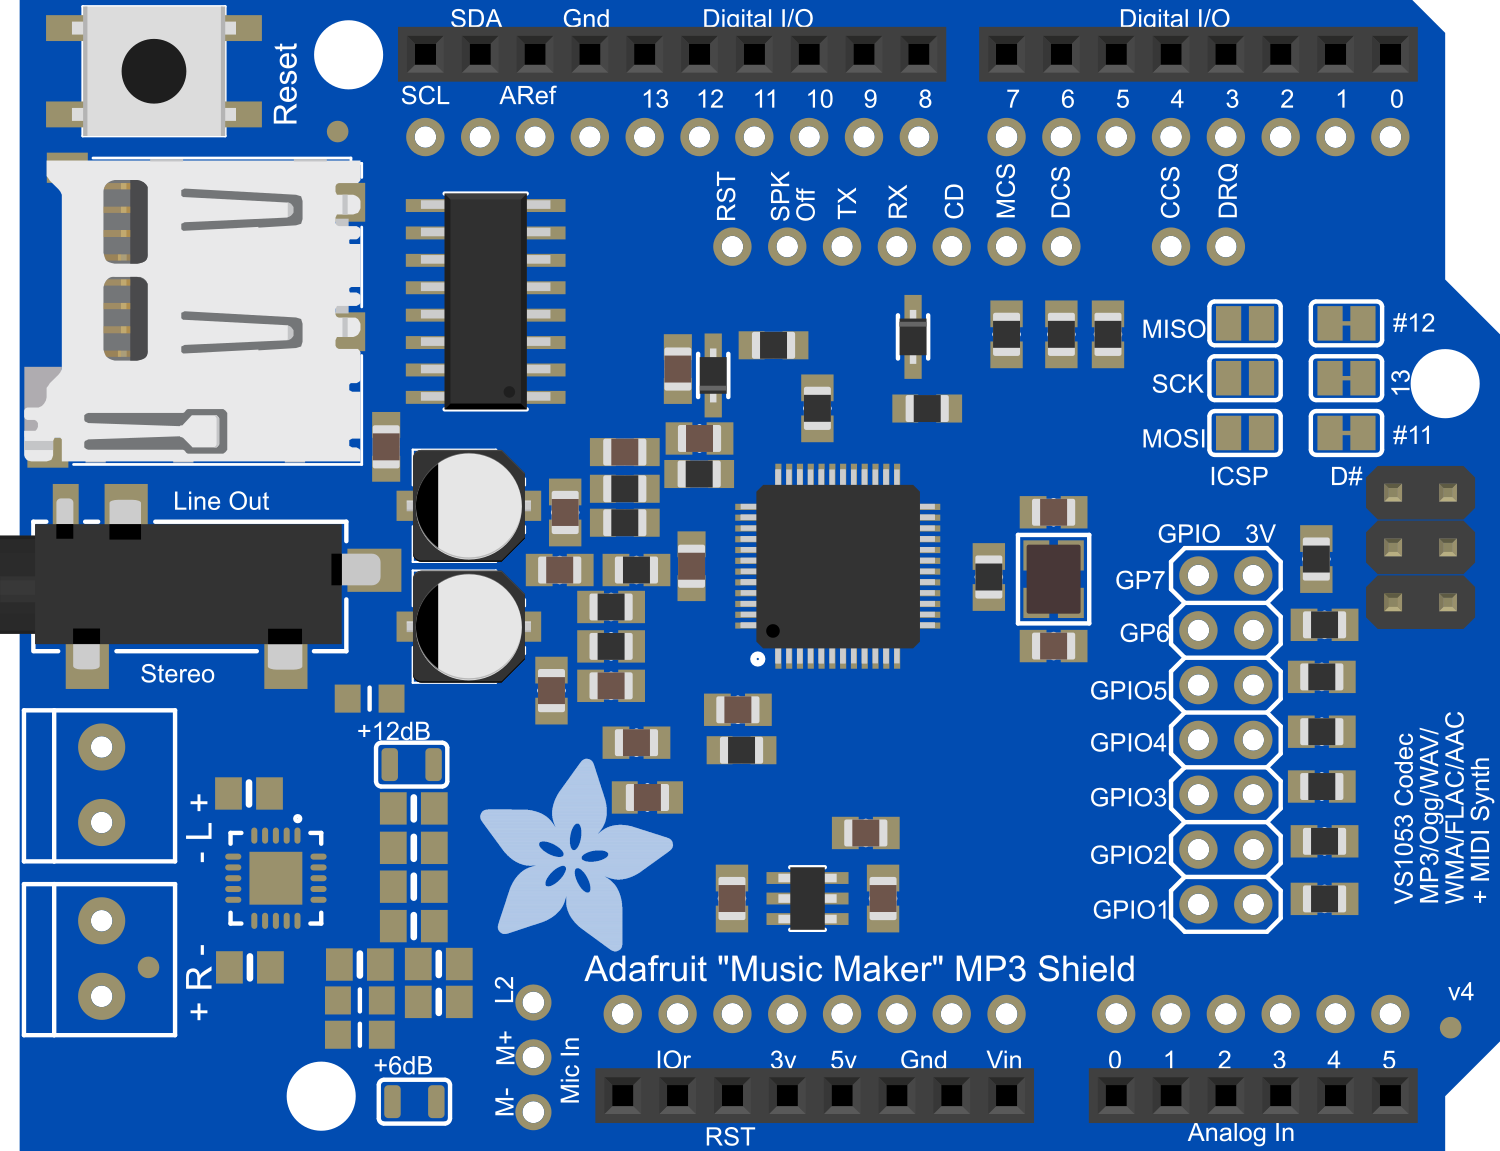
The Adafruit Music Maker Shield (no Amp) is a versatile audio playback module designed for use with the Arduino platform. This shield allows users to play back audio files in the WAV format from a microSD card, making it an ideal component for projects that require high-quality sound output, such as DIY music players, sound effect boards, or interactive art installations.
Explore Projects Built with Adafruit Music Maker Shield no Amp


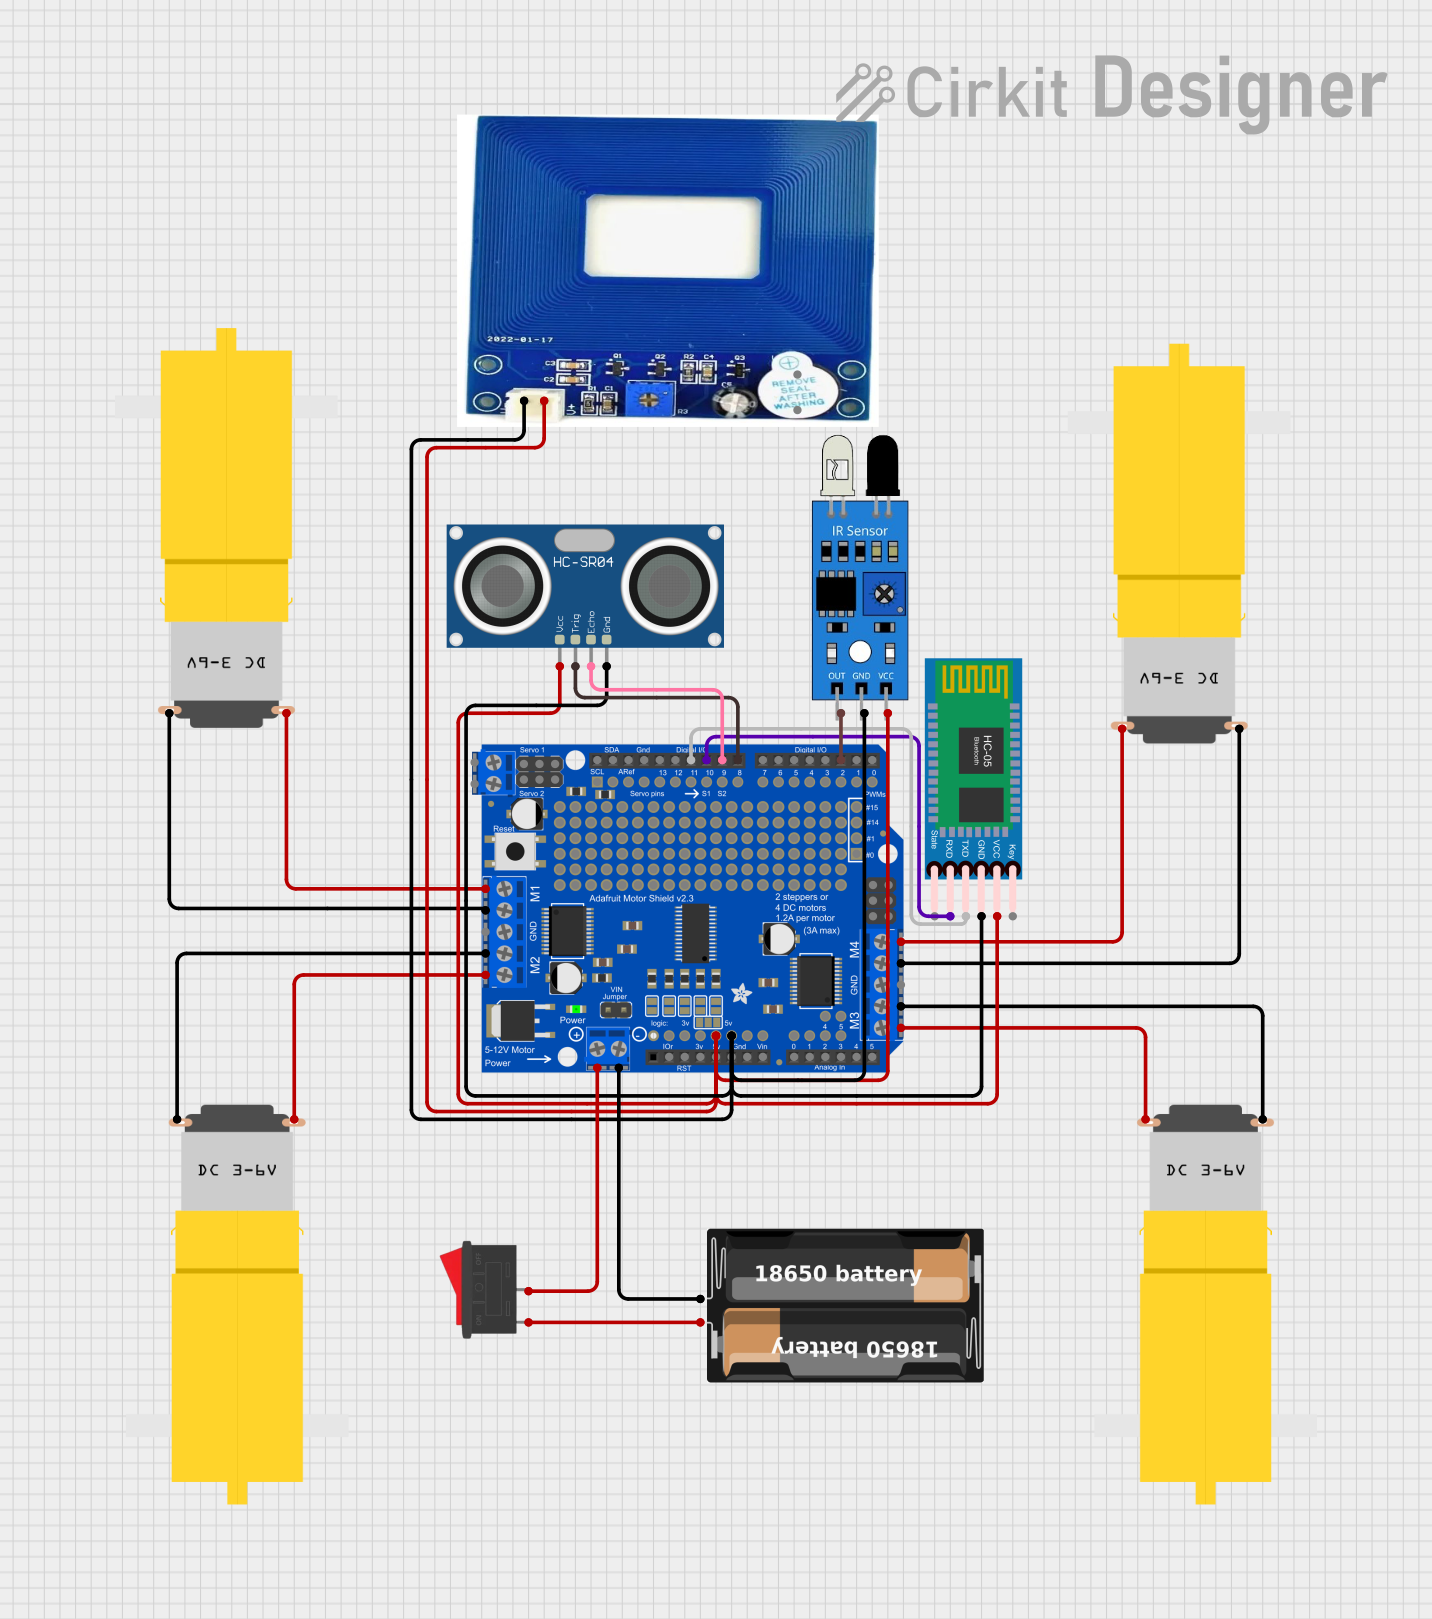

Explore Projects Built with Adafruit Music Maker Shield no Amp
Common Applications and Use Cases
- DIY MP3 players
- Interactive art and museum exhibits
- Sound effects for games and toys
- Educational projects and demonstrations
- Audio announcements or alerts
Technical Specifications
Key Technical Details
- Audio Format: WAV
- Storage: microSD card slot
- Audio Output: Stereo 3.5mm headphone jack
- Supported Bit Rate: 32 kbps to 320 kbps
- Sampling Rate: 8 kHz to 48 kHz
- Voltage: 3.3V to 5V DC
- Current: 45 mA (typical)
Pin Configuration and Descriptions
| Pin Number | Function | Description |
|---|---|---|
| D9 | Reset | Resets the VS1053 chip |
| D10 | CS (Chip Select) | SPI chip select for the VS1053 chip |
| D11 | MOSI | SPI Master Out Slave In for SD and VS1053 |
| D12 | MISO | SPI Master In Slave Out for SD and VS1053 |
| D13 | SCK | SPI Clock for SD and VS1053 |
| D4 | Card CS | SPI chip select for the microSD card |
Usage Instructions
How to Use the Component in a Circuit
- Mount the Shield: Carefully align the shield pins with the headers on your Arduino UNO and press down to seat the shield.
- Insert microSD Card: Load your WAV files onto a microSD card and insert it into the shield's card slot.
- Connect Audio Output: Plug in headphones or an external speaker to the 3.5mm jack.
- Power Up: Supply power to the Arduino UNO to start using the shield.
Important Considerations and Best Practices
- File Format: Ensure audio files are in the correct WAV format and bit rate.
- Power Supply: Use a stable power source to prevent audio distortion or interruptions.
- Library Installation: Install the Adafruit_VS1053 library to interface with the shield through your Arduino sketches.
- Volume Control: Since this shield does not have an amplifier, use an external amplifier or ensure your output device has volume control.
Example Code for Arduino UNO
#include <SPI.h>
#include <SD.h>
#include <Adafruit_VS1053.h>

// Define the pins used
#define BREAKOUT_RESET  9      // VS1053 reset pin (output)
#define BREAKOUT_CS     10     // VS1053 chip select pin (output)
#define BREAKOUT_DCS    8      // VS1053 Data/command select pin (output)
#define CARDCS          4      // Card chip select pin
#define DREQ            3      // VS1053 Data request, ideally an Interrupt pin

Adafruit_VS1053_FilePlayer musicPlayer =
  Adafruit_VS1053_FilePlayer(BREAKOUT_RESET, BREAKOUT_CS, BREAKOUT_DCS, DREQ, CARDCS);

void setup() {
  Serial.begin(9600);
  if (!musicPlayer.begin()) { // Initialise the music player
     Serial.println(F("Couldn't find VS1053, do you have the right pins defined?"));
     while (1);
  }
  Serial.println(F("VS1053 found"));

  if (!SD.begin(CARDCS)) {
    Serial.println(F("SD failed, or not present"));
    while (1);  // Don't do anything more if there is no SD card
  }

  // Set volume for left, right channels. lower numbers == louder volume!
  musicPlayer.setVolume(20, 20);

  // Play one file, don't return until complete
  Serial.println(F("Playing track 001"));
  musicPlayer.playFullFile("/track001.wav");
}

void loop() {
  // Use the musicPlayer object to control playback
}
Troubleshooting and FAQs
Common Issues Users Might Face
- No Audio Output: Ensure the microSD card is properly inserted and contains valid WAV files. Check the headphone or speaker connections.
- Distorted Audio: Verify that the power supply is stable and that the audio files are not corrupted.
- Unresponsive Shield: Make sure the shield is properly seated on the Arduino UNO and that all pins are correctly aligned.
Solutions and Tips for Troubleshooting
- Reset the Shield: Press the reset button on the shield or power cycle the Arduino to reset the VS1053 chip.
- Check Connections: Double-check all connections, including the SPI pins and the microSD card slot.
- Update Library: Ensure you have the latest version of the Adafruit_VS1053 library.
FAQs
Q: Can I play MP3 files with this shield? A: Yes, the shield can play MP3 files, but this documentation focuses on WAV playback.
Q: How do I control the playback of multiple files? A: You can use the functions provided by the Adafruit_VS1053 library to play, pause, and stop tracks, as well as navigate through multiple files on the SD card.
Q: What is the maximum size of the SD card that can be used? A: The shield typically supports standard SD card sizes up to 32GB, but it's best to check the latest specifications and library updates for any changes.