
How to Use Unproven: Examples, Pinouts, and Specs
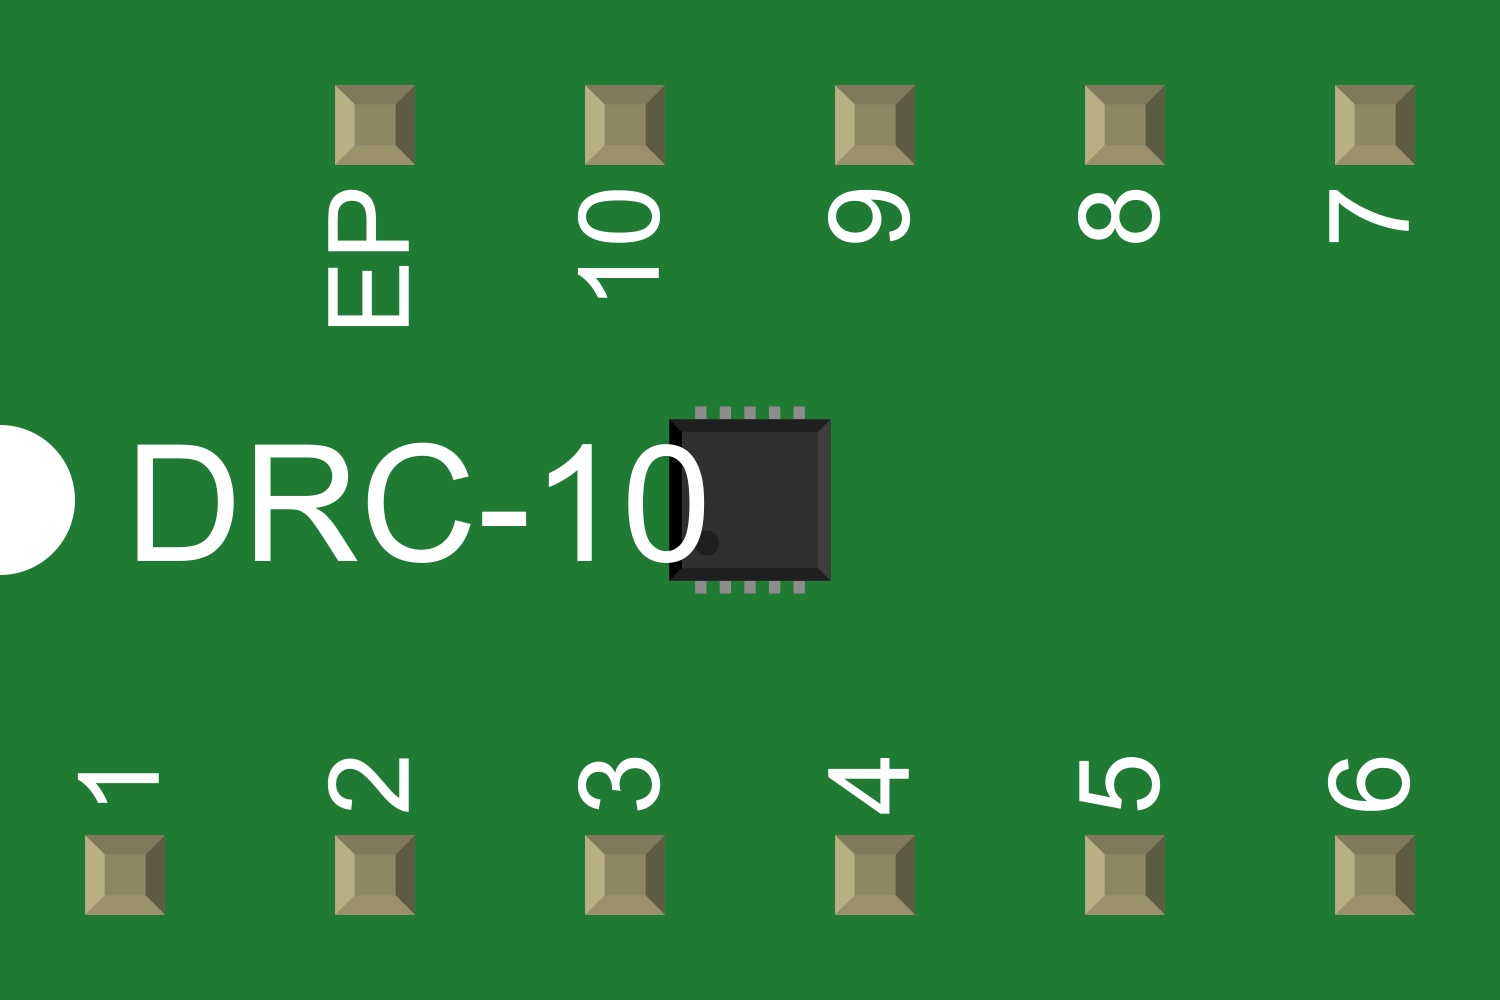
 Design with Unproven in Cirkit Designer
Introduction
The Unproven is an electronic component that has recently entered the market. Due to the lack of a detailed description, the common applications and use cases are not well-defined. However, based on the name, it can be inferred that the Unproven may be a prototype or a novel component that requires further testing and validation in various electronic applications.
Explore Projects Built with Unproven
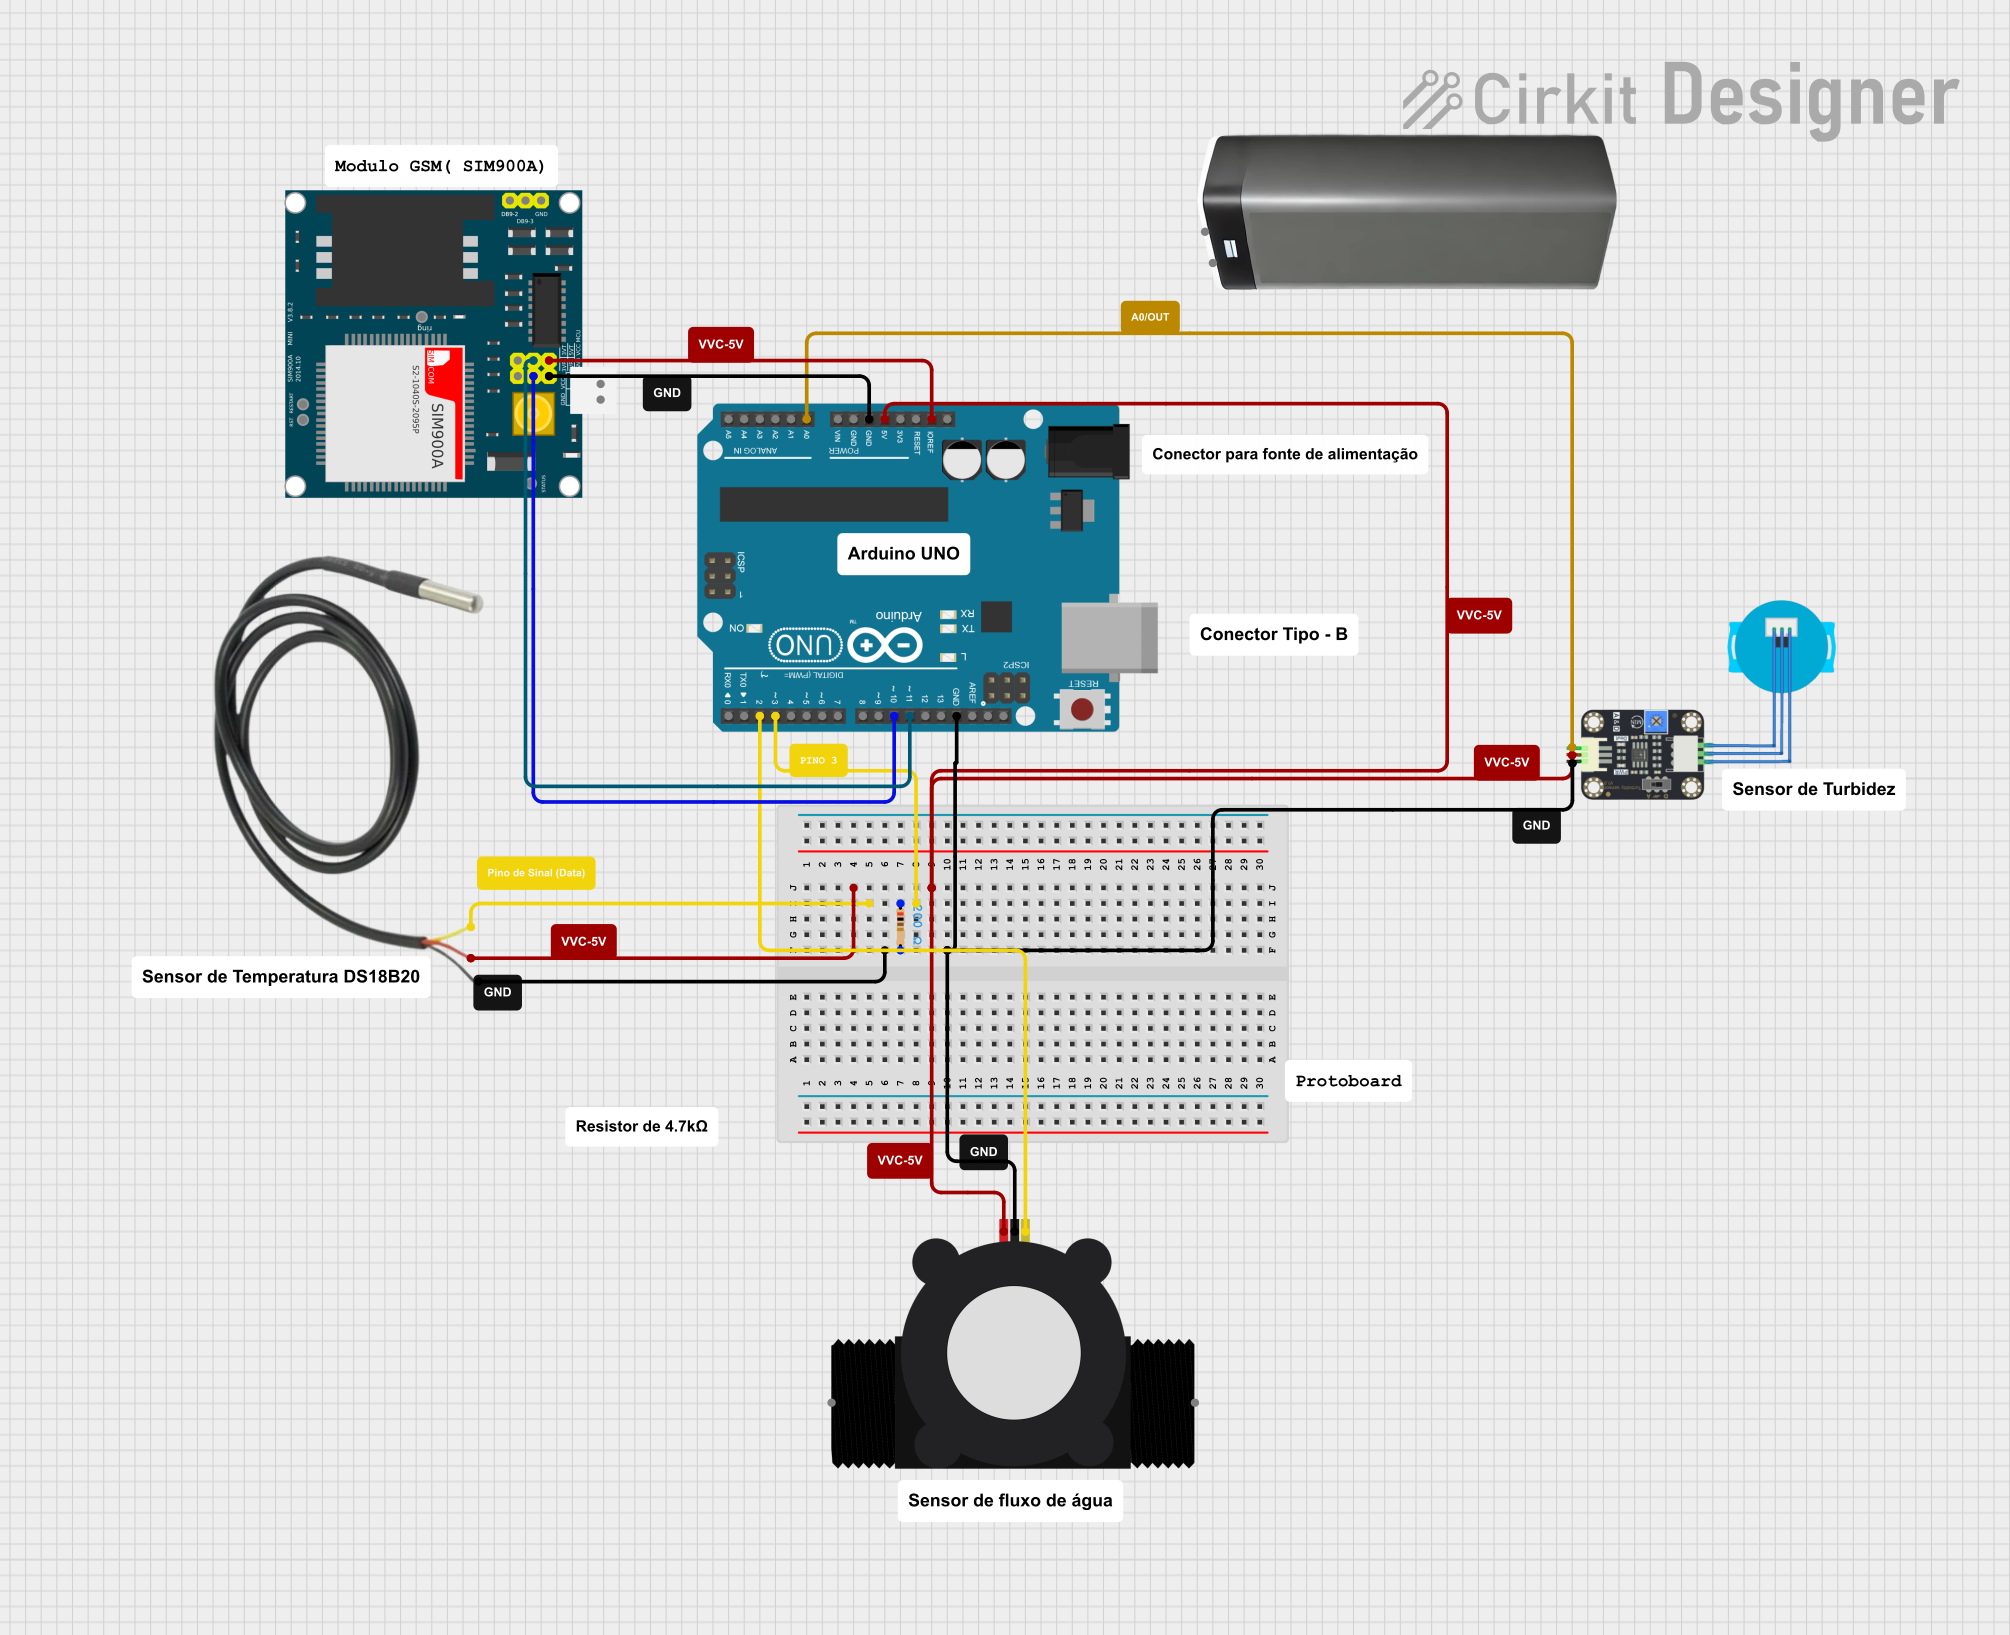
 Open Project in Cirkit Designer
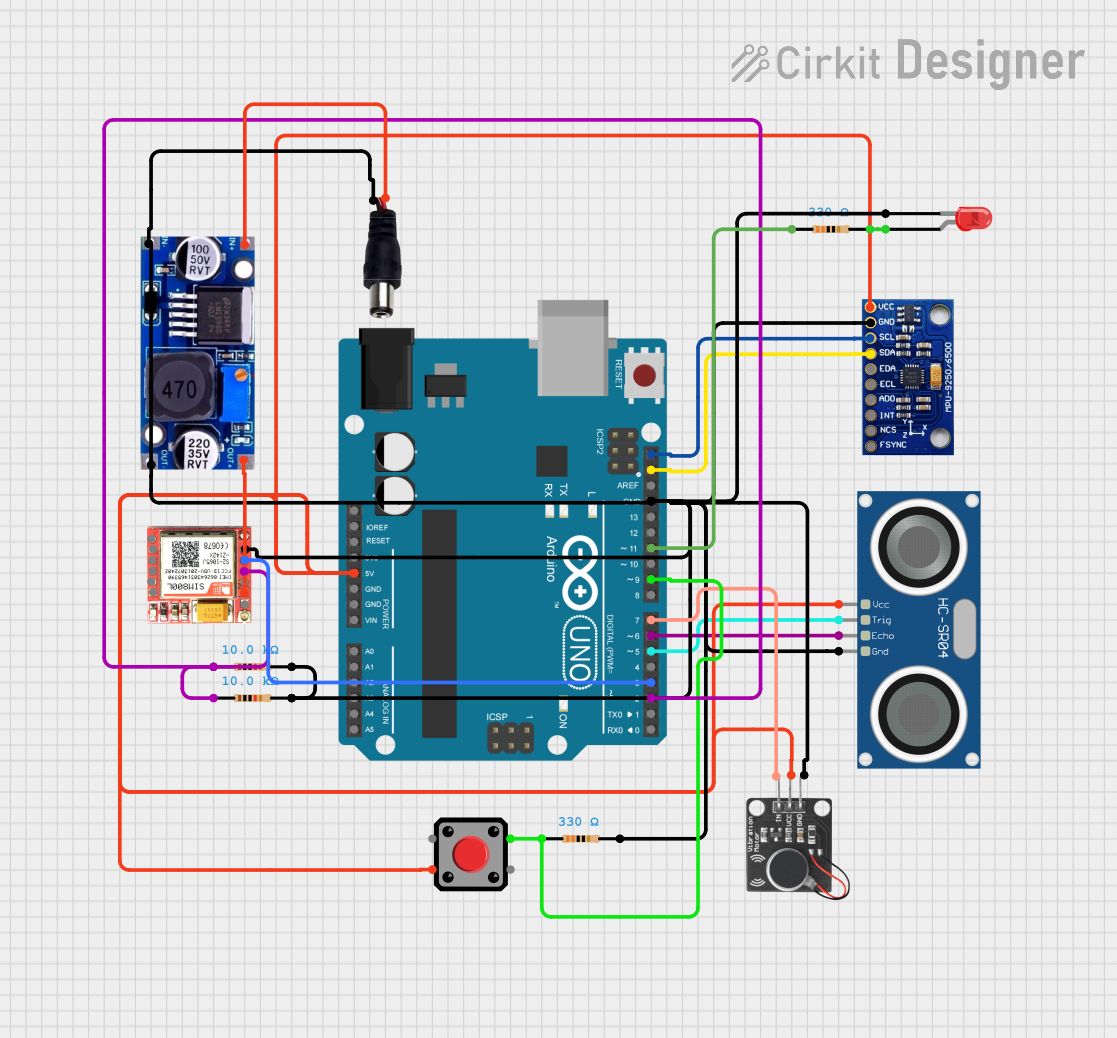
 Open Project in Cirkit Designer
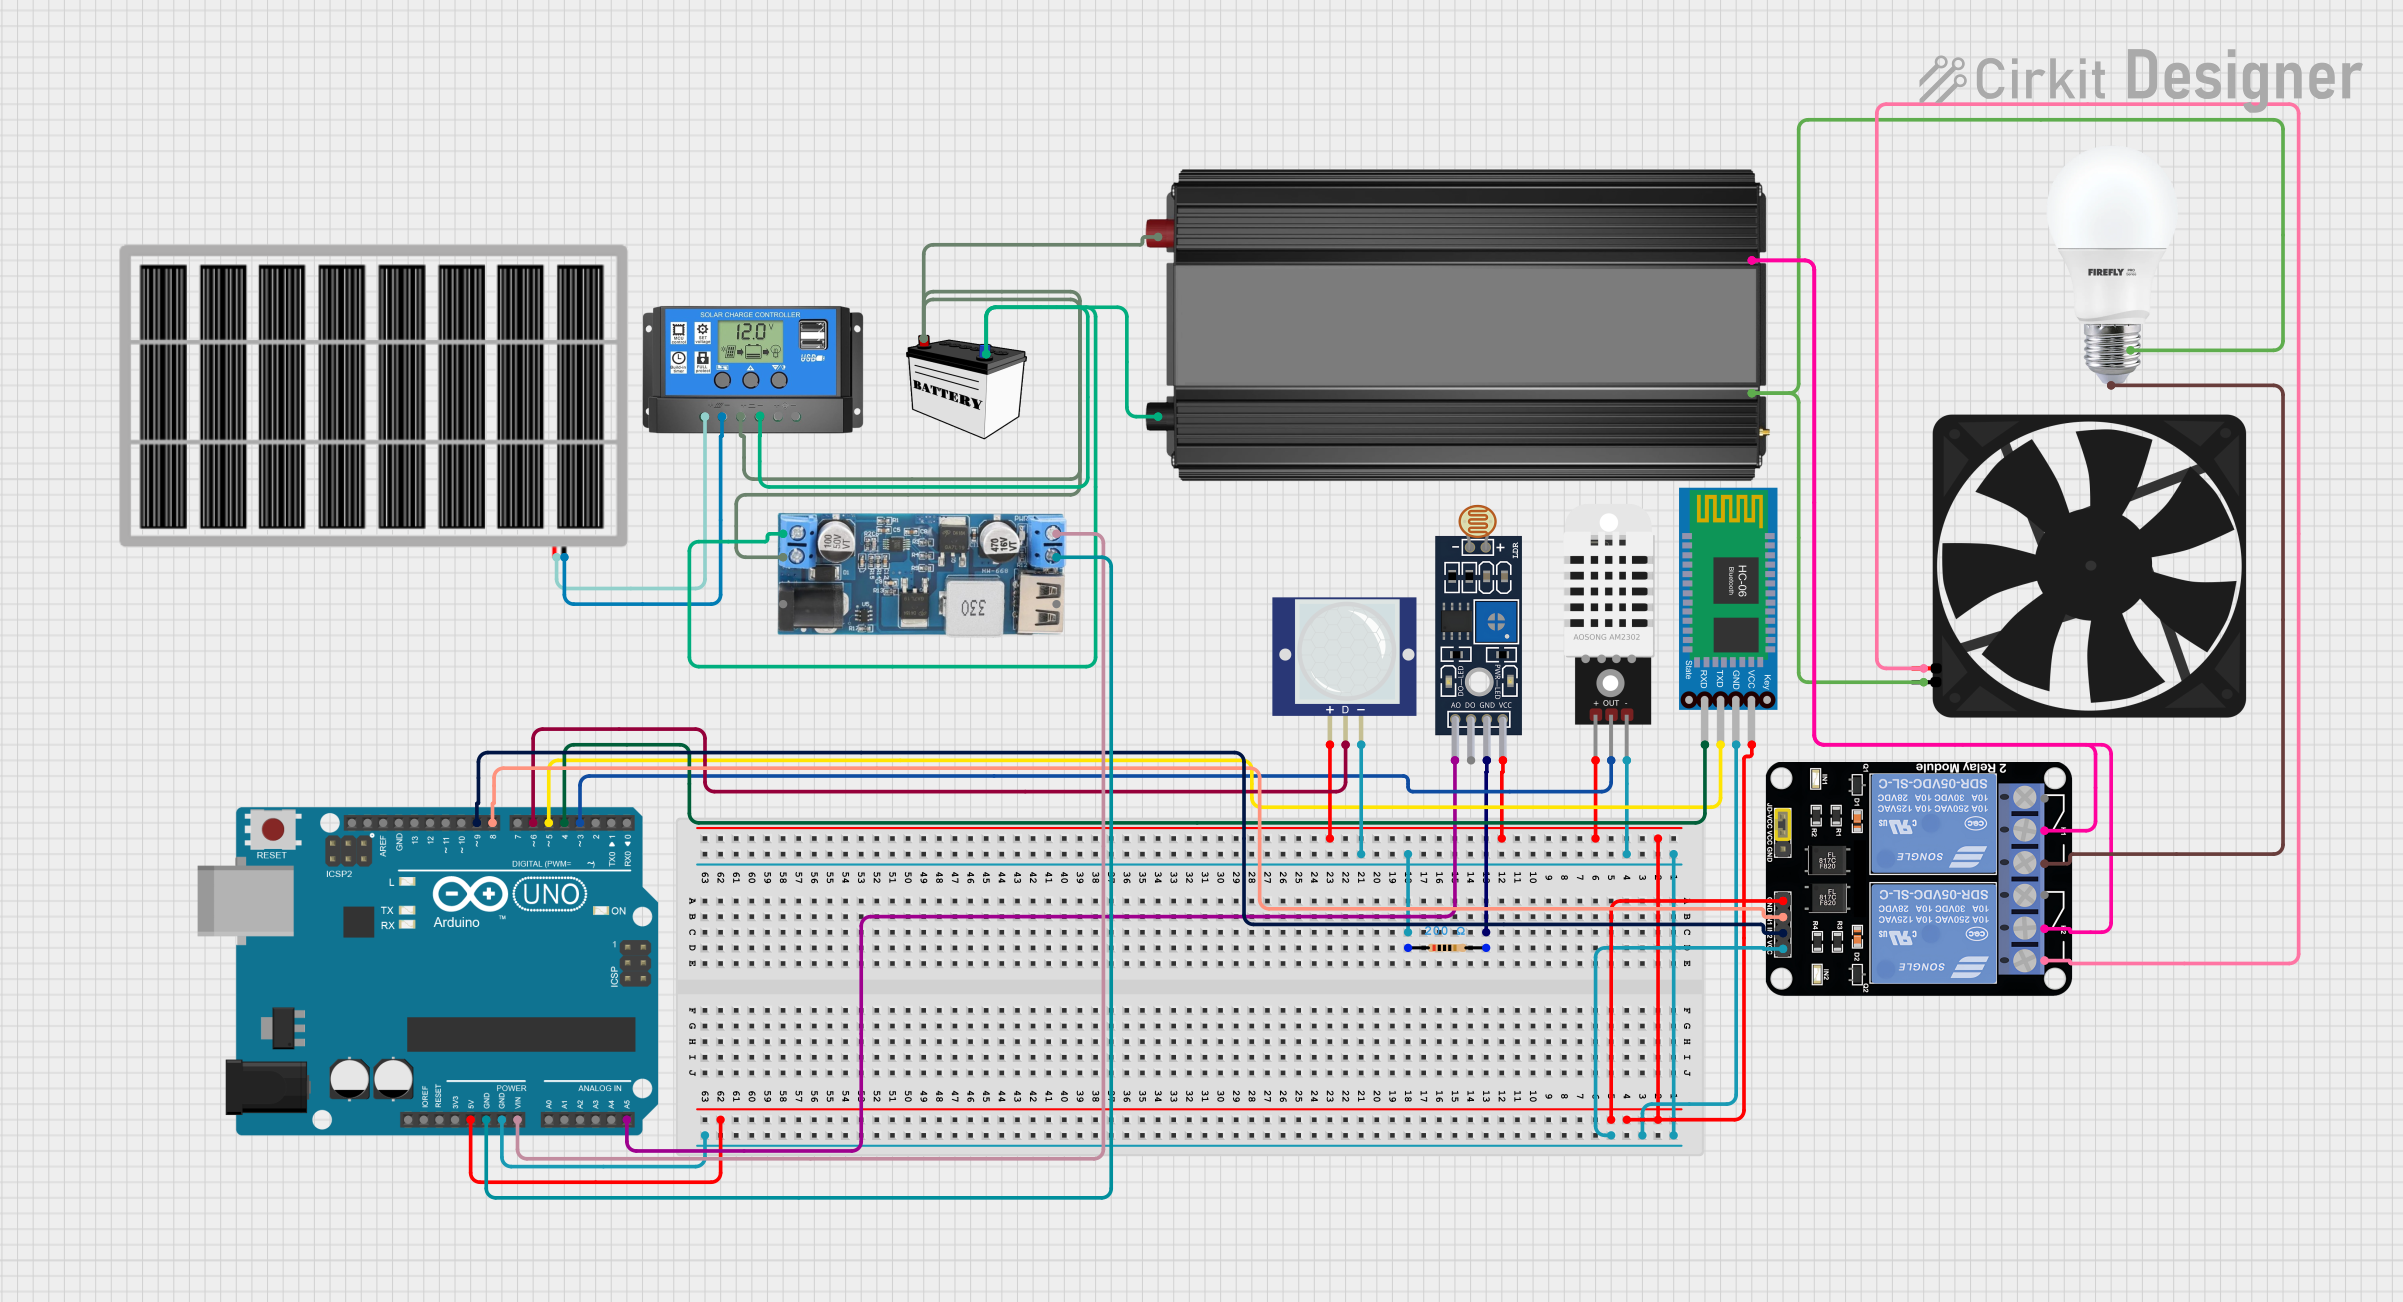
 Open Project in Cirkit Designer
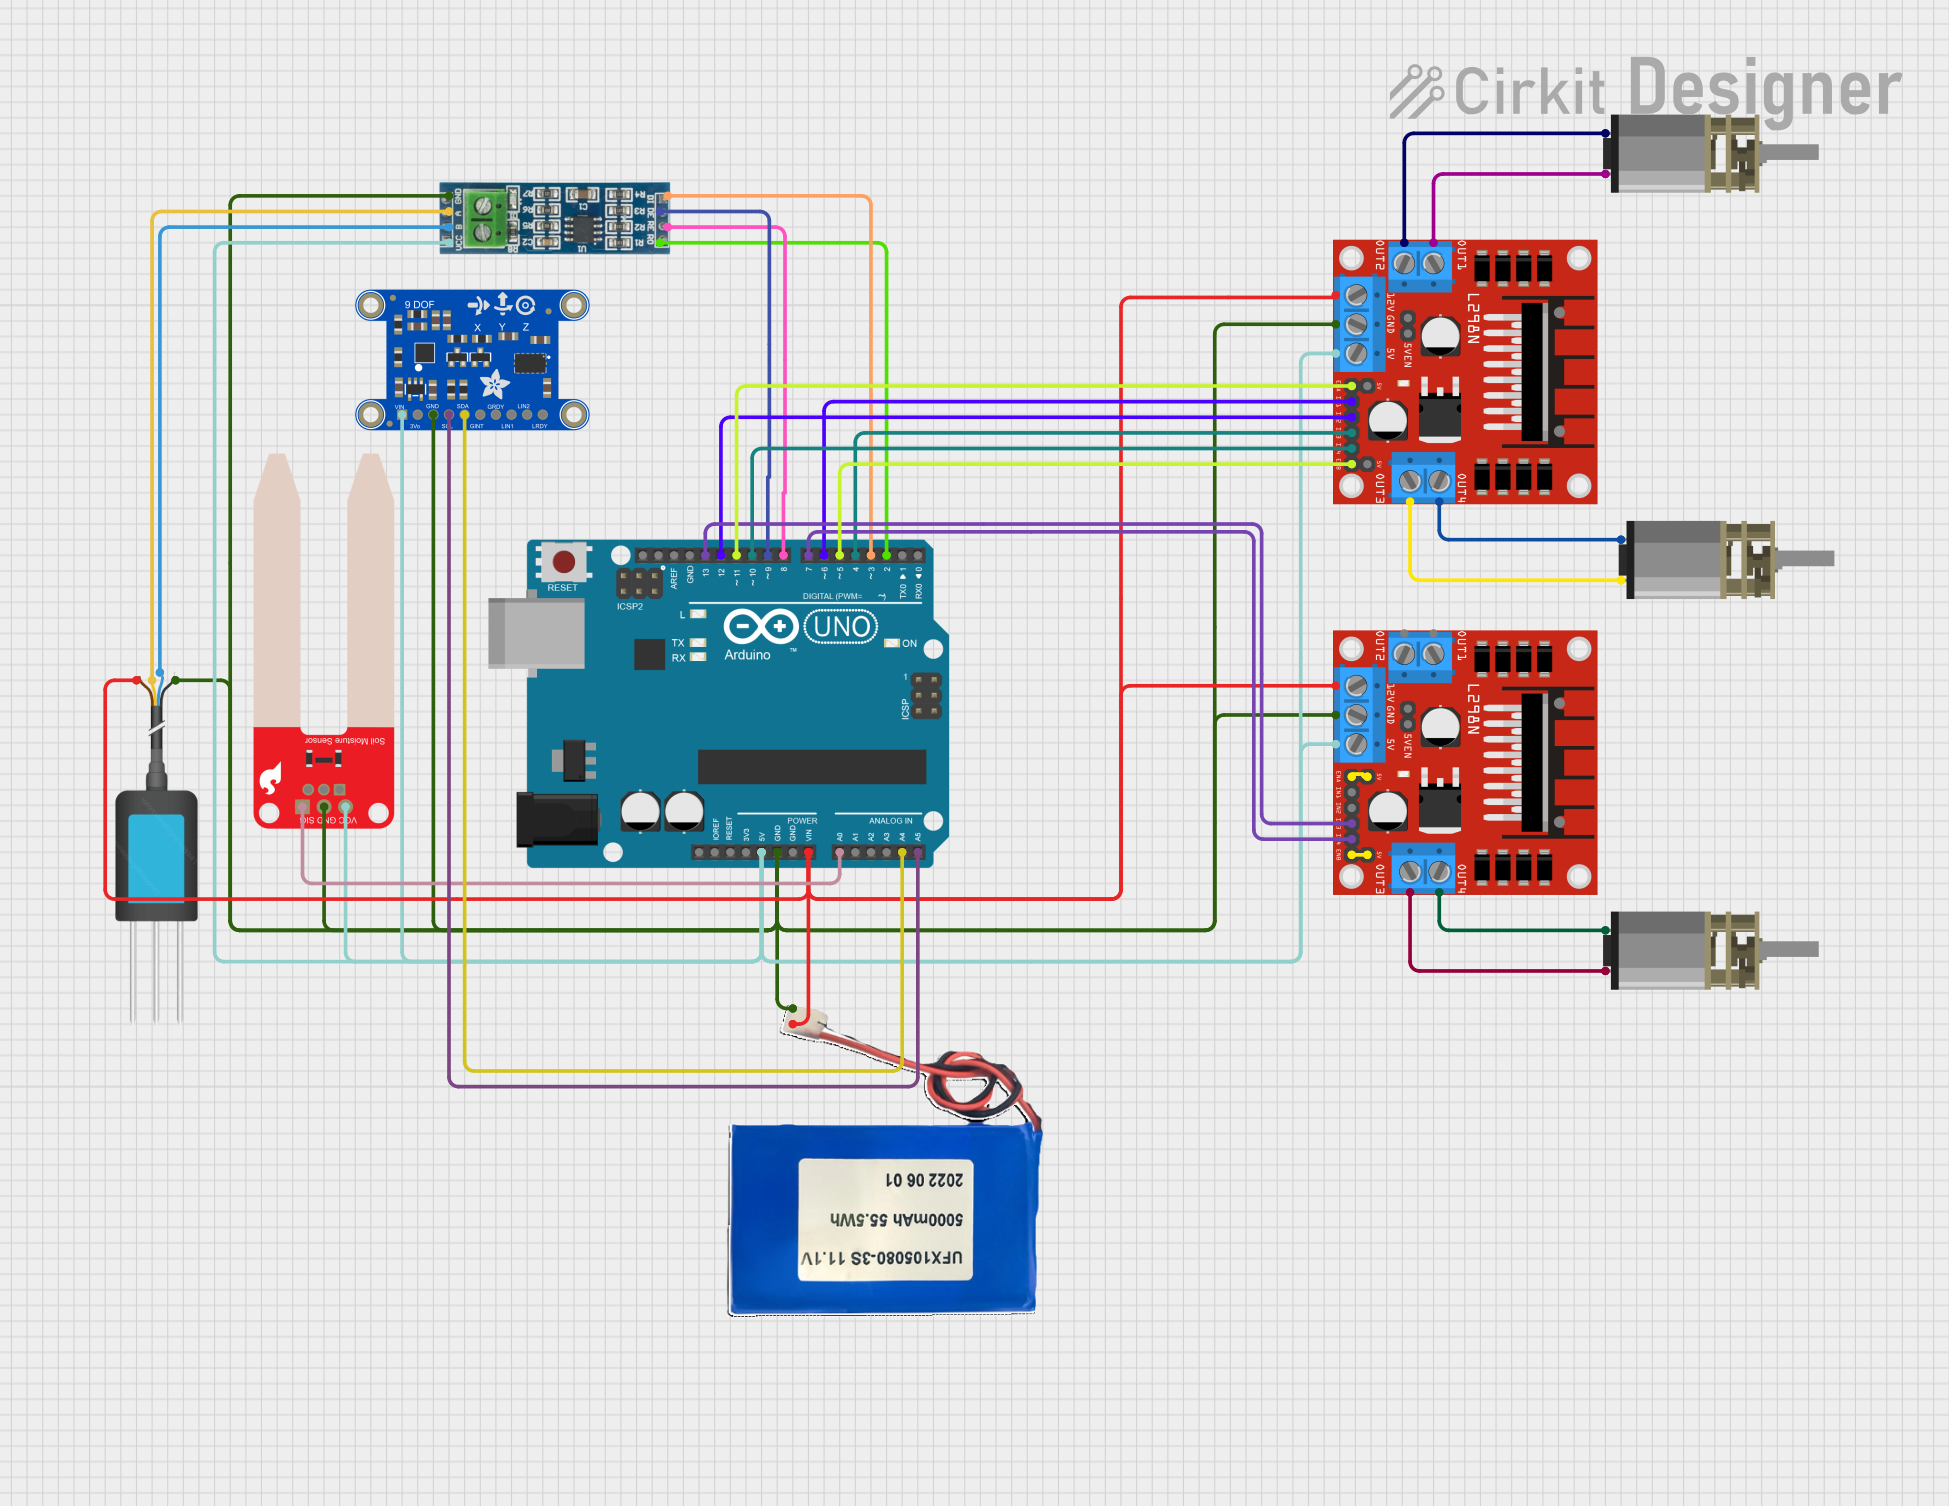
 Open Project in Cirkit Designer
Explore Projects Built with Unproven

 Open Project in Cirkit Designer
 Open Project in Cirkit Designer
 Open Project in Cirkit Designer
 Open Project in Cirkit Designer
Technical Specifications
Key Technical Details
| Specification | Value | Description |
|---|---|---|
| Voltage Rating | TBD V | The maximum voltage the component can handle |
| Current Rating | TBD A | The maximum current the component can conduct |
| Power Rating | TBD W | The maximum power the component can dissipate |
| Operating Temperature | TBD °C | The temperature range in which the component operates safely |
Pin Configuration and Descriptions
| Pin Number | Name | Description |
|---|---|---|
| 1 | VCC | Power supply input |
| 2 | GND | Ground connection |
| 3 | IN | Input signal |
| 4 | OUT | Output signal |
| 5 | CTRL | Control pin (if applicable) |
Note: The above table is a placeholder and should be updated with the actual pin configuration once the details are available.
Usage Instructions
Integration into a Circuit
- Power Supply Connection: Connect the VCC pin to a power supply that matches the voltage rating and the GND pin to the common ground of the circuit.
- Signal Input: Apply the input signal to the IN pin, ensuring that it does not exceed the specified voltage limits.
- Output Signal: Monitor the OUT pin for the component's response to the input signal.
- Control Pin: If the CTRL pin is present, use it according to the component's datasheet to modify its behavior.
Important Considerations and Best Practices
- Always verify the voltage and current ratings before powering the component to prevent damage.
- Use appropriate decoupling capacitors near the power pins to minimize noise and voltage spikes.
- Ensure that the component is properly soldered to the circuit board with no short circuits.
- Follow ESD safety precautions when handling the Unproven to avoid static damage.
Troubleshooting and FAQs
Common Issues
- No Output Signal: Ensure that the power supply is connected correctly and the input signal is within the specified range.
- Overheating: Check if the current draw is within the limits and if the component is receiving adequate cooling.
- Intermittent Operation: Inspect the solder joints and connections for any loose or broken links.
Solutions and Tips
- Double-check all connections and verify that the component is not being operated outside its specified ratings.
- If the component is not functioning as expected, replace it with another unit to rule out a defective piece.
- Consult the manufacturer's support or community forums for additional assistance.
Example Code for Arduino UNO
// Example code to demonstrate basic usage of the Unproven component with an Arduino UNO

void setup() {
  // Initialize the control pin as an output
  pinMode(5, OUTPUT);
}

void loop() {
  // Example logic to control the Unproven component
  digitalWrite(5, HIGH); // Set the CTRL pin high
  delay(1000);           // Wait for 1 second
  digitalWrite(5, LOW);  // Set the CTRL pin low
  delay(1000);           // Wait for 1 second
}

// Note: This code is hypothetical and should be adapted to the actual functionality
// of the Unproven component once its operation is known.
Note: The provided code is a generic template and should be modified to fit the actual functionality of the Unproven component. The comments and logic within the code are placeholders and must be updated according to the specific use case of the component.
This documentation is a starting point for the Unproven component. As more information becomes available, it should be updated to reflect the actual characteristics and applications of the component.