How to Use IR Sensor: Examples, Pinouts, and Specs

Introduction
An IR (Infrared) sensor is an electronic device that detects infrared radiation emitted by objects. It is widely used in applications such as proximity sensing, motion detection, and remote control systems. The sensor operates by emitting infrared light and detecting the reflected signal from nearby objects, making it ideal for non-contact detection.
Manufactured by Arduino, the IR sensor (Part ID: Uno) is a versatile and reliable component that integrates seamlessly with Arduino boards, including the Arduino UNO. Its compact design and ease of use make it a popular choice for hobbyists and professionals alike.
Explore Projects Built with IR Sensor
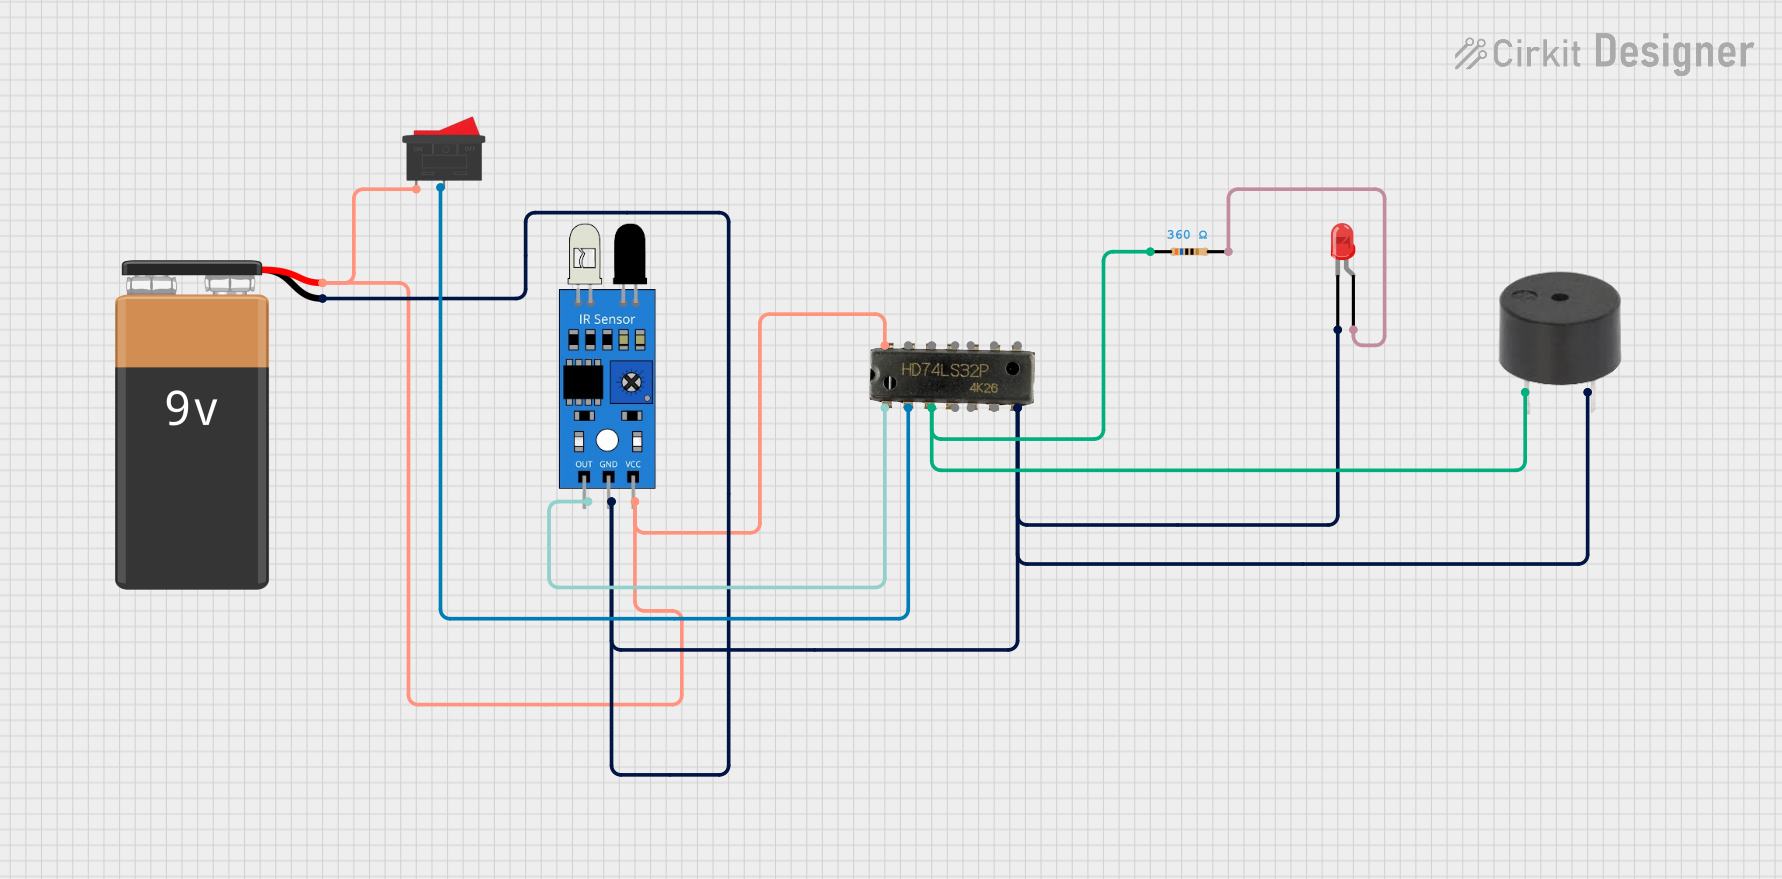
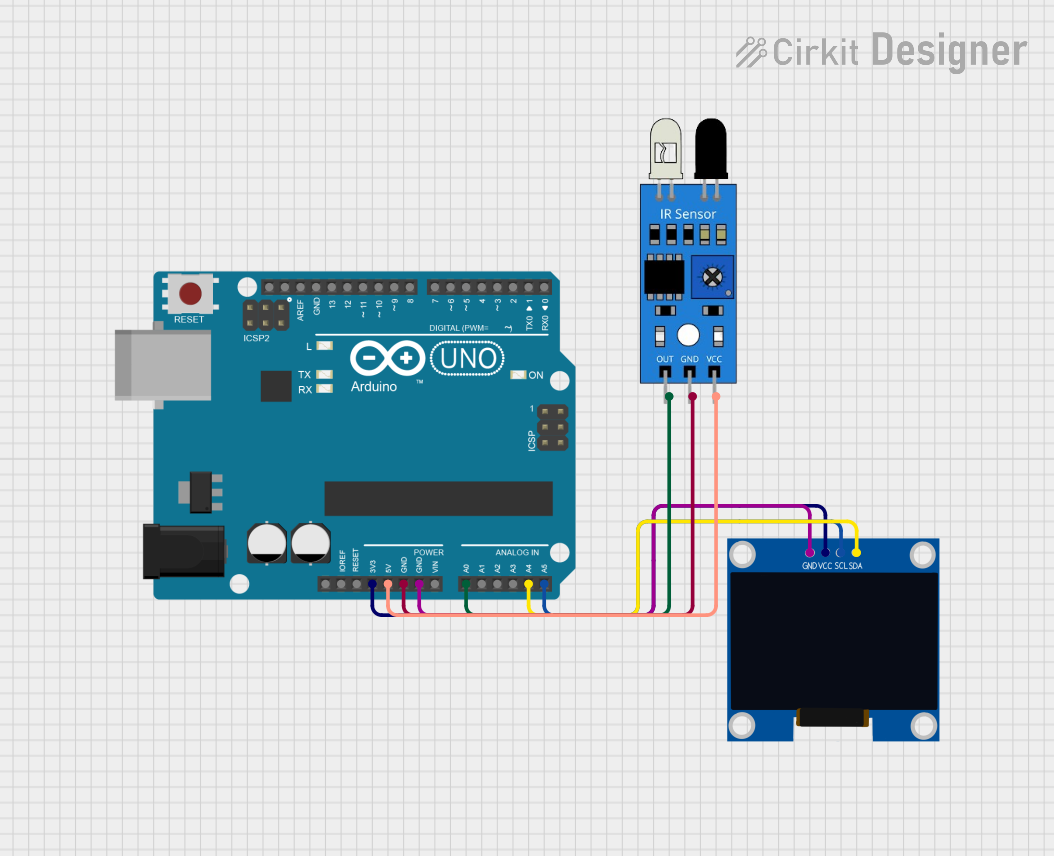
Explore Projects Built with IR Sensor
Technical Specifications
The following table outlines the key technical specifications of the IR sensor:
| Parameter | Specification |
|---|---|
| Operating Voltage | 3.3V - 5V |
| Operating Current | 20mA (typical) |
| Detection Range | 2cm - 30cm (depending on object) |
| Output Type | Digital (High/Low) |
| Wavelength of IR Light | 940nm |
| Response Time | < 2ms |
| Operating Temperature | -25°C to 85°C |
Pin Configuration and Descriptions
The IR sensor typically has three pins. The table below describes each pin:
| Pin Number | Pin Name | Description |
|---|---|---|
| 1 | VCC | Power supply pin (3.3V - 5V) |
| 2 | GND | Ground pin |
| 3 | OUT | Digital output pin (High when no object detected, Low when object detected) |
Usage Instructions
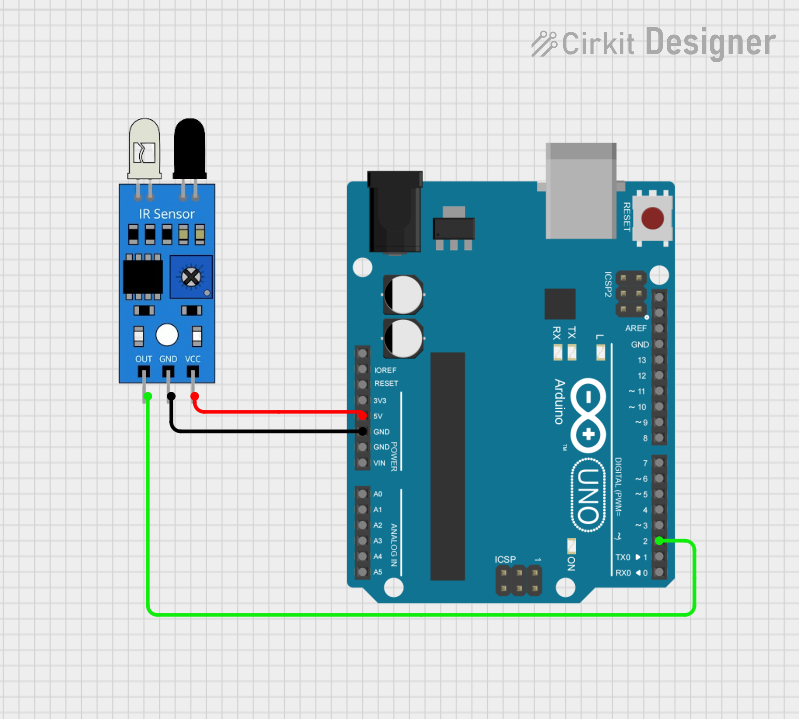
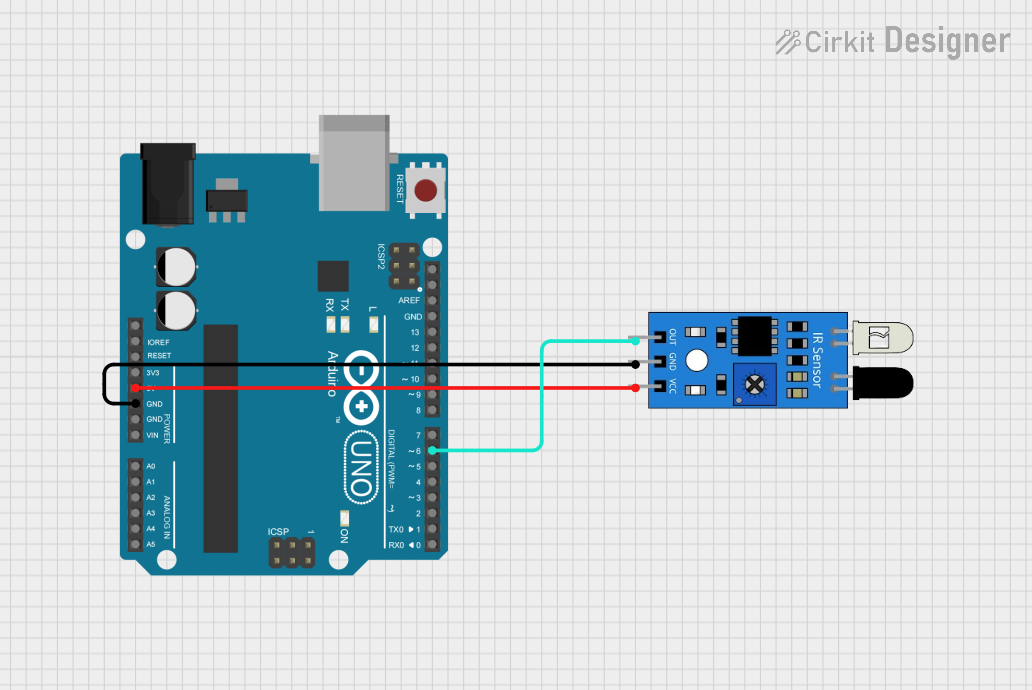
How to Use the IR Sensor in a Circuit
Connect the IR Sensor to Power:
- Connect the
VCCpin of the IR sensor to the 5V pin on the Arduino UNO. - Connect the
GNDpin of the IR sensor to the GND pin on the Arduino UNO.
- Connect the
Connect the Output Pin:
- Connect the
OUTpin of the IR sensor to a digital input pin on the Arduino UNO (e.g., pin 7).
- Connect the
Write and Upload Code:
- Use the Arduino IDE to write a program that reads the sensor's output and performs an action based on the detection.
Test the Circuit:
- Place an object within the detection range of the sensor and observe the output.
Important Considerations and Best Practices
- Ensure the sensor is not exposed to direct sunlight or strong ambient light, as this may interfere with its operation.
- Avoid placing reflective surfaces directly in front of the sensor, as they may cause false readings.
- Use appropriate pull-up or pull-down resistors if required for stable output signals.
- Maintain a clean lens on the sensor to ensure accurate detection.
Example Code for Arduino UNO
Below is an example code snippet to use the IR sensor with an Arduino UNO:
// Define the pin connected to the IR sensor's output
const int irSensorPin = 7; // Digital pin 7
const int ledPin = 13;     // Built-in LED pin on Arduino UNO

void setup() {
  pinMode(irSensorPin, INPUT); // Set IR sensor pin as input
  pinMode(ledPin, OUTPUT);     // Set LED pin as output
  Serial.begin(9600);          // Initialize serial communication
}

void loop() {
  int sensorValue = digitalRead(irSensorPin); // Read the IR sensor output

  if (sensorValue == LOW) {
    // Object detected
    digitalWrite(ledPin, HIGH); // Turn on the LED
    Serial.println("Object detected!");
  } else {
    // No object detected
    digitalWrite(ledPin, LOW);  // Turn off the LED
    Serial.println("No object detected.");
  }

  delay(100); // Small delay for stability
}
Troubleshooting and FAQs
Common Issues and Solutions
The sensor is not detecting objects:
- Ensure the sensor is properly powered (check VCC and GND connections).
- Verify that the object is within the detection range (2cm - 30cm).
- Check for any obstructions or dirt on the sensor lens.
False detections or unstable output:
- Avoid using the sensor in environments with strong ambient light or infrared sources.
- Use a decoupling capacitor (e.g., 0.1µF) across the power supply pins to reduce noise.
No output signal from the sensor:
- Confirm that the
OUTpin is correctly connected to the Arduino input pin. - Test the sensor with a multimeter to ensure it is functioning.
- Confirm that the
FAQs
Q: Can the IR sensor detect transparent objects?
A: The IR sensor may have difficulty detecting transparent objects, as they do not reflect infrared light effectively.
Q: What is the maximum detection range of the sensor?
A: The detection range is typically 2cm to 30cm, but it may vary depending on the size, shape, and reflectivity of the object.
Q: Can I use the IR sensor with a 3.3V power supply?
A: Yes, the IR sensor operates within a voltage range of 3.3V to 5V.
Q: How can I increase the detection range?
A: The detection range is hardware-limited, but you can experiment with different object materials or use a lens to focus the IR beam.
By following this documentation, you can effectively integrate and troubleshoot the IR sensor in your projects.