How to Use ELEGOO 2.8 Inches TFT Touch Screen with SD Card: Examples, Pinouts, and Specs
Introduction
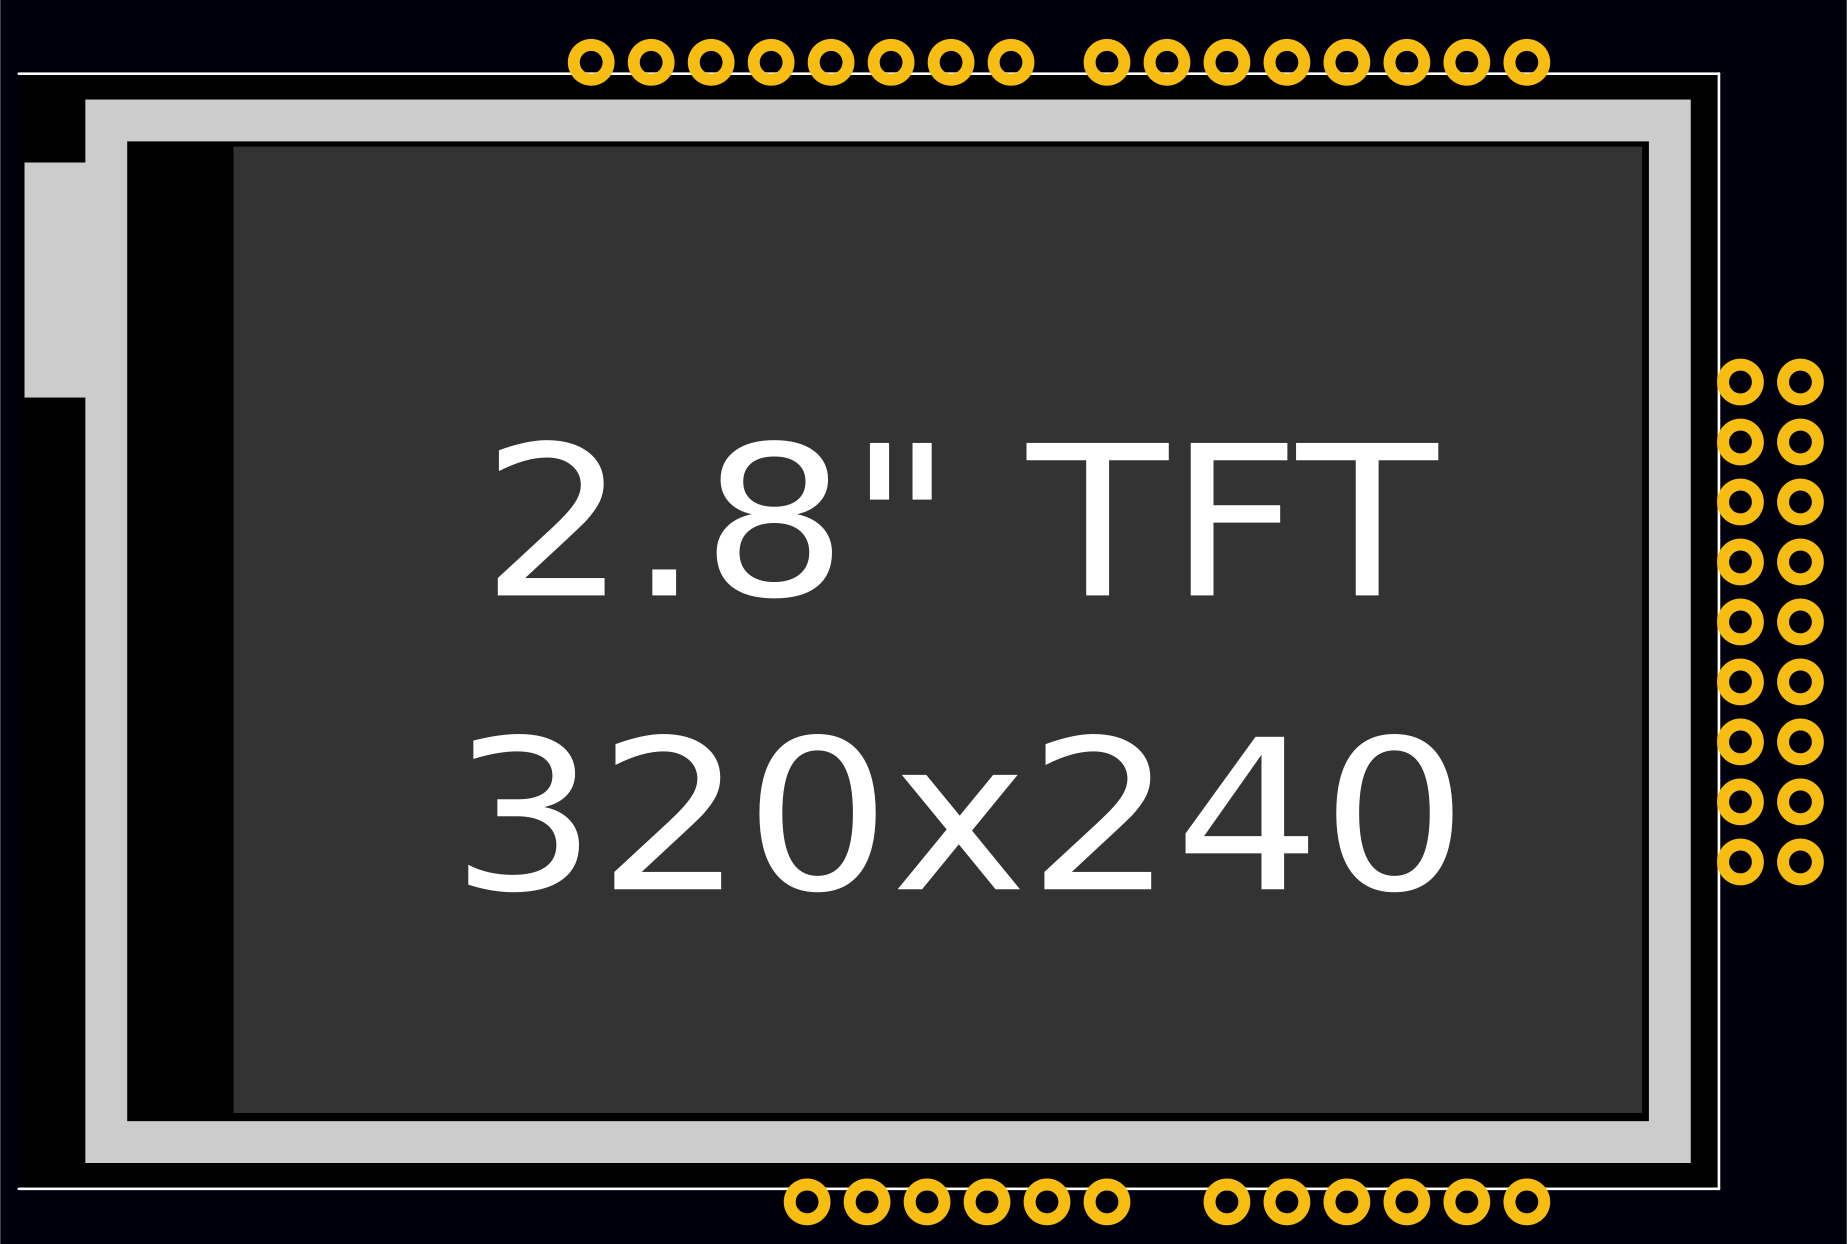
The ELEGOO 2.8 Inches TFT Touch Screen is a versatile and colorful display module designed for interfacing with microcontrollers such as the Arduino UNO. It features a resistive touch panel which allows for user input, making it suitable for a wide range of interactive projects. The inclusion of an SD card slot provides additional storage for images, data logs, or other files, enhancing the module's capability for projects that require external data storage.
Explore Projects Built with ELEGOO 2.8 Inches TFT Touch Screen with SD Card

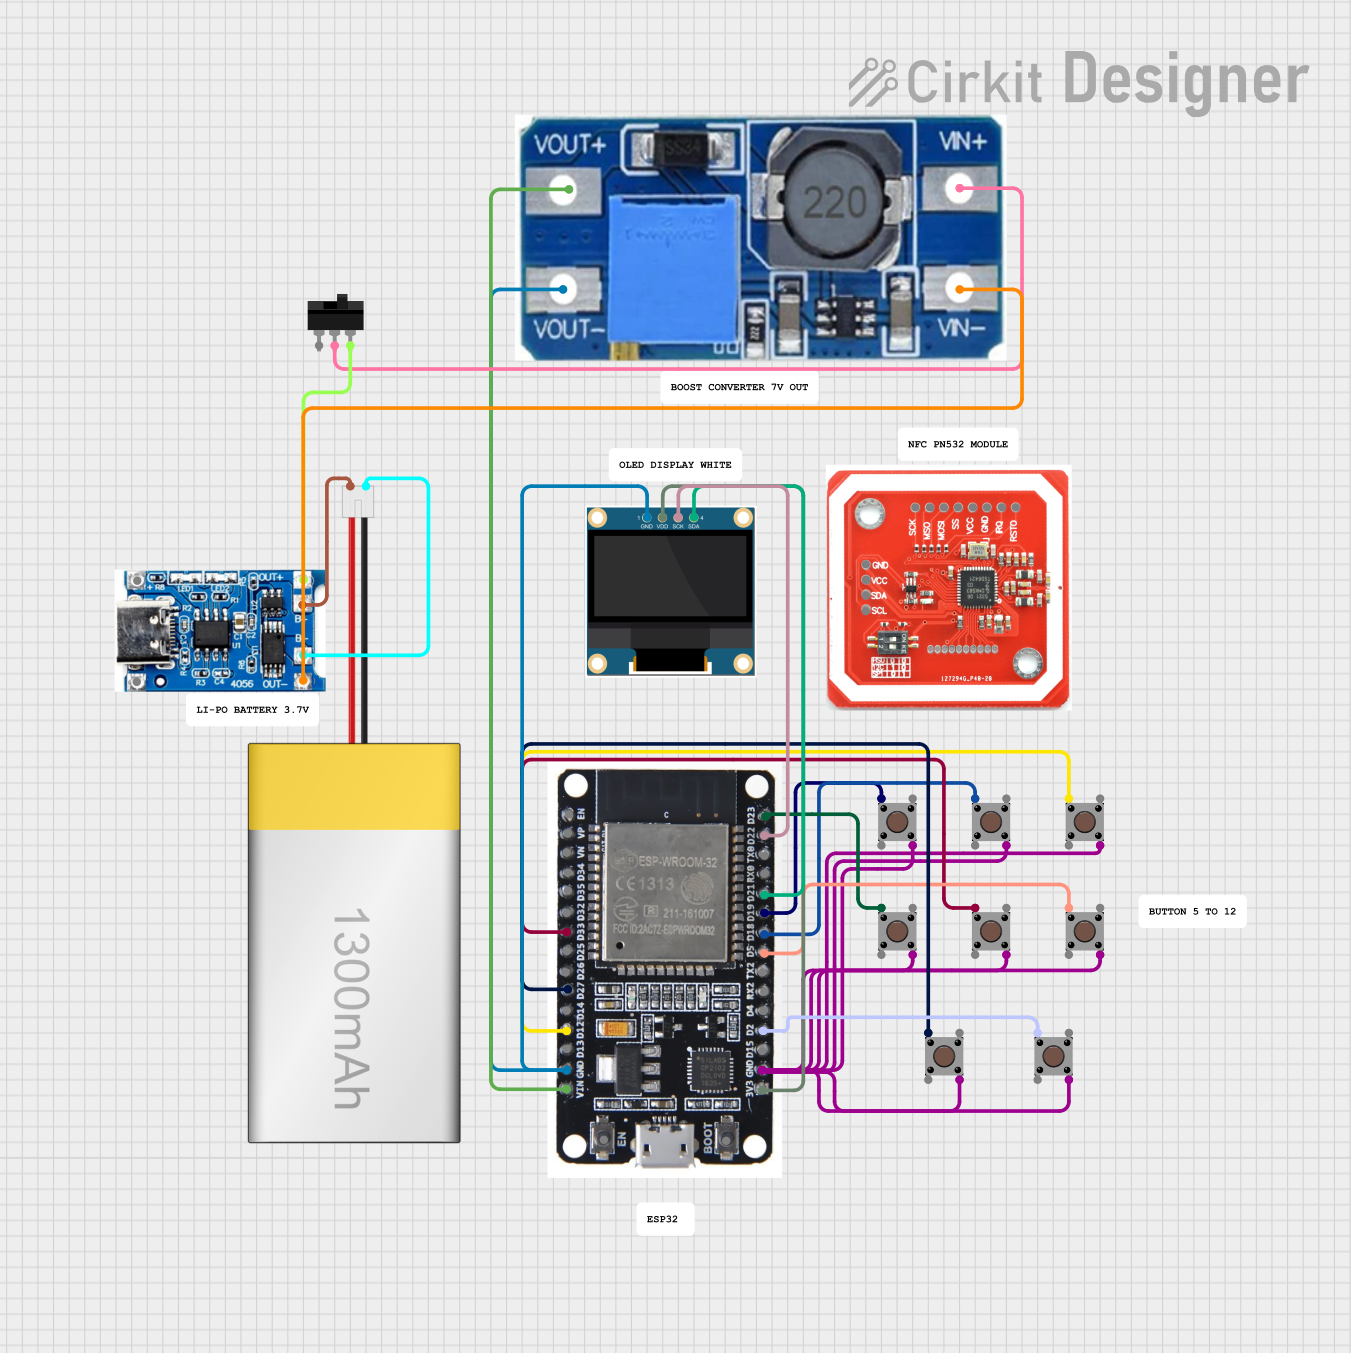
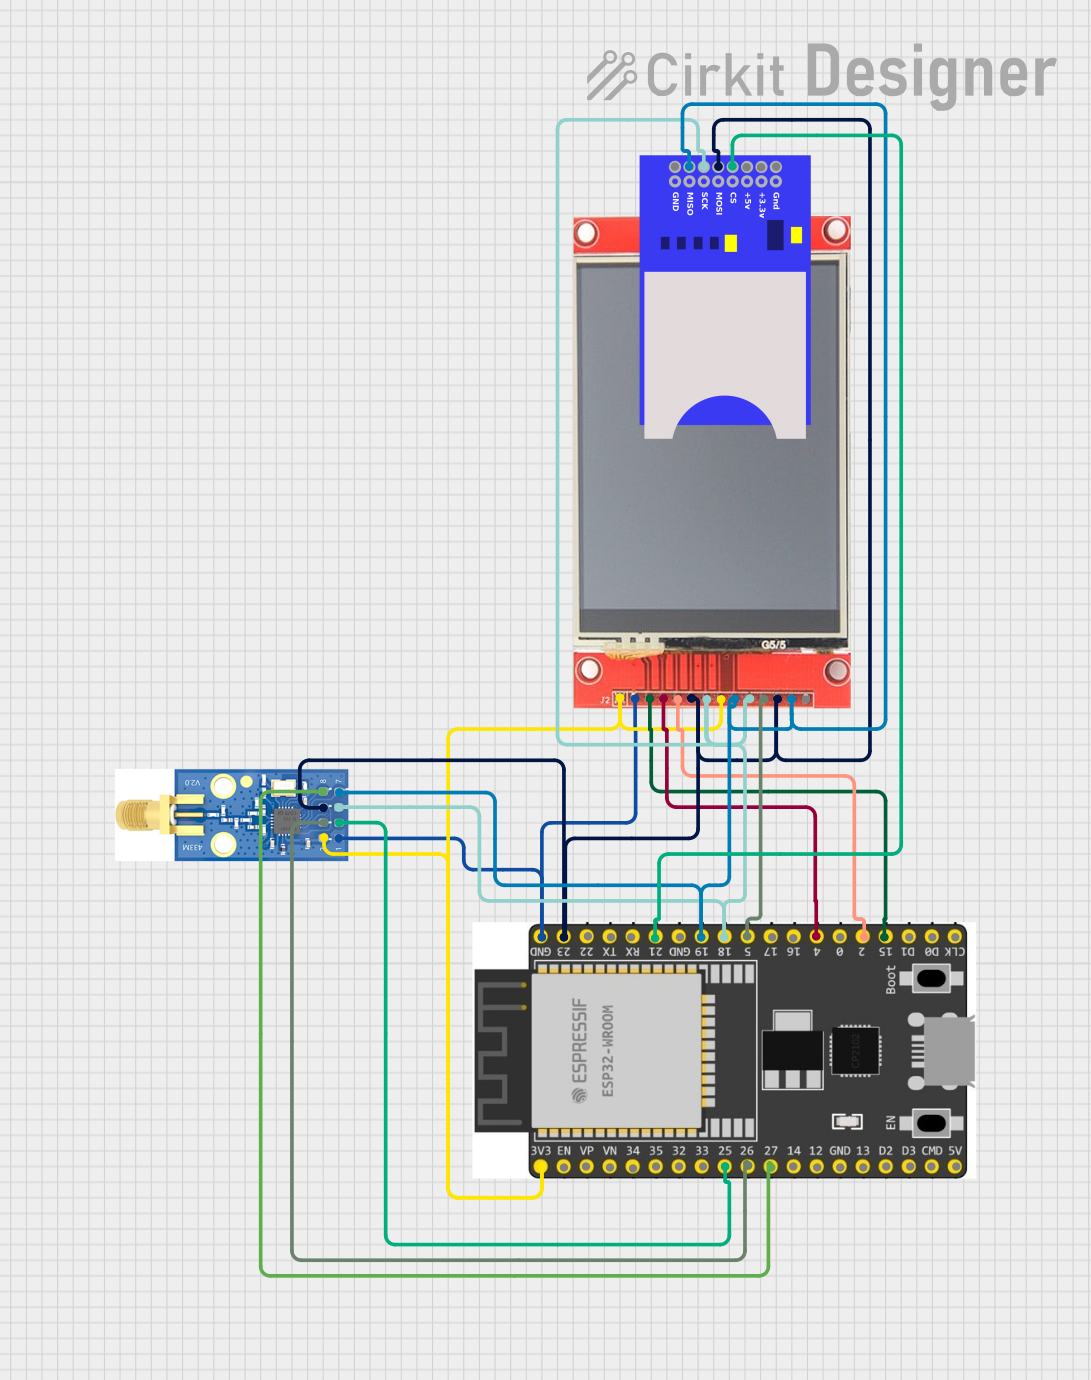
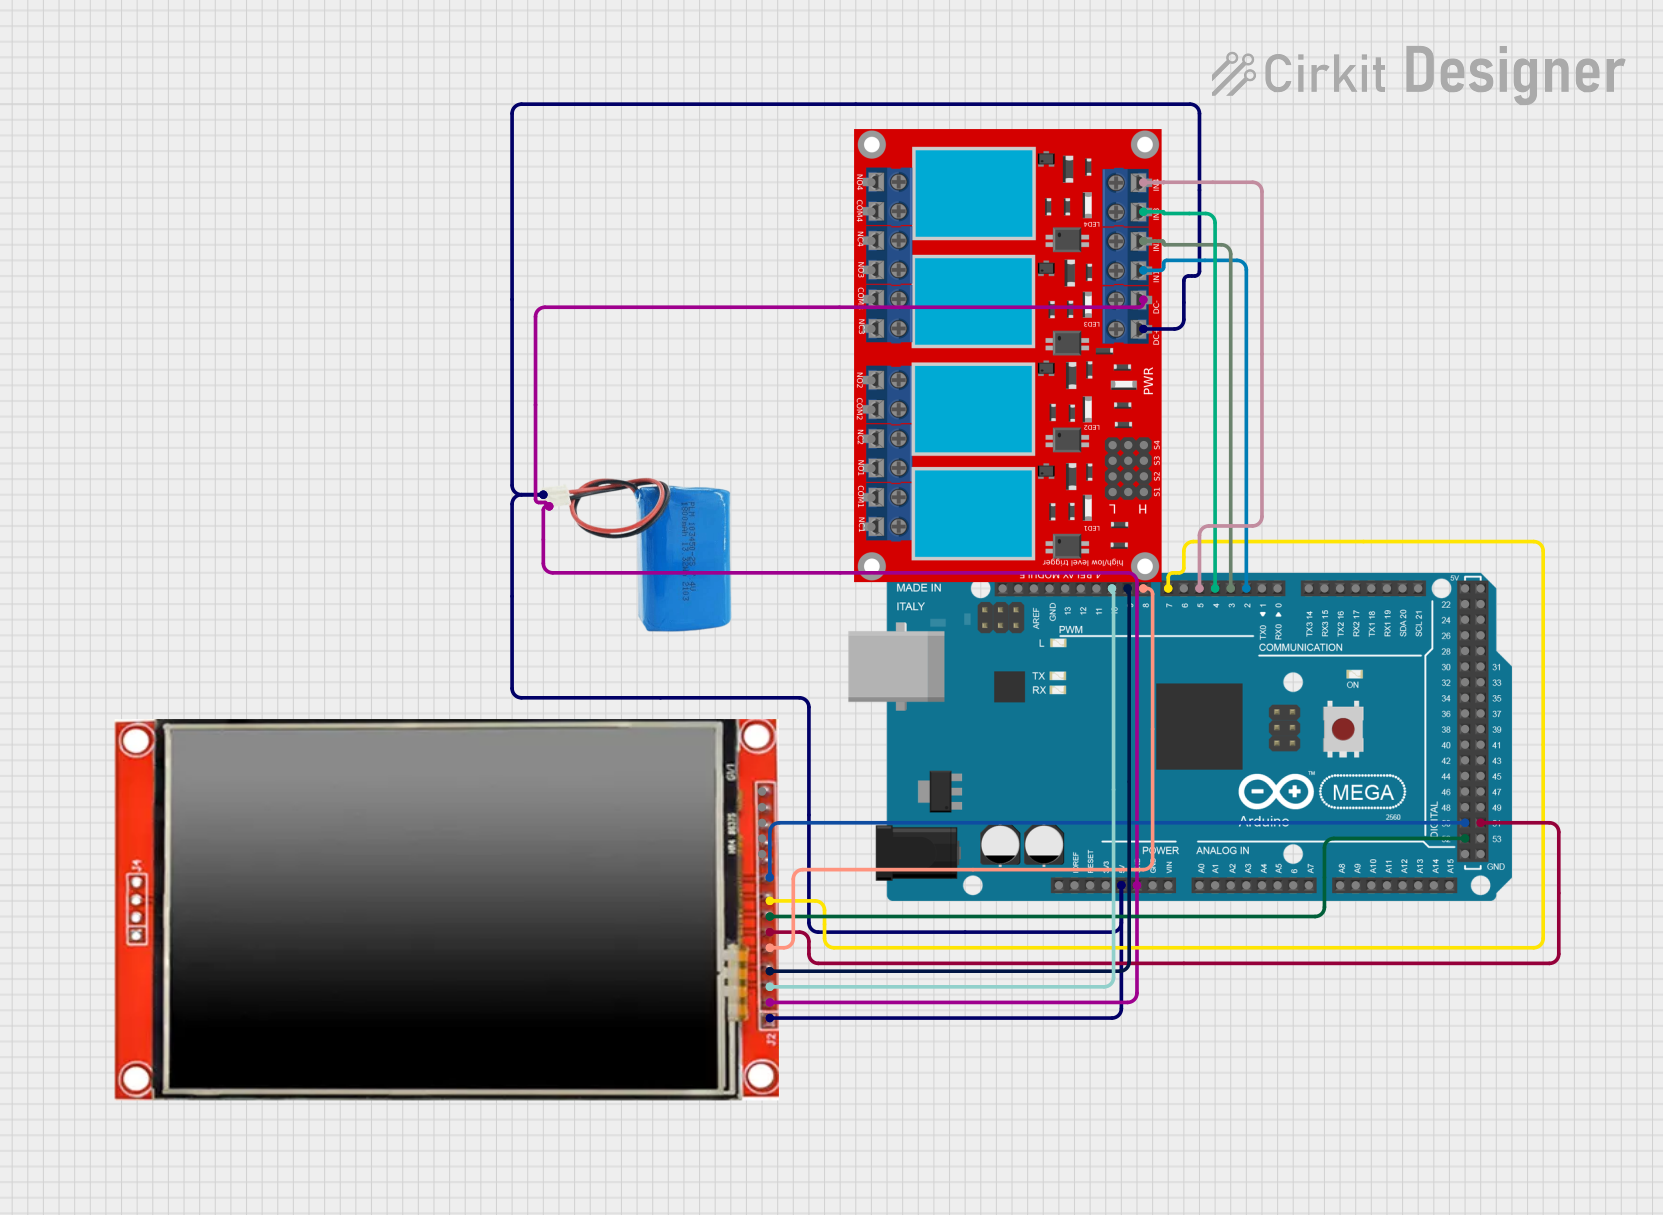
Explore Projects Built with ELEGOO 2.8 Inches TFT Touch Screen with SD Card
Common Applications and Use Cases
- DIY touchscreen control panels
- Data monitoring and visualization
- Interactive art installations
- Portable game consoles
- Educational tools and demonstrations
Technical Specifications
Key Technical Details
- Display Size: 2.8 inches
- Display Resolution: 240 x 320 pixels
- Interface: SPI (Serial Peripheral Interface)
- Touch Screen: Resistive touch
- Onboard Storage: SD card slot
- Operating Voltage: 3.3V to 5V
Pin Configuration and Descriptions
| Pin Number | Pin Name | Description |
|---|---|---|
| 1 | VCC | Power supply (3.3V to 5V) |
| 2 | GND | Ground |
| 3 | CS | Chip select for TFT display |
| 4 | RESET | Reset pin for TFT display |
| 5 | D/C | Data/Command control pin |
| 6 | SD_CS | Chip select for SD card |
| 7 | MOSI | Master Out Slave In for SPI communication |
| 8 | SCK | Serial Clock for SPI communication |
| 9 | MISO | Master In Slave Out for SPI communication |
| 10 | LED | Backlight control pin |
| 11 | T_CLK | Touch clock pin |
| 12 | T_CS | Touch chip select |
| 13 | T_DIN | Touch data in |
| 14 | T_DO | Touch data out |
| 15 | T_IRQ | Touch interrupt |
Usage Instructions
How to Use the Component in a Circuit
- Power Connections: Connect the VCC pin to the 5V output on the Arduino and the GND pin to one of the Arduino's ground pins.
- SPI Connections: Connect the SCK, MOSI, and MISO pins to the corresponding SPI pins on the Arduino.
- Control Pins: Connect the CS, RESET, and D/C pins to digital pins on the Arduino (these can be defined in software).
- Touch Pins: Connect T_CLK, T_CS, T_DIN, T_DO, and T_IRQ to digital pins on the Arduino.
- Backlight: The LED pin can be connected to a PWM-capable pin for backlight control or directly to 3.3V for constant backlight.
Important Considerations and Best Practices
- Use a level shifter or logic level converter if you are interfacing with a 5V microcontroller to protect the 3.3V logic of the TFT display.
- Ensure that the touch screen and SD card SPI lines are not in conflict; they may need to be selectively enabled/disabled in your code.
- For optimal performance, use a library that supports this specific TFT model and test the touch screen calibration before implementing it in your project.
Example Arduino Code
#include <Elegoo_TFTLCD.h> // Include the Elegoo TFT library
#include <TouchScreen.h>    // Include the touch screen library

// Pin definitions
#define LCD_CS A3 // Chip Select
#define LCD_CD A2 // Command/Data
#define LCD_WR A1 // LCD Write
#define LCD_RD A0 // LCD Read
#define LCD_RESET A4 // LCD reset

// Initialize the TFT library
Elegoo_TFTLCD tft(LCD_CS, LCD_CD, LCD_WR, LCD_RD, LCD_RESET);

void setup() {
  tft.reset();
  tft.begin(0x9341); // Pass the driver chip type to the library
  tft.setRotation(1); // Set rotation
  tft.fillScreen(BLACK); // Clear the screen to black
}

void loop() {
  // Your code to interact with the touch screen goes here
}
Troubleshooting and FAQs
Common Issues Users Might Face
- Display not powering on: Check the power connections and ensure that the voltage is within the specified range.
- Touch not responsive: Verify the touch screen connections and calibrate the touch screen using the library's calibration sketch.
- SD card not reading: Ensure that the SD card is formatted correctly and the SD_CS pin is properly connected and configured in your code.
Solutions and Tips for Troubleshooting
- Double-check all wiring against the pin configuration table.
- Use example sketches provided by the TFT and touch screen libraries to test each function separately.
- Update to the latest version of the libraries used for the TFT display and touch screen.
- Consult the Arduino forums and the ELEGOO community for help if you encounter issues that are not covered in this documentation.
FAQs
Q: Can I use this screen with other microcontrollers besides Arduino? A: Yes, as long as the microcontroller supports SPI communication and operates at a compatible voltage level.
Q: How do I adjust the screen brightness? A: The screen brightness can be adjusted by applying a PWM signal to the LED pin.
Q: What should I do if I see white spots or lines on the display? A: White spots or lines can indicate a hardware issue. Check the display connections and contact the manufacturer if the problem persists.
Q: How can I extend the life of the touch screen? A: Avoid applying excessive force to the touch screen and protect it from sharp objects that could scratch or damage the surface.