How to Use HIFIBERRY STUDIO DAC8X: Examples, Pinouts, and Specs
Introduction
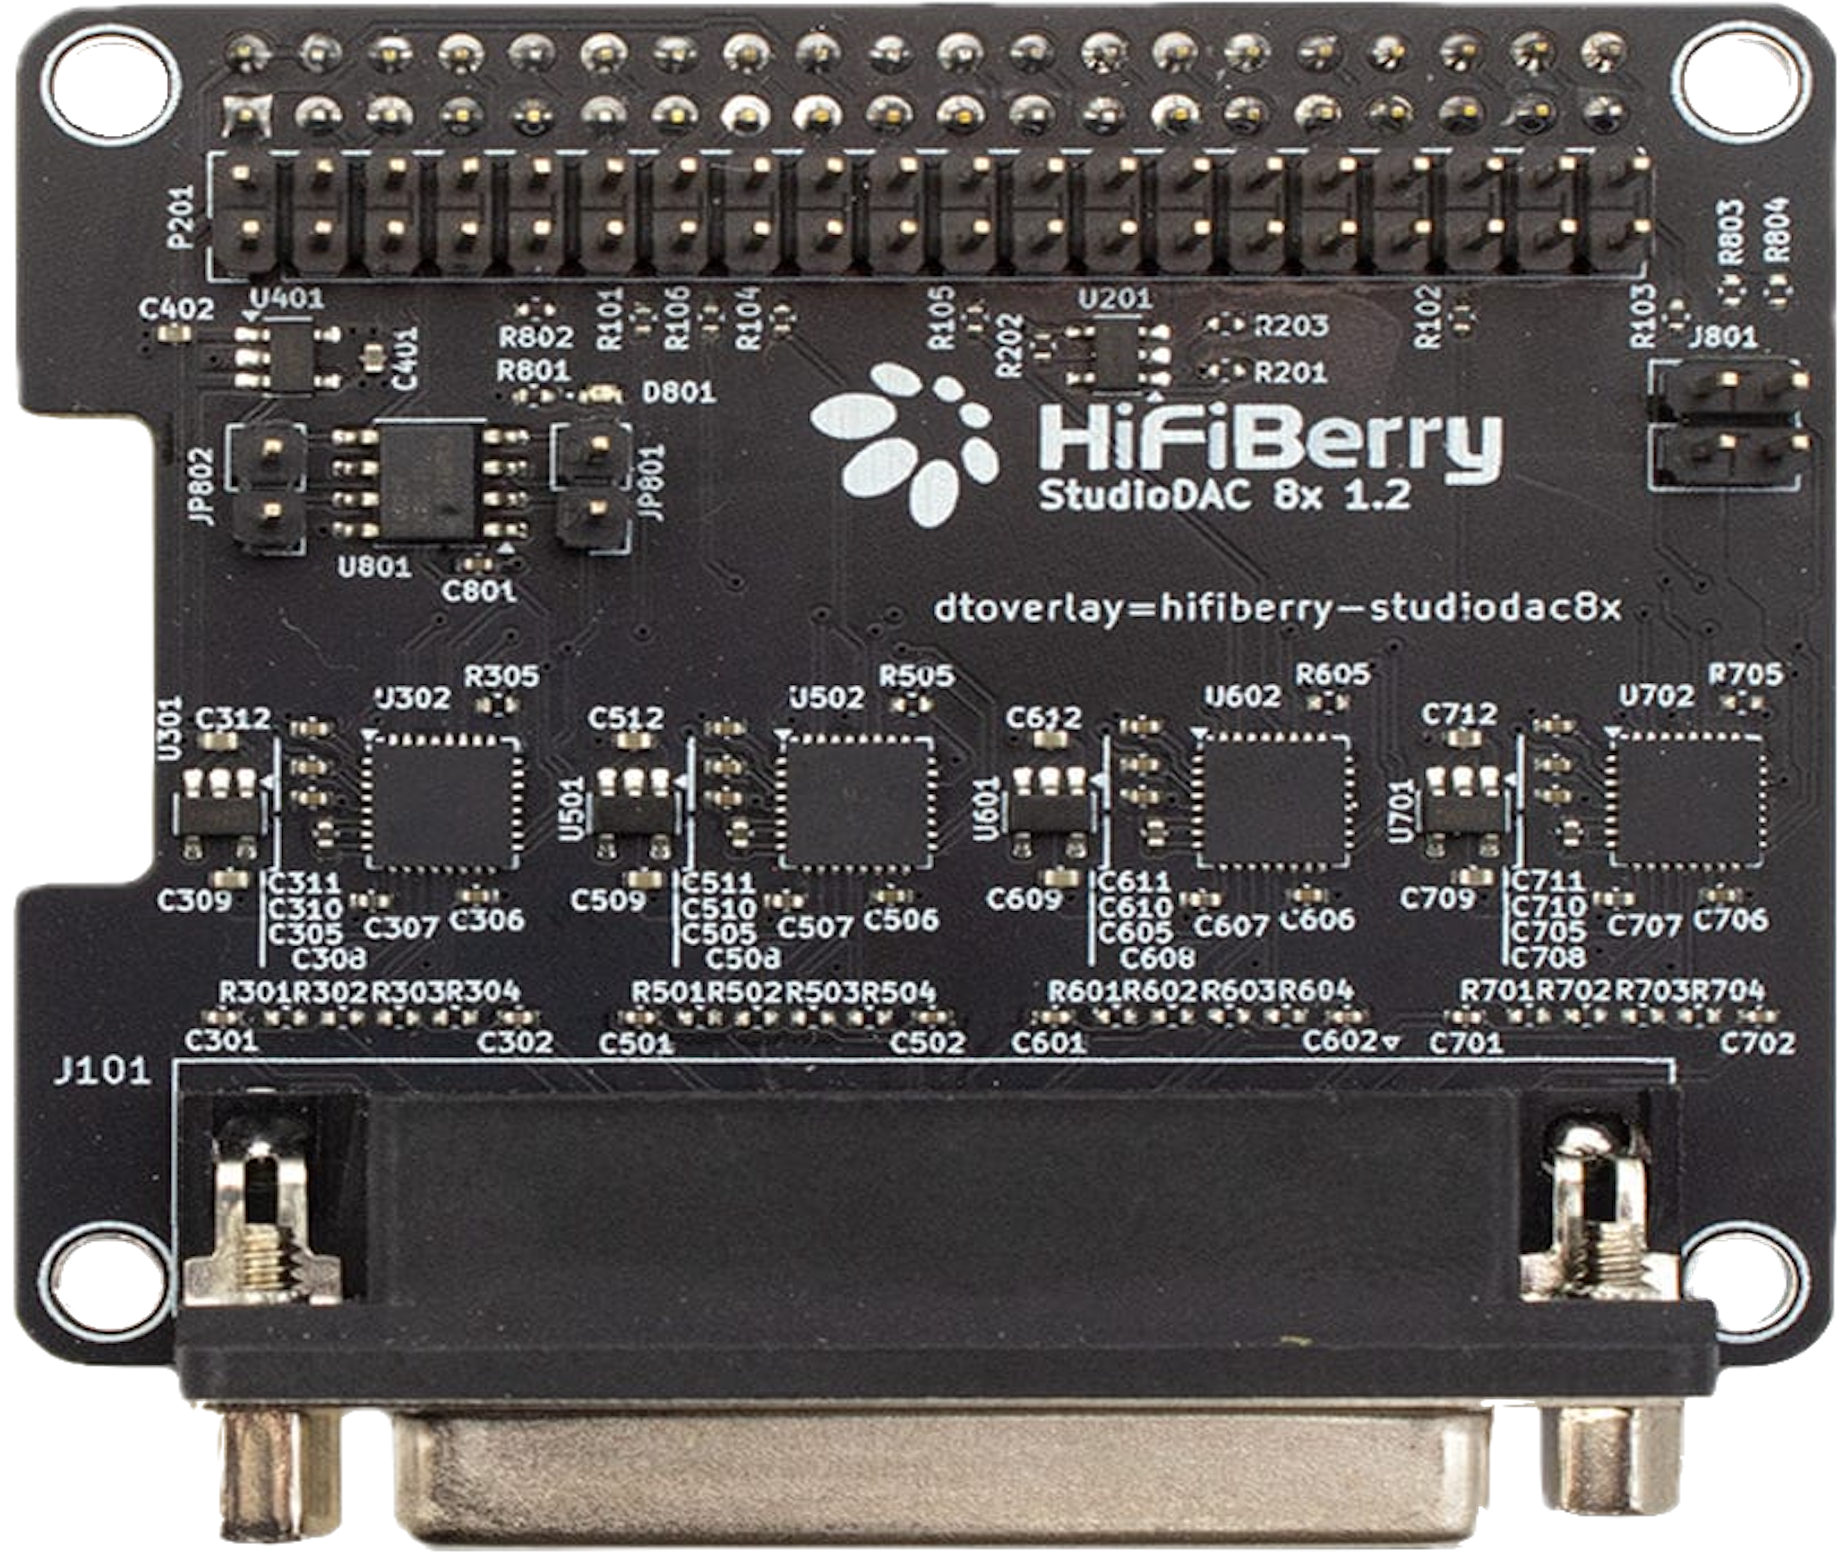
The HIFIBERRY STUDIO DAC8X (Manufacturer Part ID: 4260439551122) is a high-quality digital-to-analog converter (DAC) designed specifically for professional audio applications. It features an 8-channel output, delivering low noise and high fidelity sound reproduction. This component is ideal for studio setups, multi-channel audio systems, and other professional-grade audio environments where precision and clarity are paramount.
Explore Projects Built with HIFIBERRY STUDIO DAC8X


Explore Projects Built with HIFIBERRY STUDIO DAC8X
Common Applications
- Studio-grade audio production and mixing
- Multi-channel audio playback systems
- High-fidelity home theater setups
- Professional audio signal processing
- Audiophile-grade music systems
Technical Specifications
Key Technical Details
| Parameter | Value |
|---|---|
| Manufacturer | HIFIBERRY |
| Part ID | 4260439551122 |
| Number of Channels | 8 |
| Output Type | Analog |
| Signal-to-Noise Ratio | >120 dB |
| Total Harmonic Distortion | <0.001% |
| Sampling Rates Supported | Up to 192 kHz |
| Power Supply Voltage | 5V DC |
| Interface | I2S (Inter-IC Sound) |
| Dimensions | 100mm x 100mm |
| Operating Temperature | 0°C to 50°C |
Pin Configuration and Descriptions
The HIFIBERRY STUDIO DAC8X connects to a host system via its I2S interface and power supply pins. Below is the pin configuration:
| Pin Number | Pin Name | Description |
|---|---|---|
| 1 | GND | Ground connection |
| 2 | 5V | 5V DC power supply input |
| 3 | LRCLK | Left/Right clock for I2S synchronization |
| 4 | BCLK | Bit clock for I2S data transmission |
| 5 | DATA | I2S audio data input |
| 6 | MCLK | Master clock (optional, for some setups) |
| 7-14 | OUT1-OUT8 | Analog audio outputs for 8 channels |
Usage Instructions
How to Use the Component in a Circuit
- Power Supply: Connect the 5V DC power supply to the
5Vpin and ground to theGNDpin. Ensure the power supply is stable and noise-free to avoid interference in audio output. - I2S Interface: Connect the
LRCLK,BCLK, andDATApins to the corresponding I2S pins on your host device (e.g., Raspberry Pi or microcontroller). If required, connect theMCLKpin for systems that need an external master clock. - Audio Outputs: Use the
OUT1toOUT8pins to connect to your audio amplifiers or other downstream audio equipment. Ensure proper impedance matching for optimal performance. - Configuration: Configure your host system to output audio data via the I2S interface. Set the sampling rate and bit depth to match the DAC's capabilities (e.g., 192 kHz, 24-bit).
Important Considerations and Best Practices
- Power Supply Quality: Use a low-noise, regulated power supply to minimize interference in the audio signal.
- Grounding: Ensure proper grounding to avoid ground loops, which can introduce hum or noise.
- I2S Configuration: Verify that the host system's I2S settings (e.g., clock polarity, data format) are compatible with the DAC.
- Heat Management: While the DAC8X operates efficiently, ensure adequate ventilation in high-temperature environments.
Example Code for Raspberry Pi
The HIFIBERRY STUDIO DAC8X is commonly used with Raspberry Pi systems. Below is an example of configuring the DAC using the Raspberry Pi's I2S interface:
Step 1: Edit the Raspberry Pi configuration file
sudo nano /boot/config.txt
Step 2: Add the following lines to enable the HIFIBERRY DAC
Enable I2S interface
dtparam=i2s=on
Load the HIFIBERRY DAC8X overlay
dtoverlay=hifiberry-dac8x
Step 3: Save the file and reboot the Raspberry Pi
sudo reboot
After rebooting, the DAC should be recognized by the Raspberry Pi. Use audio playback software (e.g., ALSA or PulseAudio) to send audio data to the DAC.
Troubleshooting and FAQs
Common Issues and Solutions
| Issue | Possible Cause | Solution |
|---|---|---|
| No audio output | Incorrect I2S configuration | Verify I2S settings on the host system. |
| Distorted or noisy audio | Power supply noise | Use a high-quality, regulated power supply. |
| Only some channels are working | Misconfigured audio routing | Check the audio routing settings on the host. |
| DAC not recognized by the host | Incorrect overlay or driver not loaded | Ensure the correct overlay is enabled in the configuration file. |
| Overheating | Poor ventilation | Ensure adequate airflow around the DAC. |
FAQs
Can the DAC8X be used with an Arduino?
- The DAC8X requires an I2S interface, which is not natively supported by most Arduino boards. However, it can be used with advanced microcontrollers like the ESP32, which supports I2S.
What is the maximum sampling rate supported?
- The DAC8X supports sampling rates up to 192 kHz.
Do I need an external clock for the DAC?
- The
MCLKpin is optional and only required for systems that need an external master clock. Most setups can operate without it.
- The
Can I use the DAC8X for stereo audio?
- Yes, the DAC8X can be used for stereo audio, but it is designed for multi-channel applications. For stereo use, only two output channels (e.g.,
OUT1andOUT2) need to be connected.
- Yes, the DAC8X can be used for stereo audio, but it is designed for multi-channel applications. For stereo use, only two output channels (e.g.,
By following this documentation, users can effectively integrate the HIFIBERRY STUDIO DAC8X into their audio systems and achieve high-quality sound reproduction.