How to Use Adafruit USB Isolator: Examples, Pinouts, and Specs
Introduction
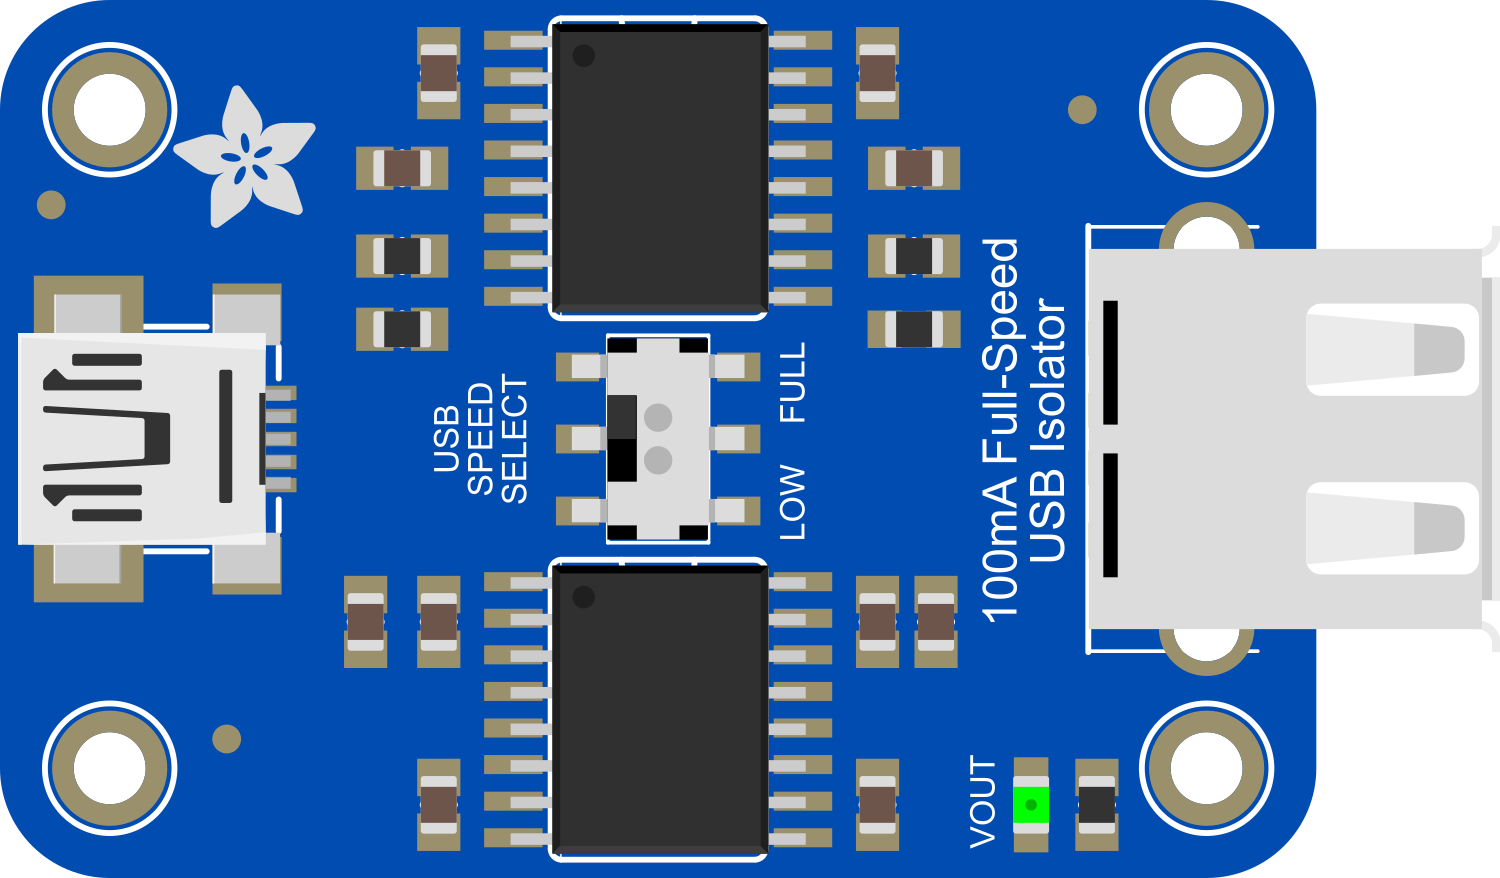
The Adafruit USB Isolator is an essential circuit component designed to provide electrical isolation between a USB host (such as a computer or microcontroller) and a USB device. This isolation helps to protect sensitive electronic equipment from harmful electrical noise, surges, and voltage spikes that can occur on USB connections. It is particularly useful in industrial environments, audio interfaces, and any application where USB signals need to be electrically separated from the host system.
Explore Projects Built with Adafruit USB Isolator

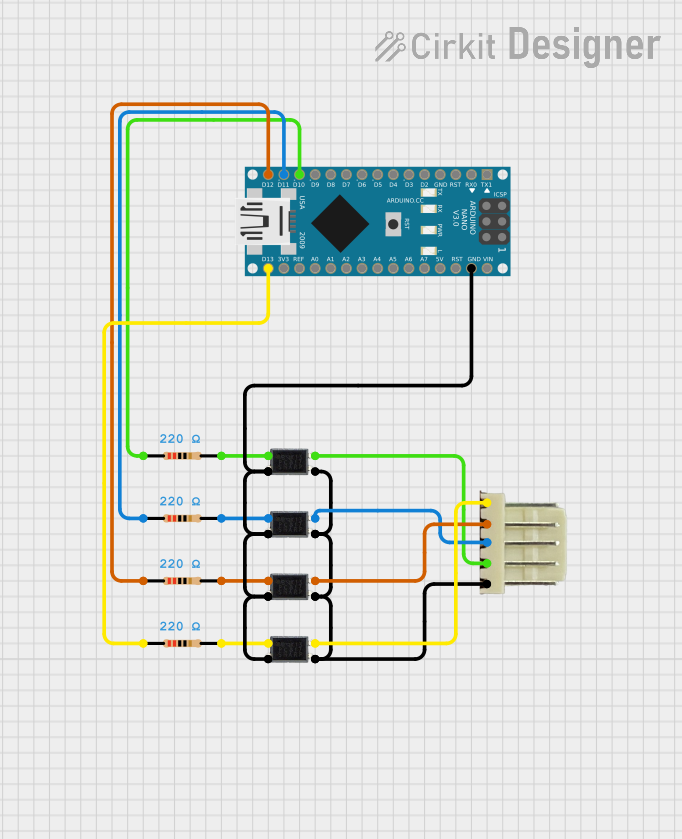


Explore Projects Built with Adafruit USB Isolator
Common Applications and Use Cases
- Industrial control systems
- Audio equipment interfacing
- Sensitive data acquisition systems
- Medical equipment with USB interfaces
- Protecting microcontroller development boards (e.g., Arduino)
Technical Specifications
Key Technical Details
- Isolation Voltage: Up to 1000V peak
- Data Rate: Full Speed USB (12 Mbps)
- Power Output: 5V DC, up to 100mA to the downstream device
- Operating Temperature: -40°C to +85°C
Pin Configuration and Descriptions
| Pin Number | Name | Description |
|---|---|---|
| 1 | VBUS | Power to the USB device (5V, up to 100mA) |
| 2 | D- | USB Data minus |
| 3 | D+ | USB Data plus |
| 4 | GND | Ground for the USB device |
Usage Instructions
How to Use the Component in a Circuit
- Connect the USB Isolator's input side to the USB host (e.g., a computer).
- Connect the USB device that requires isolation to the output side of the USB Isolator.
- Ensure that the power requirements of the USB device do not exceed the output capacity of the USB Isolator (5V, 100mA).
Important Considerations and Best Practices
- Always verify the isolation voltage rating to ensure it meets the requirements of your application.
- Do not exceed the power output limitations to prevent damage to the USB Isolator and the connected device.
- Use shielded USB cables to further reduce the potential for electrical noise interference.
- Ensure that the operating temperature range is suitable for your environment.
Troubleshooting and FAQs
Common Issues Users Might Face
- Device Not Recognized: Ensure that the USB Isolator is properly connected and that the USB device is powered.
- Insufficient Power to USB Device: Check if the USB device's power requirements exceed the 100mA limit.
Solutions and Tips for Troubleshooting
- If the device is not recognized, try using a different USB port or cable.
- For power issues, ensure that the USB device is within the power specifications of the USB Isolator or use an external power source for the device if necessary.
FAQs
Q: Can the USB Isolator be used with any USB device? A: The USB Isolator can be used with most USB devices as long as they do not require more than 100mA of current.
Q: Does the USB Isolator require any drivers? A: No, the USB Isolator does not require any drivers. It is a plug-and-play device.
Q: Can I use the USB Isolator with high-speed USB devices? A: The USB Isolator supports Full Speed USB (12 Mbps) but not High Speed (480 Mbps) or SuperSpeed (5 Gbps) USB standards.
Q: Is the USB Isolator compatible with Arduino boards? A: Yes, the USB Isolator can be used with Arduino boards for projects that require USB isolation.
Example Code for Arduino UNO
The Adafruit USB Isolator is typically used as a standalone component and does not require any specific code when used with an Arduino UNO. However, if you are using the USB Isolator to protect your Arduino UNO while it communicates with a USB device, ensure that your Arduino sketch handles USB communication appropriately.
Here is a simple example of serial communication with an Arduino UNO:
void setup() {
  // Initialize serial communication at 9600 bits per second:
  Serial.begin(9600);
}

void loop() {
  // Check if data is available to read.
  if (Serial.available() > 0) {
    // Read the incoming byte:
    char incomingByte = Serial.read();

    // Echo the byte back to the serial monitor:
    Serial.write(incomingByte);
  }
}
This code sets up the Arduino UNO for serial communication at a baud rate of 9600. It reads any incoming data and sends it back to the serial monitor, effectively echoing the input. When using the USB Isolator, this communication would be protected from electrical noise and surges.
Remember to always follow the usage instructions and best practices to ensure the safety and longevity of your Adafruit USB Isolator and connected devices.