How to Use ATXRaspi: Examples, Pinouts, and Specs
Introduction
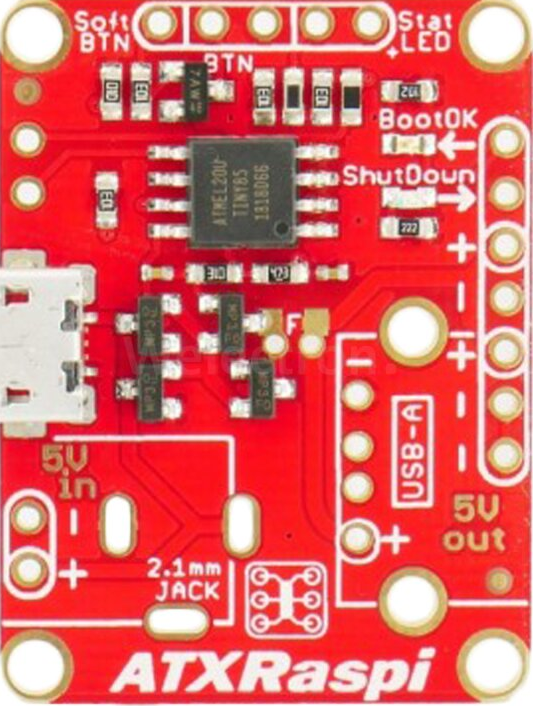
The ATXRaspi, manufactured by LowPowerLab (Part ID: LP5-100030), is a power management board specifically designed for the Raspberry Pi. It provides essential features such as safe shutdown, power-on reset, and GPIO-based power control. By integrating the ATXRaspi into your Raspberry Pi setup, you can protect your device from sudden power loss, ensuring a clean shutdown and preventing potential data corruption or hardware damage.
Explore Projects Built with ATXRaspi
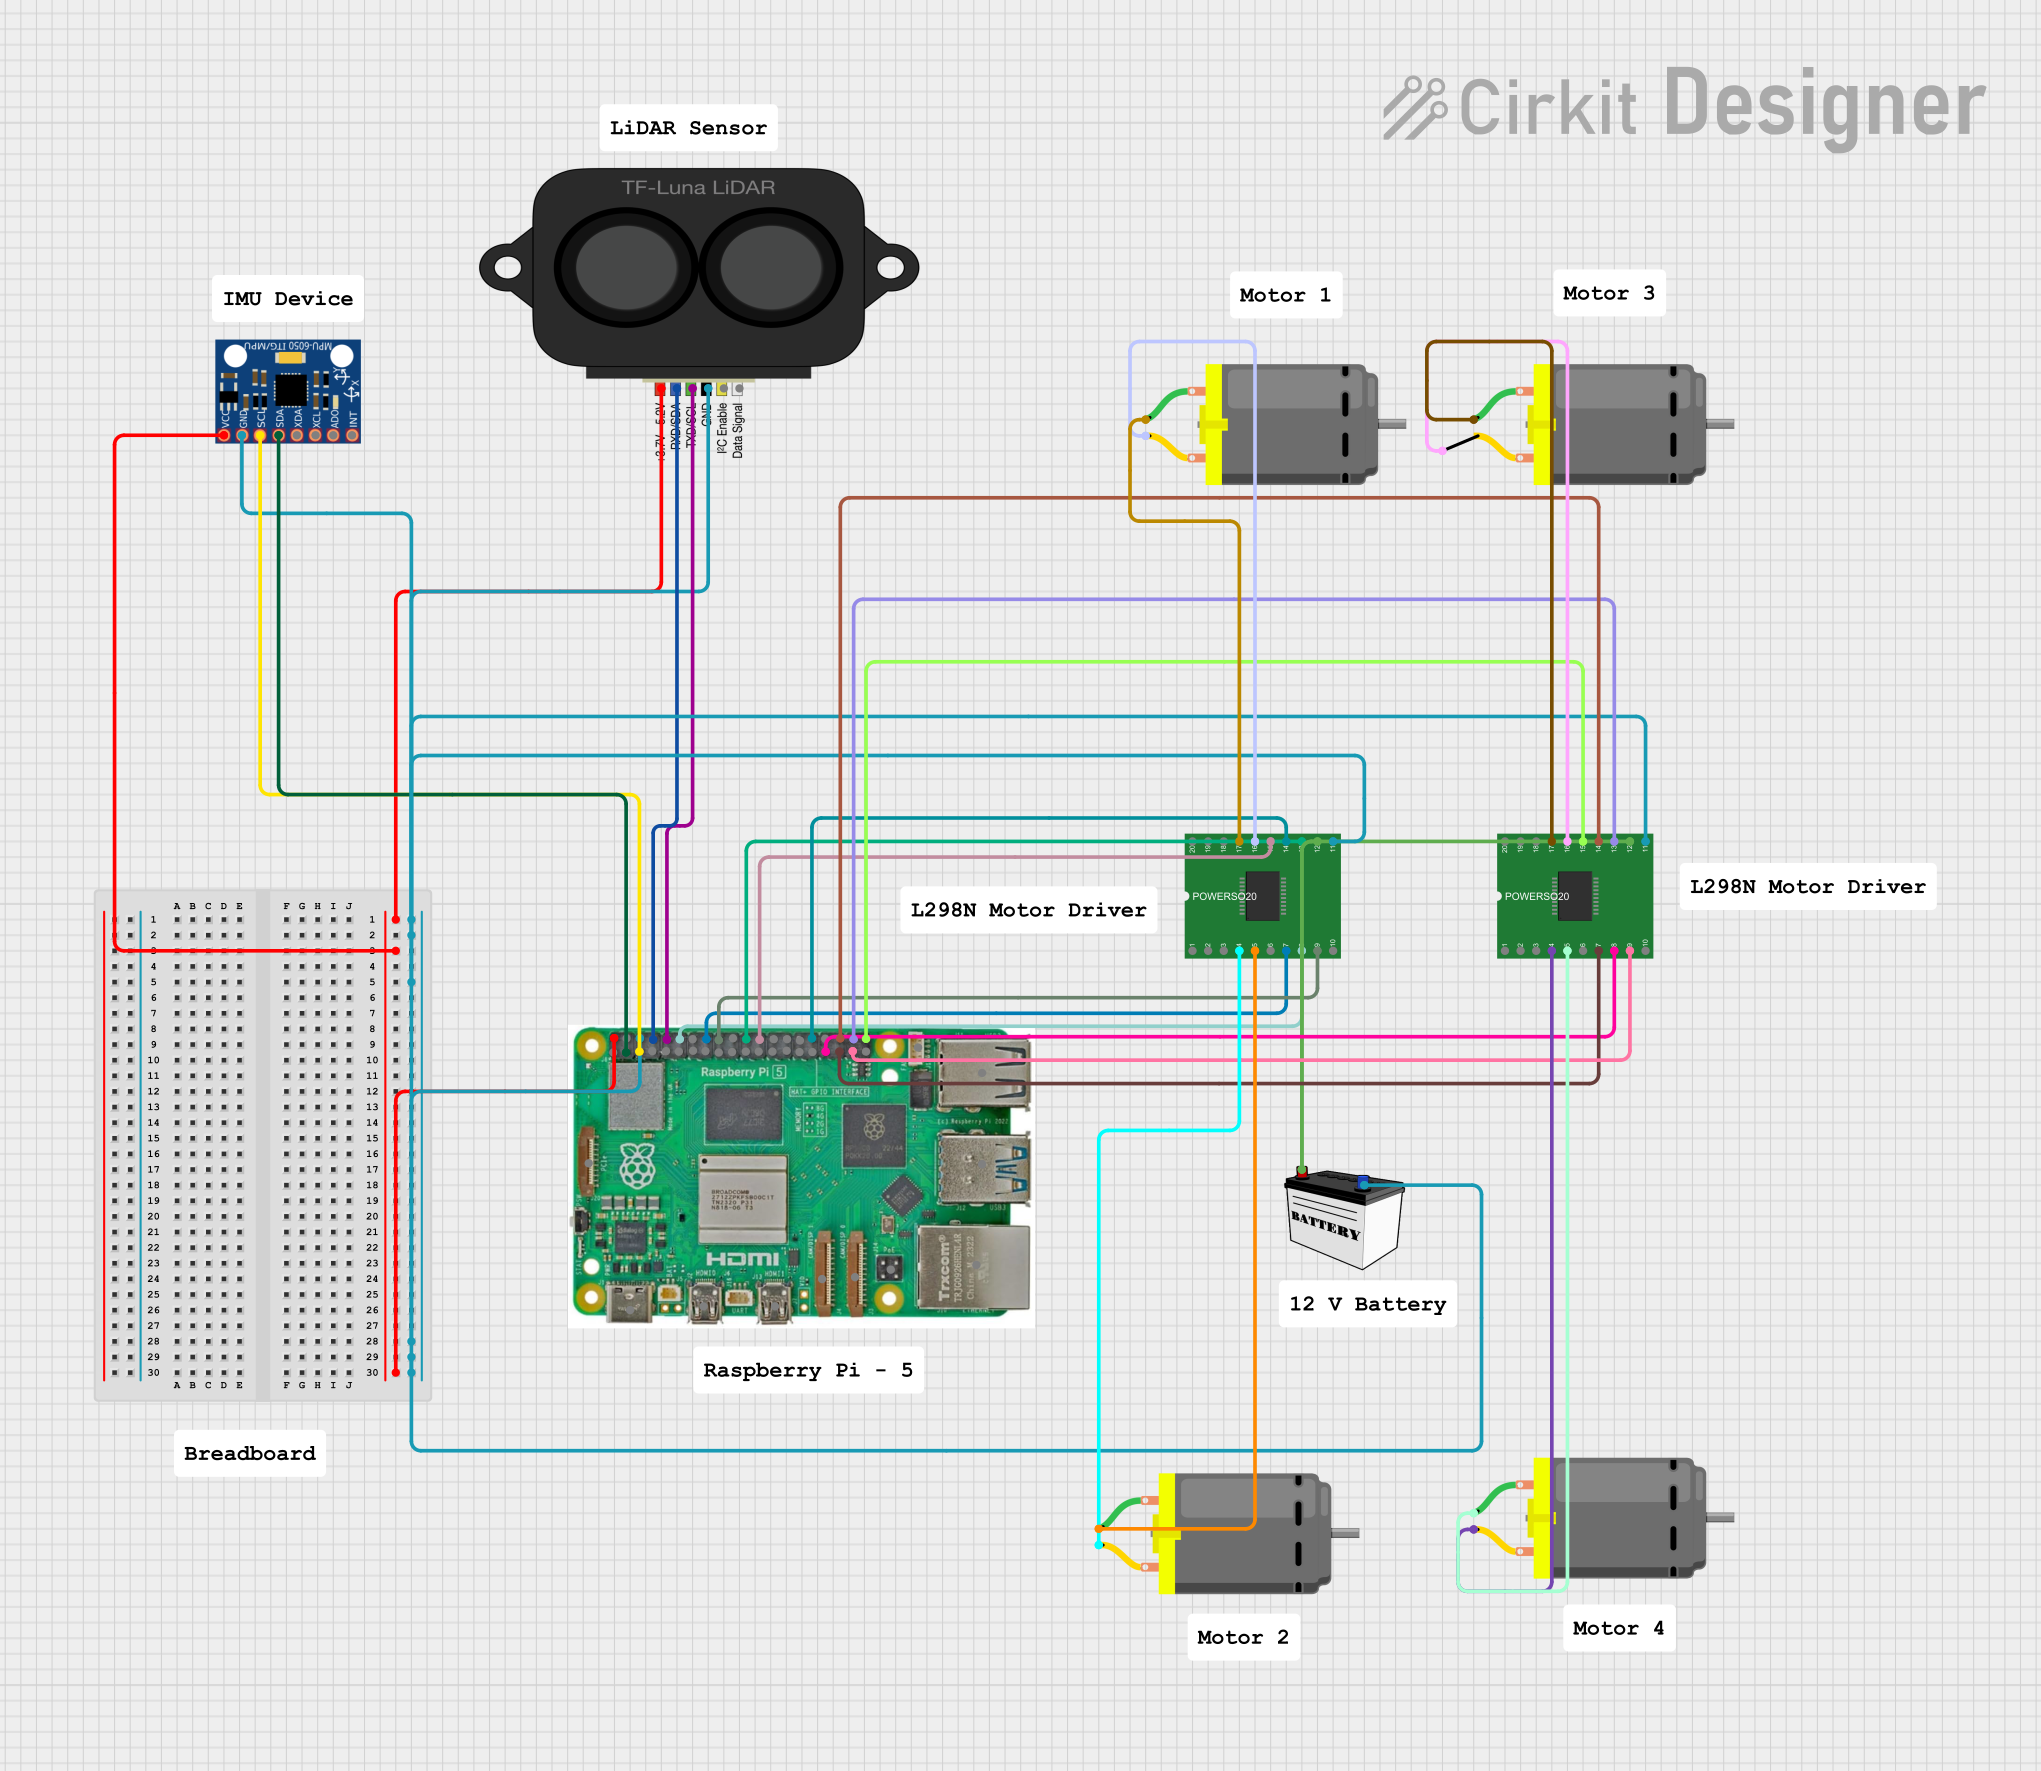
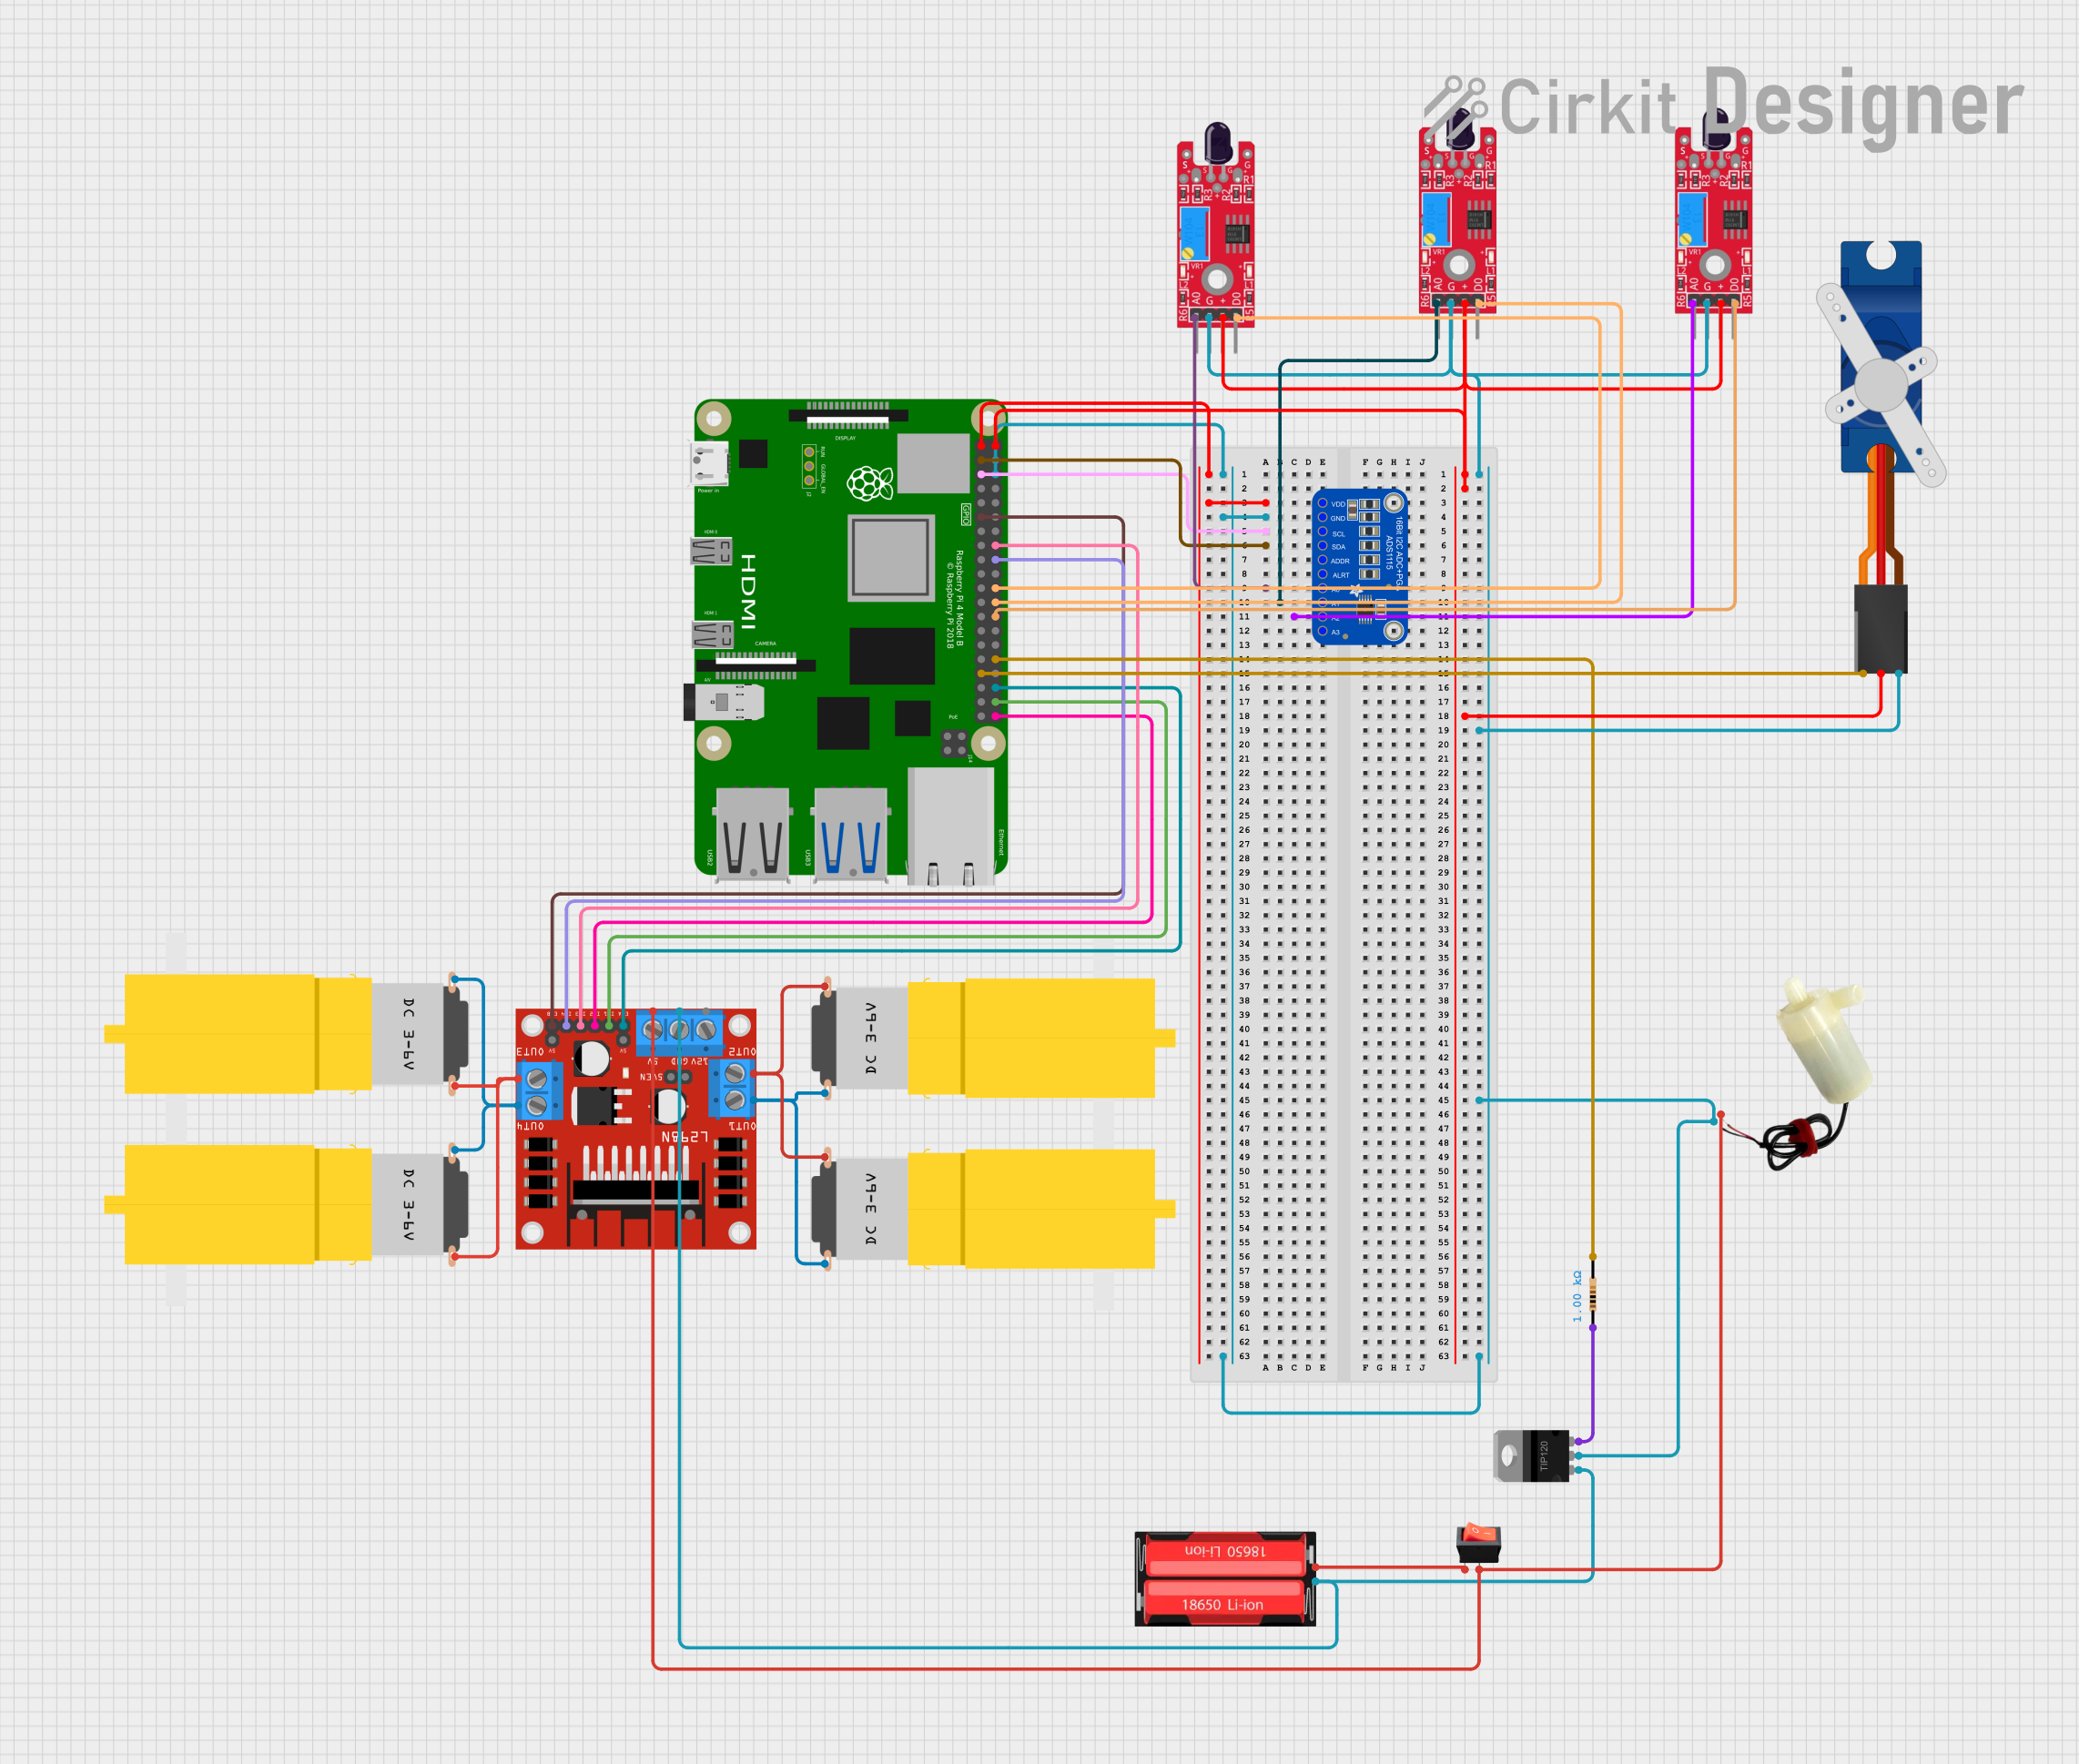
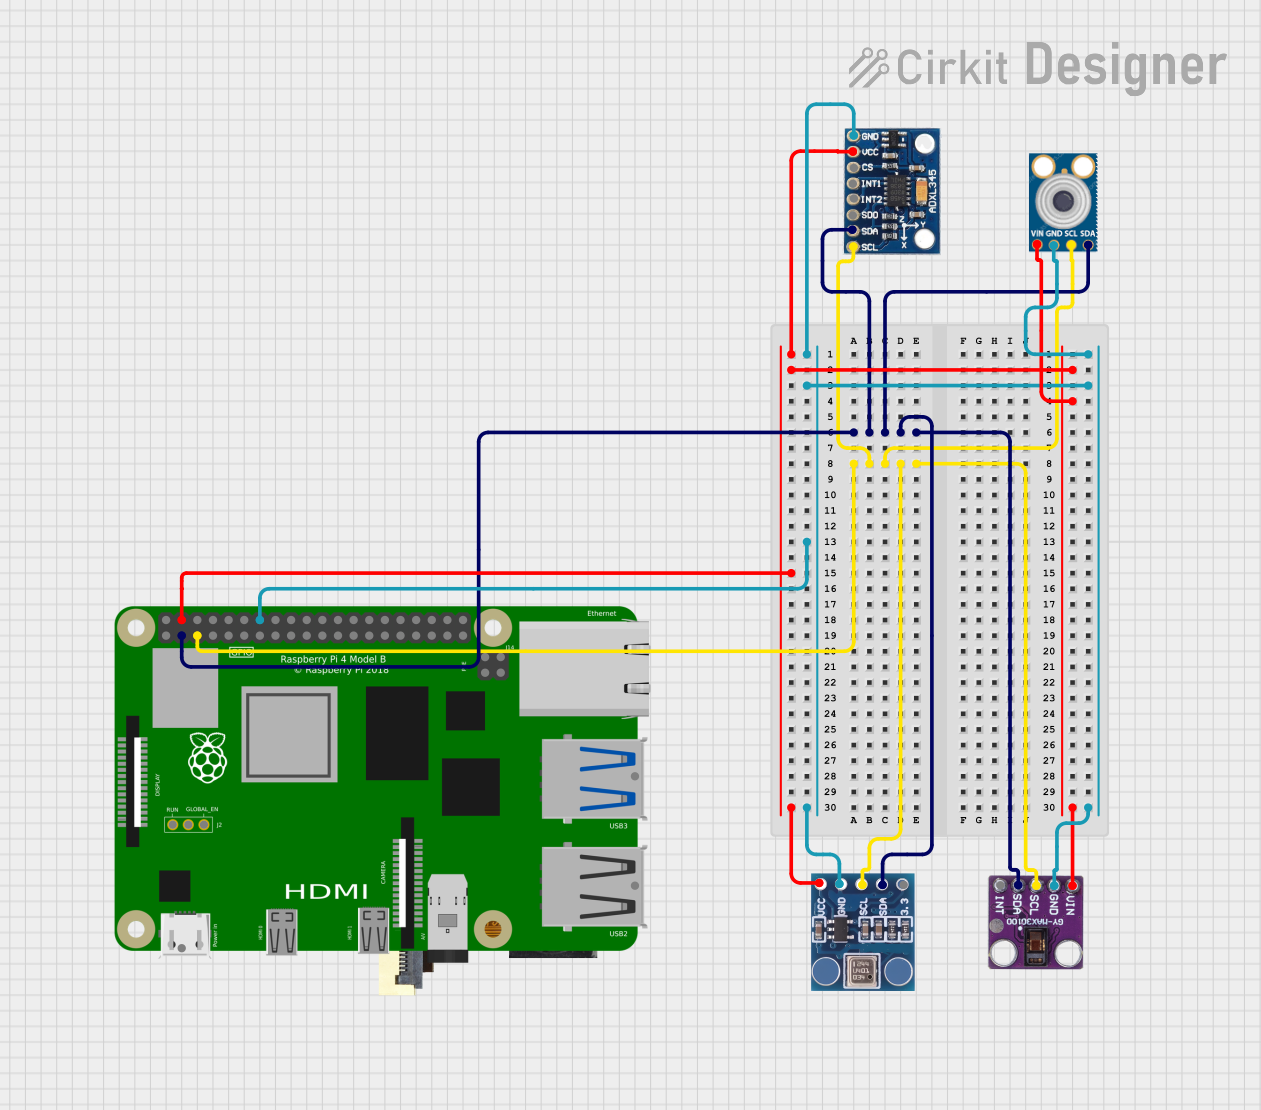

Explore Projects Built with ATXRaspi
Common Applications and Use Cases
- Home Automation Systems: Ensures reliable power management for Raspberry Pi-based controllers.
- IoT Projects: Protects Raspberry Pi devices in remote or critical applications.
- Media Centers: Provides safe shutdown functionality for Raspberry Pi-based media servers.
- Educational Projects: Simplifies power management for students and hobbyists working with Raspberry Pi.
Technical Specifications
Key Technical Details
| Parameter | Value |
|---|---|
| Input Voltage Range | 5V DC |
| Maximum Current | 3A |
| GPIO Control Pins | 2 (for shutdown and power control) |
| Shutdown Trigger Voltage | 3.3V (logic HIGH) |
| Dimensions | 1.5" x 1.0" (38mm x 25mm) |
| Operating Temperature | -20°C to 70°C |
Pin Configuration and Descriptions
The ATXRaspi has a simple pinout for connecting to the Raspberry Pi and external components. Below is the pin configuration:
| Pin Name | Pin Type | Description |
|---|---|---|
| VIN | Power Input | Connects to a 5V DC power source. |
| GND | Power Ground | Ground connection for the power source and Raspberry Pi. |
| GPIO_SHUTDOWN | GPIO Input | Connects to a GPIO pin on the Raspberry Pi to trigger a safe shutdown. |
| GPIO_POWER | GPIO Output | Provides a signal to indicate the power state of the Raspberry Pi. |
| BUTTON | Input | Connects to an external momentary push button for manual power control. |
| OUT | Power Output | Supplies regulated 5V power to the Raspberry Pi. |
Usage Instructions
How to Use the ATXRaspi in a Circuit
- Connect Power Input: Attach a 5V DC power source to the
VINandGNDpins of the ATXRaspi. - Connect to Raspberry Pi:
- Connect the
OUTpin to the 5V power input pin of the Raspberry Pi. - Connect the
GNDpin to the Raspberry Pi's ground pin. - Connect the
GPIO_SHUTDOWNpin to a GPIO pin on the Raspberry Pi (e.g., GPIO17). - Optionally, connect the
GPIO_POWERpin to another GPIO pin for monitoring the power state.
- Connect the
- Attach a Push Button: Connect a momentary push button to the
BUTTONpin and ground. This button will allow manual power control. - Enable Safe Shutdown:
- Install the necessary script on the Raspberry Pi to monitor the
GPIO_SHUTDOWNpin and initiate a safe shutdown when triggered.
- Install the necessary script on the Raspberry Pi to monitor the
- Power On/Off:
- Press the push button to power on the Raspberry Pi.
- To power off, press and hold the button for 3 seconds. The ATXRaspi will signal the Raspberry Pi to shut down safely before cutting power.
Important Considerations and Best Practices
- Ensure the power source provides a stable 5V DC output with sufficient current (at least 2.5A for most Raspberry Pi models).
- Use a properly rated push button to avoid mechanical failure over time.
- Install the safe shutdown script on the Raspberry Pi to prevent data corruption during power-off events.
- Avoid connecting high-current devices directly to the ATXRaspi's output to prevent overloading.
Example Code for Safe Shutdown (Raspberry Pi)
Below is an example Python script to monitor the GPIO_SHUTDOWN pin and initiate a safe shutdown:
import RPi.GPIO as GPIO
import os
import time
Pin configuration
SHUTDOWN_PIN = 17 # GPIO pin connected to ATXRaspi's GPIO_SHUTDOWN
Setup GPIO
GPIO.setmode(GPIO.BCM) GPIO.setup(SHUTDOWN_PIN, GPIO.IN, pull_up_down=GPIO.PUD_UP)
def shutdown_callback(channel): # Callback function to safely shut down the Raspberry Pi print("Shutdown signal received. Shutting down...") os.system("sudo shutdown -h now")
Add event detection for the shutdown pin
GPIO.add_event_detect(SHUTDOWN_PIN, GPIO.FALLING, callback=shutdown_callback, bouncetime=200)
print("Monitoring shutdown pin. Press Ctrl+C to exit.") try: while True: time.sleep(1) # Keep the script running except KeyboardInterrupt: print("Exiting script.") finally: GPIO.cleanup() # Clean up GPIO settings
Script Installation
- Save the script as
safe_shutdown.pyon your Raspberry Pi. - Add the script to your system's startup process using
crontabor a systemd service to ensure it runs automatically.
Troubleshooting and FAQs
Common Issues and Solutions
| Issue | Possible Cause | Solution |
|---|---|---|
| Raspberry Pi does not power on | Incorrect wiring or insufficient power | Verify connections and ensure the power source provides at least 2.5A. |
| Shutdown does not trigger | GPIO pin not configured correctly | Check the GPIO pin configuration and ensure the script is running. |
| Power cuts off unexpectedly | Overcurrent or unstable power source | Use a stable 5V DC power source with sufficient current capacity. |
| Button does not respond | Faulty or miswired button | Check the button wiring and replace if necessary. |
FAQs
Can I use the ATXRaspi with other single-board computers?
- Yes, the ATXRaspi can be used with other devices that support GPIO-based power control, but additional configuration may be required.
What happens if the power source is disconnected suddenly?
- The ATXRaspi cannot prevent sudden power loss if the input power is disconnected. It is designed to manage power control and safe shutdown when used with a stable power source.
Can I use the ATXRaspi with a battery?
- Yes, as long as the battery provides a stable 5V DC output and sufficient current.
By following this documentation, you can effectively integrate the ATXRaspi into your Raspberry Pi projects, ensuring reliable power management and safe operation.