How to Use HW-576: Examples, Pinouts, and Specs
Introduction
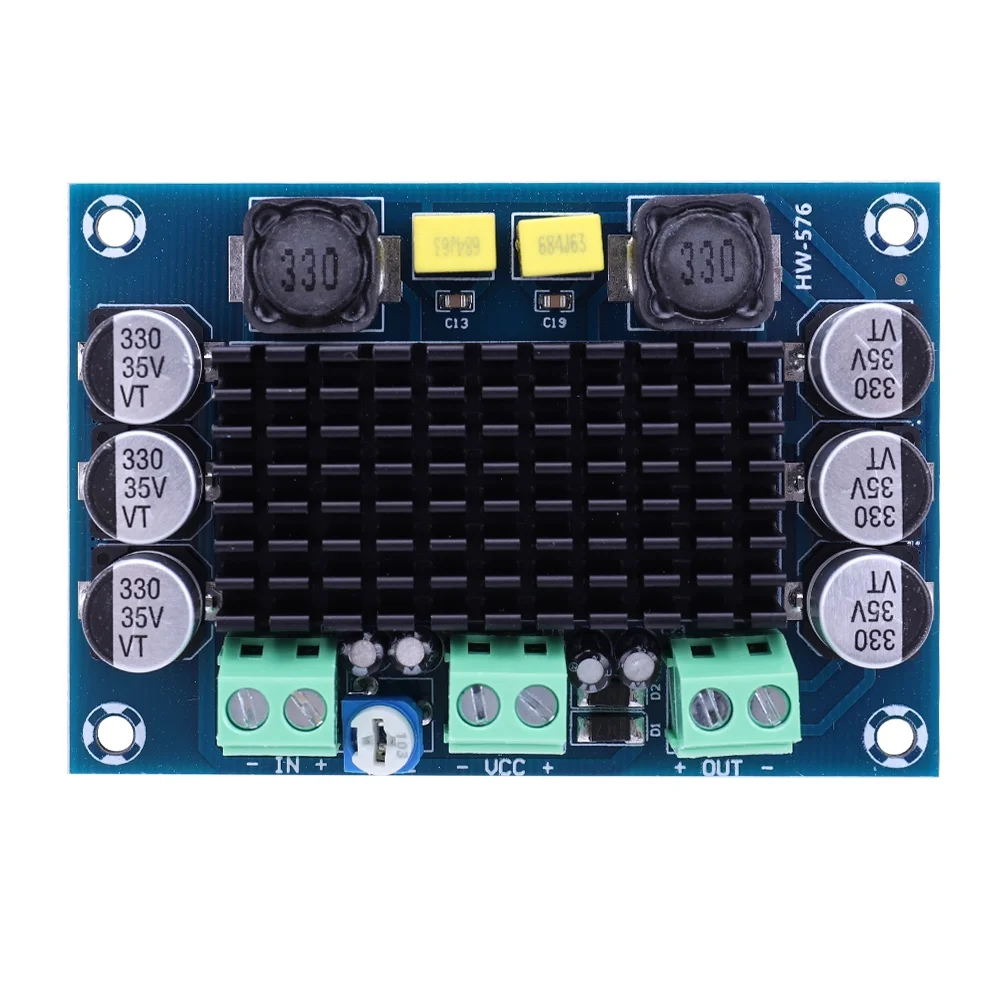
The HW-576 is a high-performance microcontroller designed for embedded applications. It is optimized for low power consumption, making it ideal for battery-powered devices. With multiple I/O ports and integrated communication interfaces, the HW-576 is versatile and suitable for a wide range of applications, including IoT devices, home automation, robotics, and industrial control systems.
Explore Projects Built with HW-576
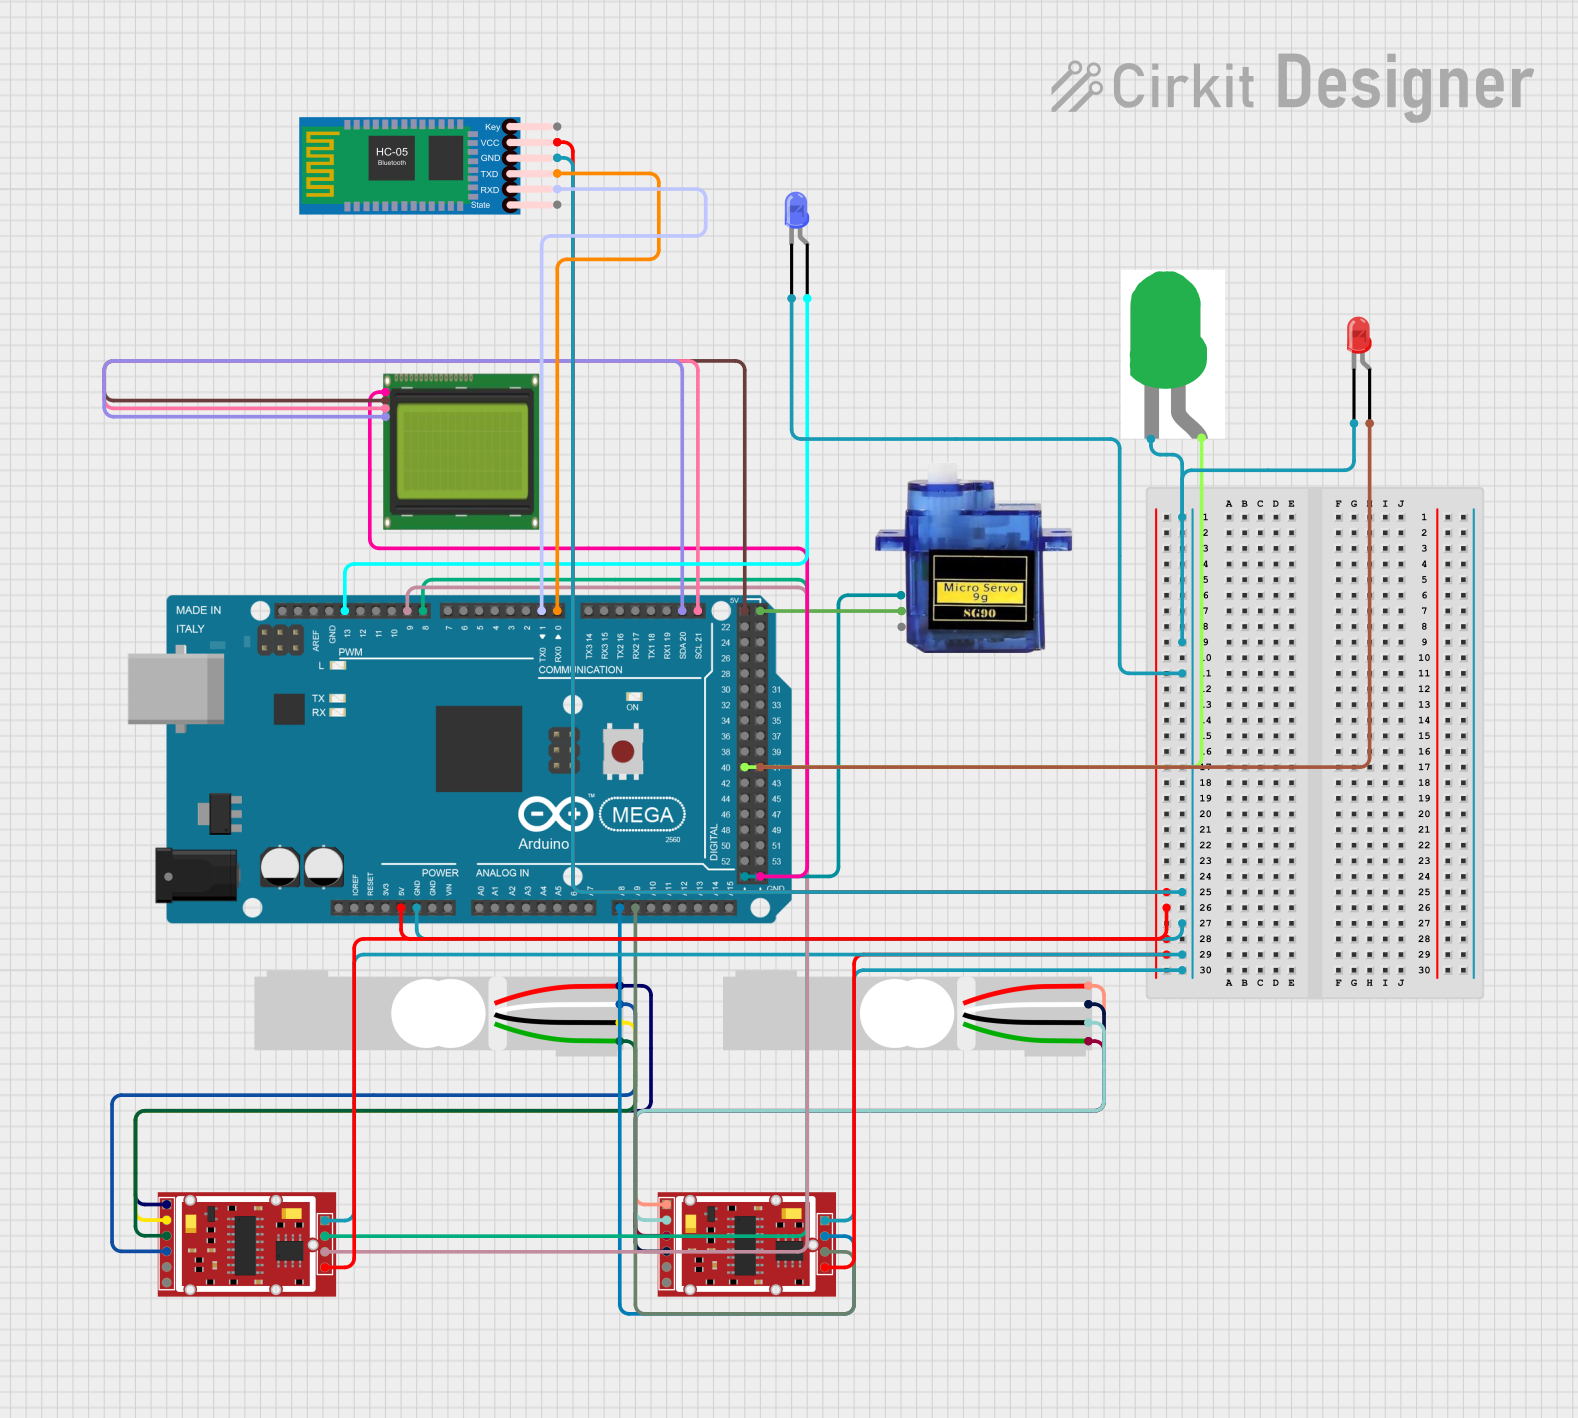
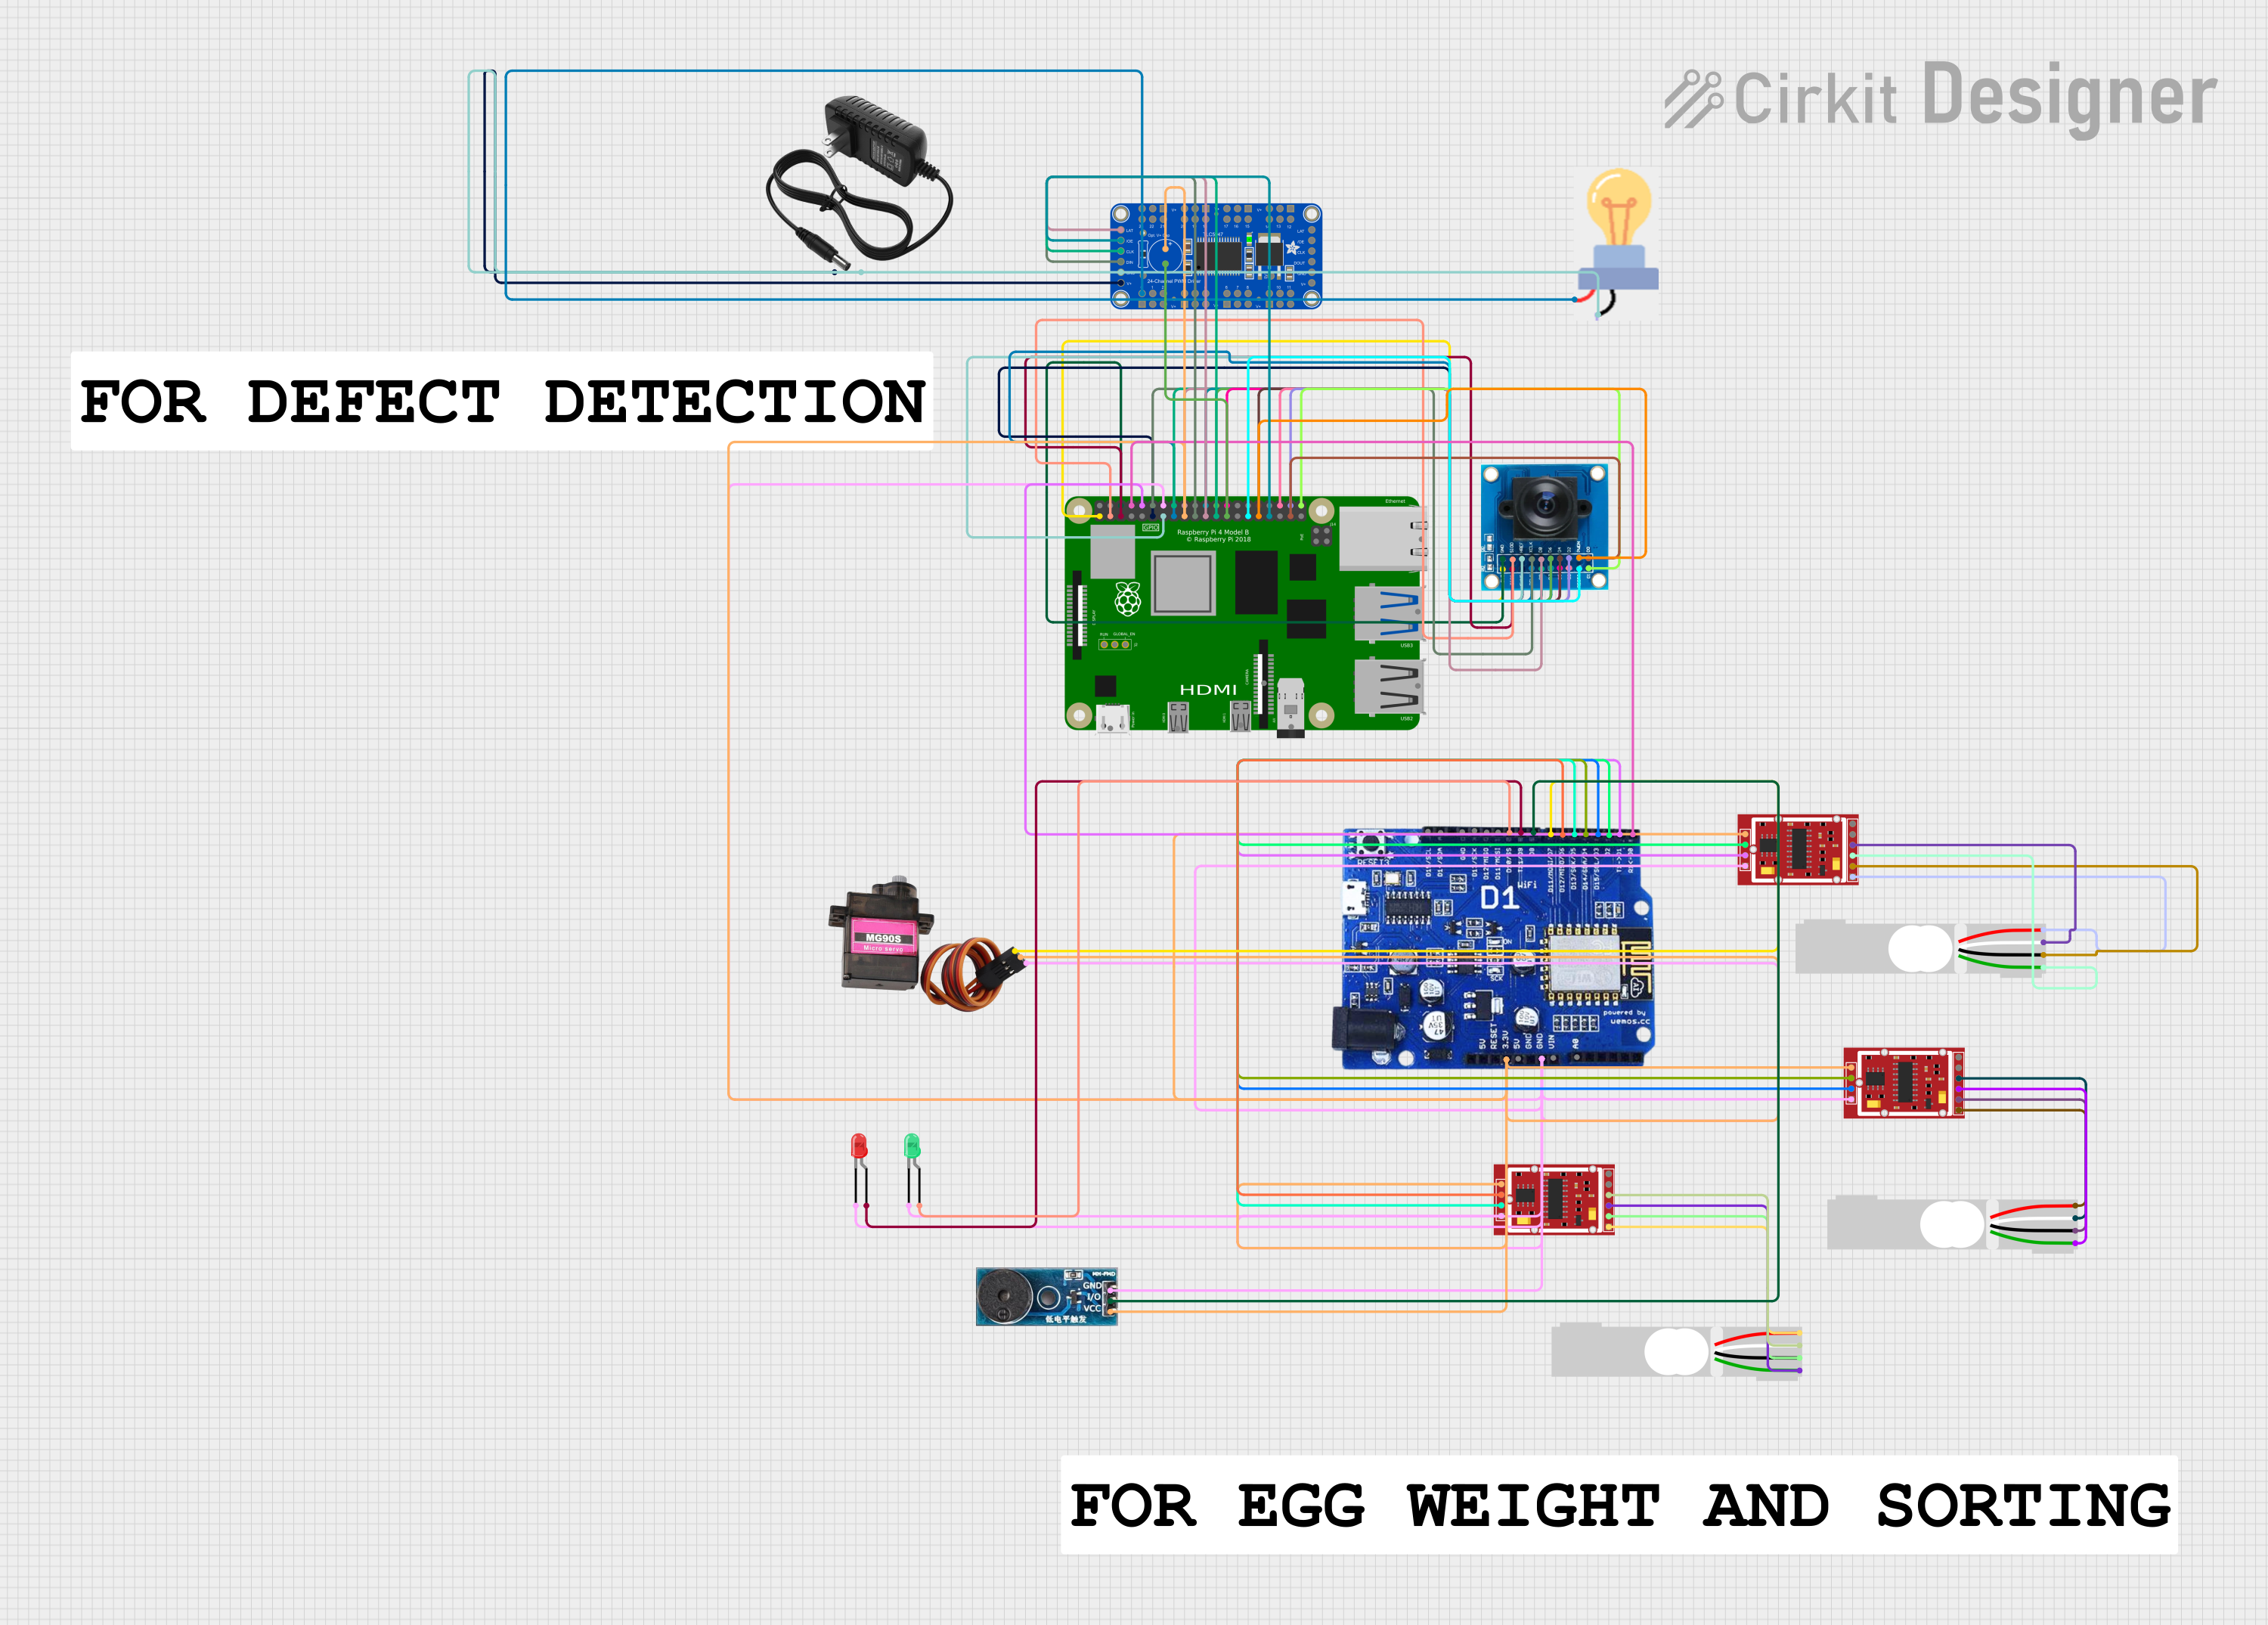


Explore Projects Built with HW-576
Common Applications and Use Cases
- Internet of Things (IoT) devices
- Home automation systems
- Robotics and motor control
- Industrial monitoring and control
- Wearable technology
- Educational and prototyping projects
Technical Specifications
The HW-576 microcontroller offers robust performance and flexibility. Below are its key technical details:
General Specifications
| Parameter | Value |
|---|---|
| Operating Voltage | 3.3V to 5V |
| Clock Speed | 48 MHz |
| Flash Memory | 64 KB |
| SRAM | 8 KB |
| GPIO Pins | 20 |
| Communication Interfaces | UART, SPI, I2C |
| ADC Resolution | 10-bit |
| Power Consumption | < 1 mA in low-power mode |
| Operating Temperature | -40°C to 85°C |
Pin Configuration and Descriptions
The HW-576 has a total of 28 pins, with the following configuration:
| Pin Number | Pin Name | Description |
|---|---|---|
| 1 | VCC | Power supply input (3.3V to 5V) |
| 2 | GND | Ground |
| 3 | GPIO1 | General-purpose I/O pin |
| 4 | GPIO2 | General-purpose I/O pin |
| 5 | GPIO3 | General-purpose I/O pin |
| 6 | GPIO4 | General-purpose I/O pin |
| 7 | UART_TX | UART Transmit |
| 8 | UART_RX | UART Receive |
| 9 | SPI_MOSI | SPI Master Out Slave In |
| 10 | SPI_MISO | SPI Master In Slave Out |
| 11 | SPI_SCK | SPI Clock |
| 12 | SPI_CS | SPI Chip Select |
| 13 | I2C_SDA | I2C Data Line |
| 14 | I2C_SCL | I2C Clock Line |
| 15 | ADC_IN1 | Analog-to-Digital Converter Input 1 |
| 16 | ADC_IN2 | Analog-to-Digital Converter Input 2 |
| 17 | PWM_OUT1 | PWM Output 1 |
| 18 | PWM_OUT2 | PWM Output 2 |
| 19 | RESET | Reset pin |
| 20 | NC | Not connected |
Usage Instructions
The HW-576 microcontroller is easy to integrate into a variety of circuits. Below are the steps and best practices for using it effectively:
How to Use the HW-576 in a Circuit
- Power Supply: Connect the VCC pin to a stable 3.3V or 5V power source and the GND pin to ground.
- I/O Configuration: Configure the GPIO pins as input or output based on your application. Use pull-up or pull-down resistors if necessary.
- Communication Interfaces:
- For UART communication, connect the UART_TX and UART_RX pins to the corresponding pins on your device.
- For SPI, connect SPI_MOSI, SPI_MISO, SPI_SCK, and SPI_CS to the SPI bus.
- For I2C, connect I2C_SDA and I2C_SCL to the I2C bus with appropriate pull-up resistors.
- Analog Inputs: Use the ADC_IN pins for reading analog signals. Ensure the input voltage does not exceed the operating voltage range.
- PWM Outputs: Use the PWM_OUT pins for applications like motor control or LED dimming.
Important Considerations and Best Practices
- Power Supply Stability: Use decoupling capacitors (e.g., 0.1 µF) near the VCC pin to ensure stable operation.
- Pin Protection: Avoid exceeding the voltage and current ratings of the pins to prevent damage.
- Low-Power Mode: Utilize the low-power mode for battery-powered applications to extend battery life.
- Reset Pin: Connect the RESET pin to a push-button or external circuit for manual resets.
Example: Connecting HW-576 to an Arduino UNO
The HW-576 can be interfaced with an Arduino UNO for prototyping. Below is an example of using the UART interface:
Arduino Code Example
// Example: Communicating with HW-576 via UART
// Connect HW-576 UART_TX to Arduino RX (Pin 0)
// Connect HW-576 UART_RX to Arduino TX (Pin 1)

void setup() {
  Serial.begin(9600); // Initialize UART communication at 9600 baud
  Serial.println("HW-576 Communication Initialized");
}

void loop() {
  if (Serial.available()) {
    // Read data from HW-576 and echo it back
    char data = Serial.read();
    Serial.print("Received: ");
    Serial.println(data);
  }
}
Troubleshooting and FAQs
Common Issues and Solutions
Microcontroller Not Powering On
- Cause: Insufficient or unstable power supply.
- Solution: Verify the power source and ensure proper connections to the VCC and GND pins.
No Communication via UART
- Cause: Incorrect baud rate or wiring.
- Solution: Ensure the baud rate matches on both devices and check the TX/RX connections.
Analog Readings Are Inaccurate
- Cause: Noise or incorrect input voltage.
- Solution: Use a low-pass filter to reduce noise and ensure the input voltage is within the ADC range.
Microcontroller Overheating
- Cause: Excessive current draw or short circuit.
- Solution: Check for shorts and ensure the current draw is within the specified limits.
FAQs
Q1: Can the HW-576 operate at 5V?
A1: Yes, the HW-576 supports an operating voltage range of 3.3V to 5V.
Q2: Does the HW-576 support external interrupts?
A2: Yes, the GPIO pins can be configured to handle external interrupts.
Q3: How do I update the firmware on the HW-576?
A3: Firmware updates can be performed via the UART interface using a bootloader.
Q4: Can I use the HW-576 for wireless communication?
A4: The HW-576 does not have built-in wireless capabilities, but you can interface it with external wireless modules like ESP8266 or NRF24L01.
This concludes the documentation for the HW-576 microcontroller.