
How to Use DFPlayer Mini MP3 Module: Examples, Pinouts, and Specs
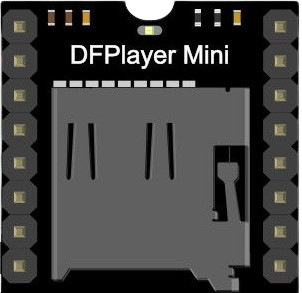
 Design with DFPlayer Mini MP3 Module in Cirkit Designer
Introduction
The DFPlayer Mini MP3 Module (Manufacturer Part ID: DFR0299) is a compact and cost-effective MP3 player module designed by DFRobot. It is capable of playing audio files directly from a micro SD card, USB drive, or serial input. The module features a built-in hardware decoder for MP3, WAV, and WMA audio formats, as well as an onboard amplifier for direct speaker output. Its small size and versatile functionality make it ideal for a wide range of audio playback applications.
Explore Projects Built with DFPlayer Mini MP3 Module
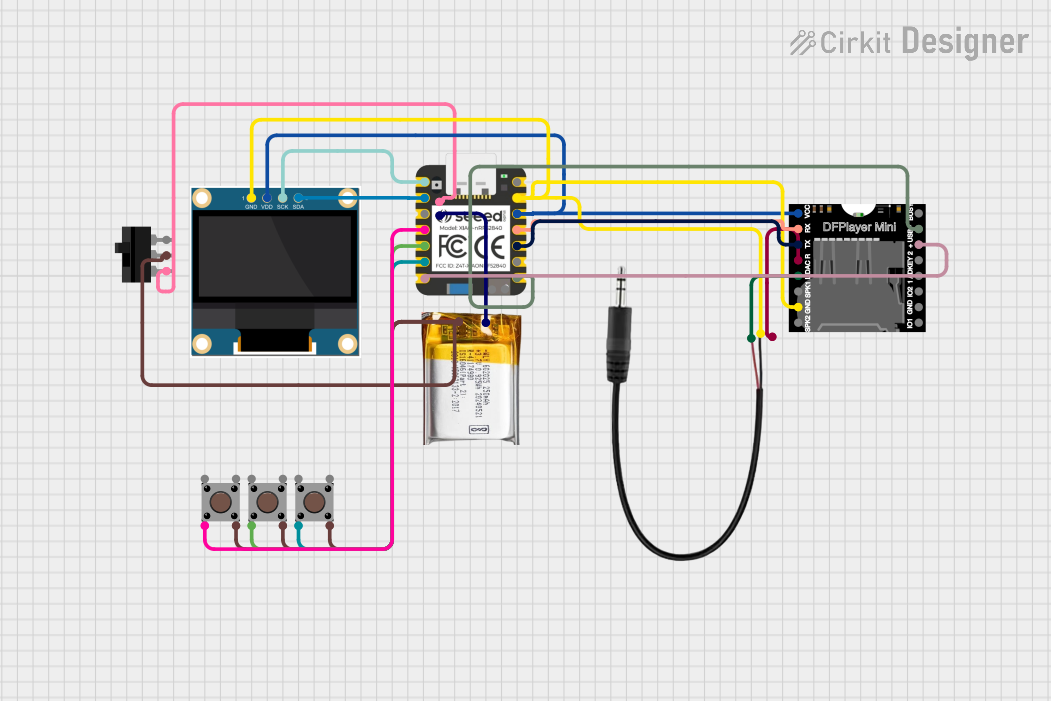 Open Project in Cirkit Designer
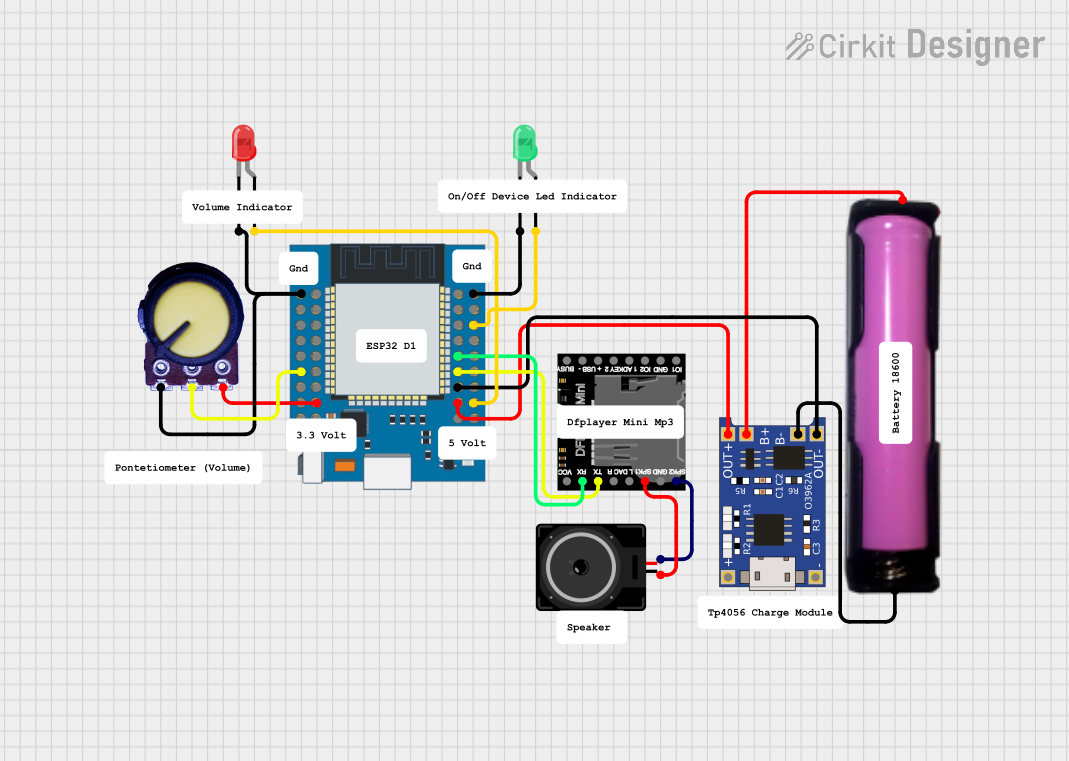 Open Project in Cirkit Designer
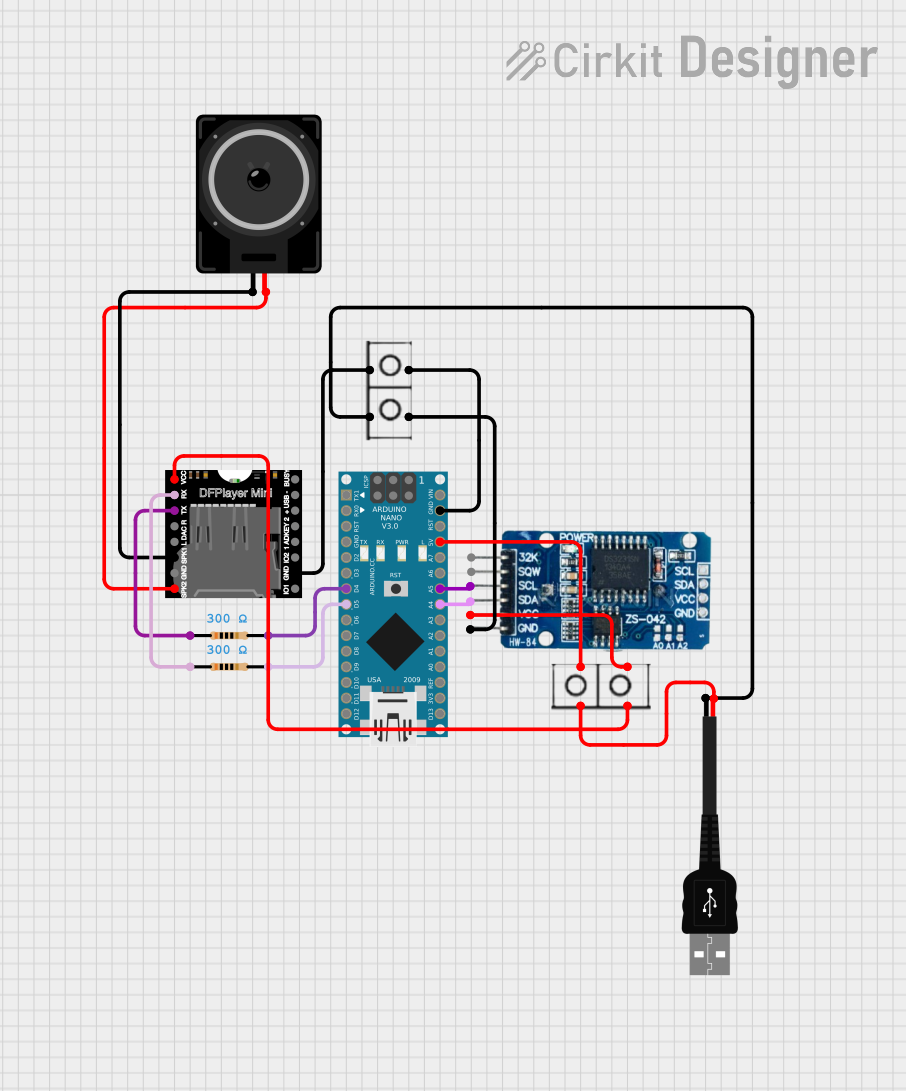 Open Project in Cirkit Designer
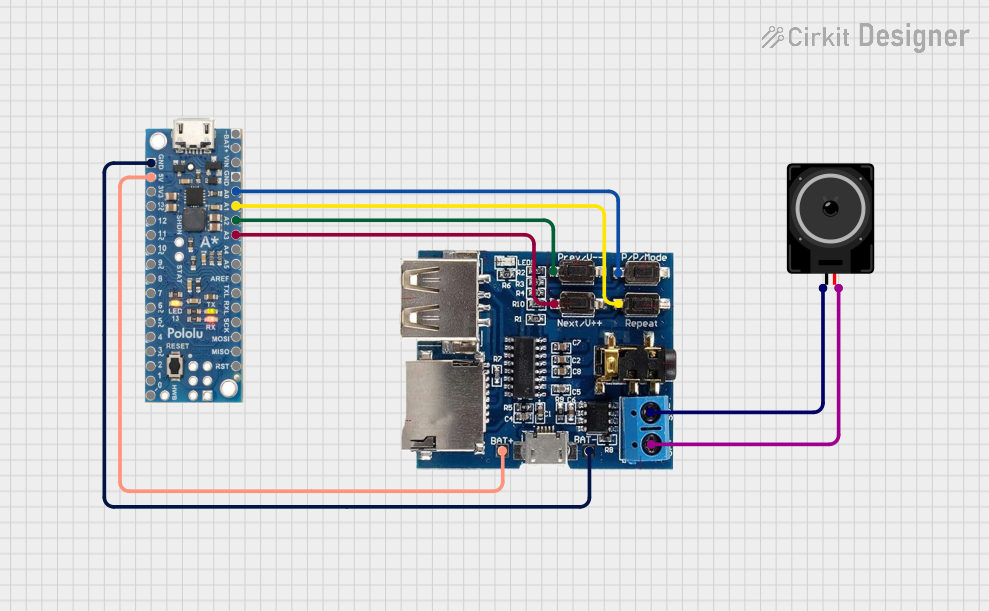 Open Project in Cirkit Designer
Explore Projects Built with DFPlayer Mini MP3 Module
Open Project in Cirkit DesignerOpen Project in Cirkit DesignerOpen Project in Cirkit DesignerOpen Project in Cirkit DesignerCommon Applications
- DIY audio projects
- Voice prompts and notifications in embedded systems
- Interactive art installations
- Portable audio players
- Educational projects and Arduino-based systems
Technical Specifications
Below are the key technical details of the DFPlayer Mini MP3 Module:
| Parameter | Specification |
|---|---|
| Operating Voltage | 3.2V - 5.0V DC |
| Operating Current | 20mA - 30mA (Idle), up to 100mA (Playback) |
| Audio Formats Supported | MP3, WAV, WMA |
| Storage Media | Micro SD card (up to 32GB), USB drive |
| Communication Protocol | UART (9600 bps default, adjustable) |
| Output Modes | DAC output (headphones/speakers), PWM output |
| Built-in Amplifier | 3W mono amplifier for direct speaker connection |
| Dimensions | 22mm x 30mm x 11mm |
Pin Configuration and Descriptions
The DFPlayer Mini has 16 pins, but only a subset is commonly used in most applications. Below is the pinout description:
| Pin | Name | Description |
|---|---|---|
| 1 | VCC | Power supply input (3.2V - 5.0V DC). |
| 2 | GND | Ground connection. |
| 3 | RX | UART Receive pin for serial communication. |
| 4 | TX | UART Transmit pin for serial communication. |
| 5 | DAC_R | Right channel DAC output for audio signal. |
| 6 | DAC_L | Left channel DAC output for audio signal. |
| 7 | SPK_1 | Positive terminal for speaker output (3W max). |
| 8 | SPK_2 | Negative terminal for speaker output. |
| 9 | IO_1 | General-purpose I/O pin or play/pause control. |
| 10 | IO_2 | General-purpose I/O pin or next track control. |
| 11 | BUSY | Output pin that indicates playback status (HIGH = playing, LOW = idle). |
| 12-16 | Reserved | Reserved for advanced configurations or unused in most applications. |
Usage Instructions
How to Use the DFPlayer Mini in a Circuit
- Power Supply: Connect the VCC pin to a 3.2V-5.0V DC power source and GND to ground.
- Audio Output:
- For headphones or external amplifiers, use the DAC_L and DAC_R pins.
- For direct speaker output, connect a speaker (4Ω or 8Ω, max 3W) to SPK_1 and SPK_2.
- Control Interface:
- Use the RX and TX pins for UART communication with a microcontroller (e.g., Arduino).
- Alternatively, use IO_1 and IO_2 for basic control without a microcontroller.
- Storage Media: Insert a micro SD card (formatted as FAT16 or FAT32) containing audio files into the onboard slot.
Important Considerations
- Ensure the micro SD card is properly formatted and contains supported audio files.
- Use a decoupling capacitor (e.g., 100µF) across the power supply to reduce noise.
- Avoid exceeding the maximum power rating of the onboard amplifier when connecting speakers.
- Use a logic level shifter if interfacing with a 5V microcontroller to protect the module's RX pin.
Example: Connecting to an Arduino UNO
Below is an example of how to connect and control the DFPlayer Mini using an Arduino UNO:
Wiring Diagram
| DFPlayer Mini Pin | Arduino UNO Pin |
|---|---|
| VCC | 5V |
| GND | GND |
| RX | D10 (via 1kΩ resistor for level shifting) |
| TX | D11 |
Arduino Code Example
#include "SoftwareSerial.h"

// Define RX and TX pins for SoftwareSerial
SoftwareSerial mySerial(10, 11); // RX = Pin 10, TX = Pin 11

void setup() {
  mySerial.begin(9600); // Initialize SoftwareSerial at 9600 baud
  Serial.begin(9600);   // Initialize hardware Serial for debugging

  // Send initialization commands to DFPlayer Mini
  sendCommand(0x3F, 0, 0); // Reset the module
  delay(1000);             // Wait for the module to initialize
  sendCommand(0x06, 0, 15); // Set volume to 15 (range: 0-30)
}

void loop() {
  // Example: Play the first track on the SD card
  sendCommand(0x03, 0, 1); // Play track 1
  delay(5000);             // Wait for 5 seconds

  // Example: Pause playback
  sendCommand(0x0E, 0, 0); // Pause
  delay(2000);             // Wait for 2 seconds

  // Example: Resume playback
  sendCommand(0x0D, 0, 0); // Resume
  delay(5000);             // Wait for 5 seconds
}

// Function to send commands to DFPlayer Mini
void sendCommand(uint8_t command, uint8_t param1, uint8_t param2) {
  uint16_t checksum = 0xFFFF - (0xFF + 0x06 + command + param1 + param2) + 1;
  uint8_t checksumHigh = (checksum >> 8) & 0xFF;
  uint8_t checksumLow = checksum & 0xFF;

  // Construct and send the command packet
  uint8_t packet[] = {0x7E, 0xFF, 0x06, command, 0x00, param1, param2,
                      checksumHigh, checksumLow, 0xEF};
  for (uint8_t i = 0; i < 10; i++) {
    mySerial.write(packet[i]);
  }
}
Troubleshooting and FAQs
Common Issues
No Sound Output:
- Ensure the speaker is properly connected to SPK_1 and SPK_2.
- Verify that the audio file format is supported (MP3, WAV, or WMA).
- Check the volume level using the appropriate command.
Module Not Responding:
- Confirm that the RX and TX pins are correctly connected to the microcontroller.
- Ensure the baud rate matches the module's default (9600 bps) or configured value.
- Use a logic level shifter if interfacing with a 5V microcontroller.
Playback Stops Unexpectedly:
- Check the micro SD card for errors or corrupted files.
- Ensure the power supply is stable and sufficient for the module's operation.
FAQs
Q: Can I use the DFPlayer Mini without a microcontroller?
A: Yes, you can use the IO_1 and IO_2 pins for basic control (e.g., play/pause, next track).
Q: What is the maximum speaker power supported?
A: The onboard amplifier supports up to 3W speakers with an impedance of 4Ω or 8Ω.
Q: How do I adjust the volume?
A: Use the 0x06 command via UART to set the volume level (range: 0-30).
Q: Can I play audio files in a specific folder?
A: Yes, use the 0x0F command to specify the folder and file index for playback.