
How to Use Arduino Mega ADK (Rev3): Examples, Pinouts, and Specs
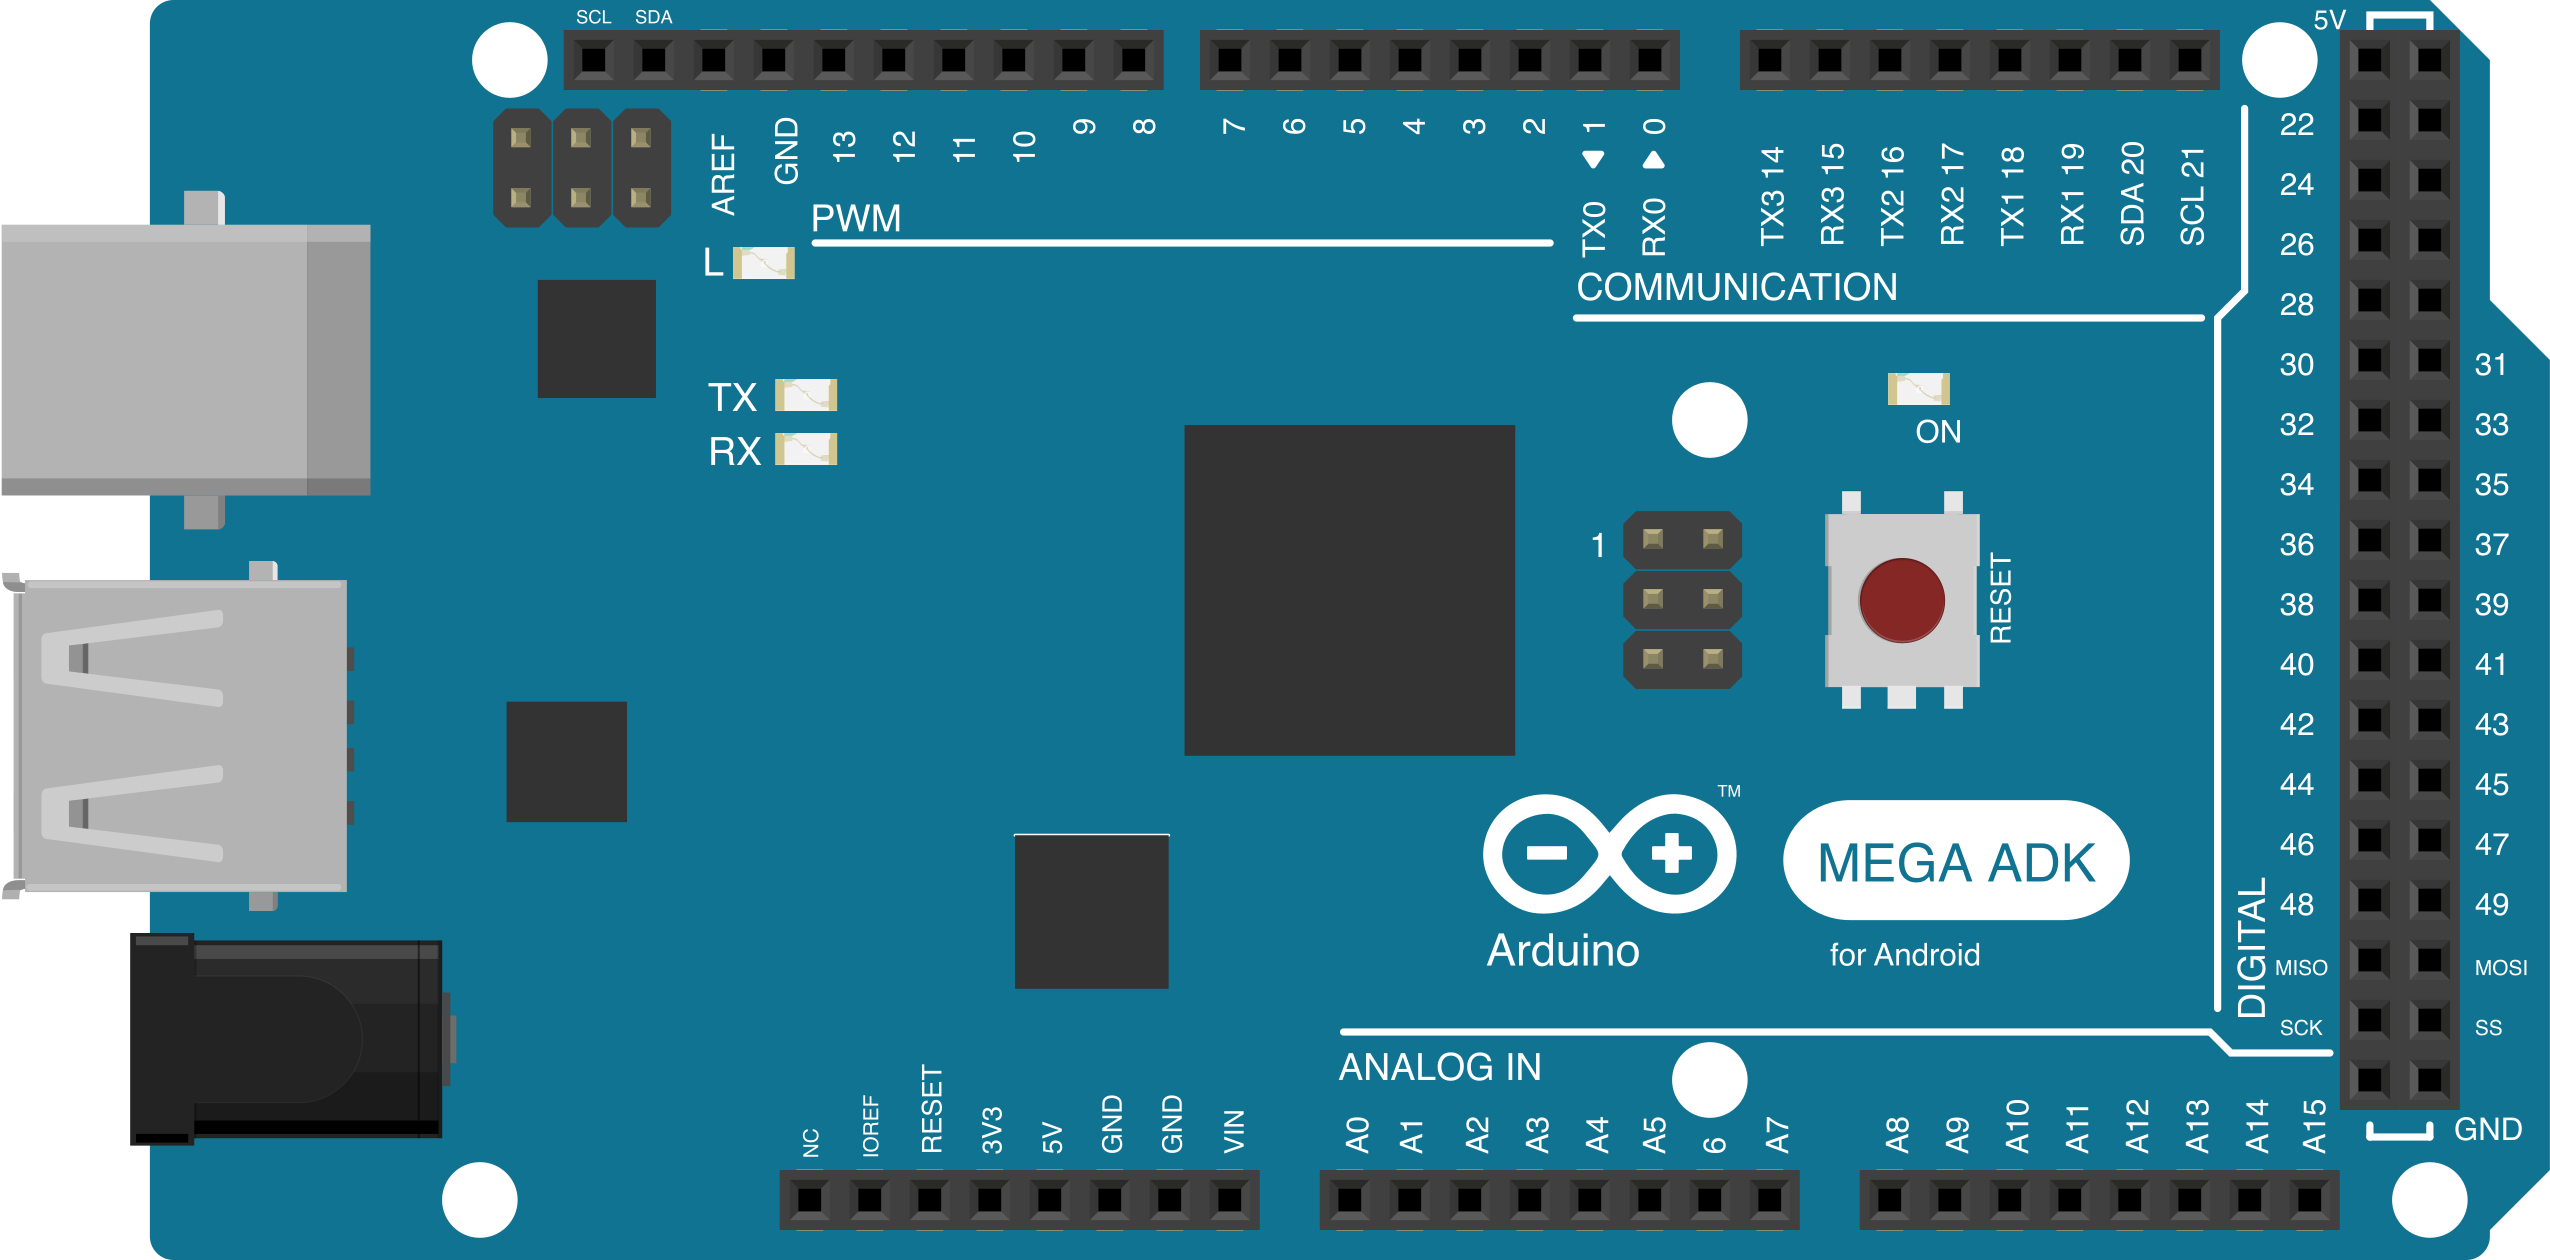
 Design with Arduino Mega ADK (Rev3) in Cirkit Designer
Introduction
The Arduino Mega ADK (Rev3), manufactured by Arduino (Part ID: A000069), is a microcontroller board based on the ATmega2560. It is specifically designed for use with Android devices, featuring a USB host interface for seamless communication. With its extensive array of digital and analog I/O pins, the Mega ADK is ideal for complex projects requiring multiple inputs and outputs, such as robotics, IoT systems, and advanced prototyping.
Explore Projects Built with Arduino Mega ADK (Rev3)
 Open Project in Cirkit Designer
 Open Project in Cirkit Designer
 Open Project in Cirkit Designer
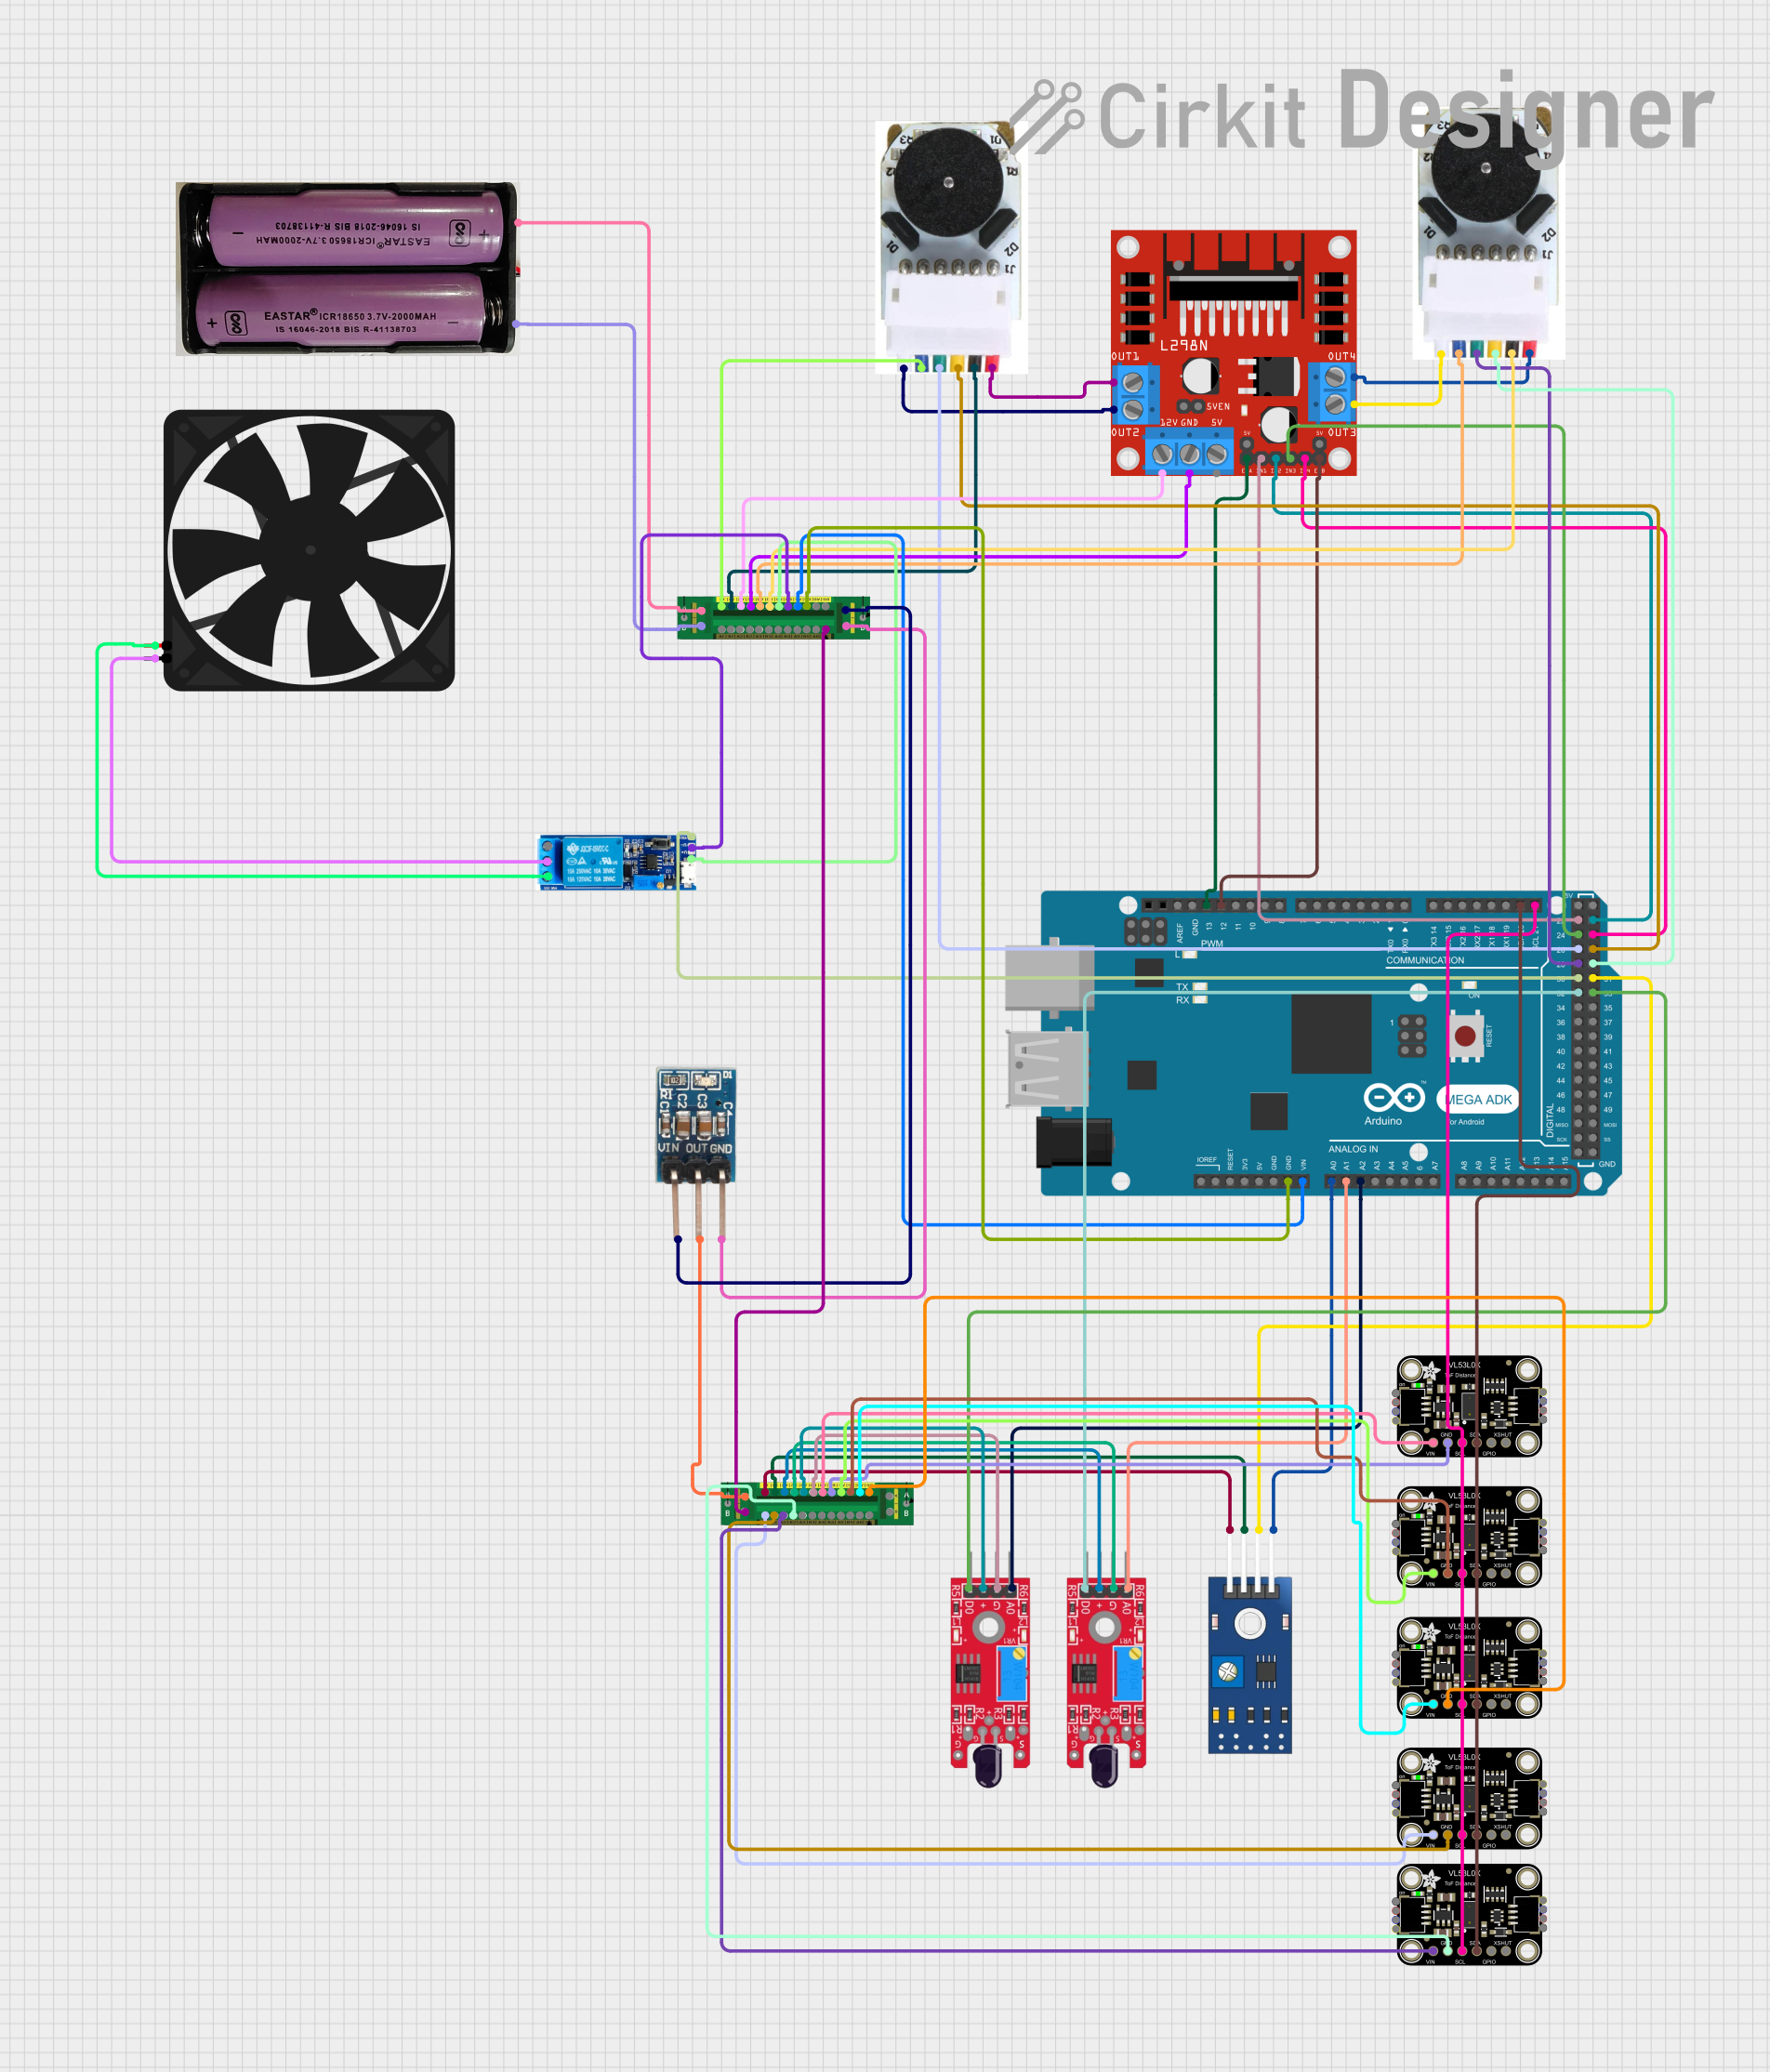 Open Project in Cirkit Designer
Explore Projects Built with Arduino Mega ADK (Rev3)
Open Project in Cirkit DesignerOpen Project in Cirkit DesignerOpen Project in Cirkit DesignerOpen Project in Cirkit DesignerCommon Applications
- Android-based device integration
- Robotics and automation systems
- IoT (Internet of Things) projects
- Data acquisition and control systems
- Prototyping for large-scale projects requiring numerous I/O connections
Technical Specifications
Key Technical Details
| Parameter | Specification |
|---|---|
| Microcontroller | ATmega2560 |
| Operating Voltage | 5V |
| Input Voltage (recommended) | 7-12V |
| Input Voltage (limits) | 6-20V |
| Digital I/O Pins | 54 (15 PWM outputs) |
| Analog Input Pins | 16 |
| DC Current per I/O Pin | 20 mA |
| Flash Memory | 256 KB (8 KB used by bootloader) |
| SRAM | 8 KB |
| EEPROM | 4 KB |
| Clock Speed | 16 MHz |
| USB Host Chip | MAX3421E |
| Communication Interfaces | UART, SPI, I2C, USB |
| Dimensions | 101.52 mm x 53.3 mm |
| Weight | 37 g |
Pin Configuration and Descriptions
The Arduino Mega ADK features a comprehensive pinout, as detailed below:
Power Pins
| Pin Name | Description |
|---|---|
| VIN | Input voltage to the board when using an external power source (7-12V). |
| 5V | Regulated 5V output from the board. Can power external components. |
| 3.3V | Regulated 3.3V output from the board. |
| GND | Ground pins. |
| IOREF | Provides the voltage reference for the I/O pins. |
Digital I/O Pins
| Pin Range | Description |
|---|---|
| 0-53 | General-purpose digital I/O pins. Pins 0 and 1 are used for serial (UART). |
| 2-13 | PWM-enabled pins for analog output. |
Analog Input Pins
| Pin Range | Description |
|---|---|
| A0-A15 | Analog input pins with a 10-bit resolution. |
Communication Pins
| Pin Name | Description |
|---|---|
| TX/RX | Serial communication pins (UART). |
| SDA/SCL | I2C communication pins. |
| SPI (10-13) | SPI communication pins. |
USB Host Interface
| Pin Name | Description |
|---|---|
| USB Host Port | Allows communication with Android devices via the MAX3421E chip. |
Usage Instructions
How to Use the Arduino Mega ADK in a Circuit
Powering the Board:
- Connect an external power supply (7-12V) to the VIN pin or the DC power jack.
- Alternatively, power the board via the USB connection.
Connecting to Android Devices:
- Use the USB Host port to connect an Android device.
- Ensure the Android device supports USB Host mode and has the necessary drivers.
Programming the Board:
- Connect the board to your computer using a USB cable.
- Open the Arduino IDE, select "Arduino Mega ADK" under
Tools > Board, and choose the correct COM port. - Write or load your sketch and upload it to the board.
Using I/O Pins:
- Connect sensors, actuators, or other components to the digital and analog pins.
- Use the
pinMode(),digitalWrite(), andanalogRead()functions in your code to interact with the pins.
Important Considerations and Best Practices
- Avoid exceeding the maximum current rating (20 mA) for each I/O pin to prevent damage.
- Use external pull-up or pull-down resistors for stable digital input signals.
- When connecting to Android devices, ensure the USB cable is of good quality to avoid communication issues.
- Use a proper heat sink or cooling mechanism if the board operates under high loads for extended periods.
Example Code for Arduino Mega ADK with Android Device
Below is an example sketch to demonstrate communication between the Arduino Mega ADK and an Android device using the USB Host interface.
#include <USBHost.h> // Include the USB Host library

USBHost usb; // Create a USBHost object

void setup() {
  Serial.begin(9600); // Initialize serial communication
  while (!Serial) {
    ; // Wait for the serial port to connect (for native USB boards)
  }

  Serial.println("Initializing USB Host...");
  if (usb.begin()) {
    Serial.println("USB Host initialized successfully!");
  } else {
    Serial.println("Failed to initialize USB Host.");
  }
}

void loop() {
  // Check for USB device connection
  if (usb.task()) {
    Serial.println("USB device connected!");
    // Add your code to interact with the connected Android device
  } else {
    Serial.println("No USB device detected.");
  }

  delay(1000); // Wait for 1 second before checking again
}
Troubleshooting and FAQs
Common Issues and Solutions
The board is not recognized by the Arduino IDE:
- Ensure the correct board ("Arduino Mega ADK") is selected under
Tools > Board. - Check that the correct COM port is selected under
Tools > Port. - Verify that the USB cable is functional and supports data transfer.
- Ensure the correct board ("Arduino Mega ADK") is selected under
Android device not detected:
- Confirm that the Android device supports USB Host mode.
- Use a high-quality USB OTG cable if required.
- Check that the USB Host library is correctly included in your sketch.
Sketch upload fails:
- Ensure no other application is using the COM port.
- Press the reset button on the board and try uploading again.
Board overheats during operation:
- Verify that the input voltage does not exceed 12V.
- Reduce the load on the I/O pins to stay within the 20 mA limit.
FAQs
Q: Can I use the Arduino Mega ADK without an Android device?
A: Yes, the board functions as a standard Arduino Mega 2560 and can be used for any project requiring a large number of I/O pins.
Q: What is the difference between the Mega ADK and the Mega 2560?
A: The Mega ADK includes a USB Host interface (MAX3421E chip) for Android device communication, which is not present on the Mega 2560.
Q: Can I power the board using only the USB connection?
A: Yes, the board can be powered via the USB connection, but ensure the connected USB device does not draw excessive current.
Q: Is the board compatible with all Android devices?
A: The board is compatible with Android devices that support USB Host mode. Check your device's specifications for compatibility.
This concludes the documentation for the Arduino Mega ADK (Rev3). For further assistance, refer to the official Arduino website or community forums.