How to Use solar panel: Examples, Pinouts, and Specs
Introduction
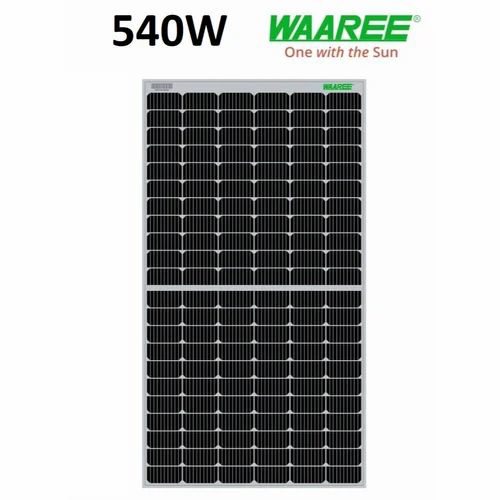
The Mono 70W solar panel, manufactured by Guangzhou, is a high-efficiency device designed to convert sunlight into electrical energy using photovoltaic cells. This solar panel is ideal for a variety of applications, including residential, commercial, and industrial energy systems. It is particularly useful for off-grid power systems, solar-powered devices, and as a supplementary power source for reducing electricity bills.
Explore Projects Built with solar panel

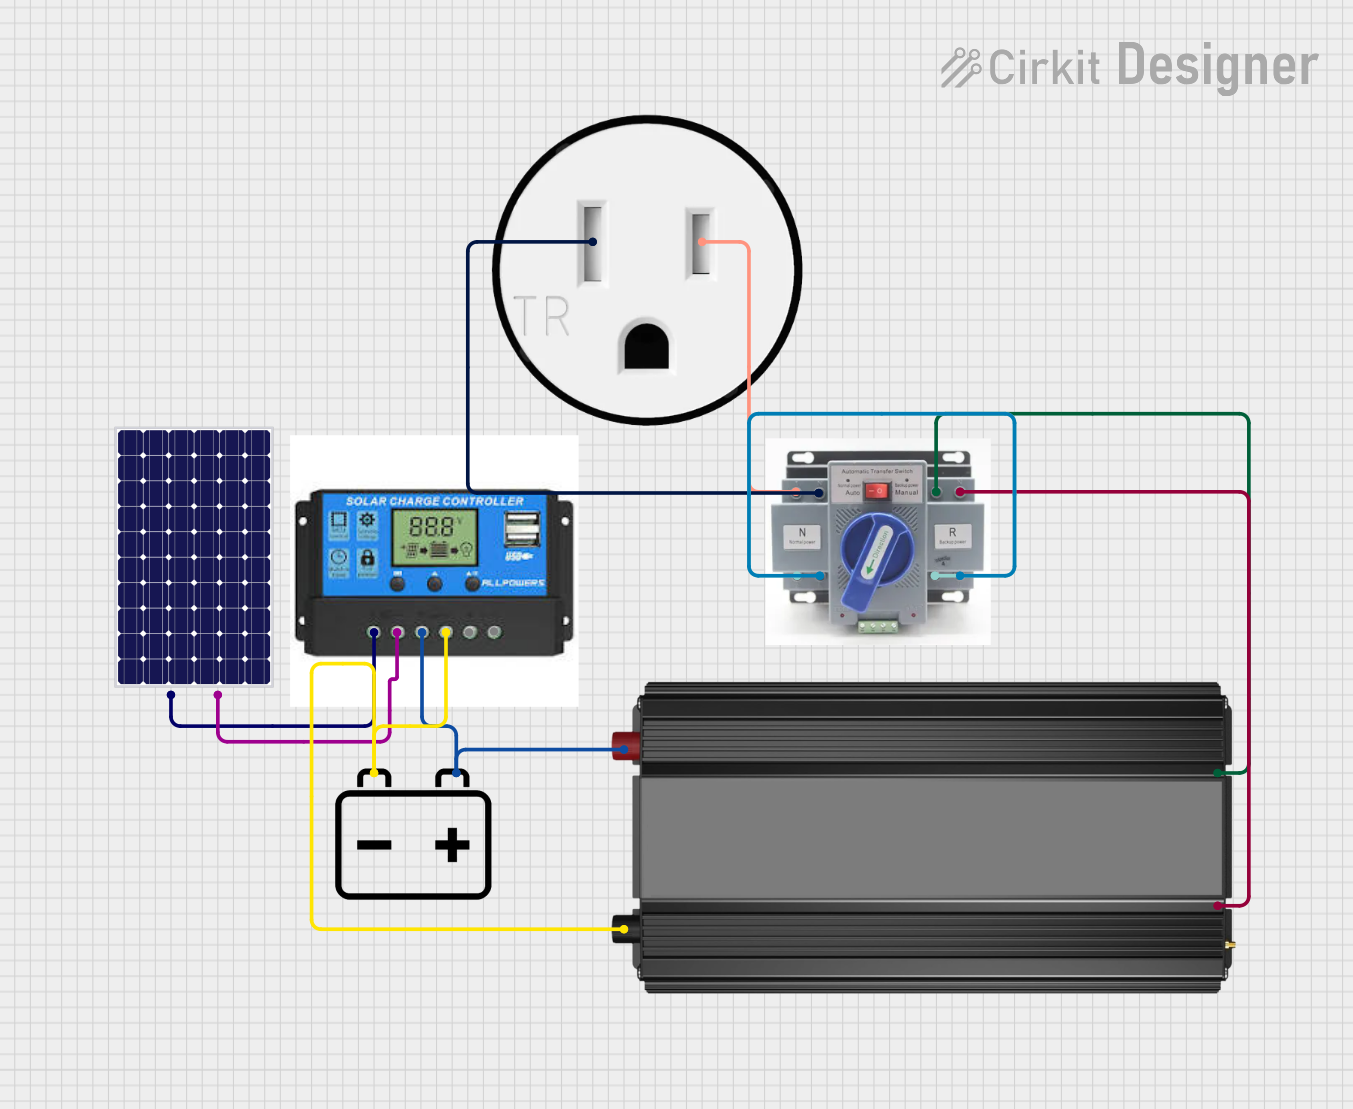
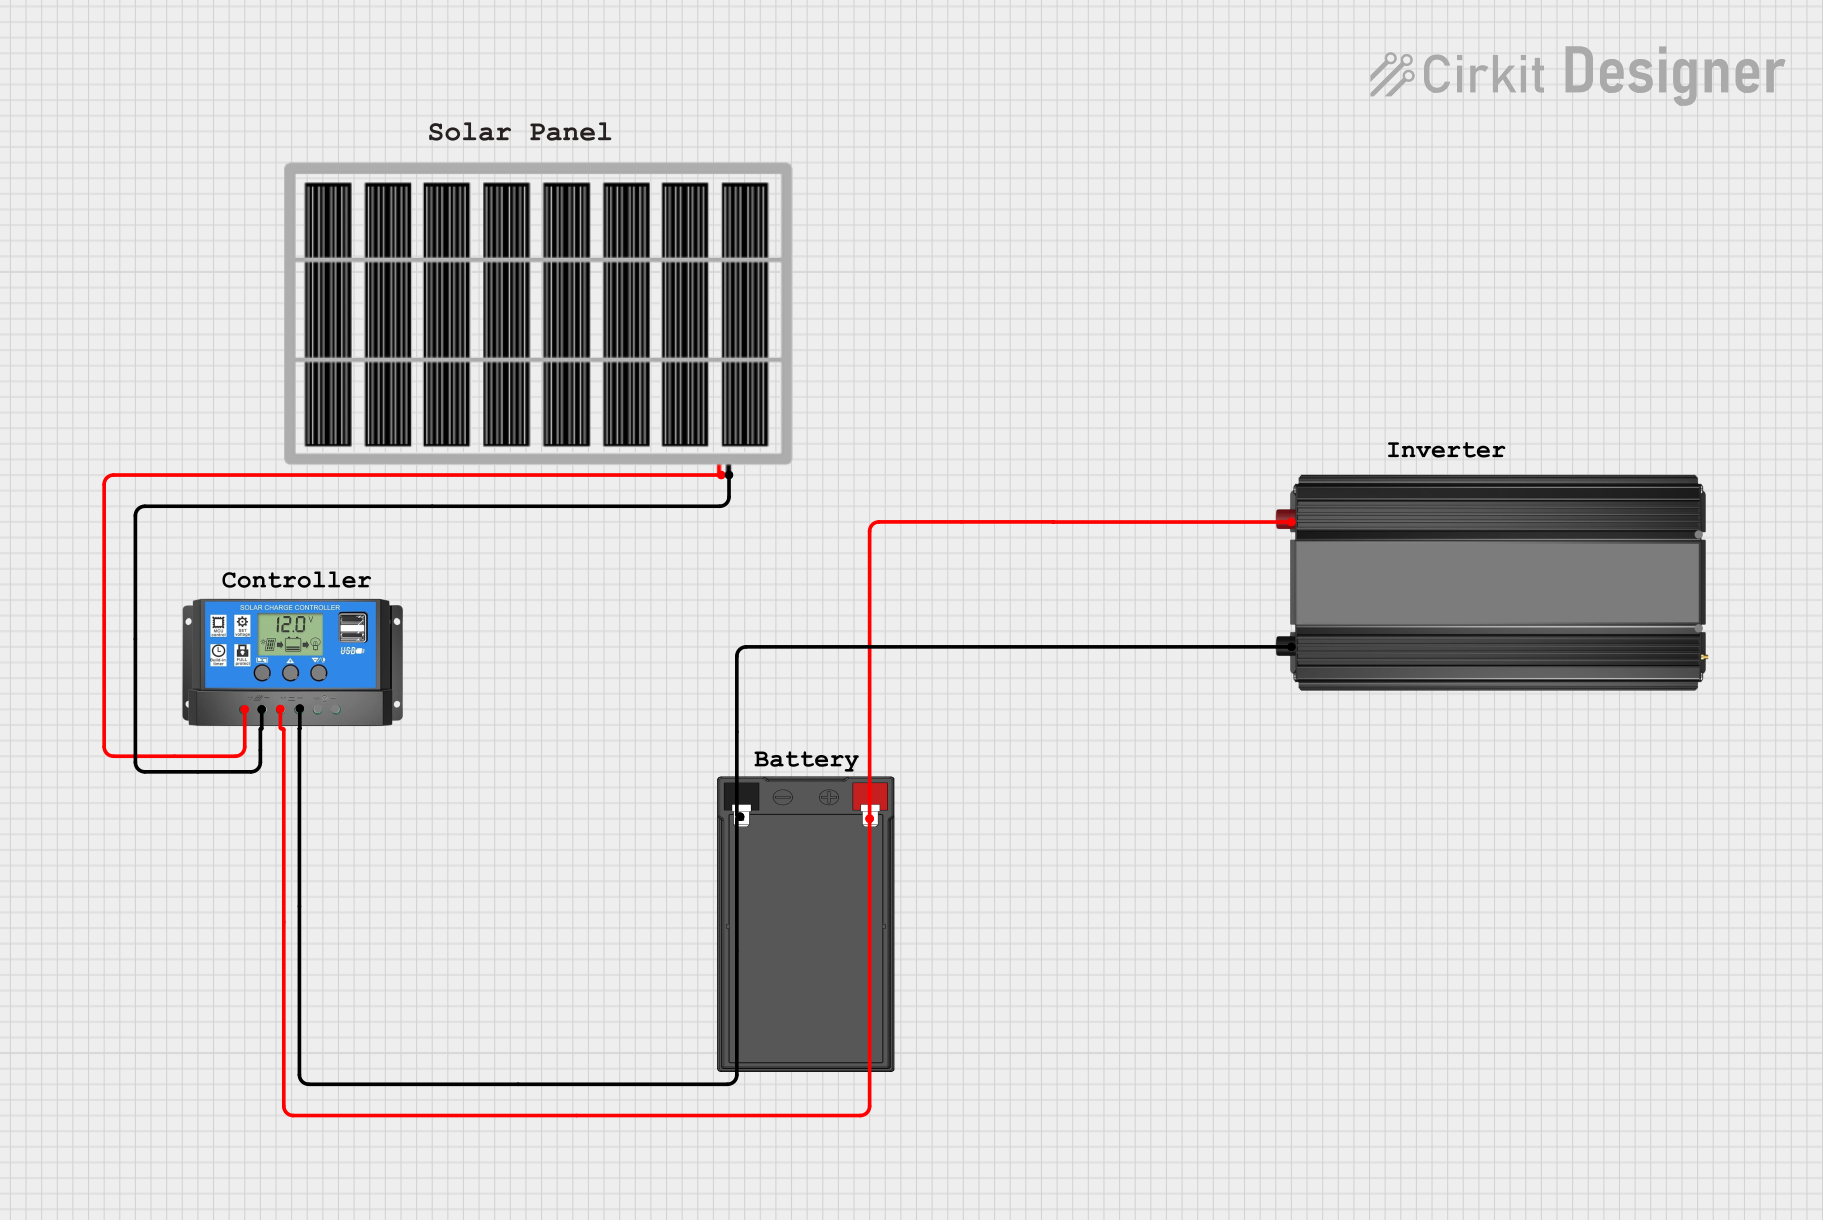
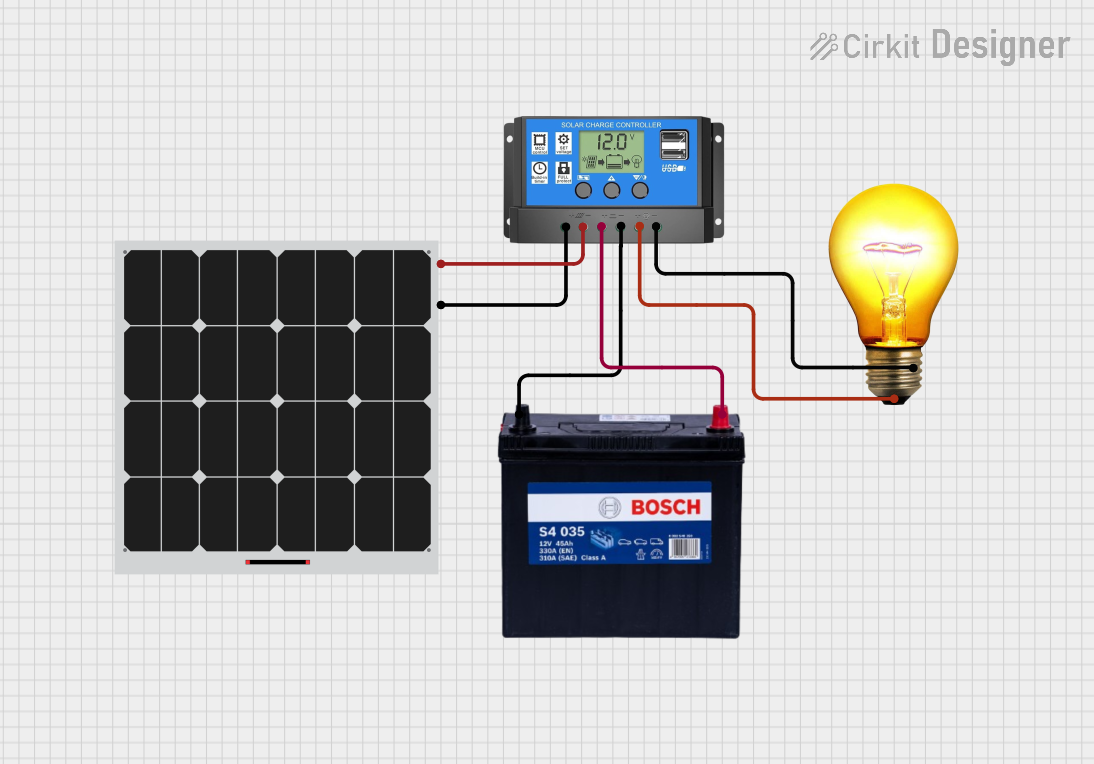
Explore Projects Built with solar panel
Technical Specifications
Key Technical Details
| Parameter | Value |
|---|---|
| Manufacturer | Guangzhou |
| Part ID | Mono 70W |
| Maximum Power (Pmax) | 70W |
| Voltage at Pmax (Vmp) | 18V |
| Current at Pmax (Imp) | 3.89A |
| Open Circuit Voltage (Voc) | 21.6V |
| Short Circuit Current (Isc) | 4.12A |
| Cell Type | Monocrystalline |
| Dimensions | 1200mm x 540mm x 30mm |
| Weight | 6.5kg |
| Efficiency | 17.5% |
Pin Configuration and Descriptions
| Pin Number | Description | Function |
|---|---|---|
| 1 | Positive Terminal (+) | Connects to the positive input of the load or charge controller |
| 2 | Negative Terminal (-) | Connects to the negative input of the load or charge controller |
Usage Instructions
How to Use the Component in a Circuit
Positioning the Solar Panel:
- Place the solar panel in a location with maximum sunlight exposure.
- Ensure the panel is angled correctly to capture the most sunlight throughout the day.
Connecting to a Load or Charge Controller:
- Connect the positive terminal of the solar panel to the positive input of the load or charge controller.
- Connect the negative terminal of the solar panel to the negative input of the load or charge controller.
- Use appropriate gauge wires to handle the current output of the panel.
Using with an Arduino UNO:
- To use the solar panel with an Arduino UNO, you will need a charge controller and a battery to store the energy.
- Connect the solar panel to the charge controller as described above.
- Connect the battery to the charge controller.
- Use the battery to power the Arduino UNO.
Important Considerations and Best Practices
- Avoid Shading: Ensure that the solar panel is not shaded by trees, buildings, or other obstructions, as shading can significantly reduce its efficiency.
- Regular Cleaning: Keep the surface of the solar panel clean from dust, dirt, and debris to maintain optimal performance.
- Proper Ventilation: Ensure adequate ventilation around the solar panel to prevent overheating.
- Secure Mounting: Mount the solar panel securely to withstand wind and other environmental factors.
Troubleshooting and FAQs
Common Issues Users Might Face
Low Power Output:
- Cause: Shading, dirt on the panel, or incorrect positioning.
- Solution: Ensure the panel is clean, properly positioned, and free from shading.
No Power Output:
- Cause: Loose or disconnected wires, faulty connections.
- Solution: Check all connections and ensure they are secure and properly connected.
Overheating:
- Cause: Poor ventilation or excessive ambient temperature.
- Solution: Improve ventilation around the panel and ensure it is not exposed to extreme temperatures.
Solutions and Tips for Troubleshooting
- Check Connections: Regularly inspect all electrical connections for signs of wear, corrosion, or looseness.
- Monitor Performance: Use a multimeter to check the voltage and current output of the panel to ensure it is operating within specifications.
- Use a Charge Controller: Always use a charge controller to regulate the voltage and current from the solar panel to prevent overcharging or damaging connected devices.
Example Code for Arduino UNO
Below is an example code to read the voltage from a battery charged by the solar panel using an Arduino UNO:
const int batteryPin = A0; // Analog pin to read battery voltage
float batteryVoltage = 0.0;

void setup() {
  Serial.begin(9600); // Initialize serial communication
}

void loop() {
  int sensorValue = analogRead(batteryPin); // Read the analog input
  batteryVoltage = sensorValue * (5.0 / 1023.0) * (18.0 / 5.0);
  // Convert the analog reading to voltage
  // 5.0V is the reference voltage
  // 1023 is the maximum value of the analog input
  // 18.0/5.0 is the voltage divider ratio

  Serial.print("Battery Voltage: ");
  Serial.print(batteryVoltage);
  Serial.println(" V");

  delay(1000); // Wait for 1 second before the next reading
}
This code reads the voltage from a battery connected to the solar panel and prints it to the serial monitor. Ensure you have a voltage divider circuit to step down the battery voltage to a safe level for the Arduino analog input.
This documentation provides a comprehensive guide to understanding, using, and troubleshooting the Mono 70W solar panel by Guangzhou. Whether you are a beginner or an experienced user, this guide aims to help you make the most of your solar panel.