
How to Use Adafruit AT42QT1012 Standalone Toggle Capacitive Touch Sensor Breakout: Examples, Pinouts, and Specs
 Design with Adafruit AT42QT1012 Standalone Toggle Capacitive Touch Sensor Breakout in Cirkit Designer
Introduction
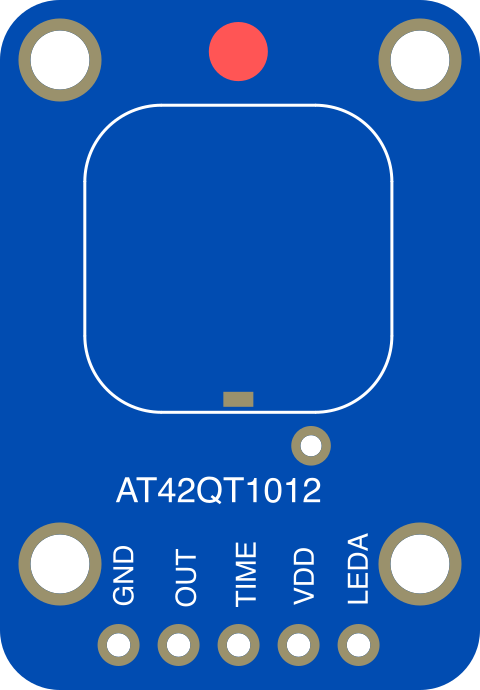
The Adafruit AT42QT1012 Standalone Toggle Capacitive Touch Sensor Breakout (Part ID: 1375) is a compact and versatile capacitive touch sensor module. It enables touch-sensitive input for a wide range of applications, such as touch-activated light switches, control panels, and interactive projects. The breakout board features a toggle function, meaning the output state changes (on/off) with each touch, making it ideal for applications requiring a latching mechanism.
This sensor is easy to integrate into projects, as it requires no microcontroller programming for basic operation. Its small size and low power consumption make it suitable for battery-powered devices and space-constrained designs.
Explore Projects Built with Adafruit AT42QT1012 Standalone Toggle Capacitive Touch Sensor Breakout
 Open Project in Cirkit Designer
 Open Project in Cirkit Designer
 Open Project in Cirkit Designer
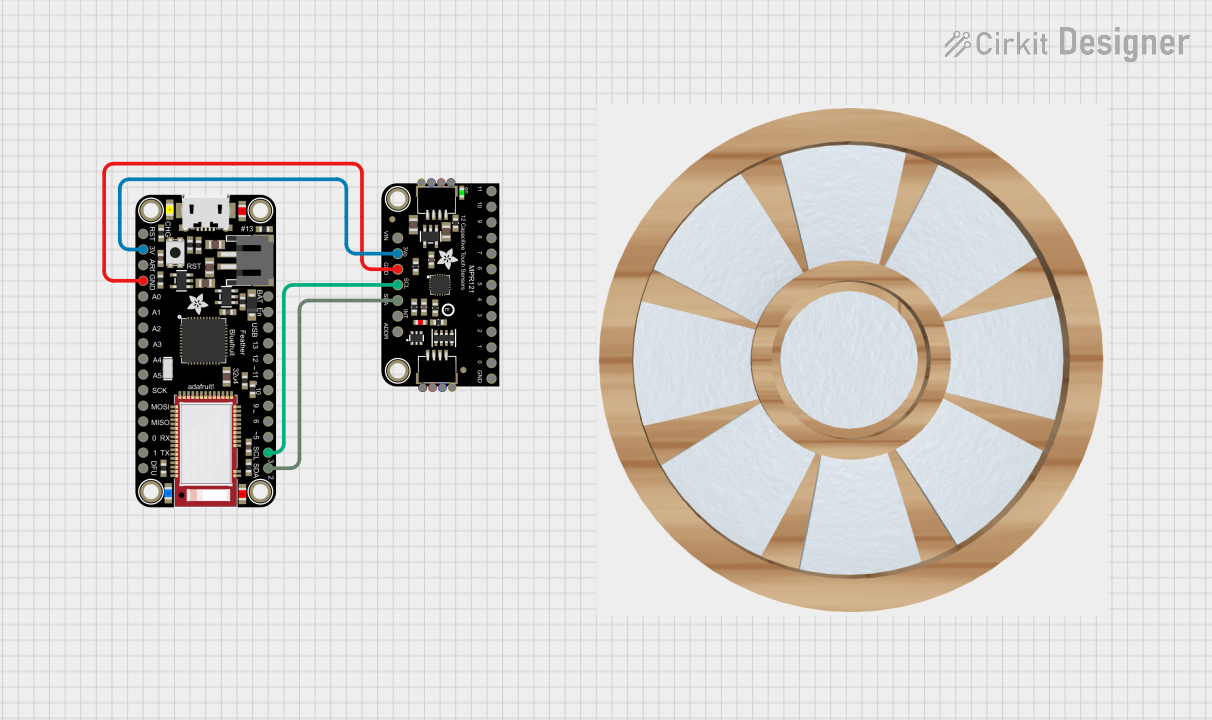 Open Project in Cirkit Designer
Explore Projects Built with Adafruit AT42QT1012 Standalone Toggle Capacitive Touch Sensor Breakout
Open Project in Cirkit DesignerOpen Project in Cirkit DesignerOpen Project in Cirkit DesignerOpen Project in Cirkit DesignerTechnical Specifications
- Manufacturer: Adafruit
- Part ID: 1375
- Operating Voltage: 1.8V to 5.5V DC
- Current Consumption: ~1.5 µA in low-power mode
- Output Type: Digital (toggle output)
- Touch Sensitivity: Adjustable via external capacitor (default: 10 pF)
- Response Time: ~100 ms
- Operating Temperature: -40°C to +85°C
- PCB Dimensions: 19mm x 19mm x 2mm
- Mounting: 2 x 2mm mounting holes
Pin Configuration and Descriptions
The breakout board has three pins, which are clearly labeled on the PCB:
| Pin | Name | Description |
|---|---|---|
| 1 | VIN | Power supply input (1.8V to 5.5V DC). Connect to the positive voltage source. |
| 2 | GND | Ground. Connect to the ground of your circuit. |
| 3 | OUT | Digital output. Toggles between HIGH and LOW states with each touch input. |
Usage Instructions
How to Use the Component in a Circuit
- Power the Sensor: Connect the
VINpin to a DC voltage source (1.8V to 5.5V) and theGNDpin to the ground of your circuit. - Connect the Output: Use the
OUTpin to interface with other components, such as LEDs, relays, or microcontroller GPIO pins. The output toggles between HIGH (logic 1) and LOW (logic 0) states with each touch. - Adjust Sensitivity (Optional): The touch sensitivity can be fine-tuned by changing the value of the external capacitor connected to the
C_Spad on the PCB. The default capacitor value is 10 pF, which works well for most applications.
Important Considerations and Best Practices
- Debouncing: The sensor has built-in debouncing, so additional software debouncing is not required.
- Touch Surface: For optimal performance, ensure the touch surface is clean and free of contaminants. The sensor can detect touch through non-conductive materials like plastic or glass, up to a few millimeters thick.
- Power Supply Noise: Use a decoupling capacitor (e.g., 0.1 µF) between
VINandGNDto reduce power supply noise and ensure stable operation. - Output Load: The
OUTpin can directly drive small loads like LEDs, but for larger loads, use a transistor or relay.
Example: Connecting to an Arduino UNO
The AT42QT1012 can be easily interfaced with an Arduino UNO. Below is an example of how to toggle an LED using the sensor:
Circuit Diagram
- Connect
VINto the Arduino's 5V pin. - Connect
GNDto the Arduino's GND pin. - Connect the
OUTpin to Arduino digital pin 2. - Connect an LED (with a 220-ohm resistor) to Arduino digital pin 13.
Arduino Code
// Define the pin connected to the sensor's OUT pin
const int touchSensorPin = 2;

// Define the pin connected to the LED
const int ledPin = 13;

// Variable to store the LED state
bool ledState = false;

void setup() {
  // Set the sensor pin as input
  pinMode(touchSensorPin, INPUT);

  // Set the LED pin as output
  pinMode(ledPin, OUTPUT);

  // Initialize the LED to OFF
  digitalWrite(ledPin, LOW);
}

void loop() {
  // Read the sensor output
  int sensorValue = digitalRead(touchSensorPin);

  // Check if the sensor output is HIGH (touched)
  if (sensorValue == HIGH) {
    // Toggle the LED state
    ledState = !ledState;

    // Update the LED output
    digitalWrite(ledPin, ledState);

    // Wait for the touch to be released (debouncing)
    while (digitalRead(touchSensorPin) == HIGH) {
      delay(10); // Small delay to avoid rapid toggling
    }
  }
}
Troubleshooting and FAQs
Common Issues and Solutions
Sensor Not Responding to Touch
- Ensure the
VINandGNDpins are properly connected to a power source. - Verify that the touch surface is clean and free of debris.
- Check the value of the external capacitor on the
C_Spad. If necessary, replace it with a different value to adjust sensitivity.
- Ensure the
Output Not Toggling
- Confirm that the
OUTpin is correctly connected to the input of the target device or microcontroller. - Check for shorts or loose connections in the circuit.
- Confirm that the
Erratic Behavior
- Add a decoupling capacitor (e.g., 0.1 µF) between
VINandGNDto filter out power supply noise. - Ensure the sensor is not exposed to strong electromagnetic interference (EMI).
- Add a decoupling capacitor (e.g., 0.1 µF) between
FAQs
Q: Can the sensor detect touch through thick materials?
A: Yes, the sensor can detect touch through non-conductive materials like plastic or glass, but the thickness should not exceed a few millimeters. Sensitivity can be adjusted by changing the external capacitor value.
Q: Is the sensor suitable for battery-powered applications?
A: Yes, the sensor has very low power consumption (~1.5 µA in low-power mode), making it ideal for battery-powered devices.
Q: Can I use multiple sensors in the same project?
A: Yes, multiple sensors can be used together. Ensure each sensor has its own power and ground connections, and avoid placing them too close to prevent interference.
Q: What happens if the sensor is touched continuously?
A: The sensor will maintain its current output state until the touch is released and a new touch is detected.
This concludes the documentation for the Adafruit AT42QT1012 Standalone Toggle Capacitive Touch Sensor Breakout.