Cirkit Designer Logo
Cirkit Designer
Your all-in-one circuit design IDE
Home / 
Component Documentation

How to Use POWER SUPPLY 24V: Examples, Pinouts, and Specs

Image of POWER SUPPLY 24V
Cirkit Designer LogoDesign with POWER SUPPLY 24V in Cirkit Designer

Introduction

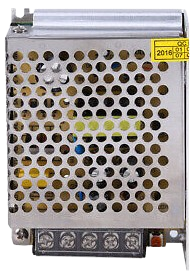
The Power Supply 24V is a device designed to provide a stable 24-volt DC power output. It is commonly used to power various electronic circuits and devices, ensuring they receive a consistent and reliable voltage. This power supply is essential in applications where precise voltage regulation is critical, such as in industrial automation, robotics, and laboratory equipment.

Explore Projects Built with POWER SUPPLY 24V

Use Cirkit Designer to design, explore, and prototype these projects online. Some projects support real-time simulation. Click "Open Project" to start designing instantly!
24V Pushbutton Control Interface with 40-Pin Connector
Image of 4 på rad: A project utilizing POWER SUPPLY 24V in a practical application
This circuit consists of a 24V power supply unit (PSU) connected to four pushbuttons. Each pushbutton is wired such that pressing it will send a 24V signal to a corresponding general-purpose input (GP In) on a 40-pin connector. The common return path for the pushbuttons is connected to the 0V of the PSU, which is also connected to the common (Com) for input pins on the 40-pin connector, completing the circuit for each button press.
Cirkit Designer LogoOpen Project in Cirkit Designer
LED Array with Push Switch Control and Voltage Regulation
Image of Transformer safty device complete: A project utilizing POWER SUPPLY 24V in a practical application
This circuit is a power supply and control system that steps down 220V AC to 24V AC using a transformer, rectifies it to DC using a bridge rectifier, and regulates it to 5V DC. It includes multiple LEDs controlled by push switches and a relay, with a capacitor for smoothing the output.
Cirkit Designer LogoOpen Project in Cirkit Designer
LED Indicator Circuit with Push Switches and Voltage Regulation
Image of circuit 1: A project utilizing POWER SUPPLY 24V in a practical application
This circuit converts 220V AC to 24V DC using a power transformer and a bridge rectifier, then regulates the voltage to a stable output using a voltage regulator. It includes multiple LEDs controlled by push switches, with current limiting provided by a resistor.
Cirkit Designer LogoOpen Project in Cirkit Designer
AC to DC Power Supply with 7-Segment Voltage Display
Image of BEE PBL: A project utilizing POWER SUPPLY 24V in a practical application
This circuit is a regulated power supply that converts 220V AC to a lower, stable DC voltage. It includes a step-down transformer, bridge rectifier, voltage regulator, and filtering capacitors. A 7-segment display indicates the output voltage, which can be adjusted using a potentiometer.
Cirkit Designer LogoOpen Project in Cirkit Designer

Explore Projects Built with POWER SUPPLY 24V

Use Cirkit Designer to design, explore, and prototype these projects online. Some projects support real-time simulation. Click "Open Project" to start designing instantly!
Image of 4 på rad: A project utilizing POWER SUPPLY 24V in a practical application
24V Pushbutton Control Interface with 40-Pin Connector
This circuit consists of a 24V power supply unit (PSU) connected to four pushbuttons. Each pushbutton is wired such that pressing it will send a 24V signal to a corresponding general-purpose input (GP In) on a 40-pin connector. The common return path for the pushbuttons is connected to the 0V of the PSU, which is also connected to the common (Com) for input pins on the 40-pin connector, completing the circuit for each button press.
Cirkit Designer LogoOpen Project in Cirkit Designer
Image of Transformer safty device complete: A project utilizing POWER SUPPLY 24V in a practical application
LED Array with Push Switch Control and Voltage Regulation
This circuit is a power supply and control system that steps down 220V AC to 24V AC using a transformer, rectifies it to DC using a bridge rectifier, and regulates it to 5V DC. It includes multiple LEDs controlled by push switches and a relay, with a capacitor for smoothing the output.
Cirkit Designer LogoOpen Project in Cirkit Designer
Image of circuit 1: A project utilizing POWER SUPPLY 24V in a practical application
LED Indicator Circuit with Push Switches and Voltage Regulation
This circuit converts 220V AC to 24V DC using a power transformer and a bridge rectifier, then regulates the voltage to a stable output using a voltage regulator. It includes multiple LEDs controlled by push switches, with current limiting provided by a resistor.
Cirkit Designer LogoOpen Project in Cirkit Designer
Image of BEE PBL: A project utilizing POWER SUPPLY 24V in a practical application
AC to DC Power Supply with 7-Segment Voltage Display
This circuit is a regulated power supply that converts 220V AC to a lower, stable DC voltage. It includes a step-down transformer, bridge rectifier, voltage regulator, and filtering capacitors. A 7-segment display indicates the output voltage, which can be adjusted using a potentiometer.
Cirkit Designer LogoOpen Project in Cirkit Designer

Technical Specifications

Key Technical Details

Parameter Value
Output Voltage 24V DC
Output Current Up to 5A
Input Voltage 100-240V AC
Frequency 50/60Hz
Power Rating 120W
Efficiency ≥ 85%
Ripple & Noise ≤ 120mVp-p
Operating Temperature -10°C to +60°C
Storage Temperature -20°C to +85°C
Dimensions 150mm x 90mm x 40mm
Weight 500g

Pin Configuration and Descriptions

Pin No. Name Description
1 AC-L AC Live input (100-240V AC)
2 AC-N AC Neutral input (100-240V AC)
3 GND Ground
4 +V +24V DC output
5 -V 0V (Ground) DC output

Usage Instructions

How to Use the Component in a Circuit

  1. Connect the AC Input:

    • Connect the AC-L pin to the live wire of your AC power source.
    • Connect the AC-N pin to the neutral wire of your AC power source.
    • Ensure the ground (GND) pin is connected to the earth ground for safety.
  2. Connect the DC Output:

    • Connect the +V pin to the positive terminal of your load.
    • Connect the -V pin to the negative terminal (ground) of your load.
  3. Power On:

    • Once all connections are secure, power on the AC source. The power supply will convert the AC input to a stable 24V DC output.

Important Considerations and Best Practices

  • Safety First: Always ensure the power supply is disconnected from the AC source before making any connections.
  • Load Capacity: Do not exceed the maximum output current (5A) to avoid damaging the power supply.
  • Ventilation: Ensure proper ventilation around the power supply to prevent overheating.
  • Polarity: Double-check the polarity of the connections to avoid damaging your electronic devices.

Troubleshooting and FAQs

Common Issues and Solutions

  1. No Output Voltage:

    • Check Connections: Ensure all AC and DC connections are secure and correct.
    • Verify AC Input: Make sure the AC input voltage is within the specified range (100-240V AC).
    • Inspect Fuse: Check if the internal fuse is blown and replace it if necessary.
  2. Output Voltage Fluctuations:

    • Load Stability: Ensure the load connected to the power supply is stable and within the rated current.
    • Check for Overheating: Ensure the power supply is not overheating and has adequate ventilation.
  3. Power Supply Overheating:

    • Ventilation: Ensure there is sufficient airflow around the power supply.
    • Ambient Temperature: Verify that the operating environment is within the specified temperature range.

FAQs

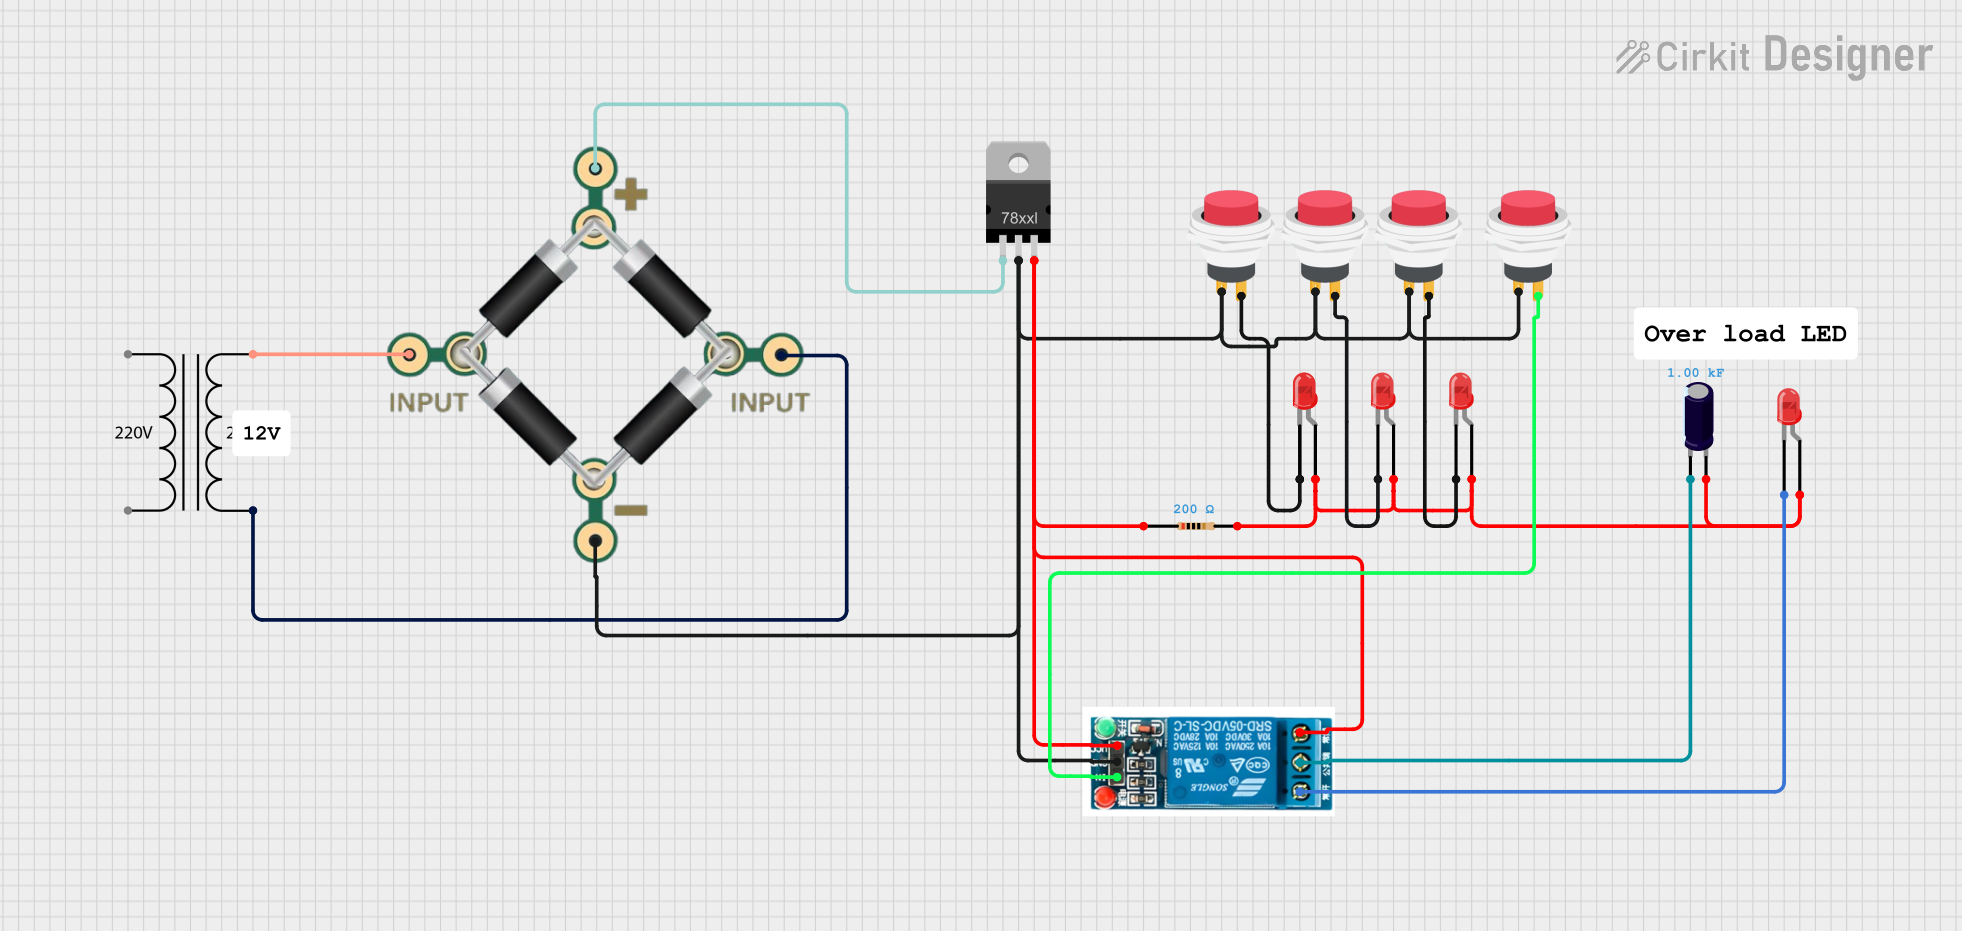
Q1: Can I use this power supply with an Arduino UNO?

  • A1: Yes, you can use this power supply to power an Arduino UNO. Connect the +24V output to a voltage regulator (e.g., LM7805) to step down the voltage to 5V, which is suitable for the Arduino UNO.

Q2: What should I do if the power supply is not working?

  • A2: First, check all connections and ensure the AC input is within the specified range. If the issue persists, inspect the internal fuse and replace it if necessary.

Q3: Can I use this power supply in a high-temperature environment?

  • A3: The power supply is rated for operation up to 60°C. Ensure proper ventilation and avoid placing it in environments exceeding this temperature.

Example Code for Arduino UNO

Below is an example code to use the 24V power supply with an Arduino UNO, using an LM7805 voltage regulator to step down the voltage to 5V.

// Example code to blink an LED using Arduino UNO powered by a 24V power supply
// through an LM7805 voltage regulator

const int ledPin = 13; // Pin number for the LED

void setup() {
  pinMode(ledPin, OUTPUT); // Set the LED pin as an output
}

void loop() {
  digitalWrite(ledPin, HIGH); // Turn the LED on
  delay(1000); // Wait for 1 second
  digitalWrite(ledPin, LOW); // Turn the LED off
  delay(1000); // Wait for 1 second
}

Note: Ensure the LM7805 voltage regulator is properly connected to step down the 24V to 5V before powering the Arduino UNO.


This documentation provides a comprehensive guide to using the Power Supply 24V, covering technical specifications, usage instructions, troubleshooting, and example code for integration with an Arduino UNO.