Cirkit Designer Logo
Cirkit Designer
Your all-in-one circuit design IDE
Home / 
Component Documentation

How to Use 4 x AAA Battery Mount: Examples, Pinouts, and Specs

Image of 4 x AAA Battery Mount
Cirkit Designer LogoDesign with 4 x AAA Battery Mount in Cirkit Designer

Introduction

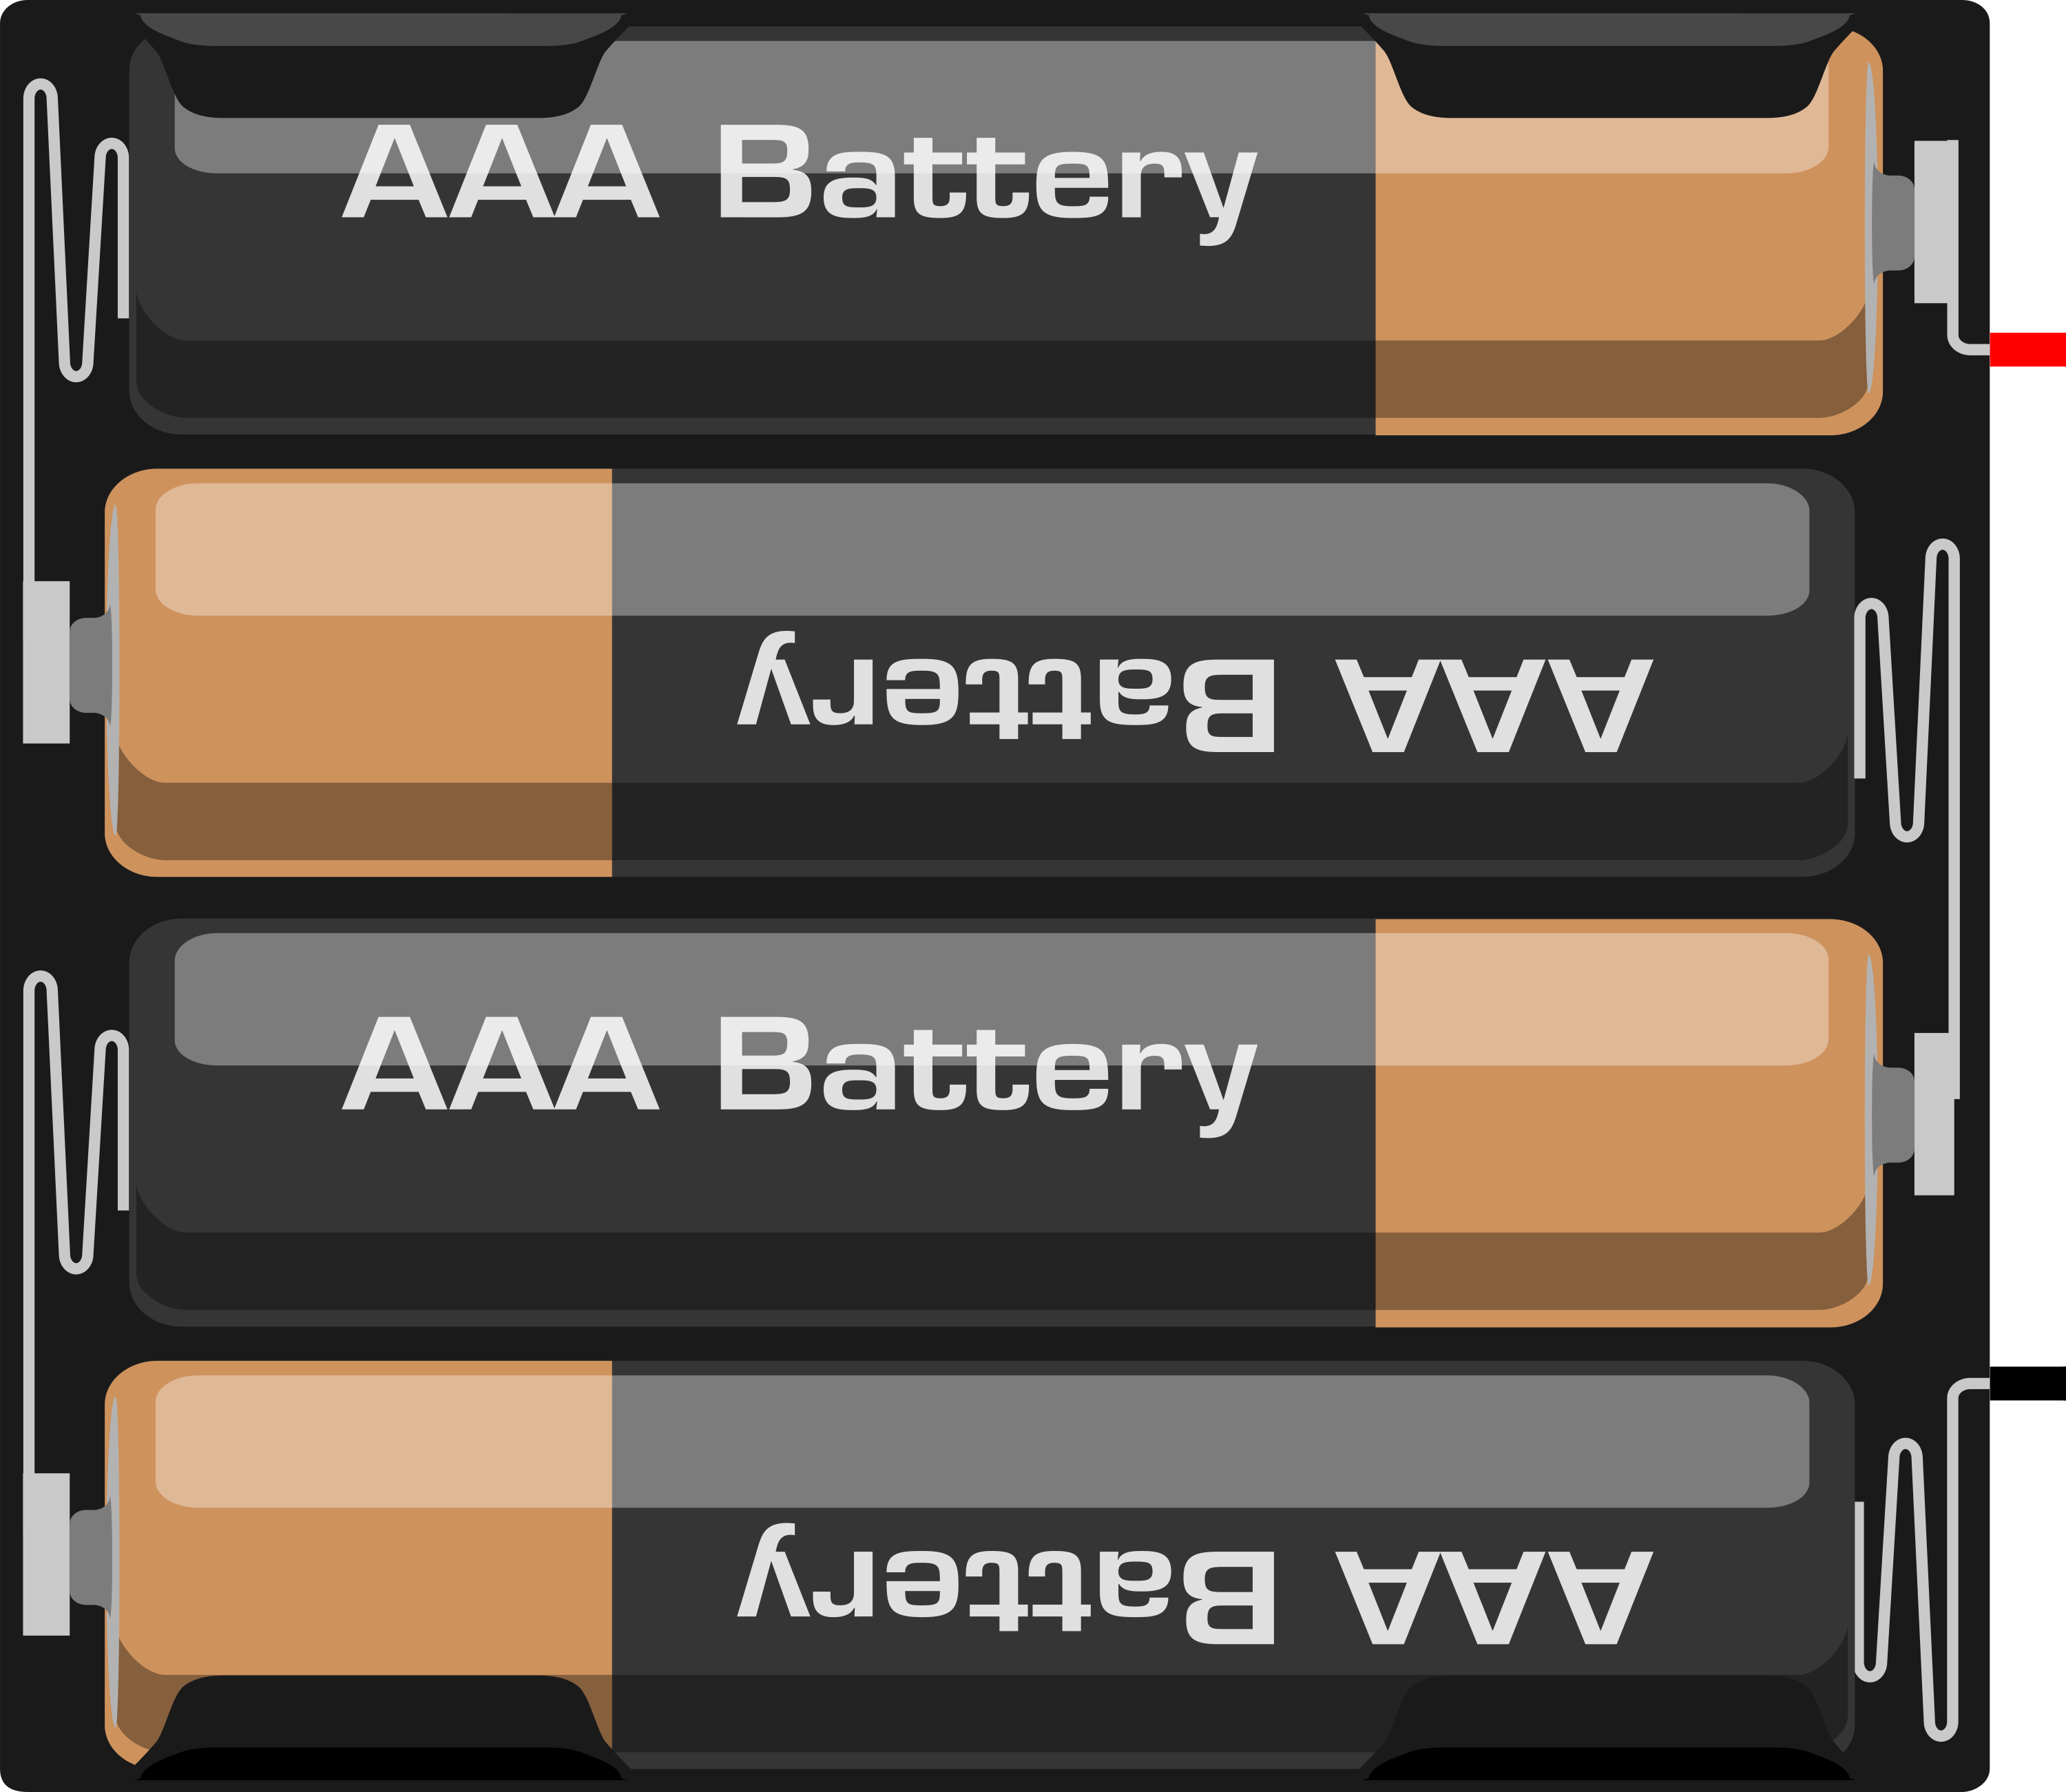
The 4 x AAA Battery Mount is a holder designed to securely house four AAA batteries in series. This configuration provides a compact and portable power source for a wide range of electronic projects. By connecting the batteries in series, the mount delivers a combined voltage of approximately 6V (1.5V per AAA battery). It is commonly used in low-power devices, DIY electronics, and prototyping applications.

Explore Projects Built with 4 x AAA Battery Mount

Use Cirkit Designer to design, explore, and prototype these projects online. Some projects support real-time simulation. Click "Open Project" to start designing instantly!
Battery-Powered LED Circuit with Resistor
Image of Project 1: Glowing LED: A project utilizing 4 x AAA Battery Mount in a practical application
This circuit consists of a 4 x AAA battery mount powering a red LED through a 220-ohm resistor. The resistor limits the current flowing through the LED, which is connected in series with the battery pack to ensure safe operation and prevent damage to the LED.
Cirkit Designer LogoOpen Project in Cirkit Designer
Simple Battery-Powered LED Circuit
Image of Coding Assignment 2: A project utilizing 4 x AAA Battery Mount in a practical application
This is a basic LED circuit with a series resistor for current limiting. It is powered by a 4 x AAA battery mount, with the resistor ensuring that the LED operates within safe current levels to prevent damage.
Cirkit Designer LogoOpen Project in Cirkit Designer
Simple Battery-Powered LED Circuit
Image of Coding and Robotics activity 2: A project utilizing 4 x AAA Battery Mount in a practical application
This circuit is a simple LED lighting circuit powered by a 4 x AAA battery mount. The LED's anode is connected to the positive terminal of the battery through a 220 Ohm resistor, which limits the current to protect the LED. The cathode of the LED is connected directly to the negative terminal of the battery, completing the circuit and allowing the LED to light up when the battery is connected.
Cirkit Designer LogoOpen Project in Cirkit Designer
Simple Battery-Powered Red LED Circuit
Image of cirkit designer project2 : A project utilizing 4 x AAA Battery Mount in a practical application
This circuit is a simple LED driver consisting of a red LED, a resistor, and a 4 x AAA battery mount. The resistor is in series with the LED, limiting the current to prevent damage to the LED. The battery provides the power source, with the negative terminal connected to one end of the resistor and the positive terminal connected to the anode of the LED.
Cirkit Designer LogoOpen Project in Cirkit Designer

Explore Projects Built with 4 x AAA Battery Mount

Use Cirkit Designer to design, explore, and prototype these projects online. Some projects support real-time simulation. Click "Open Project" to start designing instantly!
Image of Project 1: Glowing LED: A project utilizing 4 x AAA Battery Mount in a practical application
Battery-Powered LED Circuit with Resistor
This circuit consists of a 4 x AAA battery mount powering a red LED through a 220-ohm resistor. The resistor limits the current flowing through the LED, which is connected in series with the battery pack to ensure safe operation and prevent damage to the LED.
Cirkit Designer LogoOpen Project in Cirkit Designer
Image of Coding Assignment 2: A project utilizing 4 x AAA Battery Mount in a practical application
Simple Battery-Powered LED Circuit
This is a basic LED circuit with a series resistor for current limiting. It is powered by a 4 x AAA battery mount, with the resistor ensuring that the LED operates within safe current levels to prevent damage.
Cirkit Designer LogoOpen Project in Cirkit Designer
Image of Coding and Robotics activity 2: A project utilizing 4 x AAA Battery Mount in a practical application
Simple Battery-Powered LED Circuit
This circuit is a simple LED lighting circuit powered by a 4 x AAA battery mount. The LED's anode is connected to the positive terminal of the battery through a 220 Ohm resistor, which limits the current to protect the LED. The cathode of the LED is connected directly to the negative terminal of the battery, completing the circuit and allowing the LED to light up when the battery is connected.
Cirkit Designer LogoOpen Project in Cirkit Designer
Image of cirkit designer project2 : A project utilizing 4 x AAA Battery Mount in a practical application
Simple Battery-Powered Red LED Circuit
This circuit is a simple LED driver consisting of a red LED, a resistor, and a 4 x AAA battery mount. The resistor is in series with the LED, limiting the current to prevent damage to the LED. The battery provides the power source, with the negative terminal connected to one end of the resistor and the positive terminal connected to the anode of the LED.
Cirkit Designer LogoOpen Project in Cirkit Designer

Common Applications and Use Cases

  • Powering small electronic circuits and microcontrollers
  • Portable devices such as flashlights and toys
  • DIY robotics and IoT projects
  • Backup power for small systems

Technical Specifications

  • Battery Type: AAA (1.5V each)
  • Output Voltage: ~6V (when fully charged batteries are used)
  • Current Capacity: Dependent on the battery's mAh rating
  • Material: Durable plastic with metal spring terminals
  • Connection Type: Two wires (red for positive, black for negative)
  • Dimensions: ~60mm x 30mm x 15mm (varies slightly by manufacturer)

Pin Configuration and Descriptions

The 4 x AAA Battery Mount does not have traditional pins but instead uses two wires for connection. The table below describes the wire configuration:

Wire Color Function Description
Red Positive (+) Connects to the positive terminal of the circuit
Black Negative (-) Connects to the ground (GND) of the circuit
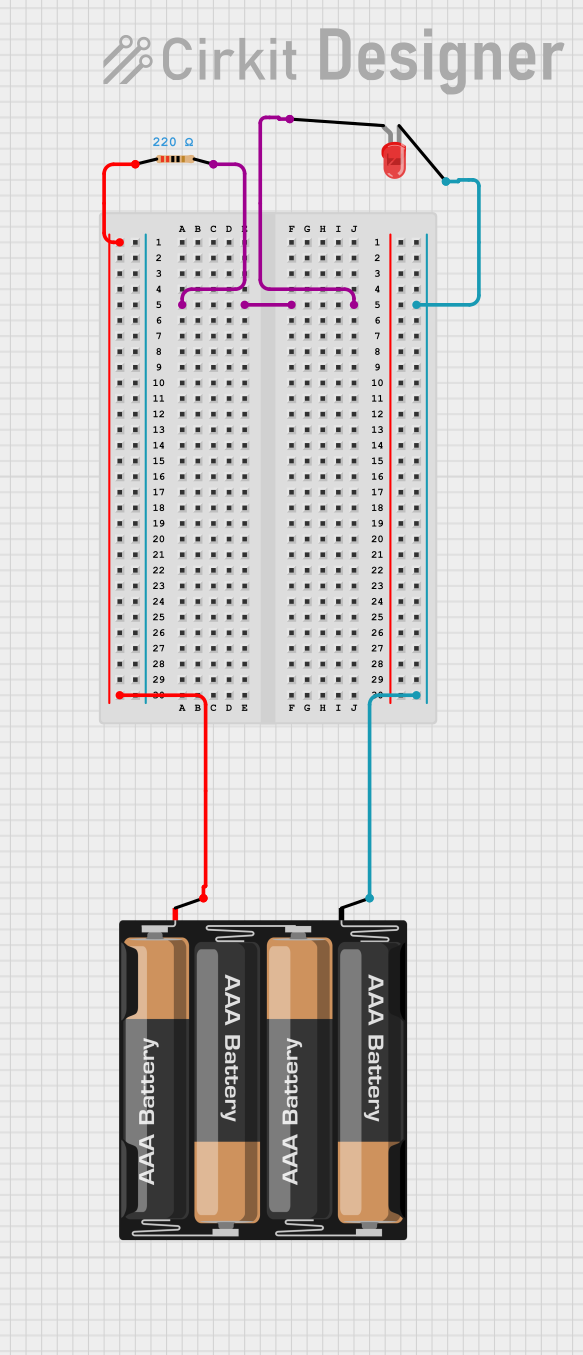
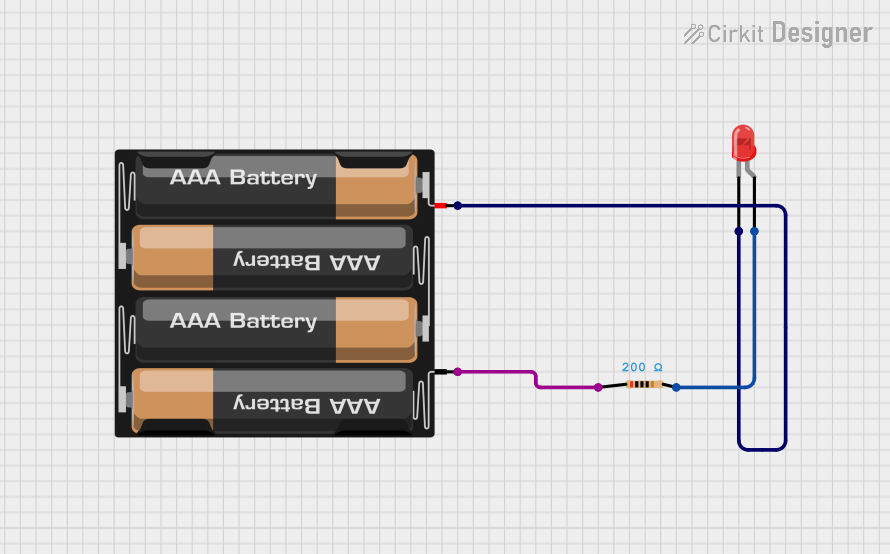
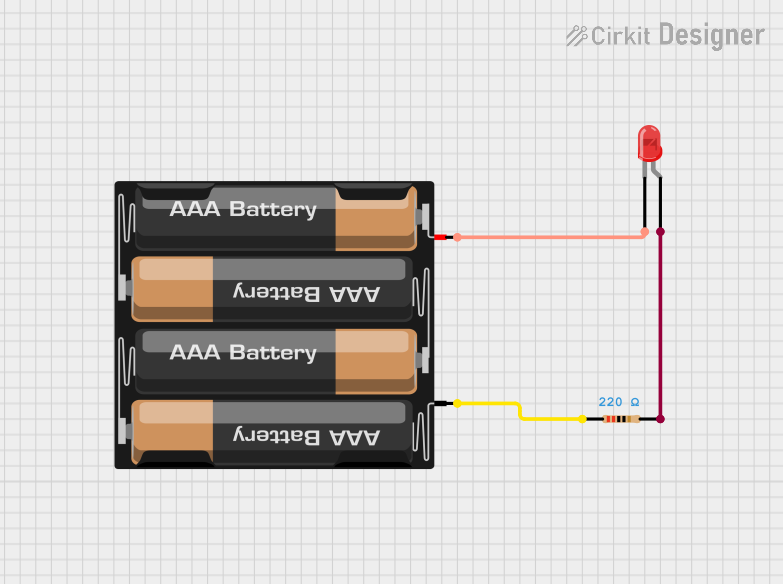
Usage Instructions

How to Use the Component in a Circuit

  1. Insert Batteries: Place four AAA batteries into the holder, ensuring correct polarity as indicated on the mount.
  2. Connect Wires:
    • Connect the red wire to the positive terminal of your circuit.
    • Connect the black wire to the ground (GND) terminal of your circuit.
  3. Verify Voltage: Use a multimeter to confirm the output voltage (~6V) before connecting to sensitive components.
  4. Power Your Circuit: Once connected, the battery mount will supply power to your circuit.

Important Considerations and Best Practices

  • Battery Type: Always use AAA batteries of the same type and charge level to ensure consistent performance.
  • Current Draw: Ensure the total current draw of your circuit does not exceed the capacity of the batteries.
  • Polarity: Double-check the polarity of the connections to avoid damaging your components.
  • Heat Management: Avoid short circuits, as they can cause the batteries to overheat.
  • Battery Replacement: Replace all four batteries at the same time to maintain consistent voltage output.

Example: Connecting to an Arduino UNO

The 4 x AAA Battery Mount can be used to power an Arduino UNO. Below is an example of how to connect it:

  1. Connect the red wire from the battery mount to the VIN pin on the Arduino UNO.
  2. Connect the black wire from the battery mount to the GND pin on the Arduino UNO.

Sample Code

Here is a simple Arduino sketch to blink an LED while powered by the 4 x AAA Battery Mount:

// This code blinks an LED connected to pin 13 of the Arduino UNO.
// Ensure the 4 x AAA Battery Mount is properly connected to VIN and GND.

void setup() {
  pinMode(13, OUTPUT); // Set pin 13 as an output pin
}

void loop() {
  digitalWrite(13, HIGH); // Turn the LED on
  delay(1000);            // Wait for 1 second
  digitalWrite(13, LOW);  // Turn the LED off
  delay(1000);            // Wait for 1 second
}

Troubleshooting and FAQs

Common Issues Users Might Face

  1. No Power Output:

    • Cause: Batteries are inserted incorrectly or are depleted.
    • Solution: Check the polarity of the batteries and replace them if necessary.
  2. Voltage Too Low:

    • Cause: One or more batteries are weak or dead.
    • Solution: Replace all four batteries with fresh ones.
  3. Overheating:

    • Cause: Short circuit or excessive current draw.
    • Solution: Inspect the circuit for shorts and ensure the current draw is within the battery's capacity.
  4. Loose Connections:

    • Cause: Wires are not securely connected to the circuit.
    • Solution: Ensure the red and black wires are firmly connected to the appropriate terminals.

Solutions and Tips for Troubleshooting

  • Use a multimeter to measure the output voltage and verify proper operation.
  • Inspect the battery mount for physical damage, such as broken terminals or wires.
  • Avoid mixing old and new batteries, as this can lead to inconsistent performance.

By following these guidelines, the 4 x AAA Battery Mount can be a reliable and efficient power source for your electronic projects.