
How to Use solar panel: Examples, Pinouts, and Specs
 Design with solar panel in Cirkit Designer
Introduction
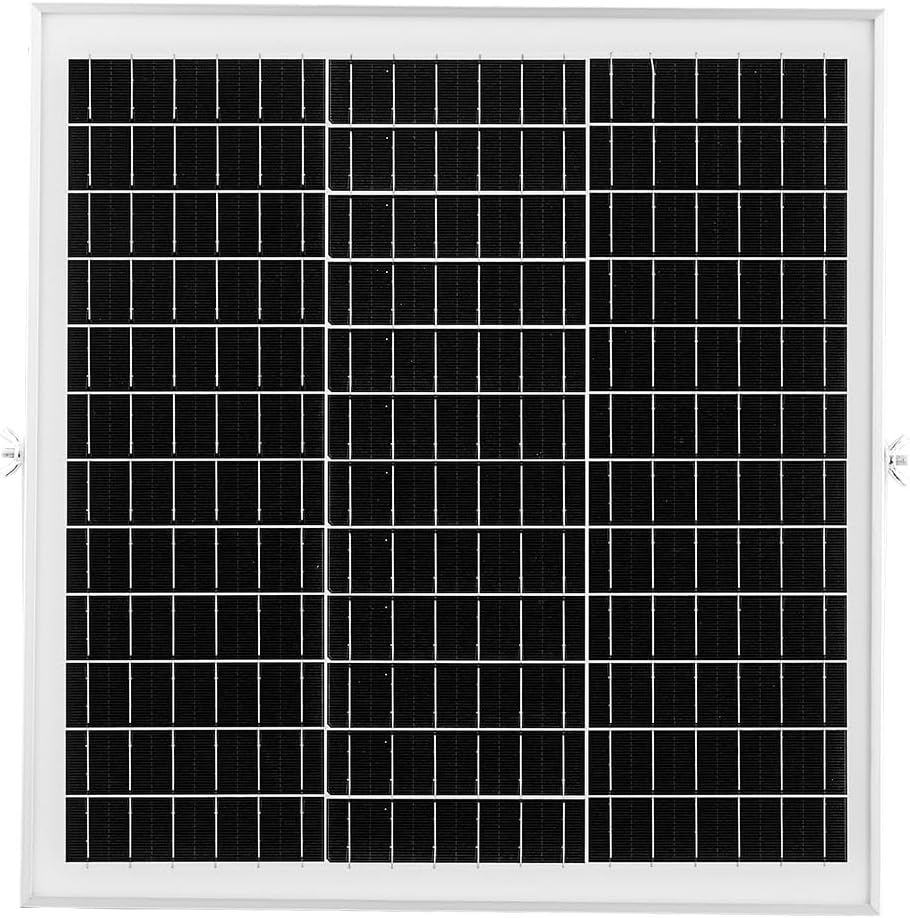
A solar panel is a device that converts sunlight into electrical energy using photovoltaic (PV) cells. Manufactured by VEVOR, this solar panel is designed to provide a renewable and sustainable energy source for a wide range of applications. It is commonly used in residential, commercial, and industrial settings for powering devices, charging batteries, and reducing reliance on non-renewable energy sources.
Explore Projects Built with solar panel
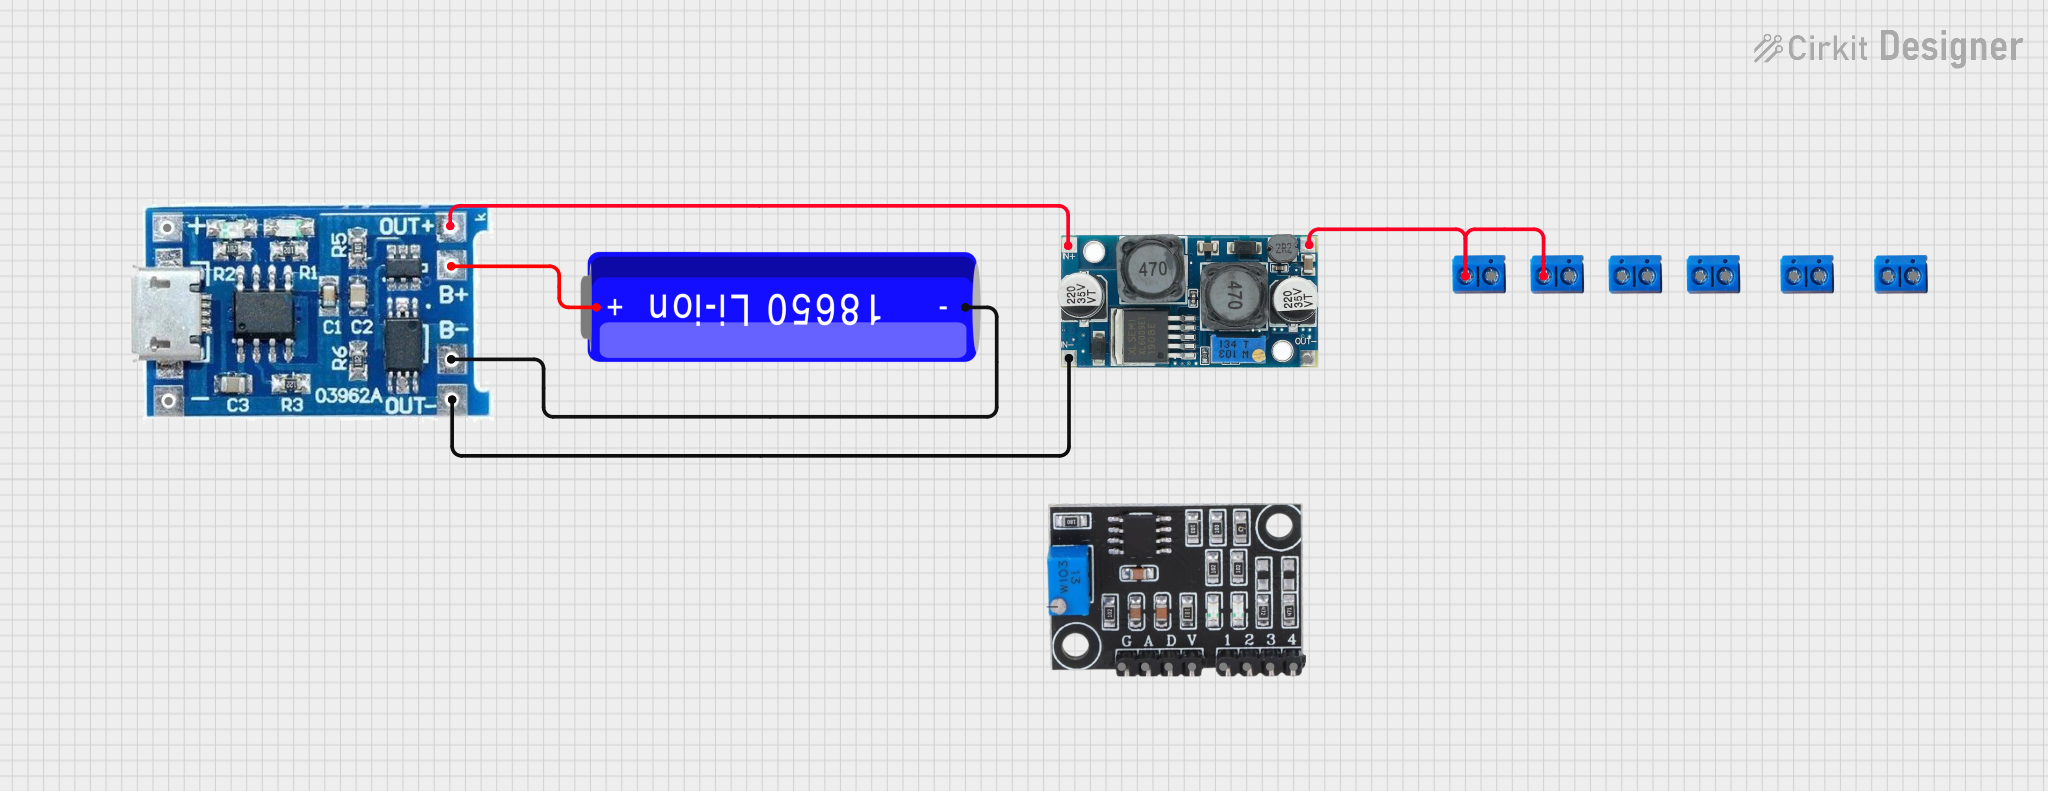 Open Project in Cirkit Designer
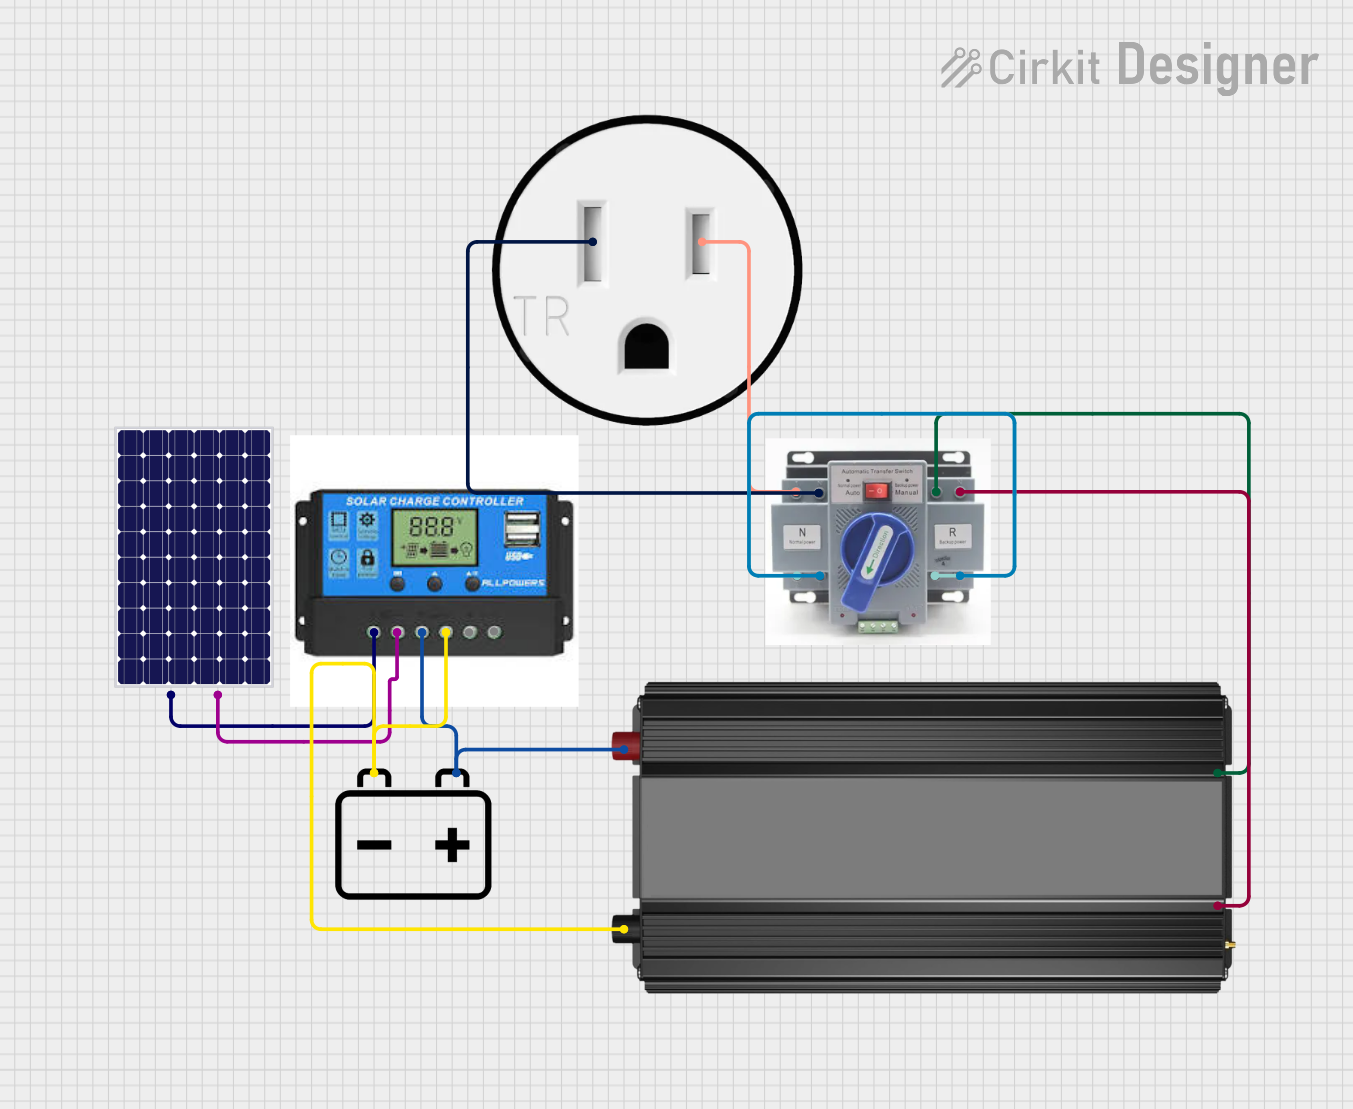 Open Project in Cirkit Designer
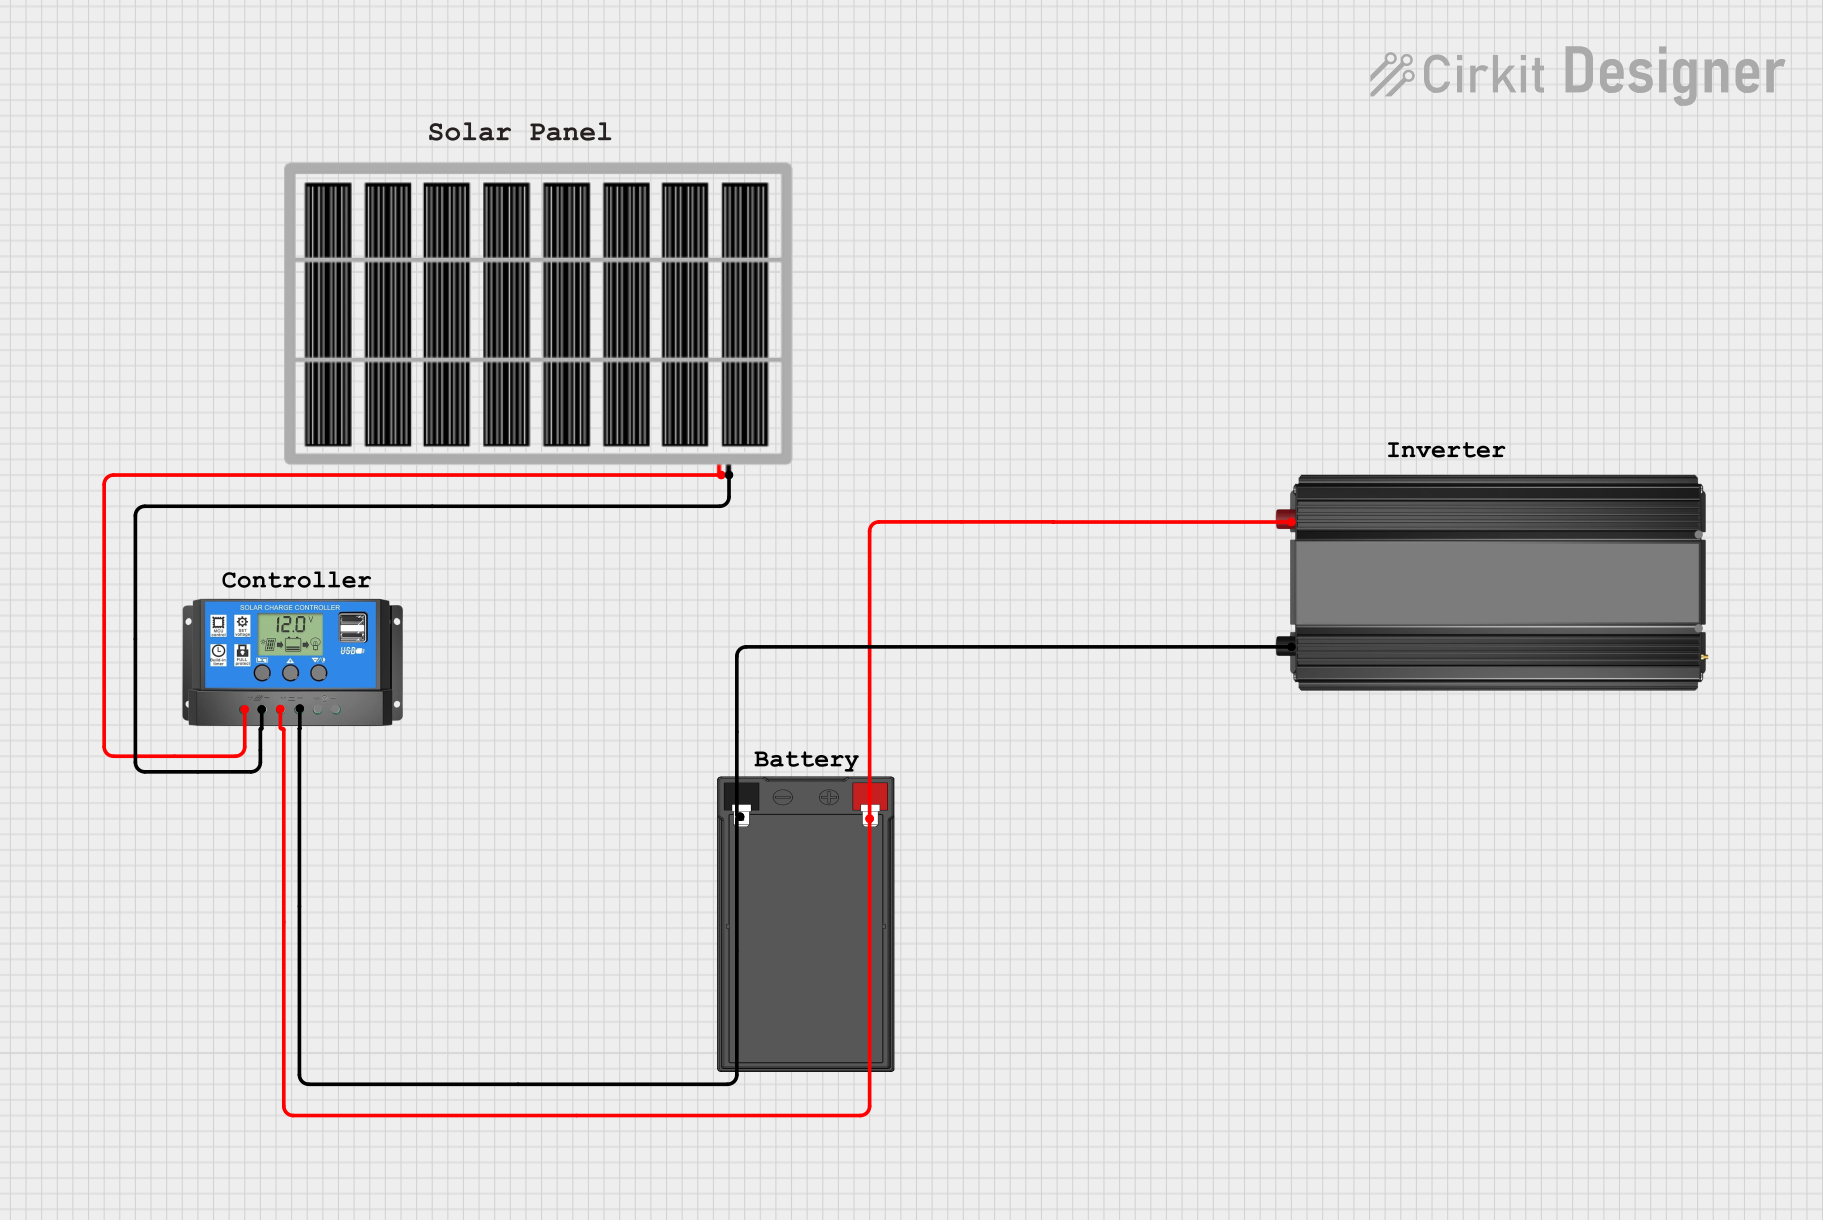 Open Project in Cirkit Designer
 Open Project in Cirkit Designer
Explore Projects Built with solar panel
Open Project in Cirkit DesignerOpen Project in Cirkit DesignerOpen Project in Cirkit DesignerOpen Project in Cirkit DesignerCommon Applications and Use Cases
- Residential and commercial solar power systems
- Off-grid power solutions for remote areas
- Charging batteries for solar-powered devices
- Powering outdoor equipment such as lights, cameras, and sensors
- Integration with microcontrollers like Arduino for solar-powered projects
Technical Specifications
The following table outlines the key technical details of the VEVOR solar panel:
| Specification | Value |
|---|---|
| Rated Power Output | 100W |
| Maximum Voltage (Vmp) | 18V |
| Maximum Current (Imp) | 5.56A |
| Open Circuit Voltage (Voc) | 21.6V |
| Short Circuit Current (Isc) | 5.92A |
| Efficiency | 20% |
| Dimensions | 1200mm x 540mm x 30mm |
| Weight | 7.5 kg |
| Operating Temperature | -40°C to 85°C |
| Connector Type | MC4 |
| Material | Monocrystalline Silicon |
Pin Configuration and Descriptions
The VEVOR solar panel does not have traditional pins but uses MC4 connectors for electrical connections. Below is a description of the connectors:
| Connector | Description |
|---|---|
| Positive (+) | Outputs the positive DC voltage from the panel. |
| Negative (-) | Outputs the negative DC voltage from the panel. |
Usage Instructions
How to Use the Solar Panel in a Circuit
- Positioning the Panel: Place the solar panel in an area with maximum sunlight exposure. Ensure the panel is angled correctly to optimize sunlight absorption.
- Connecting the Panel:
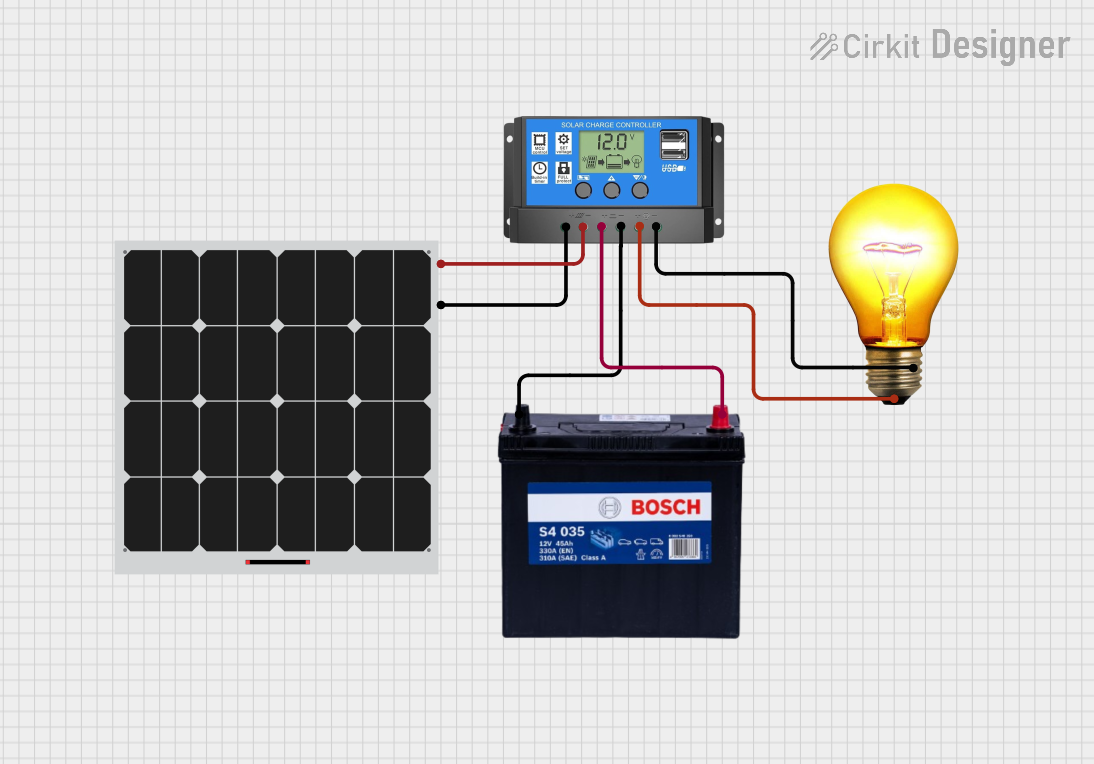
- Use the MC4 connectors to connect the solar panel to a charge controller.
- From the charge controller, connect to a battery or load to store or use the generated energy.
- Load Connection: Ensure the load (e.g., lights, sensors, or other devices) is compatible with the panel's voltage and current ratings.
- Monitoring: Use a multimeter or a solar charge controller with a display to monitor the voltage and current output.
Important Considerations and Best Practices
- Avoid Overloading: Ensure the connected load does not exceed the panel's maximum power output.
- Use a Charge Controller: Always use a charge controller to regulate the voltage and prevent overcharging of batteries.
- Weather Protection: While the panel is weather-resistant, ensure proper mounting to prevent damage from extreme weather conditions.
- Wiring: Use appropriate gauge wires to handle the current output and minimize power loss.
- Maintenance: Regularly clean the panel surface to remove dirt and debris that may reduce efficiency.
Example: Connecting to an Arduino UNO
The solar panel can be used to power an Arduino UNO indirectly by charging a battery. Below is an example of how to use the solar panel with an Arduino UNO to power a small project:
Components Needed:
- VEVOR Solar Panel
- 12V Battery
- Solar Charge Controller
- Arduino UNO
- Voltage Regulator (e.g., LM7805 for 5V output)
Circuit Diagram:
- Connect the solar panel to the charge controller using the MC4 connectors.
- Connect the charge controller to the 12V battery.
- Use a voltage regulator to step down the 12V battery output to 5V for the Arduino UNO.
- Power the Arduino UNO through its 5V pin.
Sample Arduino Code:
// Example code to read data from a sensor powered by a solar panel
// connected to an Arduino UNO through a battery and charge controller.

const int sensorPin = A0; // Analog pin connected to the sensor
int sensorValue = 0;      // Variable to store the sensor reading

void setup() {
  Serial.begin(9600); // Initialize serial communication at 9600 baud
  pinMode(sensorPin, INPUT); // Set the sensor pin as input
}

void loop() {
  sensorValue = analogRead(sensorPin); // Read the sensor value
  Serial.print("Sensor Value: ");
  Serial.println(sensorValue); // Print the sensor value to the Serial Monitor
  delay(1000); // Wait for 1 second before the next reading
}
Troubleshooting and FAQs
Common Issues and Solutions
Low Power Output:
- Cause: Insufficient sunlight or dirty panel surface.
- Solution: Ensure the panel is placed in direct sunlight and clean the surface regularly.
No Output Voltage:
- Cause: Loose or incorrect connections.
- Solution: Check all connections, especially the MC4 connectors, for proper contact.
Overheating:
- Cause: Prolonged exposure to extreme heat.
- Solution: Ensure proper ventilation around the panel and avoid placing it in enclosed spaces.
Battery Not Charging:
- Cause: Faulty charge controller or incompatible battery.
- Solution: Verify the charge controller settings and ensure the battery is compatible with the panel's output.
FAQs
Q1: Can I connect the solar panel directly to an Arduino UNO?
A1: No, the solar panel's voltage is too high for the Arduino UNO. Use a charge controller and a voltage regulator to step down the voltage to 5V.
Q2: How do I calculate the energy output of the panel?
A2: Multiply the panel's voltage (Vmp) by its current (Imp) to get the power output in watts. Multiply this by the number of sunlight hours to estimate daily energy output.
Q3: Is the panel waterproof?
A3: Yes, the VEVOR solar panel is weather-resistant, but ensure proper installation to prevent water ingress into connectors.
Q4: Can I use the panel indoors?
A4: The panel requires direct sunlight for optimal performance. Indoor use is not recommended unless placed near a window with strong sunlight.