How to Use Adafruit Slide Trinkey: Examples, Pinouts, and Specs
Introduction
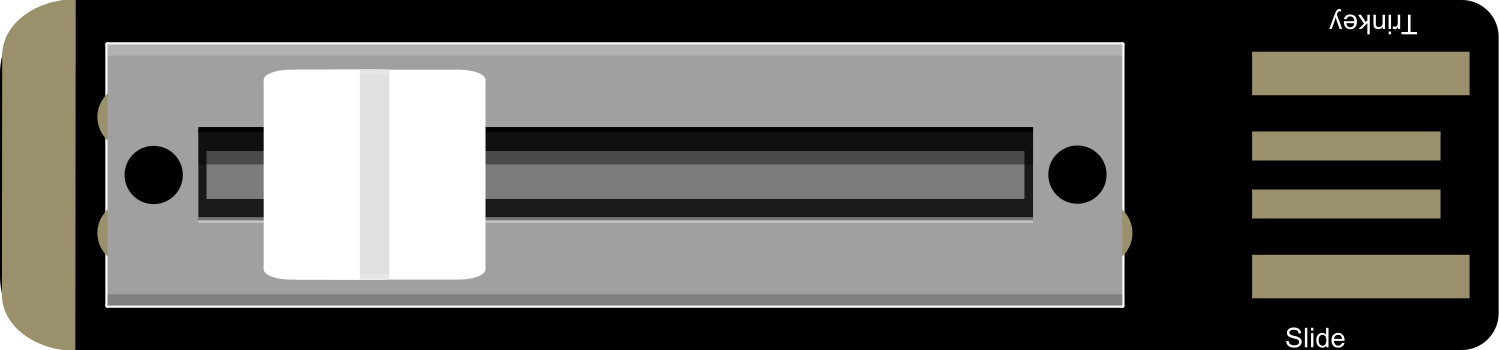
The Adafruit Slide Trinkey is a compact and versatile microcontroller board designed for ease of use and flexibility. It integrates a slide switch, an RGB NeoPixel, and a USB-C connector, making it ideal for a variety of projects that require simple input and colorful output. The board is based on the Adafruit Trinkey platform and supports programming with CircuitPython or Arduino, catering to both beginners and experienced developers. Common applications include USB key peripherals, quick prototyping of user interfaces, and interactive wearable devices.
Explore Projects Built with Adafruit Slide Trinkey
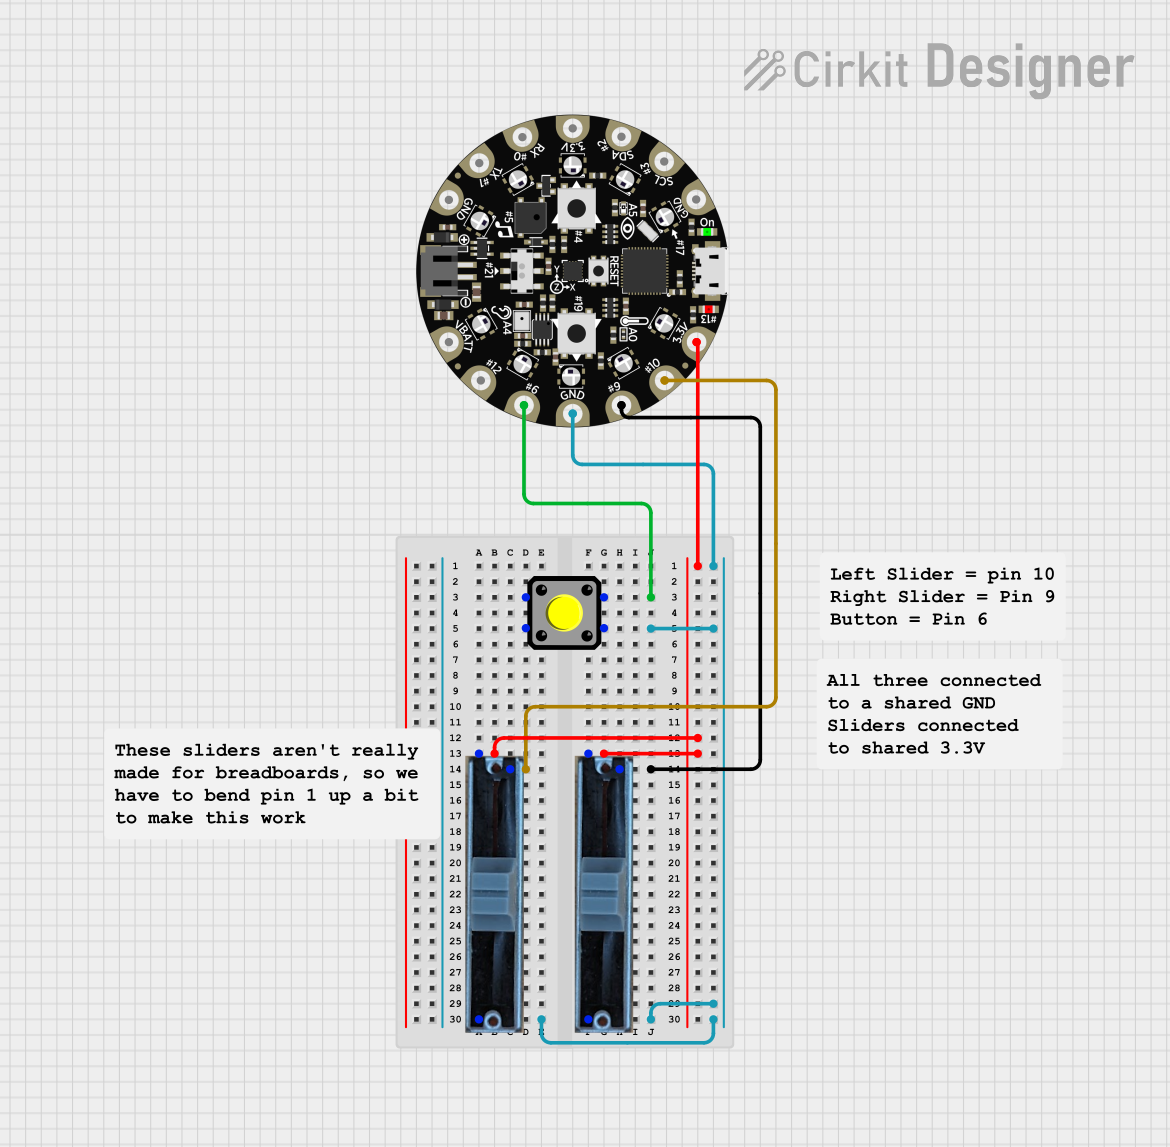

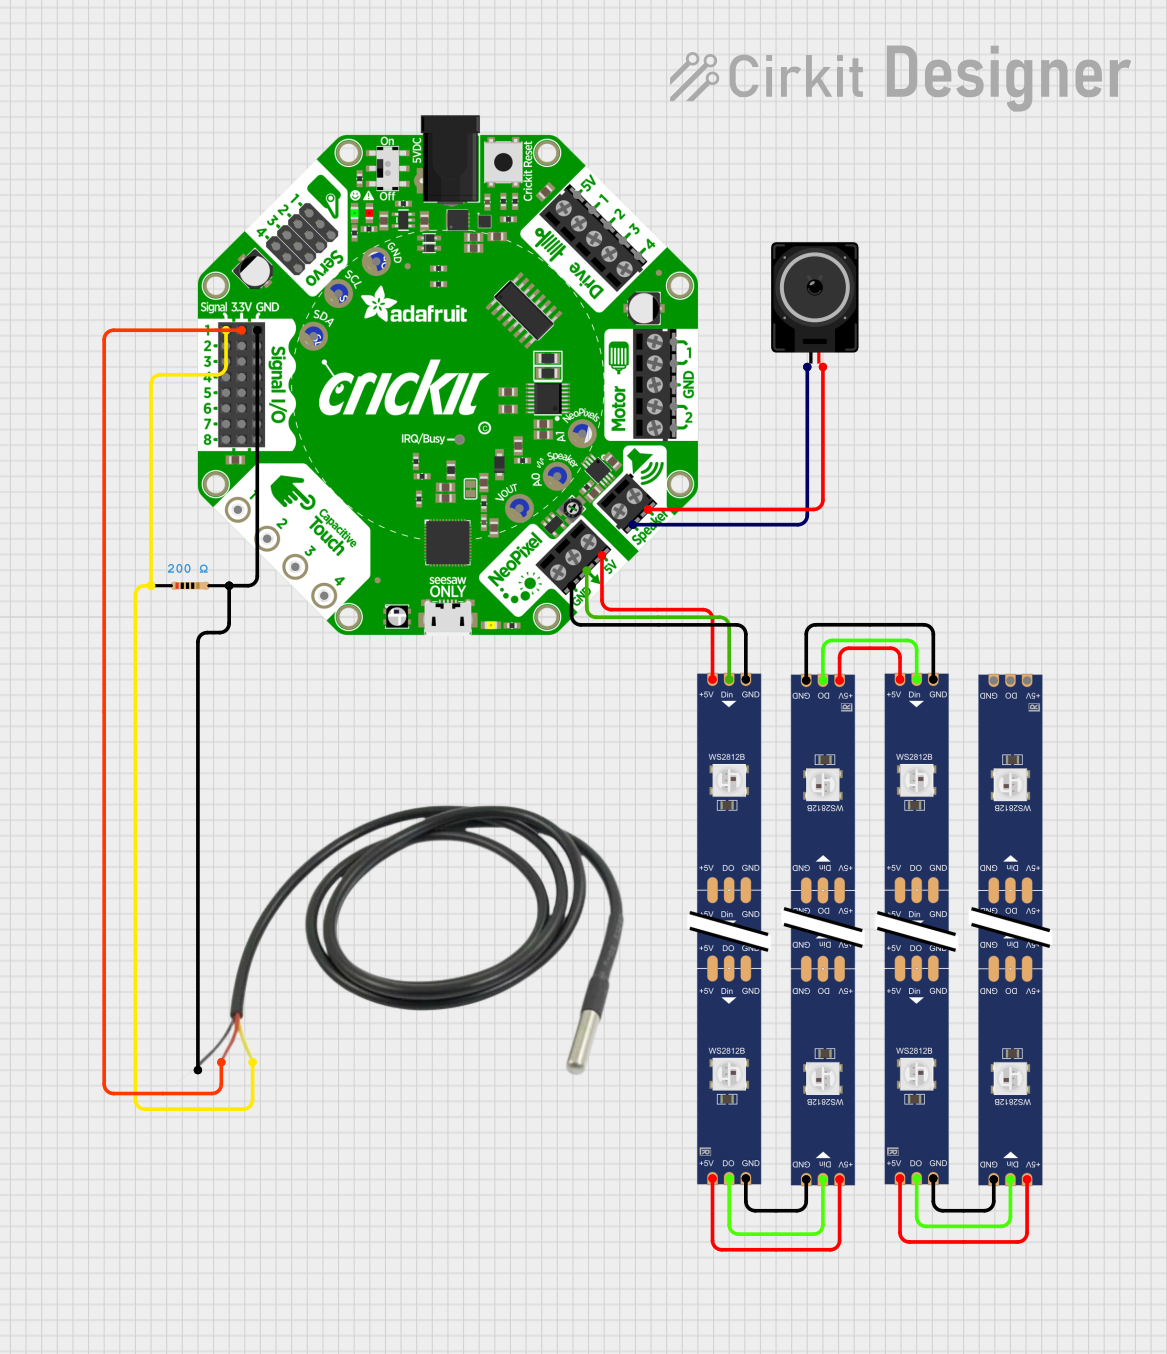

Explore Projects Built with Adafruit Slide Trinkey
Technical Specifications
Key Technical Details
- Microcontroller: ATSAMD21E18 32-bit Cortex M0+
- Operating Voltage: 5V (USB-C powered)
- I/O Pins: Slide switch connected to a GPIO, NeoPixel data line connected to another GPIO
- Connectivity: USB-C for power, data, and programming
- Onboard LED: 1 x addressable RGB NeoPixel
- Flash Memory: 256KB
- SRAM: 32KB
- Dimensions: 30.5mm x 17.8mm x 4.6mm
Pin Configuration and Descriptions
| Pin Number | Description | Notes |
|---|---|---|
| 1 | NeoPixel Data | Connected to GPIO for control |
| 2 | Slide Switch | Connected to GPIO for input |
| 3 | GND | Ground |
| 4 | USB-C VBUS | 5V from USB-C |
| 5 | Reset | Reset pin (active low) |
Usage Instructions
Circuit Integration
To use the Adafruit Slide Trinkey in a circuit, simply plug it into a USB-C port for power and data. The slide switch and NeoPixel are already connected to the microcontroller's GPIO pins, so no additional wiring is necessary for basic operation.
Programming
You can program the Slide Trinkey using CircuitPython or Arduino. For CircuitPython, simply drag and drop the .uf2 file onto the Trinkey when it appears as a USB drive. For Arduino, select the appropriate board and port in the Arduino IDE, and upload your sketch.
Best Practices
- Power: Ensure that the USB-C port can supply sufficient power for the Trinkey and any additional components.
- ESD Precautions: Handle the board with care to avoid electrostatic discharge damage.
- Firmware Updates: Keep the board's firmware updated for the best performance and compatibility.
Example Code for Arduino UNO
Below is a simple example of how to control the onboard NeoPixel LED with the slide switch using Arduino.
#include <Adafruit_NeoPixel.h>

#define NEOPIXEL_PIN 1 // Replace with the correct pin number for NeoPixel
#define SWITCH_PIN 2   // Replace with the correct pin number for the slide switch
#define PIXEL_COUNT 1

// Initialize the NeoPixel library.
Adafruit_NeoPixel pixels(PIXEL_COUNT, NEOPIXEL_PIN, NEO_GRB + NEO_KHZ800);

void setup() {
  pinMode(SWITCH_PIN, INPUT_PULLUP); // Set the switch pin as input with pull-up
  pixels.begin(); // Initialize the NeoPixel
}

void loop() {
  // Check the switch state
  bool switchState = digitalRead(SWITCH_PIN);

  if (switchState) {
    // If the switch is on, set the NeoPixel to red
    pixels.setPixelColor(0, pixels.Color(255, 0, 0));
  } else {
    // If the switch is off, turn off the NeoPixel
    pixels.setPixelColor(0, pixels.Color(0, 0, 0));
  }
  pixels.show(); // Update the NeoPixel with the new color
}
Troubleshooting and FAQs
Common Issues
- NeoPixel not lighting up: Ensure that the NeoPixel data line is correctly defined in your code and that the board is properly powered.
- Slide switch not responding: Verify that the switch is connected to the correct GPIO and that the pin is configured correctly in your code.
Solutions and Tips
- Check Connections: Double-check that the USB-C cable is fully inserted and functional.
- Update Firmware: Make sure the board's firmware is up to date to prevent compatibility issues.
- Code Verification: Review your code to ensure that all pin definitions and logic are correct.
FAQs
Q: Can I use the Adafruit Slide Trinkey with a battery? A: The Slide Trinkey is designed to be powered via USB-C. To use a battery, you would need a USB-C battery pack or a power bank.
Q: How do I change the color of the NeoPixel?
A: You can change the color in your code using the pixels.setPixelColor() function, specifying the red, green, and blue components of the color.
Q: What should I do if my computer doesn't recognize the Trinkey? A: Try using a different USB-C cable, check for obstructions in the USB port, and ensure that the Trinkey is not in bootloader mode. If the issue persists, consult the Adafruit support forums for assistance.