How to Use Battery: Examples, Pinouts, and Specs
Introduction
A battery is a device that stores electrical energy in chemical form and converts it into electrical energy to power electronic circuits. The 9V battery is a common type of battery used in various applications due to its compact size and relatively high voltage output. It is widely used in portable electronics, remote controls, smoke detectors, and small DIY projects.
Explore Projects Built with Battery
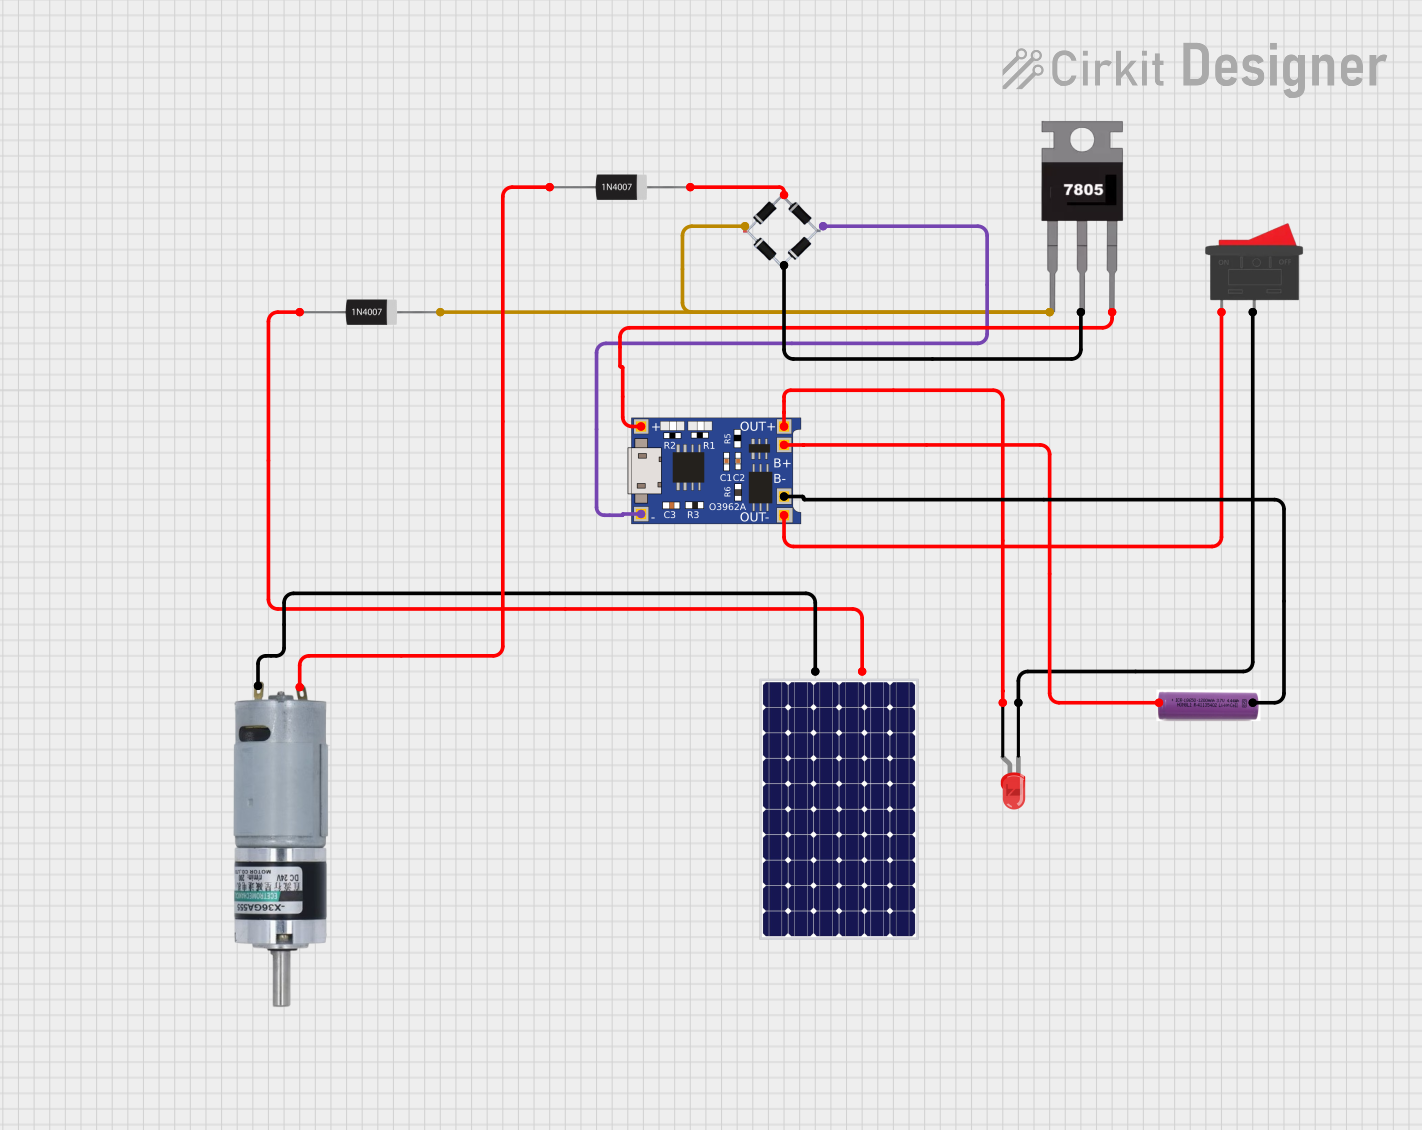
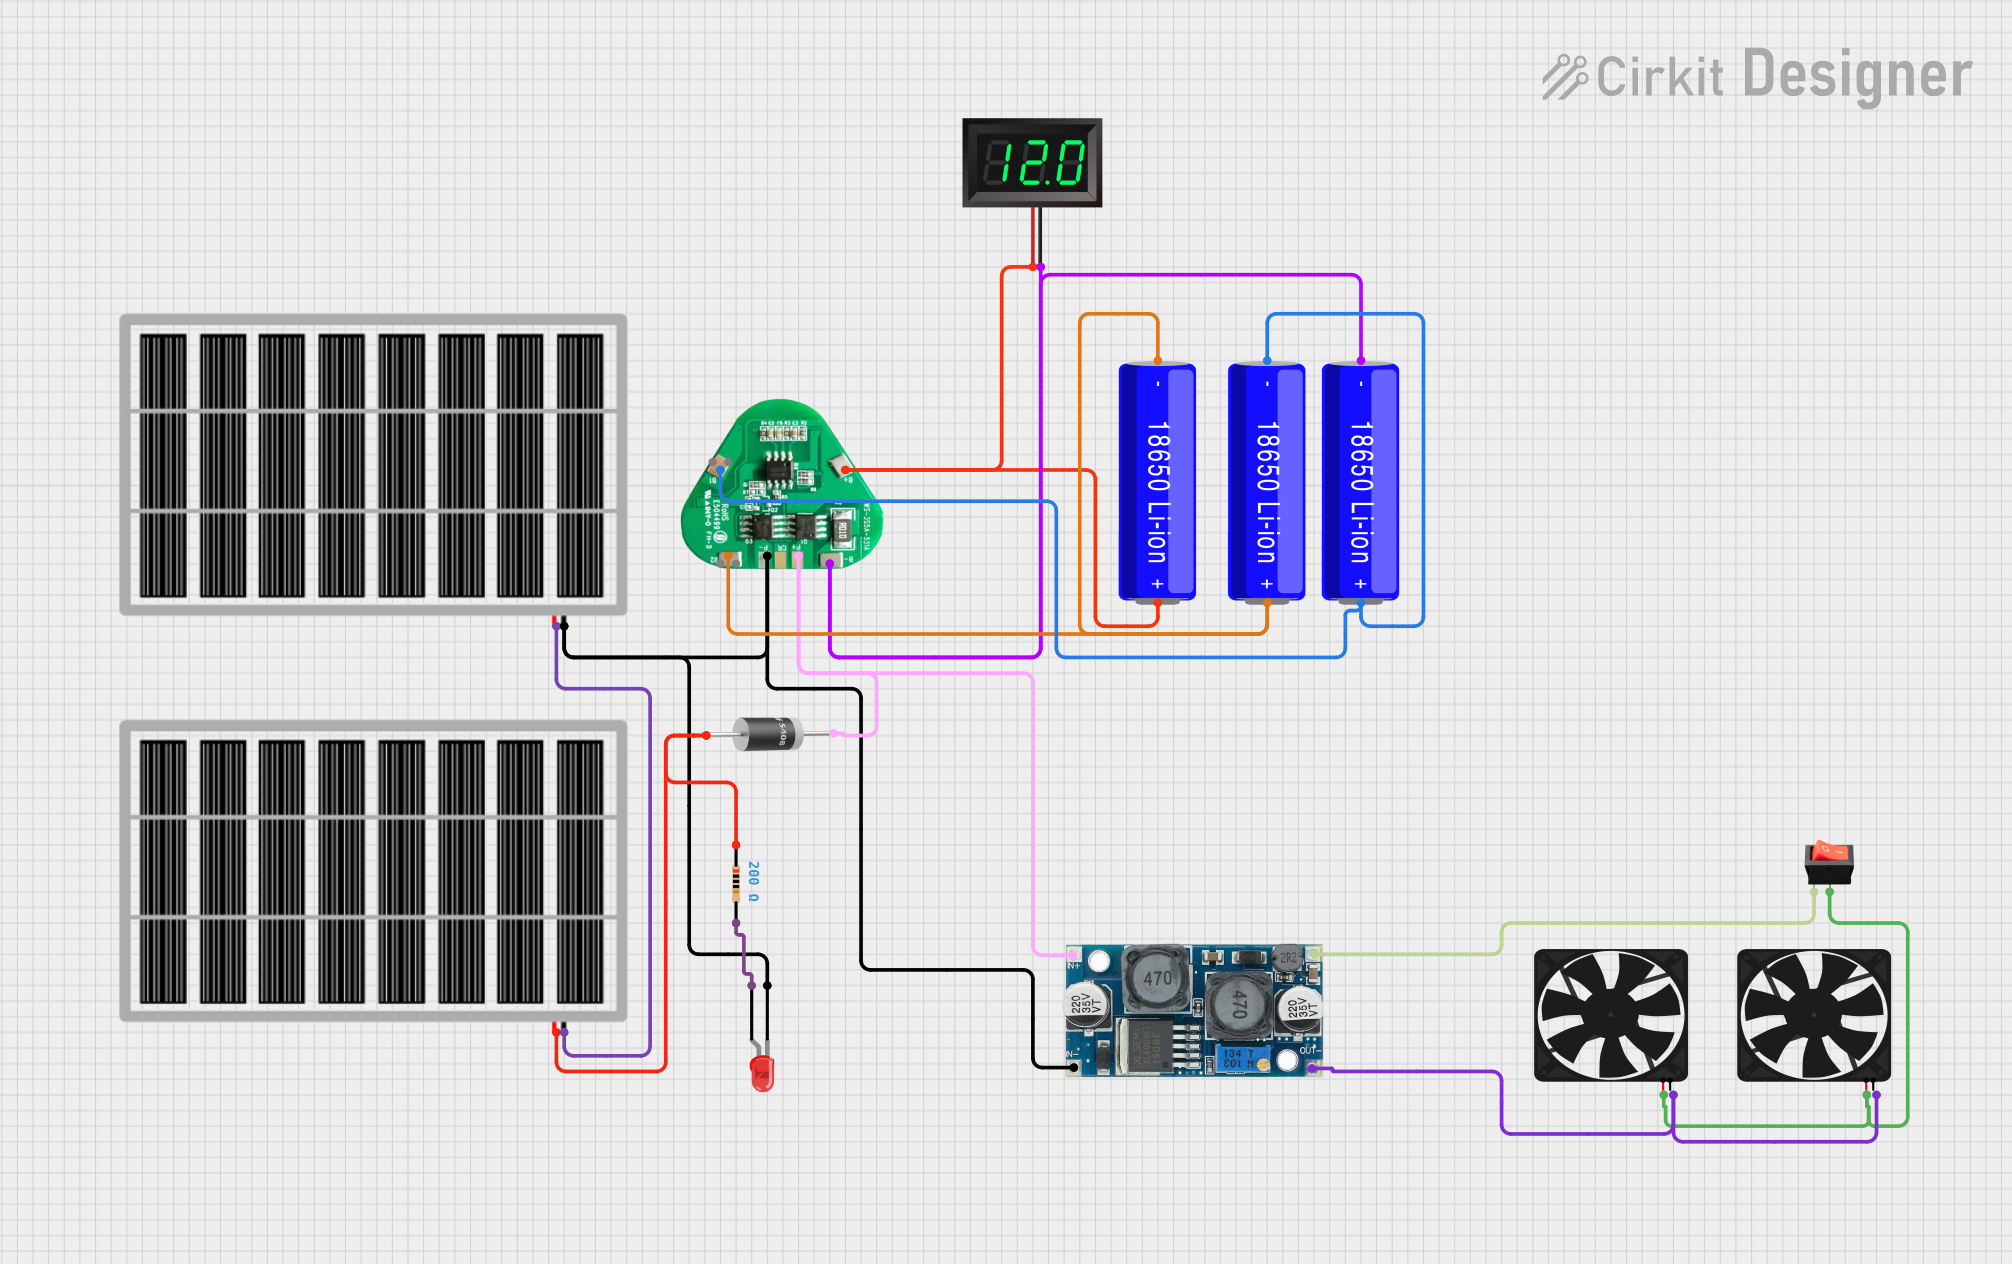


Explore Projects Built with Battery
Common Applications and Use Cases
- Powering small electronic devices such as radios and clocks
- Supplying energy to Arduino-based projects and prototyping circuits
- Backup power for memory storage in certain devices
- Emergency power for small gadgets
Technical Specifications
The following table outlines the key technical details of a standard 9V battery:
| Parameter | Value |
|---|---|
| Nominal Voltage | 9V |
| Capacity | 400–600 mAh (varies by type) |
| Chemistry | Alkaline, Lithium, or NiMH |
| Dimensions | 48.5 mm x 26.5 mm x 17.5 mm |
| Weight | ~45 g (varies by type) |
| Operating Temperature | -20°C to 55°C |
| Shelf Life | 3–5 years (alkaline type) |
Pin Configuration and Descriptions
The 9V battery has two terminals: a positive terminal and a negative terminal. These terminals are typically located on the top of the battery in a snap connector format.
| Terminal | Symbol | Description |
|---|---|---|
| Positive | (+) | Supplies the positive voltage (9V) |
| Negative | (-) | Returns the current to complete the circuit |
Usage Instructions
How to Use the Component in a Circuit
- Identify the Terminals: Locate the positive (+) and negative (-) terminals on the battery.
- Connect to a Battery Snap Connector: Use a 9V battery snap connector to securely attach the battery to your circuit. Ensure the red wire connects to the positive terminal and the black wire to the negative terminal.
- Integrate into the Circuit: Connect the wires from the battery snap to the appropriate points in your circuit. The positive wire typically connects to the power input, and the negative wire connects to the ground.
- Monitor Voltage: Use a multimeter to periodically check the battery voltage to ensure it remains within the operating range of your circuit.
Important Considerations and Best Practices
- Polarity: Always connect the battery with the correct polarity to avoid damaging your circuit.
- Battery Life: Monitor the battery's charge level to prevent unexpected power loss.
- Storage: Store the battery in a cool, dry place when not in use to extend its shelf life.
- Disposal: Dispose of used batteries responsibly, following local recycling guidelines.
- Avoid Short Circuits: Never connect the positive and negative terminals directly, as this can cause overheating or damage.
Example: Using a 9V Battery with an Arduino UNO
Below is an example of how to power an Arduino UNO using a 9V battery:
- Connect the red wire of the 9V battery snap to the Arduino's VIN pin.
- Connect the black wire of the 9V battery snap to the Arduino's GND pin.
// Example Arduino code to blink an LED using a 9V battery as the power source

int ledPin = 13; // Pin connected to the onboard LED

void setup() {
  pinMode(ledPin, OUTPUT); // Set the LED pin as an output
}

void loop() {
  digitalWrite(ledPin, HIGH); // Turn the LED on
  delay(1000);                // Wait for 1 second
  digitalWrite(ledPin, LOW);  // Turn the LED off
  delay(1000);                // Wait for 1 second
}
Note: Ensure the 9V battery is fresh and provides sufficient voltage for the Arduino UNO to operate correctly.
Troubleshooting and FAQs
Common Issues Users Might Face
Battery Drains Quickly:
- Cause: High current draw from the circuit or a partially used battery.
- Solution: Use a fresh battery or reduce the current consumption of your circuit.
Circuit Does Not Power On:
- Cause: Incorrect polarity or loose connections.
- Solution: Double-check the connections and ensure the battery is properly connected.
Battery Overheats:
- Cause: Short circuit or excessive current draw.
- Solution: Disconnect the battery immediately and inspect the circuit for faults.
Voltage Drops Below 9V:
- Cause: Battery nearing the end of its charge.
- Solution: Replace the battery with a new one.
FAQs
Q1: Can I recharge a 9V battery?
A1: Only rechargeable 9V batteries (e.g., NiMH or Lithium-ion) can be recharged. Standard alkaline 9V batteries are not rechargeable.
Q2: How do I know when the battery is depleted?
A2: Use a multimeter to measure the voltage. If the voltage drops below 7V, the battery is likely depleted and should be replaced.
Q3: Can I use a 9V battery for high-power devices?
A3: No, 9V batteries are not suitable for high-power devices as they have limited current capacity. Use a power source designed for high-power applications.
Q4: Is it safe to leave a 9V battery connected to a circuit for a long time?
A4: It is generally safe, but prolonged use may drain the battery or cause leakage. Disconnect the battery when not in use.