How to Use Gravity Digital Speaker: Examples, Pinouts, and Specs

Introduction
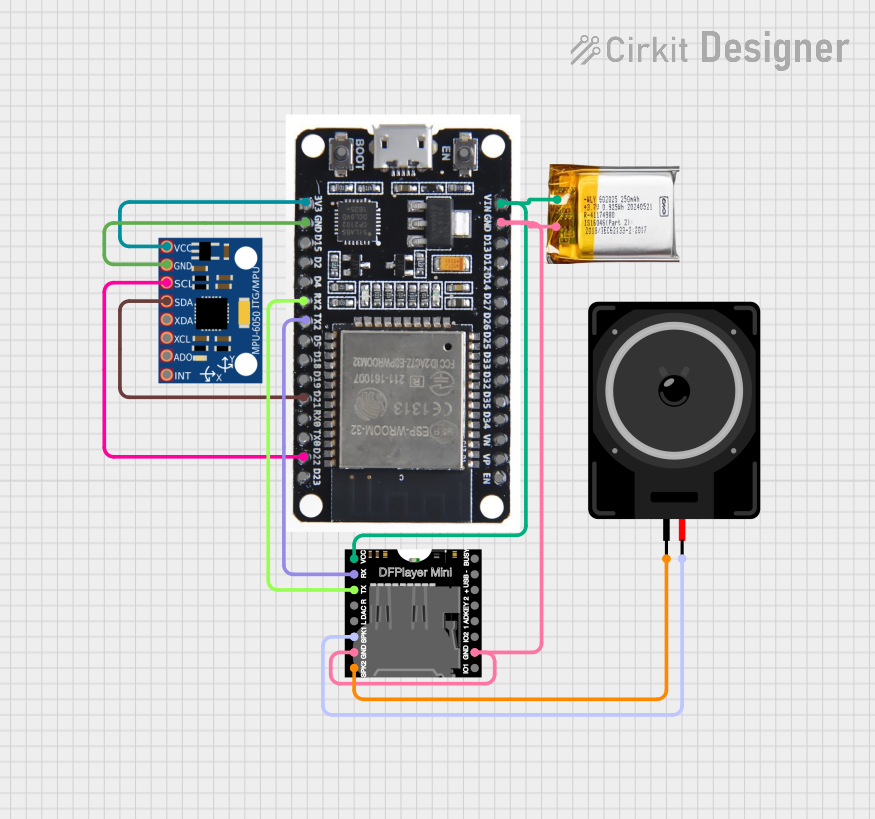
The Gravity Digital Speaker (FIT0449), manufactured by DFRobot, is a compact and versatile speaker designed for high-quality audio output. It features digital connectivity options and is often equipped with Bluetooth for wireless streaming. This speaker is ideal for projects requiring clear and reliable sound reproduction, making it a popular choice for DIY audio systems, IoT devices, and educational projects.
Explore Projects Built with Gravity Digital Speaker


Explore Projects Built with Gravity Digital Speaker
Common Applications and Use Cases
- DIY audio systems and portable speakers
- Smart home devices with voice assistants
- Educational projects and STEM learning kits
- IoT devices requiring audio feedback
- Wireless audio streaming via Bluetooth
Technical Specifications
The following table outlines the key technical details of the Gravity Digital Speaker:
| Parameter | Specification |
|---|---|
| Manufacturer Part ID | FIT0449 |
| Operating Voltage | 3.3V to 5V DC |
| Output Power | 3W |
| Frequency Response | 100Hz - 20kHz |
| Connectivity Options | Digital (I2S), Bluetooth |
| Dimensions | 40mm x 40mm x 20mm |
| Weight | 15g |
Pin Configuration and Descriptions
The Gravity Digital Speaker features a standard 4-pin interface for digital connectivity. The pin configuration is as follows:
| Pin | Name | Description |
|---|---|---|
| 1 | VCC | Power supply input (3.3V to 5V DC) |
| 2 | GND | Ground connection |
| 3 | I2S_CLK | I2S clock signal input for digital audio data |
| 4 | I2S_DATA | I2S data signal input for audio playback |
Usage Instructions
How to Use the Component in a Circuit
- Power Supply: Connect the VCC pin to a 3.3V or 5V DC power source and the GND pin to the ground.
- Digital Audio Input: Use the I2S_CLK and I2S_DATA pins to connect the speaker to a microcontroller or audio source capable of I2S communication.
- Bluetooth Mode: If using Bluetooth, ensure the speaker is powered on and pair it with your device. No additional wiring is required for Bluetooth operation.
Important Considerations and Best Practices
- Voltage Range: Ensure the power supply voltage is within the specified range (3.3V to 5V) to avoid damaging the speaker.
- Audio Source Compatibility: Verify that your microcontroller or audio source supports I2S communication if using the digital interface.
- Heat Dissipation: Avoid placing the speaker in enclosed spaces without proper ventilation, as prolonged use at high volumes may generate heat.
- Bluetooth Interference: Minimize interference by keeping the speaker away from other wireless devices operating on the same frequency band.
Example: Connecting to an Arduino UNO
The Gravity Digital Speaker can be connected to an Arduino UNO using the I2S interface. Below is an example code snippet to play audio using the speaker:
#include <I2S.h> // Include the I2S library for audio communication

void setup() {
  // Initialize the I2S interface
  if (!I2S.begin(I2S_PHILIPS_MODE, 44100)) {
    // Check if I2S initialization was successful
    Serial.println("Failed to initialize I2S!");
    while (1); // Halt execution if initialization fails
  }
  Serial.println("I2S initialized successfully!");
}

void loop() {
  // Example: Send a simple sine wave to the speaker
  for (int i = 0; i < 360; i++) {
    // Generate a sine wave signal
    int sample = 127 + 127 * sin(i * PI / 180);
    I2S.write(sample); // Send the sample to the speaker
    delayMicroseconds(22); // Adjust delay for desired frequency
  }
}
Note: Ensure the I2S pins on the Arduino are correctly connected to the speaker's I2S_CLK and I2S_DATA pins.
Troubleshooting and FAQs
Common Issues and Solutions
No Sound Output
- Cause: Incorrect wiring or insufficient power supply.
- Solution: Double-check the connections and ensure the power supply voltage is within the specified range.
Distorted Audio
- Cause: Overdriving the speaker or poor audio source quality.
- Solution: Reduce the audio signal amplitude or use a higher-quality audio source.
Bluetooth Pairing Issues
- Cause: Interference or incorrect pairing procedure.
- Solution: Ensure the speaker is in pairing mode and move it closer to the Bluetooth device.
Overheating
- Cause: Prolonged use at high volumes in an enclosed space.
- Solution: Reduce the volume or improve ventilation around the speaker.
FAQs
Q1: Can I use the Gravity Digital Speaker with a Raspberry Pi?
A1: Yes, the speaker can be connected to a Raspberry Pi using the I2S interface. Ensure the correct GPIO pins are used for I2S communication.
Q2: Does the speaker support stereo audio?
A2: No, the Gravity Digital Speaker is a mono speaker. For stereo output, you will need two speakers and a compatible audio source.
Q3: What is the maximum Bluetooth range?
A3: The Bluetooth range is approximately 10 meters in an open environment, but it may vary depending on interference and obstacles.
Q4: Can I use the speaker with a battery-powered system?
A4: Yes, the speaker can be powered by a 3.7V LiPo battery or any other compatible power source within the 3.3V to 5V range.