Cirkit Designer Logo
Cirkit Designer
Your all-in-one circuit design IDE
Home / 
Component Documentation

How to Use Water Sensor: Examples, Pinouts, and Specs

Image of Water Sensor
Cirkit Designer LogoDesign with Water Sensor in Cirkit Designer

Introduction

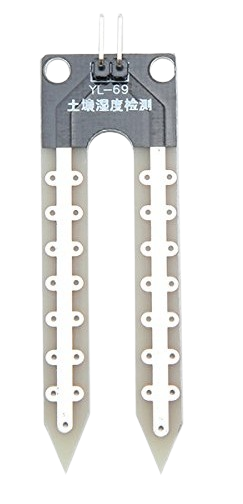
A water sensor is an electronic device that is designed to detect the presence of water or other conductive liquids. It is commonly used in applications such as flood or leak detection in homes, offices, and industrial settings. The sensor can trigger alarms, notifications, or activate pumps to prevent water damage.

Explore Projects Built with Water Sensor

Use Cirkit Designer to design, explore, and prototype these projects online. Some projects support real-time simulation. Click "Open Project" to start designing instantly!
Arduino-Controlled Bluetooth Water Sensor with Servo and LED Indicators
Image of embeded circuit: A project utilizing Water Sensor in a practical application
This is a microcontroller-based system designed to monitor water presence using a sensor and communicate wirelessly via Bluetooth. It includes visual indicators (LEDs) and a servo motor for responsive actions, all controlled by an Arduino UNO.
Cirkit Designer LogoOpen Project in Cirkit Designer
Arduino UNO Flood Management System with Ultrasonic Sensor and Wi-Fi Connectivity
Image of Flood1: A project utilizing Water Sensor in a practical application
This circuit is a flood management system that uses an Arduino UNO to monitor water levels, temperature, and humidity. It employs an HC-SR04 ultrasonic sensor for distance measurement, a DHT11 sensor for temperature and humidity, and displays the data on a 16x2 I2C LCD. Additionally, it includes a piezo buzzer and LEDs to provide alerts when water levels exceed a safety threshold.
Cirkit Designer LogoOpen Project in Cirkit Designer
Arduino-Powered GSM Water Quality Monitoring and Pump Control System
Image of Hydroponics System Schematic Wiring Diagram: A project utilizing Water Sensor in a practical application
This is a sensor and control system with remote communication capabilities. It monitors temperature, pH levels, and water levels, and controls a water pump based on the float switch status. Data can be accessed and the system can be controlled remotely via Bluetooth and GSM modules connected to two Arduino UNO microcontrollers.
Cirkit Designer LogoOpen Project in Cirkit Designer
Arduino UNO and ESP8266-Based Smart Water Monitoring System with Wi-Fi Connectivity
Image of automatic water leak detection: A project utilizing Water Sensor in a practical application
This circuit monitors water pressure and flow using a Gravity Analog Water Pressure Sensor and a water flow sensor, interfaced with an Arduino UNO. The Arduino UNO processes the sensor data and communicates with an ESP8266 module for potential wireless data transmission, all powered by a 5V adapter.
Cirkit Designer LogoOpen Project in Cirkit Designer

Explore Projects Built with Water Sensor

Use Cirkit Designer to design, explore, and prototype these projects online. Some projects support real-time simulation. Click "Open Project" to start designing instantly!
Image of embeded circuit: A project utilizing Water Sensor in a practical application
Arduino-Controlled Bluetooth Water Sensor with Servo and LED Indicators
This is a microcontroller-based system designed to monitor water presence using a sensor and communicate wirelessly via Bluetooth. It includes visual indicators (LEDs) and a servo motor for responsive actions, all controlled by an Arduino UNO.
Cirkit Designer LogoOpen Project in Cirkit Designer
Image of Flood1: A project utilizing Water Sensor in a practical application
Arduino UNO Flood Management System with Ultrasonic Sensor and Wi-Fi Connectivity
This circuit is a flood management system that uses an Arduino UNO to monitor water levels, temperature, and humidity. It employs an HC-SR04 ultrasonic sensor for distance measurement, a DHT11 sensor for temperature and humidity, and displays the data on a 16x2 I2C LCD. Additionally, it includes a piezo buzzer and LEDs to provide alerts when water levels exceed a safety threshold.
Cirkit Designer LogoOpen Project in Cirkit Designer
Image of Hydroponics System Schematic Wiring Diagram: A project utilizing Water Sensor in a practical application
Arduino-Powered GSM Water Quality Monitoring and Pump Control System
This is a sensor and control system with remote communication capabilities. It monitors temperature, pH levels, and water levels, and controls a water pump based on the float switch status. Data can be accessed and the system can be controlled remotely via Bluetooth and GSM modules connected to two Arduino UNO microcontrollers.
Cirkit Designer LogoOpen Project in Cirkit Designer
Image of automatic water leak detection: A project utilizing Water Sensor in a practical application
Arduino UNO and ESP8266-Based Smart Water Monitoring System with Wi-Fi Connectivity
This circuit monitors water pressure and flow using a Gravity Analog Water Pressure Sensor and a water flow sensor, interfaced with an Arduino UNO. The Arduino UNO processes the sensor data and communicates with an ESP8266 module for potential wireless data transmission, all powered by a 5V adapter.
Cirkit Designer LogoOpen Project in Cirkit Designer

Common Applications and Use Cases

  • Flood detection in basements or low-lying areas
  • Leak detection in pipes, tanks, and faucets
  • Soil moisture monitoring for agriculture
  • Water level monitoring in tanks and reservoirs

Technical Specifications

Key Technical Details

  • Operating Voltage: Typically 3.3V to 5V
  • Output Type: Digital (high/low) or Analog (voltage level proportional to water level)
  • Current Consumption: Varies with model, usually in the range of 5mA to 20mA
  • Sensing Area: Depends on the design, can be a pair of exposed traces or probes

Pin Configuration and Descriptions

Pin Number Name Description
1 VCC Connect to 3.3V or 5V power supply
2 GND Connect to ground
3 DO Digital output; goes high when water is detected
4 AO Analog output; outputs a voltage proportional to water level

Usage Instructions

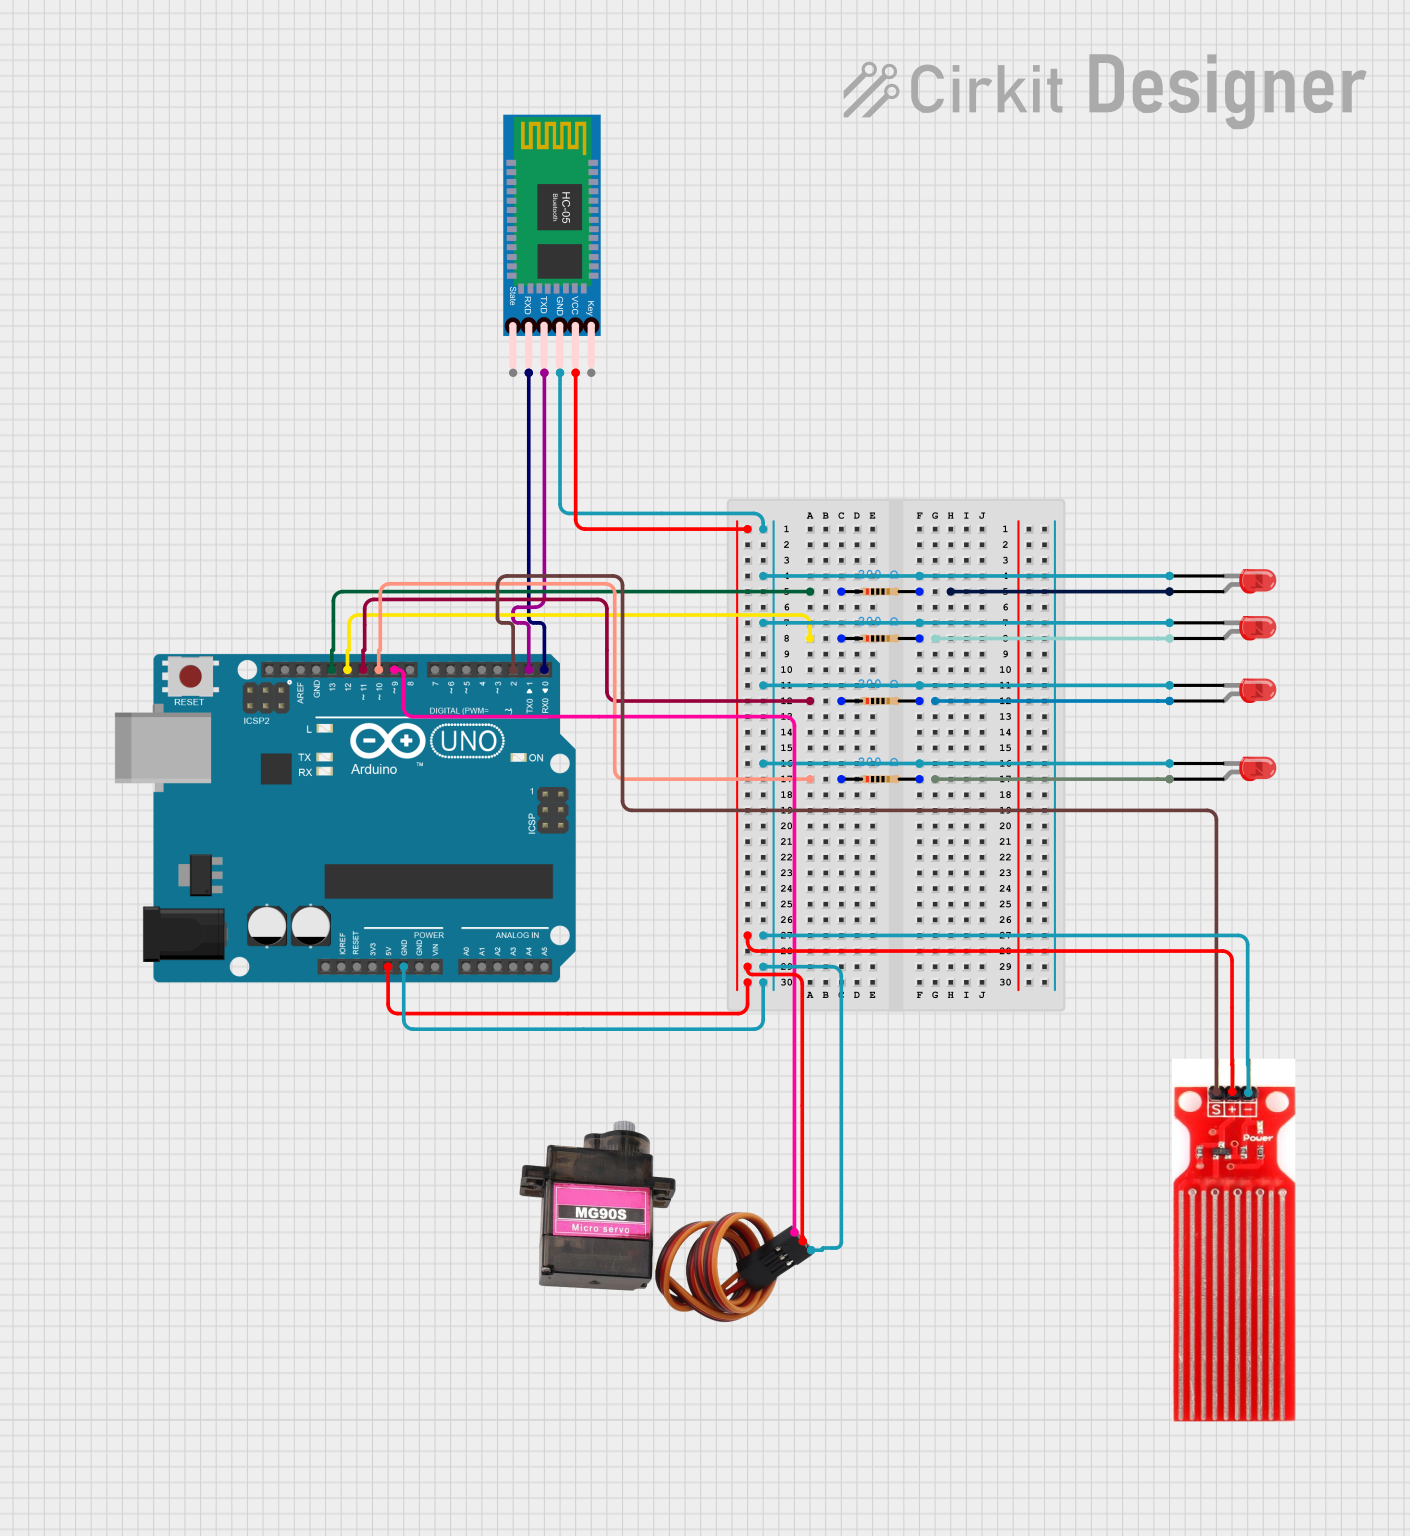
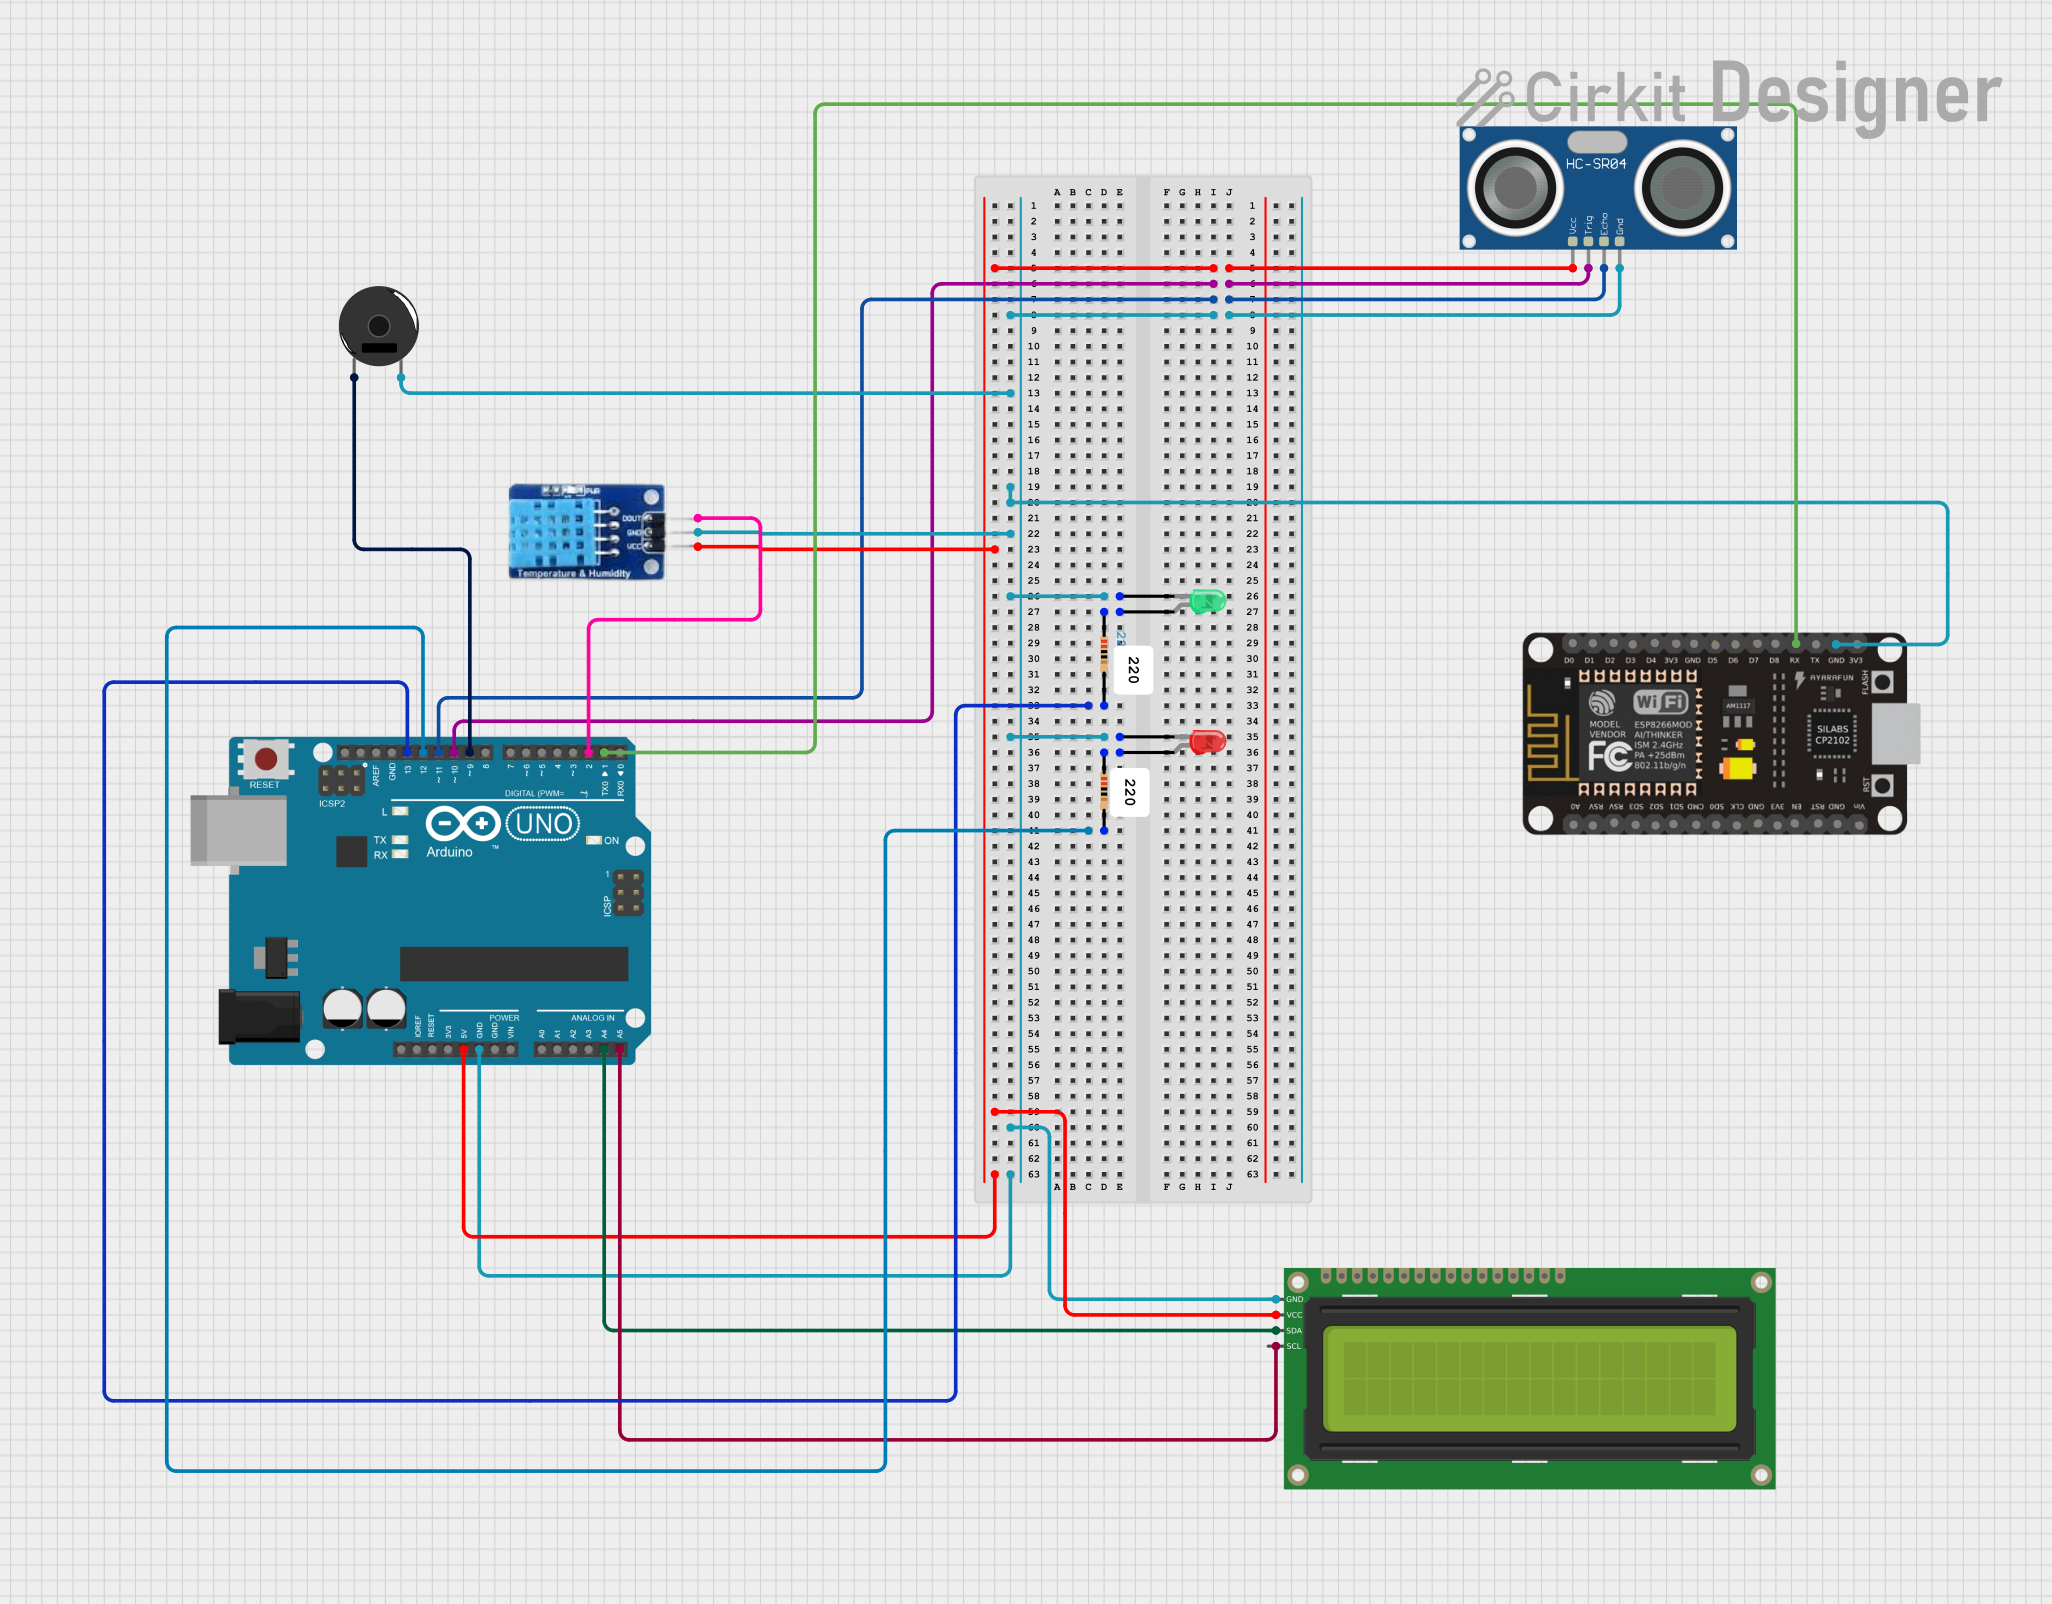
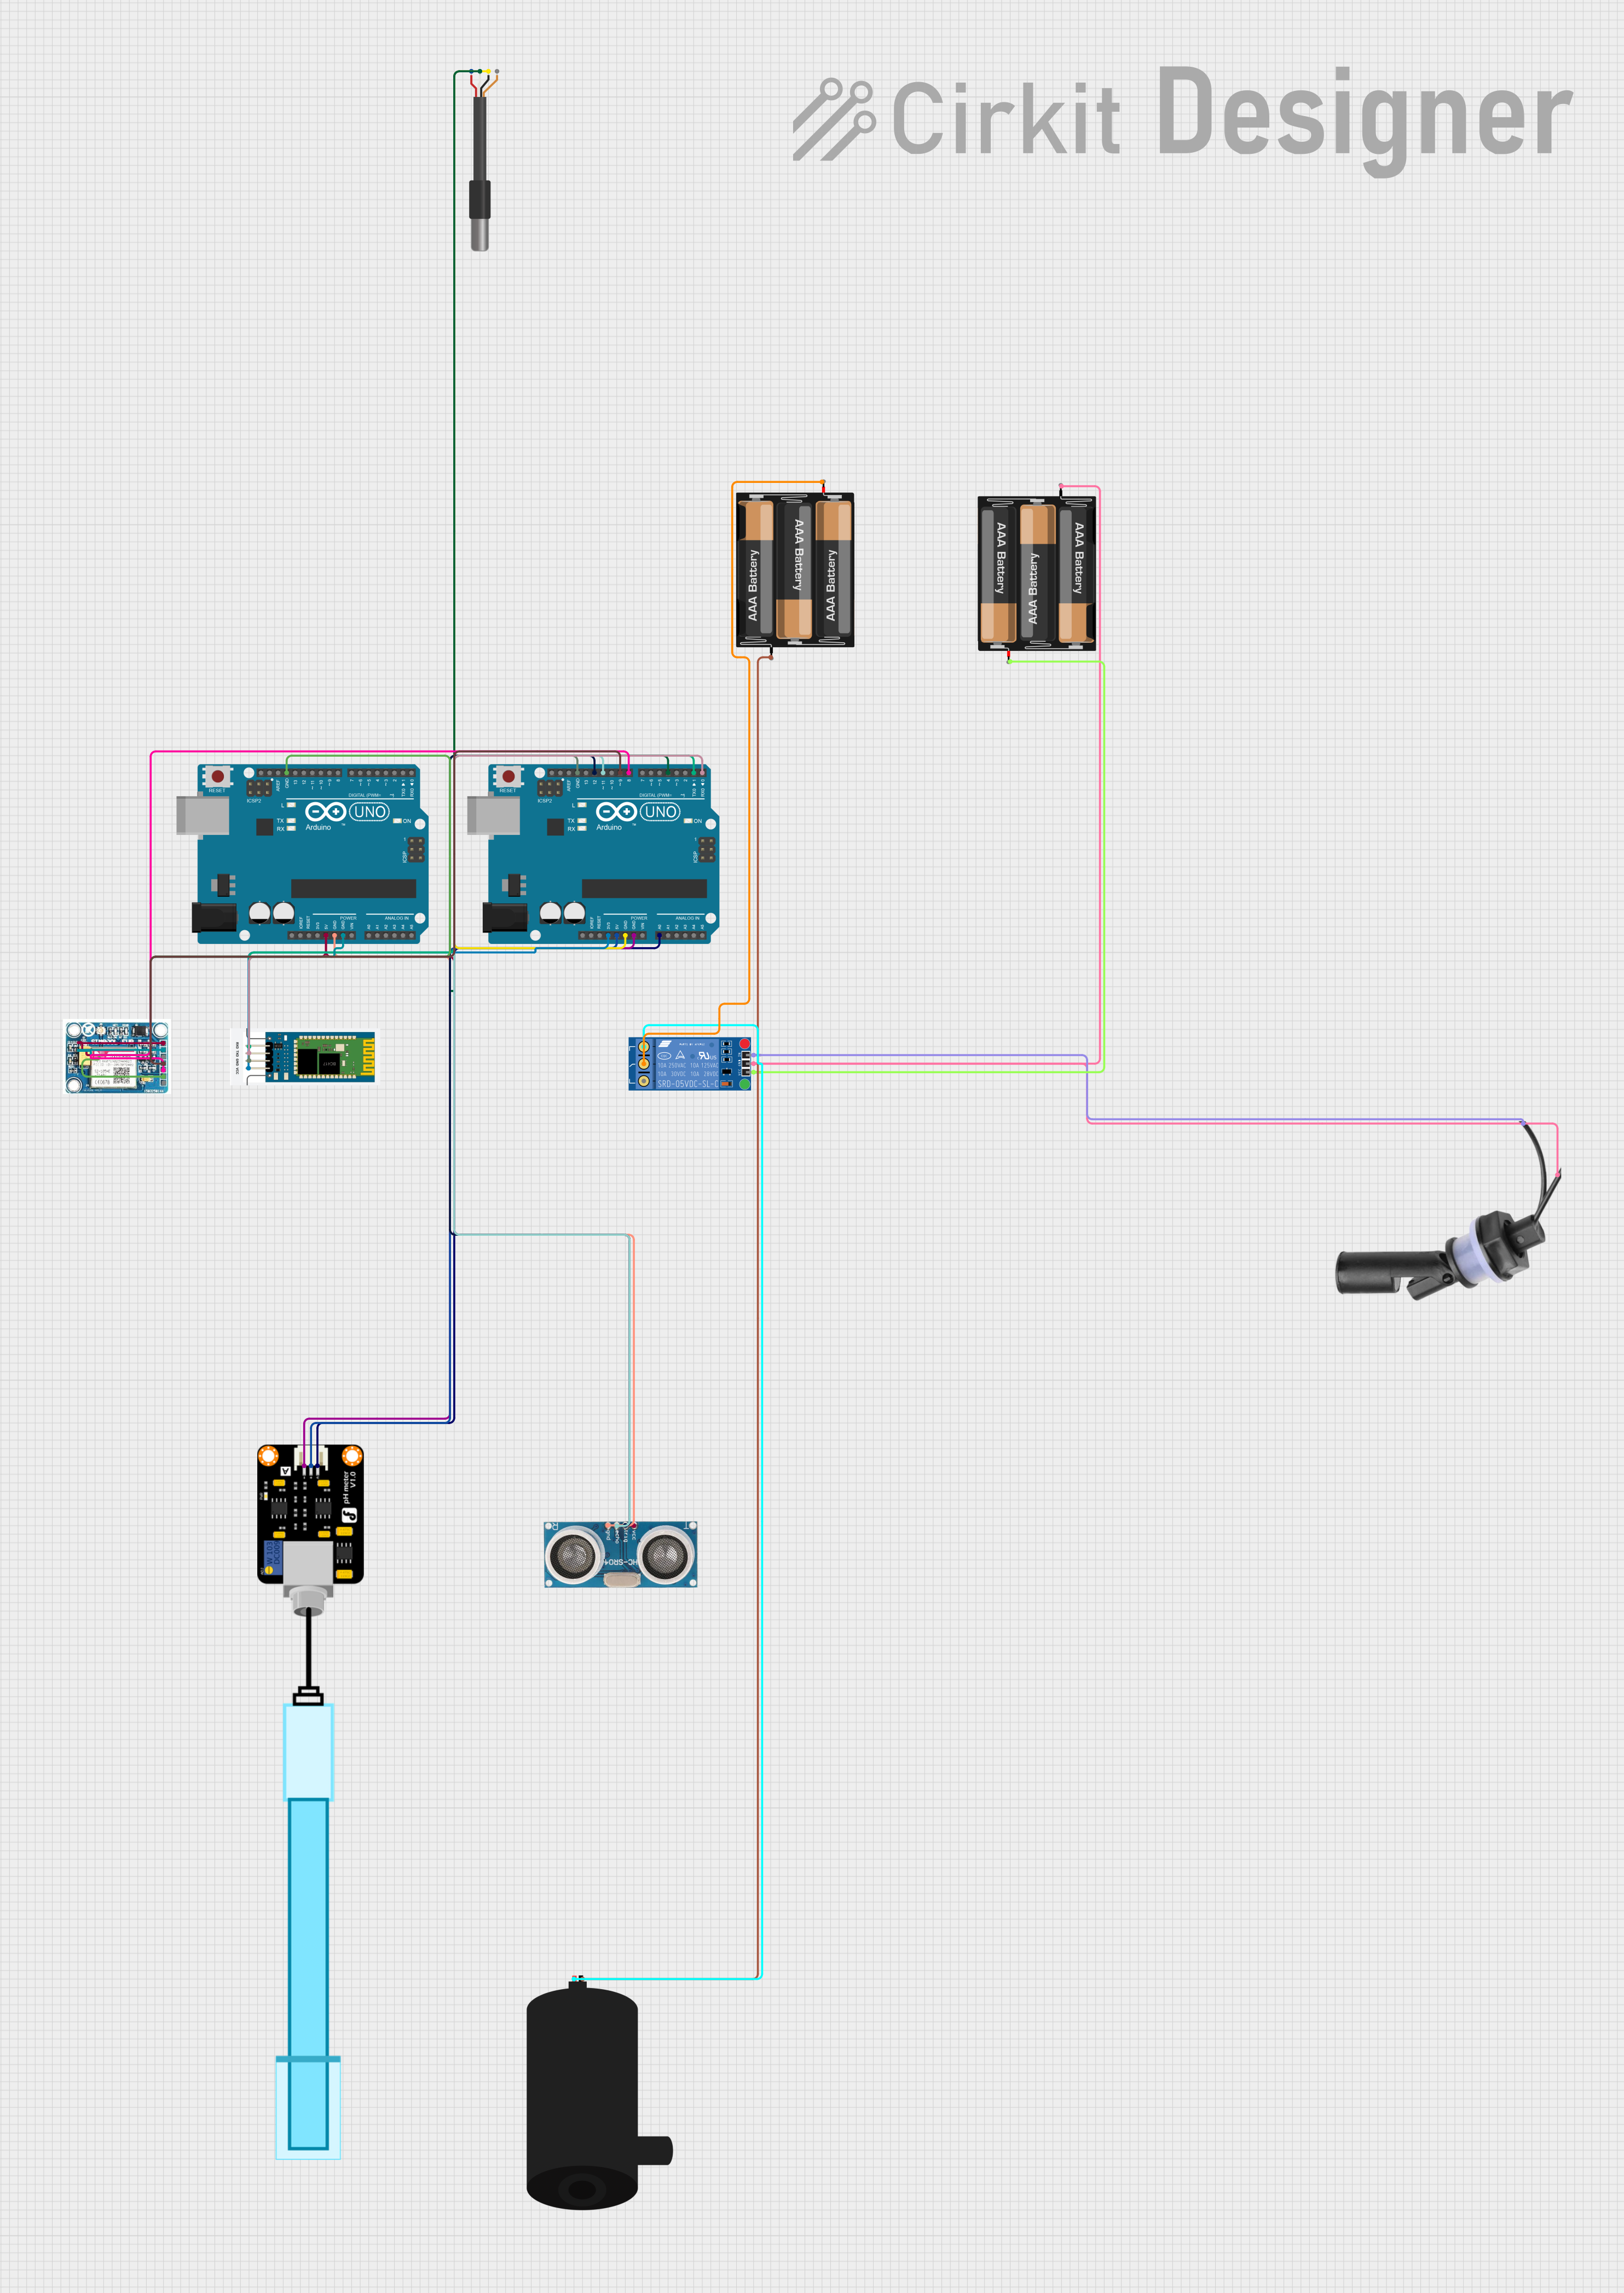
How to Use the Component in a Circuit

  1. Connect the VCC pin to a 3.3V or 5V power supply.
  2. Connect the GND pin to the ground of the power supply.
  3. For digital output:
    • Connect the DO pin to a digital input pin on a microcontroller.
  4. For analog output:
    • Connect the AO pin to an analog input pin on a microcontroller.

Important Considerations and Best Practices

  • Ensure that the power supply voltage matches the sensor's operating voltage.
  • Avoid submerging the sensor unless it is specifically designed for submersion.
  • Keep the sensor clean and free from contaminants that could affect readings.
  • Use a pull-up or pull-down resistor on the digital output if required by your microcontroller.

Example Code for Arduino UNO

// Define the water sensor digital output pin
int waterSensorPin = 2; 
// Define the variable to store the sensor status
int sensorStatus; 

void setup() {
  // Initialize the water sensor pin as an input
  pinMode(waterSensorPin, INPUT);
  // Begin serial communication at a baud rate of 9600
  Serial.begin(9600);
}

void loop() {
  // Read the sensor value
  sensorStatus = digitalRead(waterSensorPin);
  // Check if water is detected
  if (sensorStatus == HIGH) {
    Serial.println("Water detected!");
  } else {
    Serial.println("No water detected.");
  }
  // Wait for a bit before reading again
  delay(500);
}

Troubleshooting and FAQs

Common Issues Users Might Face

  • Sensor always indicates water: Ensure the sensor is dry and clean. Check for any conductive debris that might be causing a false positive.
  • Sensor never indicates water: Verify that the sensor is not damaged and that the connections are secure. Test with a known quantity of water.
  • Erratic readings: Check for loose connections or interference from nearby electronic devices. Use shielded cables if necessary.

Solutions and Tips for Troubleshooting

  • Inconsistent Readings: Stabilize the sensor readings by using a debounce algorithm or averaging multiple readings.
  • Corrosion: Protect the sensor from corrosion by avoiding prolonged exposure to water or by using a waterproof version of the sensor.
  • Voltage Compatibility: Ensure that the sensor's operating voltage is compatible with the microcontroller's logic level.

FAQs

Q: Can the water sensor be used to measure the exact water level? A: The basic water sensor is not designed for precise water level measurement. It is typically used for water detection. For precise measurements, consider using an ultrasonic or float-based level sensor.

Q: Is the water sensor reusable after being submerged? A: This depends on the design of the sensor. Some are designed for single-use, while others can be dried and reused. Check the manufacturer's specifications.

Q: How long can the sensor be exposed to water? A: It varies by model. Some sensors are designed for brief exposure, while others can withstand prolonged periods. Always refer to the manufacturer's guidelines.

Q: Can the sensor detect other liquids? A: Yes, the sensor can detect the presence of any conductive liquid, but it may not perform optimally with liquids other than water. Calibration or different sensor types might be necessary for other liquids.