
How to Use Mixer: Examples, Pinouts, and Specs
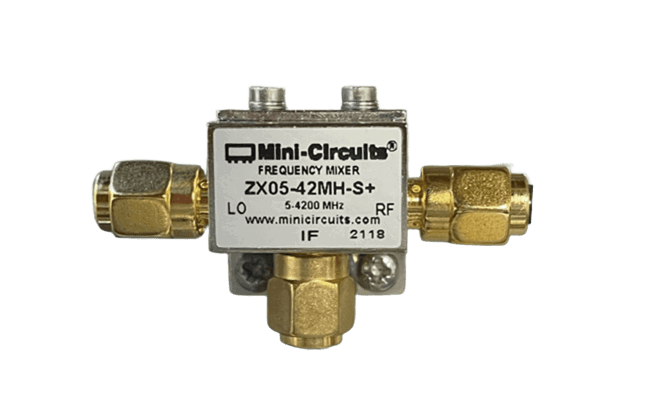
 Design with Mixer in Cirkit Designer
Introduction
A mixer is an electronic device designed to combine multiple audio signals into a single output. It allows users to control the volume, tone, and effects of each input signal independently, making it an essential tool in audio production, live sound reinforcement, and broadcasting. Mixers are widely used in music studios, live performances, podcasting, and video production to ensure balanced and high-quality audio output.
Common applications of mixers include:
- Combining multiple microphones or instruments into a single audio output.
- Adjusting the tone and effects of individual audio channels.
- Routing audio signals to different outputs for recording or live sound systems.
- Creating custom audio mixes for live performances or studio recordings.
Explore Projects Built with Mixer
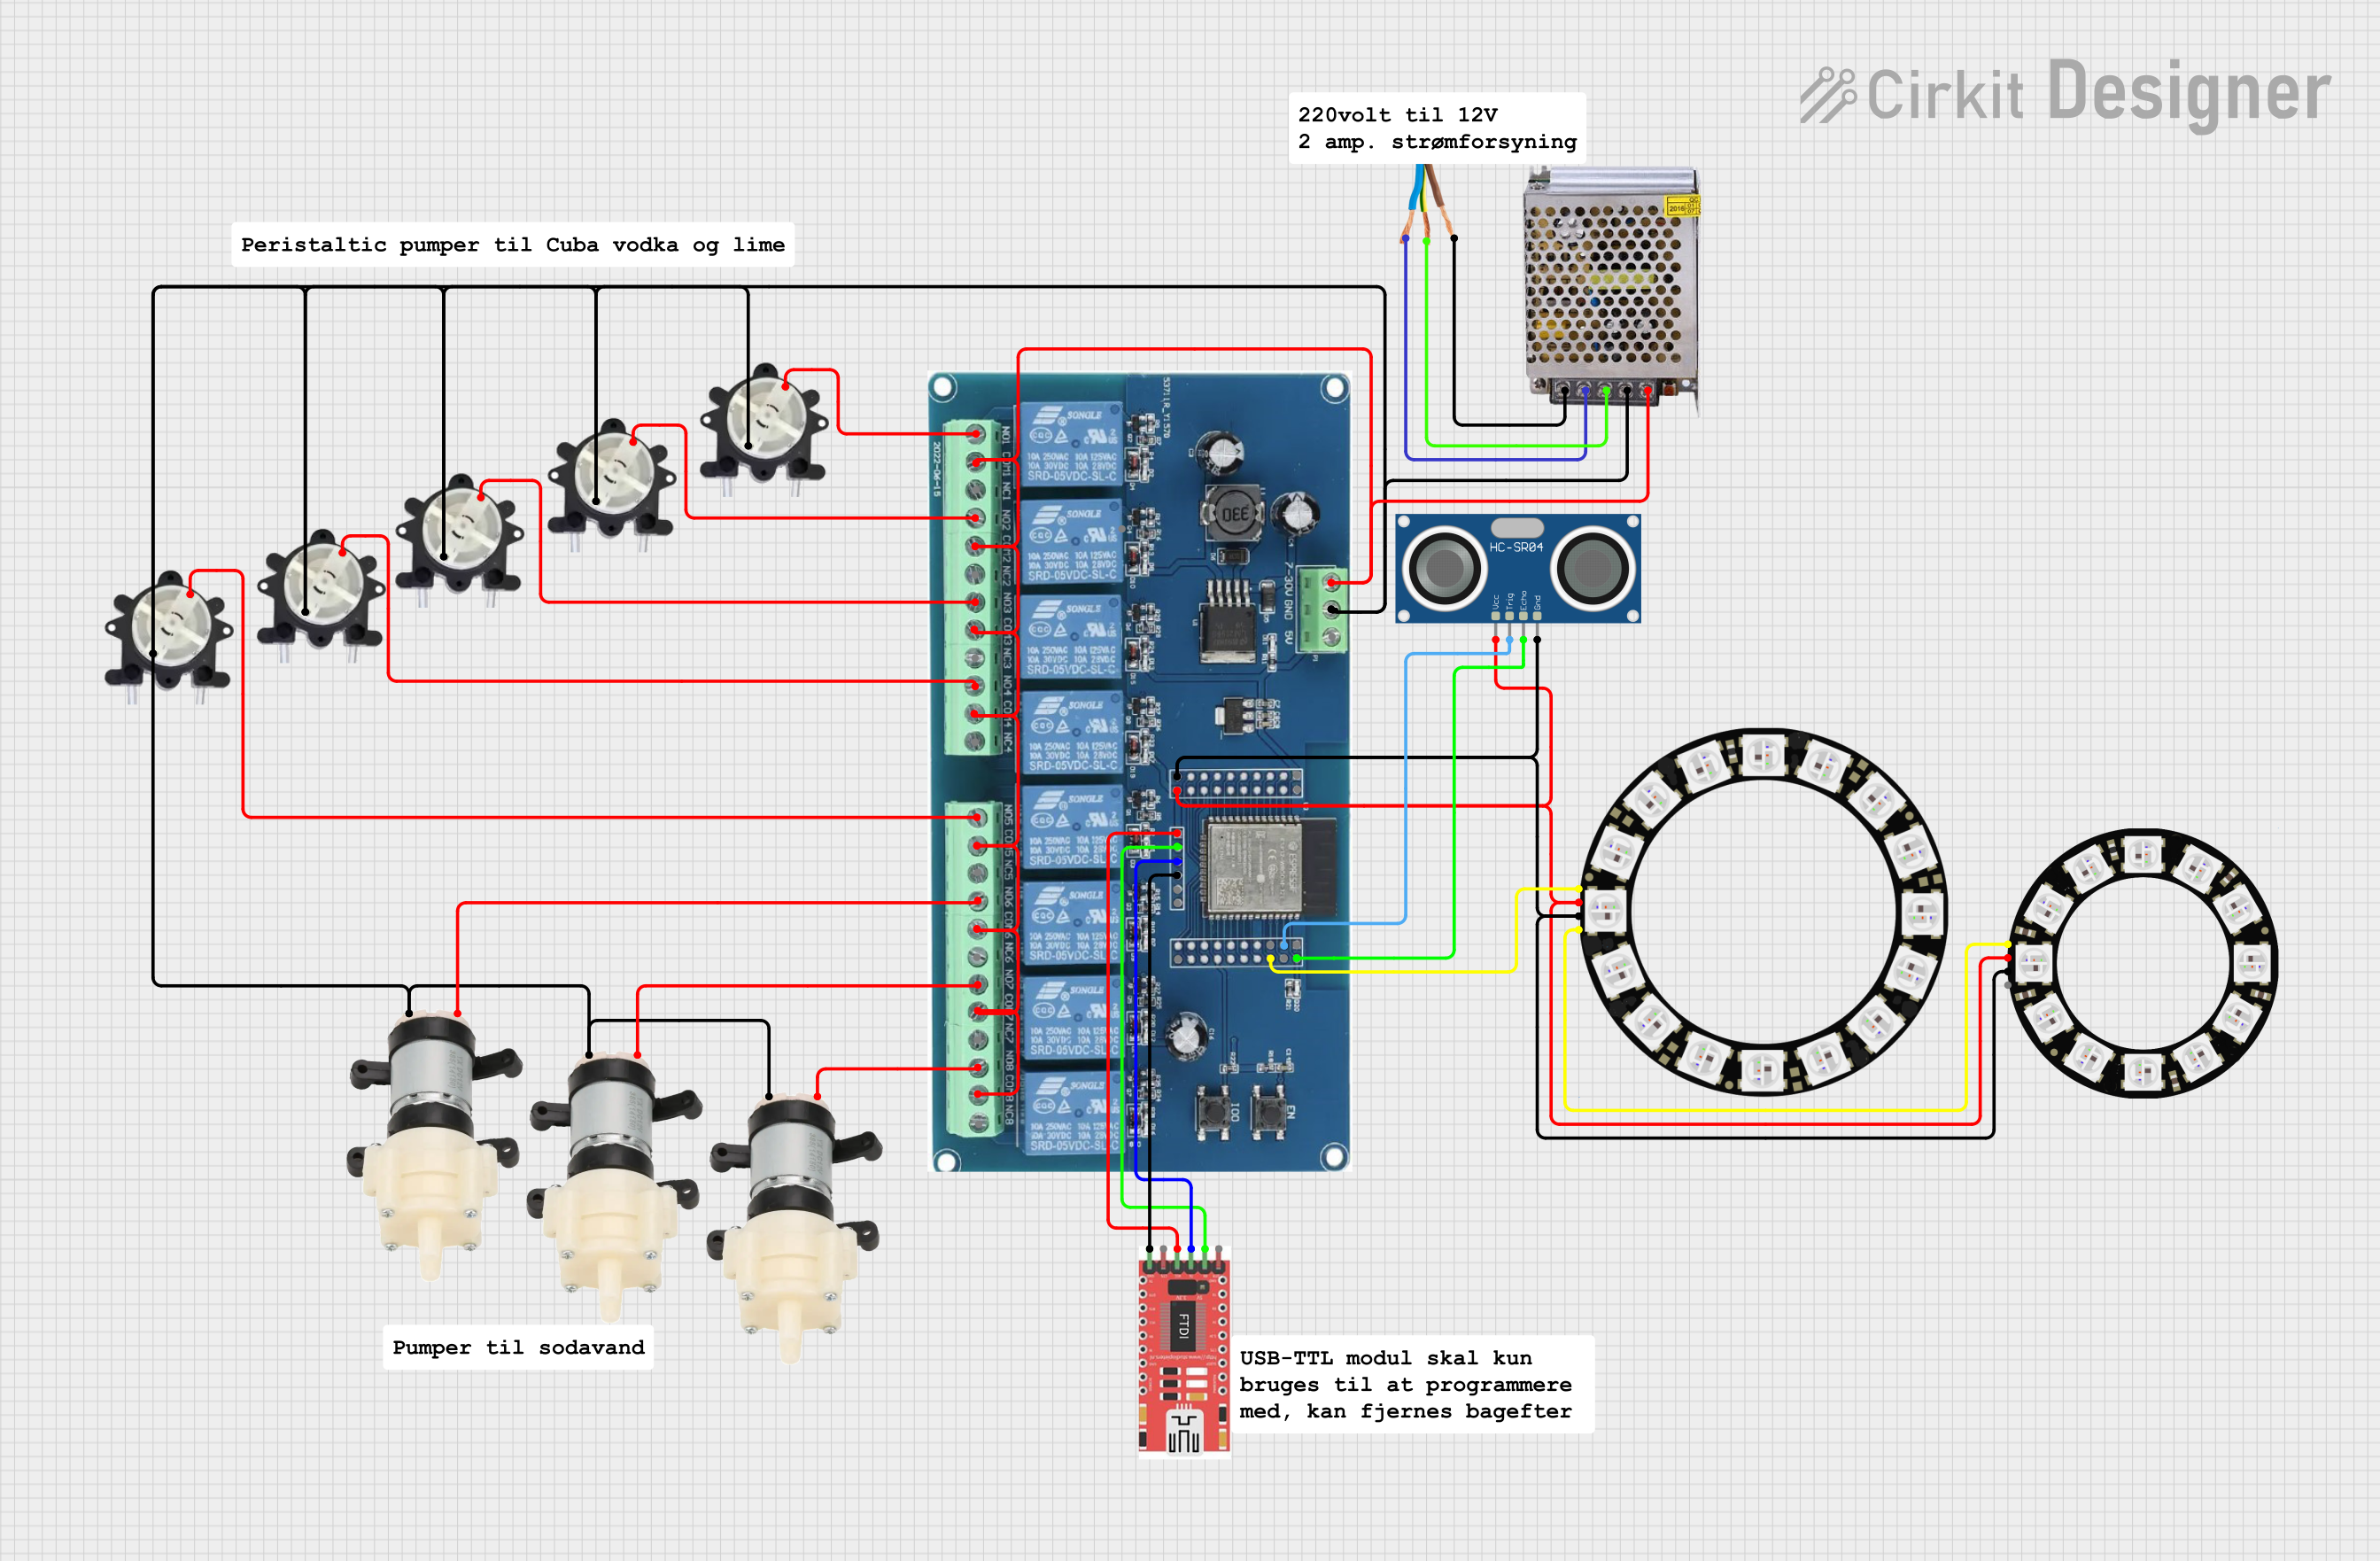
 Open Project in Cirkit Designer
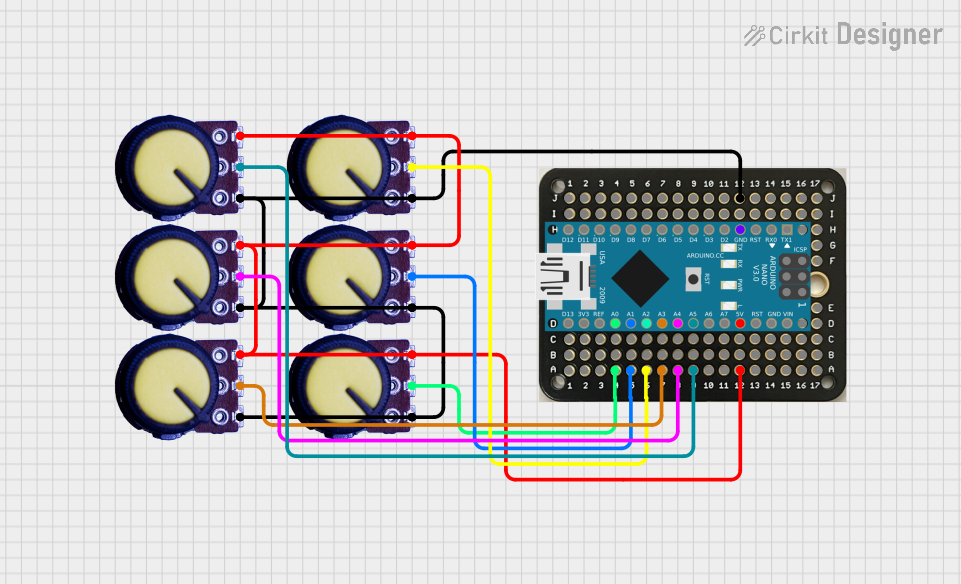
 Open Project in Cirkit Designer
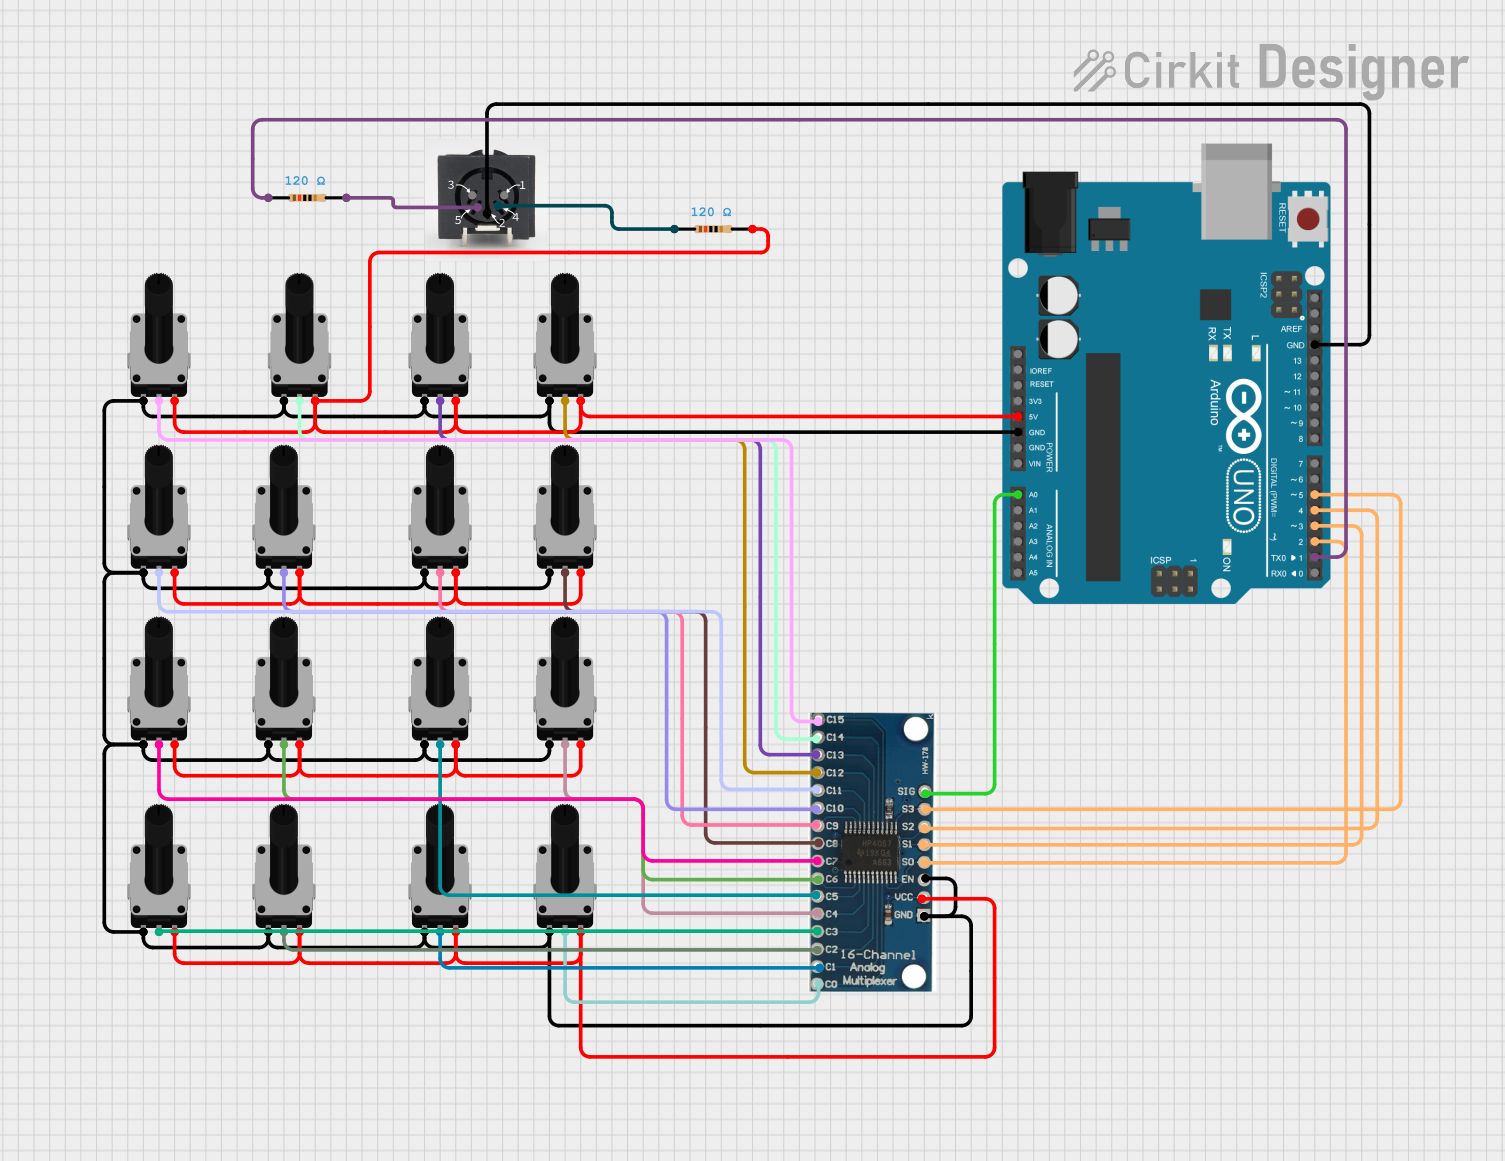
 Open Project in Cirkit Designer
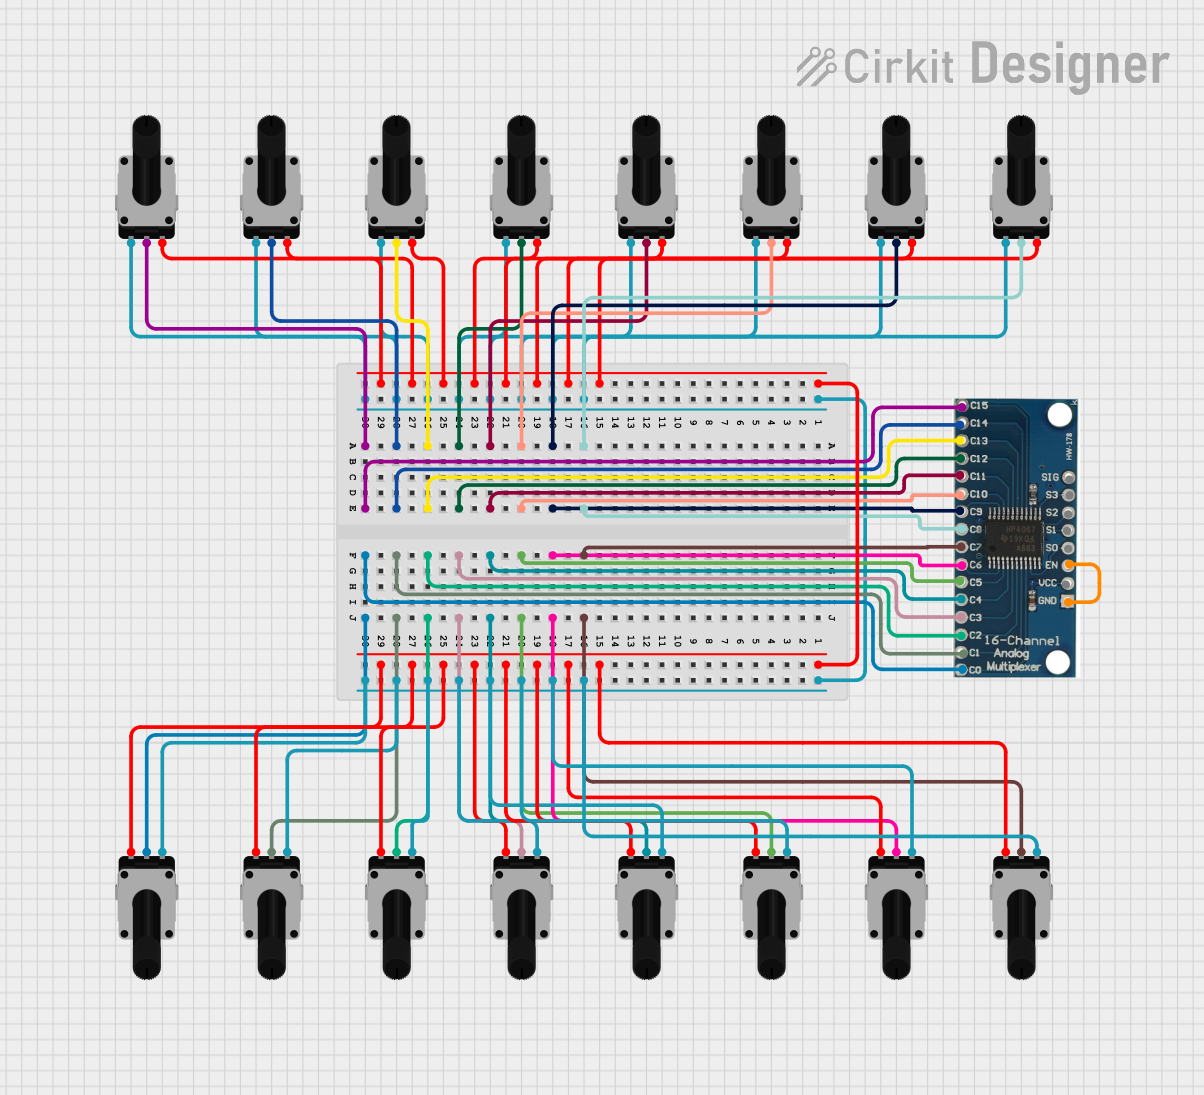
 Open Project in Cirkit Designer
Explore Projects Built with Mixer

 Open Project in Cirkit Designer
 Open Project in Cirkit Designer
 Open Project in Cirkit Designer
 Open Project in Cirkit Designer
Technical Specifications
Below are the general technical specifications for a typical audio mixer. Note that specific models may vary in features and capabilities.
General Specifications
- Input Channels: 2 to 32+ (depending on the model)
- Output Channels: Stereo (L/R) or multiple auxiliary outputs
- Frequency Response: 20 Hz to 20 kHz
- Signal-to-Noise Ratio (SNR): ≥ 90 dB
- Total Harmonic Distortion (THD): ≤ 0.01%
- Power Supply: 12V DC or 110-240V AC (depending on the model)
- Phantom Power: +48V for condenser microphones (optional on some models)
Pin Configuration and Descriptions
The pin configuration for a basic mixer with stereo input and output is as follows:
Input Section
| Pin Name | Description |
|---|---|
| IN_L | Left channel audio input |
| IN_R | Right channel audio input |
| GND | Ground connection for input signals |
Output Section
| Pin Name | Description |
|---|---|
| OUT_L | Left channel audio output |
| OUT_R | Right channel audio output |
| GND | Ground connection for output signals |
Power Section
| Pin Name | Description |
|---|---|
| VCC | Positive power supply (e.g., +12V DC) |
| GND | Ground connection for power |
Usage Instructions
How to Use the Mixer in a Circuit
Connect the Inputs:
- Plug audio sources (e.g., microphones, instruments, or audio players) into the input channels of the mixer. Use appropriate connectors such as XLR or 1/4-inch TRS plugs.
- Ensure that the input levels are set correctly to avoid distortion or clipping.
Adjust the Controls:
- Use the volume faders or knobs to set the desired level for each input channel.
- Adjust the equalizer (EQ) controls to modify the tone of each channel as needed.
- Apply effects (if available) to enhance the audio signal.
Connect the Outputs:
- Connect the mixer's output channels to the desired destination, such as speakers, amplifiers, or recording devices.
- Use balanced cables (e.g., XLR or TRS) for long cable runs to minimize noise and interference.
Power the Mixer:
- Connect the mixer to a suitable power source. If the mixer supports phantom power, enable it only for condenser microphones that require it.
Test the Setup:
- Play or speak into the input sources and monitor the output to ensure proper operation.
- Adjust the levels and settings as needed for optimal sound quality.
Important Considerations and Best Practices
- Always start with the volume levels set to zero before powering on the mixer to avoid sudden loud noises.
- Use balanced cables for input and output connections to reduce noise and interference.
- Avoid overloading the input channels to prevent distortion.
- Regularly clean the mixer's knobs and faders to maintain smooth operation.
- If using an Arduino UNO to control a digital mixer, ensure proper communication protocols (e.g., MIDI or I2C) are implemented.
Example: Controlling a Digital Mixer with Arduino UNO
Below is an example of using an Arduino UNO to send MIDI commands to a digital mixer:
#include <MIDI.h> // Include the MIDI library

MIDI_CREATE_DEFAULT_INSTANCE();

void setup() {
  MIDI.begin(MIDI_CHANNEL_OMNI); // Start MIDI communication
  Serial.begin(9600); // Initialize serial communication for debugging
}

void loop() {
  // Send a MIDI control change message to adjust volume
  MIDI.sendControlChange(7, 100, 1);
  // Control Change 7 = Volume, Value = 100, Channel = 1

  delay(1000); // Wait for 1 second before sending the next message
}
Note: Ensure the digital mixer supports MIDI input and is configured to receive messages on the specified channel.
Troubleshooting and FAQs
Common Issues and Solutions
No Sound Output:
- Check all cable connections to ensure they are secure.
- Verify that the input and output levels are not set to zero.
- Ensure the power supply is connected and functioning properly.
Distorted Audio:
- Reduce the input gain or volume levels to prevent clipping.
- Check for faulty cables or connectors that may introduce noise.
Humming or Buzzing Noise:
- Use balanced cables to minimize interference.
- Ensure all equipment is properly grounded.
Phantom Power Not Working:
- Verify that the phantom power switch is enabled.
- Check if the microphone requires phantom power and is compatible with the mixer.
FAQs
Q: Can I connect a guitar directly to the mixer?
A: Most mixers require a DI (Direct Injection) box to match the impedance of a guitar signal. Connect the guitar to the DI box, then connect the DI box output to the mixer.
Q: How do I clean the mixer?
A: Use a soft, dry cloth to clean the surface. Avoid using liquids or abrasive materials. For faders and knobs, use compressed air or a specialized contact cleaner.
Q: Can I use the mixer with a computer?
A: Yes, many mixers have USB or audio interface capabilities for direct connection to a computer. Check the mixer's specifications for compatibility.
Q: What is the purpose of auxiliary outputs?
A: Auxiliary outputs allow you to send specific audio signals to external devices, such as monitors, effects processors, or recording equipment.