
How to Use 9V Solar Panel: Examples, Pinouts, and Specs
 Design with 9V Solar Panel in Cirkit Designer
Introduction
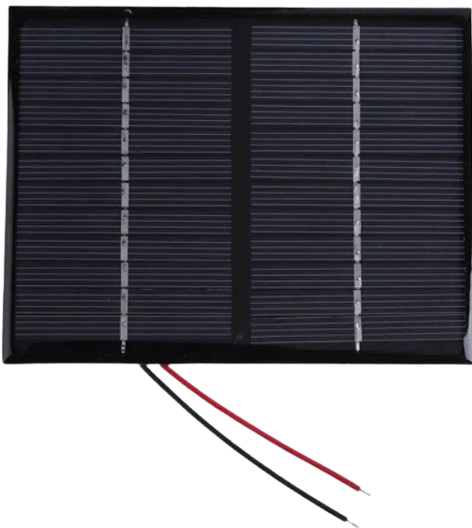
The 9V Solar Panel is a device that converts sunlight into electrical energy, providing a stable 9V output. It is designed for powering small electronic devices, charging batteries, or serving as a renewable energy source in various projects. Its compact size and ease of use make it an excellent choice for hobbyists, students, and professionals working on solar-powered applications.
Explore Projects Built with 9V Solar Panel
 Open Project in Cirkit Designer
 Open Project in Cirkit Designer
 Open Project in Cirkit Designer
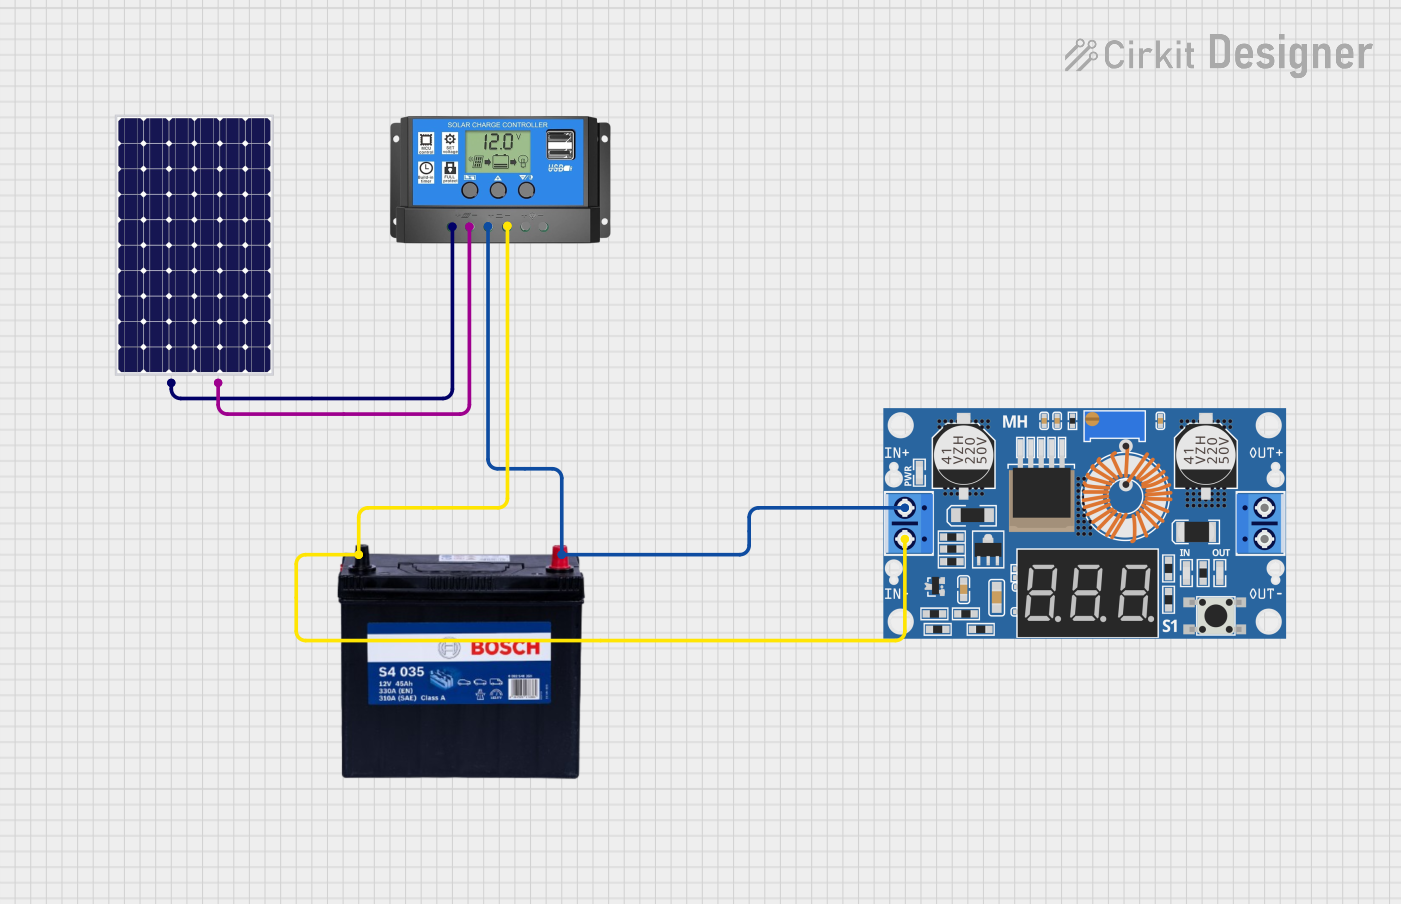 Open Project in Cirkit Designer
Explore Projects Built with 9V Solar Panel
Open Project in Cirkit DesignerOpen Project in Cirkit DesignerOpen Project in Cirkit DesignerOpen Project in Cirkit DesignerCommon Applications and Use Cases
- Charging 9V rechargeable batteries
- Powering small electronic circuits and sensors
- Renewable energy projects
- Outdoor IoT devices
- Educational experiments and demonstrations
Technical Specifications
The following table outlines the key technical details of the 9V Solar Panel:
| Parameter | Value |
|---|---|
| Output Voltage | 9V (nominal) |
| Output Current | 100mA to 300mA (depending on sunlight intensity) |
| Power Rating | 2.7W |
| Dimensions | 165mm x 135mm x 3mm |
| Material | Monocrystalline silicon |
| Operating Temperature | -20°C to 60°C |
| Connector Type | Bare wire leads or DC barrel jack |
Pin Configuration and Descriptions
The 9V Solar Panel typically has two output leads:
| Lead | Description | Color |
|---|---|---|
| Positive (+) | Positive output voltage | Red |
| Negative (-) | Ground connection | Black |
Usage Instructions
How to Use the 9V Solar Panel in a Circuit
- Positioning the Panel: Place the solar panel in direct sunlight for optimal performance. Ensure there are no obstructions like shadows or dirt on the panel surface.
- Connecting the Leads:
- Connect the red lead (positive) to the positive terminal of your circuit or battery.
- Connect the black lead (negative) to the ground terminal of your circuit or battery.
- Using a Voltage Regulator (Optional): If your circuit requires a voltage lower than 9V, use a voltage regulator (e.g., LM7805 for 5V output) to step down the voltage.
- Adding a Diode for Protection: To prevent reverse current flow (e.g., at night), connect a Schottky diode (e.g., 1N5819) in series with the positive lead.
Important Considerations and Best Practices
- Sunlight Intensity: The output voltage and current depend on sunlight intensity. For consistent performance, ensure the panel is exposed to direct sunlight.
- Energy Storage: Use a rechargeable battery or capacitor to store energy for use during low-light conditions.
- Weatherproofing: If used outdoors, ensure the panel is adequately protected from rain and extreme weather conditions.
- Avoid Overloading: Do not connect devices that draw more current than the panel can provide, as this may damage the panel or reduce its lifespan.
Example: Connecting the 9V Solar Panel to an Arduino UNO
The 9V Solar Panel can be used to power an Arduino UNO via its VIN pin. Below is an example circuit and code:
Circuit Setup
- Connect the red lead of the solar panel to the VIN pin of the Arduino UNO.
- Connect the black lead of the solar panel to the GND pin of the Arduino UNO.
- Optionally, add a 9V rechargeable battery in parallel with the solar panel for stable power supply.
Arduino Code Example
// Example code to read an analog sensor powered by a 9V Solar Panel
// Ensure the solar panel provides sufficient power for the Arduino and sensor.

const int sensorPin = A0; // Analog pin connected to the sensor
int sensorValue = 0;      // Variable to store the sensor reading

void setup() {
  Serial.begin(9600); // Initialize serial communication at 9600 baud
}

void loop() {
  sensorValue = analogRead(sensorPin); // Read the sensor value
  Serial.print("Sensor Value: ");
  Serial.println(sensorValue); // Print the sensor value to the Serial Monitor
  delay(1000); // Wait for 1 second before the next reading
}
Troubleshooting and FAQs
Common Issues and Solutions
Low or No Output Voltage
- Cause: Insufficient sunlight or dirty panel surface.
- Solution: Ensure the panel is in direct sunlight and clean the surface with a soft cloth.
Fluctuating Output Voltage
- Cause: Rapid changes in sunlight intensity or shadows.
- Solution: Use a capacitor or rechargeable battery to stabilize the output.
Device Not Powering On
- Cause: Incorrect wiring or insufficient current.
- Solution: Verify the connections and ensure the device's current requirements are within the panel's capacity.
Reverse Current Flow at Night
- Cause: Lack of a blocking diode.
- Solution: Install a Schottky diode in series with the positive lead.
FAQs
Can the 9V Solar Panel charge a 9V battery directly? Yes, but it is recommended to use a charge controller to prevent overcharging and ensure safe operation.
What happens if the panel is exposed to rain? Most panels are weather-resistant, but prolonged exposure to water may damage the connections. Use a waterproof enclosure for outdoor applications.
Can I connect multiple panels together? Yes, you can connect panels in series to increase voltage or in parallel to increase current. Ensure the combined output matches your circuit's requirements.
Is the panel suitable for indoor use? The panel requires strong light to generate power, so it is not effective under typical indoor lighting conditions. Use it outdoors or near a bright light source.