How to Use GSR Sensor: Examples, Pinouts, and Specs
Introduction
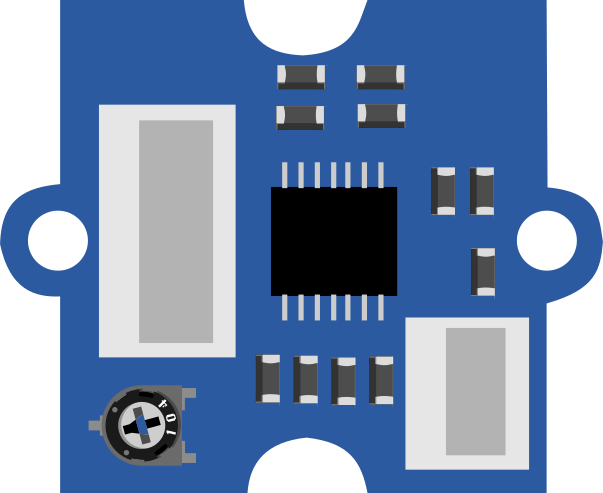
- A Galvanic Skin Response (GSR) sensor measures the electrical conductance of the skin, which varies with the skin's moisture level. This property is influenced by sweat gland activity, which is controlled by the autonomic nervous system.
- GSR sensors are commonly used in biofeedback systems, psychological studies, lie detection systems, and wearable health monitoring devices to assess emotional arousal or stress levels.
Explore Projects Built with GSR Sensor
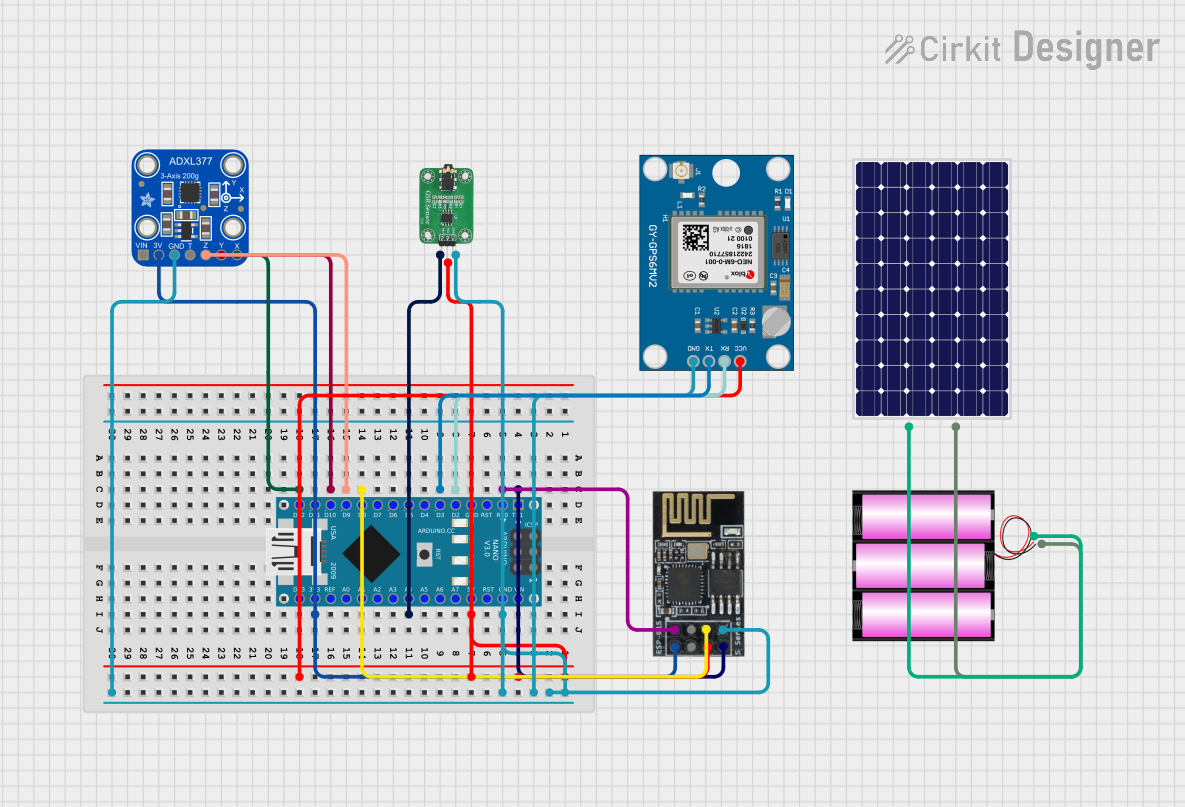
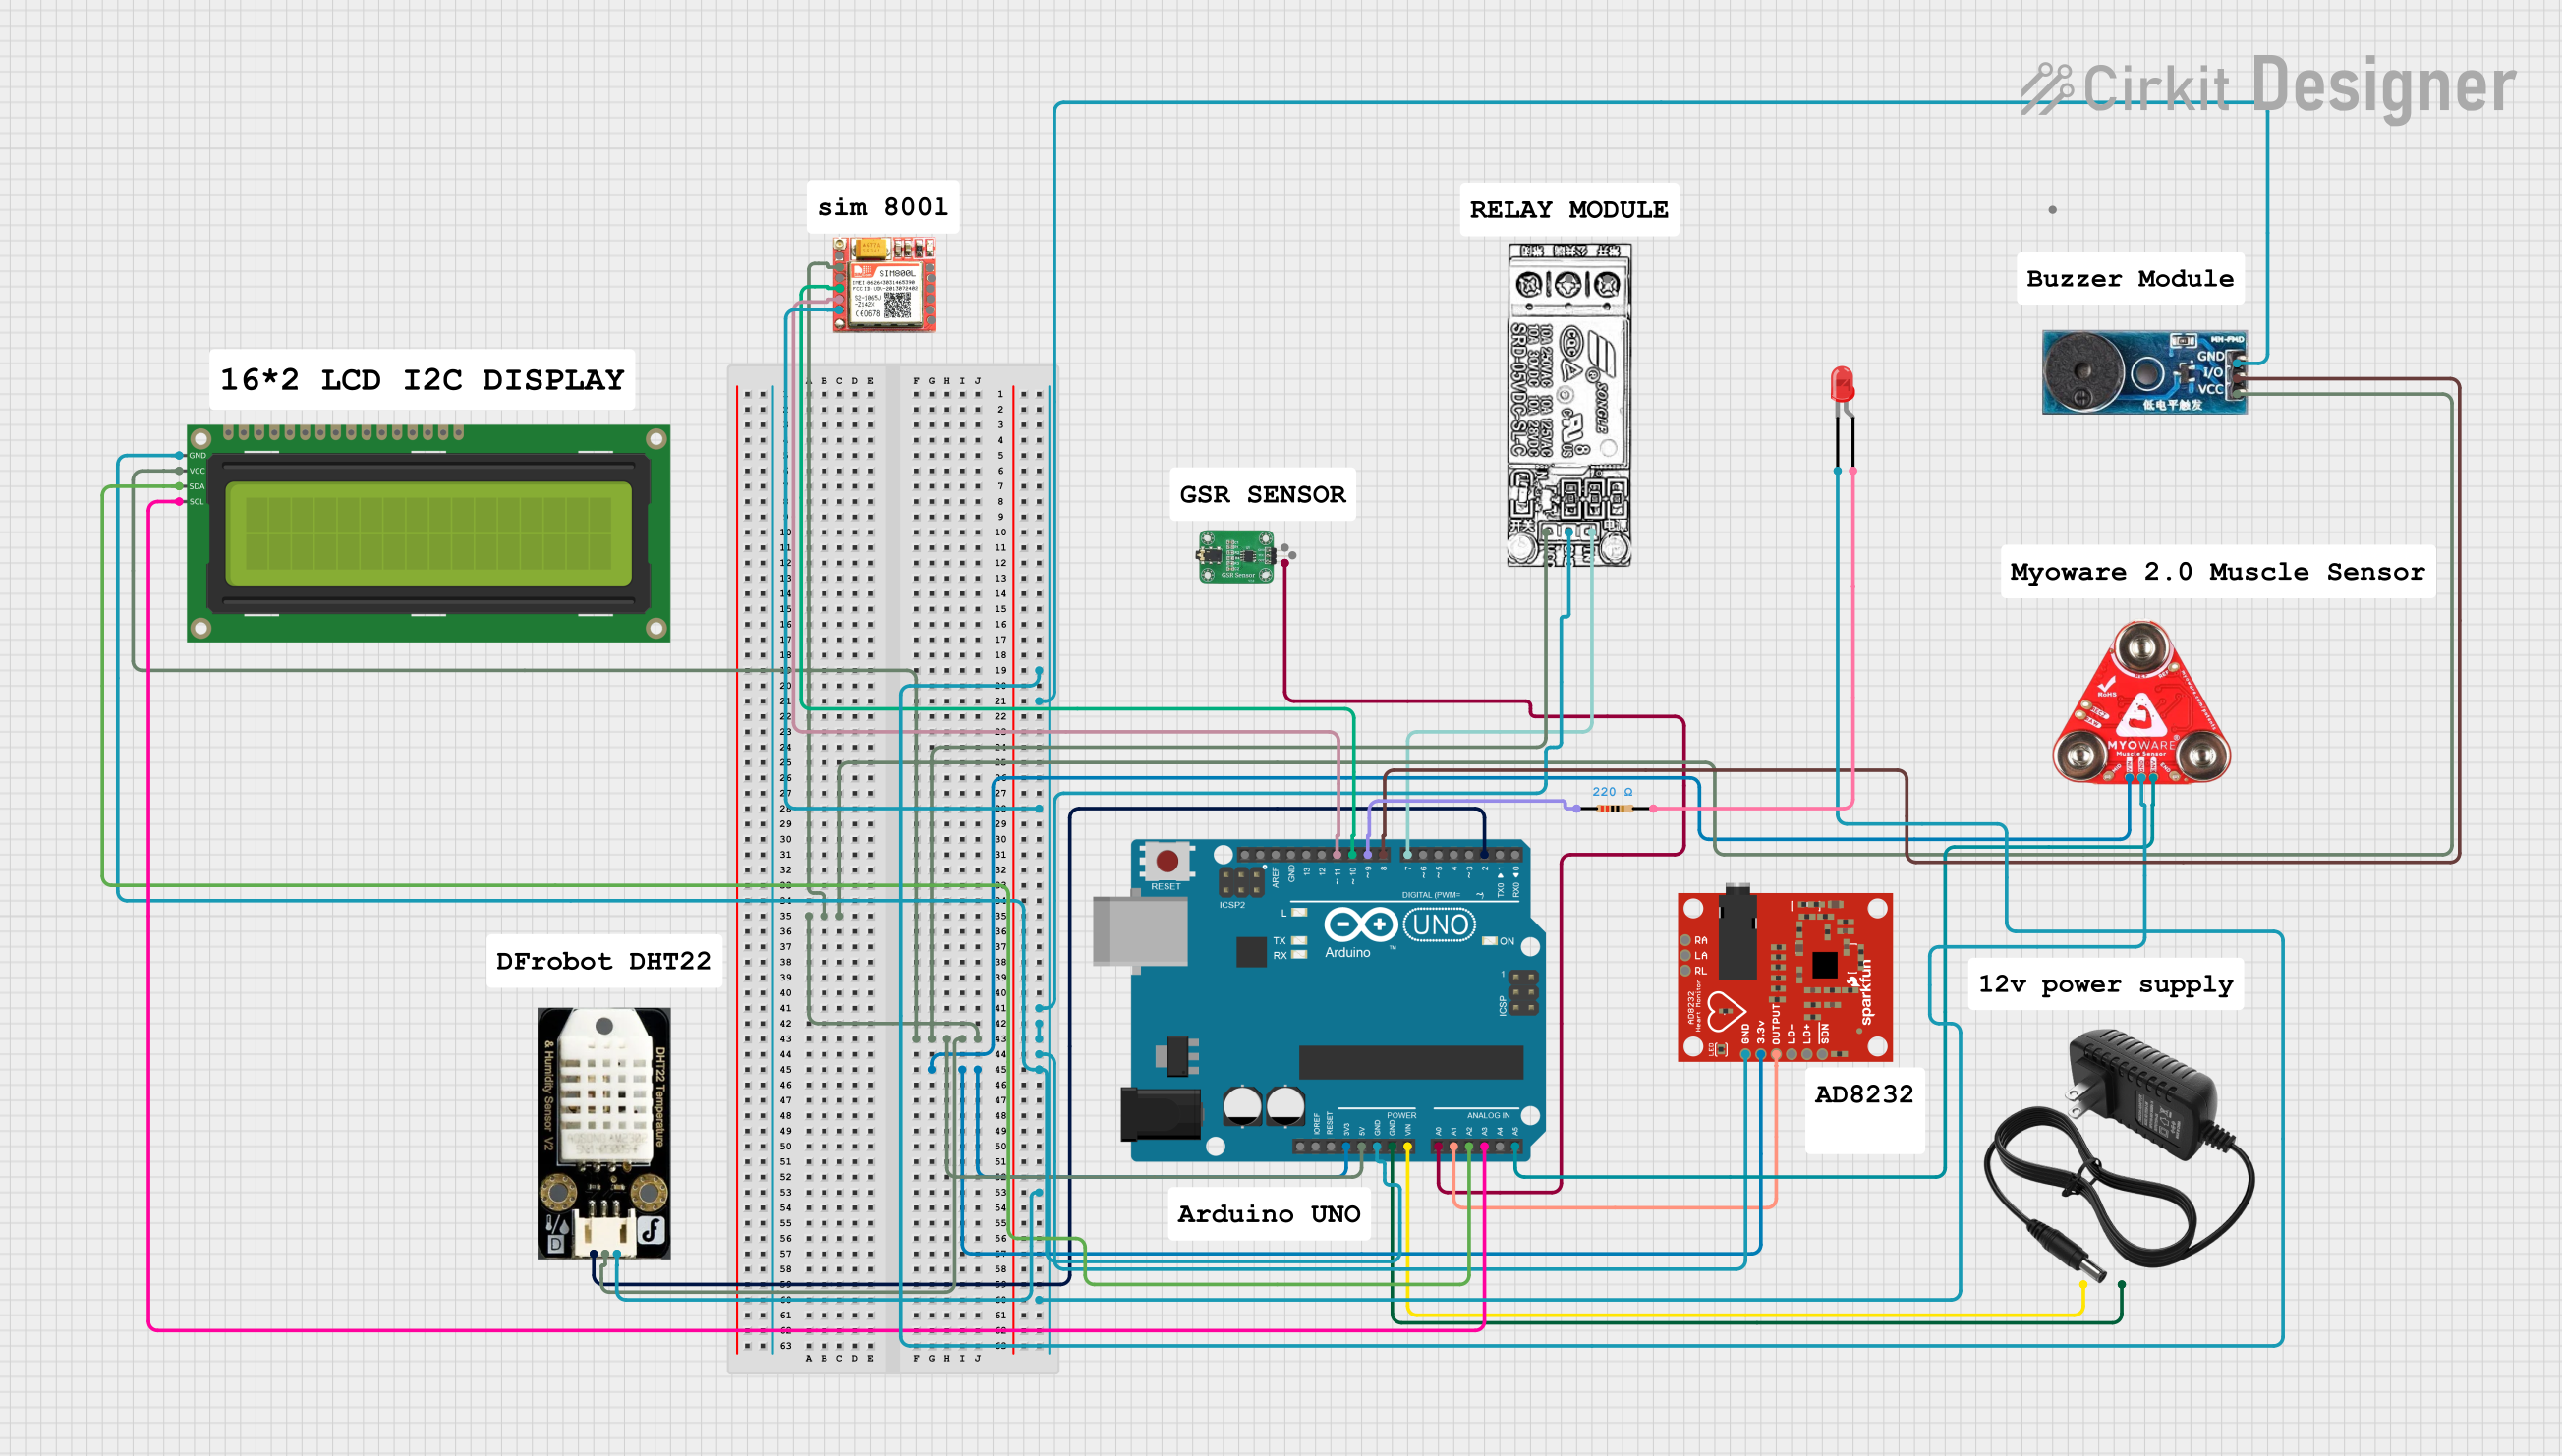
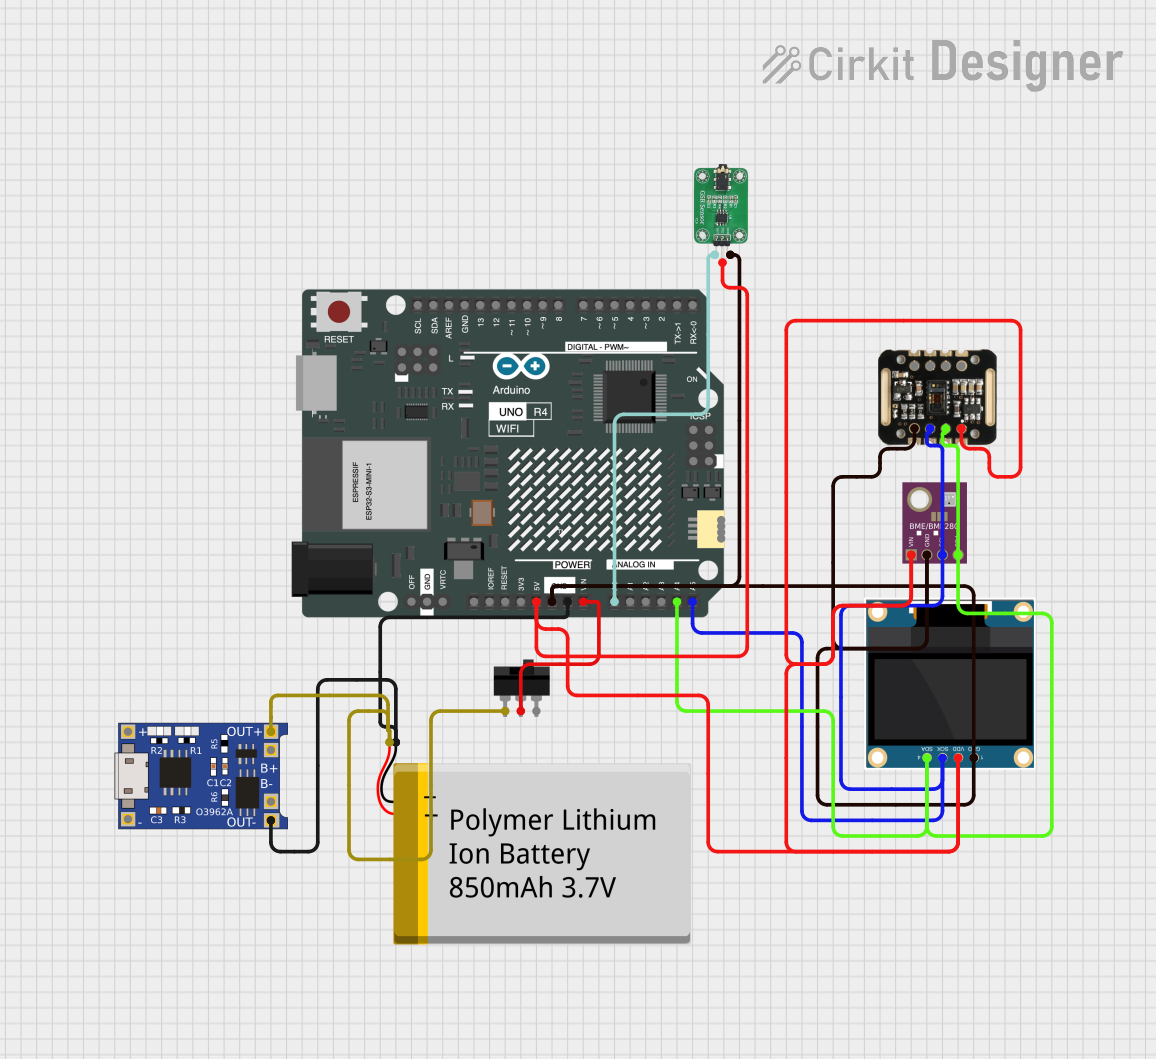
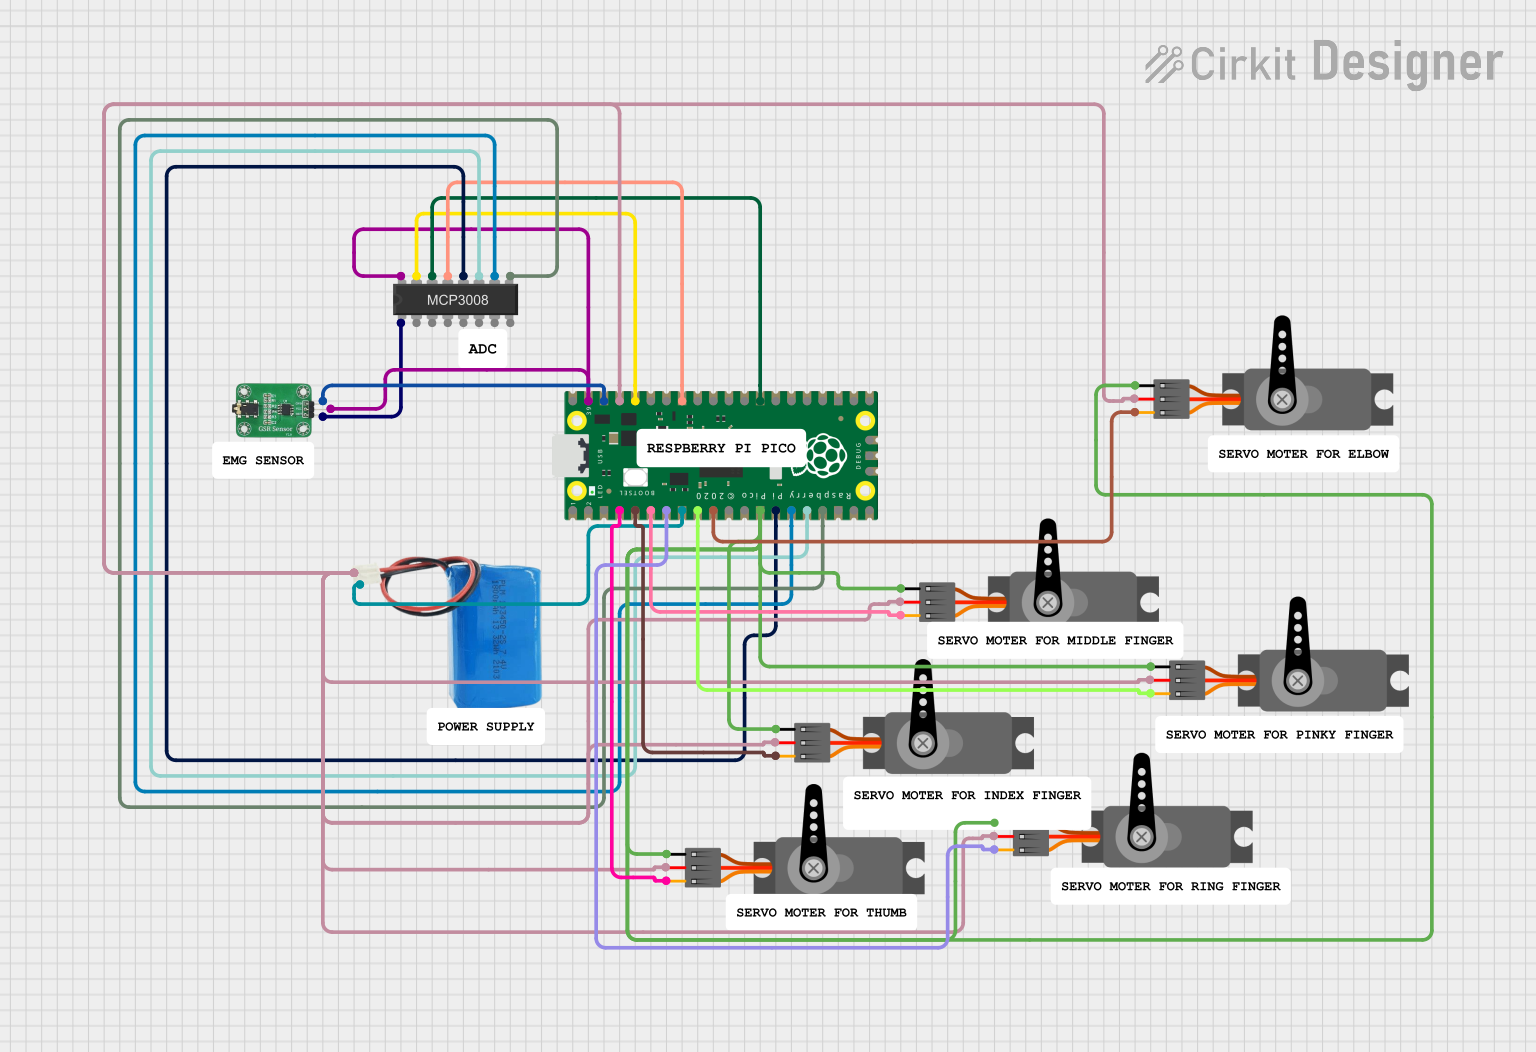
Explore Projects Built with GSR Sensor
Technical Specifications
- Operating Voltage: 3.3V to 5V DC
- Output Signal: Analog voltage (proportional to skin conductance)
- Measurement Range: 10 kΩ to 10 MΩ skin resistance
- Interface: Analog output pin
- Power Consumption: Low power (typically <10 mA)
- Operating Temperature: 0°C to 50°C
Pin Configuration and Descriptions
| Pin Name | Type | Description |
|---|---|---|
| VCC | Power Input | Connect to 3.3V or 5V DC power supply. |
| GND | Ground | Connect to the ground of the power supply. |
| SIG | Analog Output | Outputs an analog voltage proportional to the skin's electrical conductance. |
Usage Instructions
Connecting the GSR Sensor:
- Connect the VCC pin to a 3.3V or 5V power source.
- Connect the GND pin to the ground of your circuit.
- Connect the SIG pin to an analog input pin of a microcontroller (e.g., Arduino UNO).
Using the GSR Sensor in a Circuit:
- Place the sensor electrodes on the skin (commonly on fingers or palms) to measure skin conductance.
- Ensure the electrodes are clean and make good contact with the skin for accurate readings.
- Avoid excessive movement during measurements to reduce noise in the signal.
Arduino UNO Example Code: Below is an example of how to use the GSR sensor with an Arduino UNO to read and display the sensor's output:
// Define the analog pin connected to the GSR sensor's SIG pin const int GSR_PIN = A0; void setup() { Serial.begin(9600); // Initialize serial communication at 9600 baud pinMode(GSR_PIN, INPUT); // Set the GSR pin as an input } void loop() { int sensorValue = analogRead(GSR_PIN); // Read the analog value from the sensor // Convert the analog value to voltage (assuming 5V reference) float voltage = sensorValue * (5.0 / 1023.0); // Print the raw sensor value and voltage to the Serial Monitor Serial.print("Raw Value: "); Serial.print(sensorValue); Serial.print(" | Voltage: "); Serial.println(voltage); delay(500); // Wait for 500ms before the next reading }- Note: Adjust the reference voltage in the code if using a 3.3V system.
Best Practices:
- Ensure the sensor is calibrated for the specific application to improve accuracy.
- Avoid using the sensor in environments with high humidity or extreme temperatures.
- Clean the electrodes regularly to maintain consistent performance.
Troubleshooting and FAQs
Common Issues
No Output or Constant Readings:
- Cause: Poor connection between the sensor and the skin.
- Solution: Ensure the electrodes are securely placed on the skin and making good contact.
Fluctuating or Noisy Readings:
- Cause: Excessive movement or environmental interference.
- Solution: Minimize movement during measurements and ensure the sensor is used in a stable environment.
Low Sensitivity:
- Cause: Dirty or worn-out electrodes.
- Solution: Clean the electrodes with a soft cloth and ensure they are free of dirt or oils.
Incorrect Voltage Readings:
- Cause: Incorrect reference voltage in the code.
- Solution: Verify the power supply voltage and update the code accordingly.
FAQs
Q: Can the GSR sensor be used with a 3.3V microcontroller?
A: Yes, the sensor is compatible with both 3.3V and 5V systems. Ensure the reference voltage in the code matches the power supply voltage.Q: How do I improve the accuracy of the sensor?
A: Use high-quality electrodes, ensure good skin contact, and calibrate the sensor for your specific application.Q: Can the GSR sensor be used for continuous monitoring?
A: Yes, but ensure the sensor is periodically cleaned, and the electrodes are replaced as needed for long-term use.Q: What type of electrodes should I use?
A: Use conductive adhesive electrodes or reusable metal electrodes designed for GSR measurements.