Cirkit Designer Logo
Cirkit Designer
Your all-in-one circuit design IDE
Home / 
Component Documentation

How to Use Adafruit Grand Central M4 Express: Examples, Pinouts, and Specs
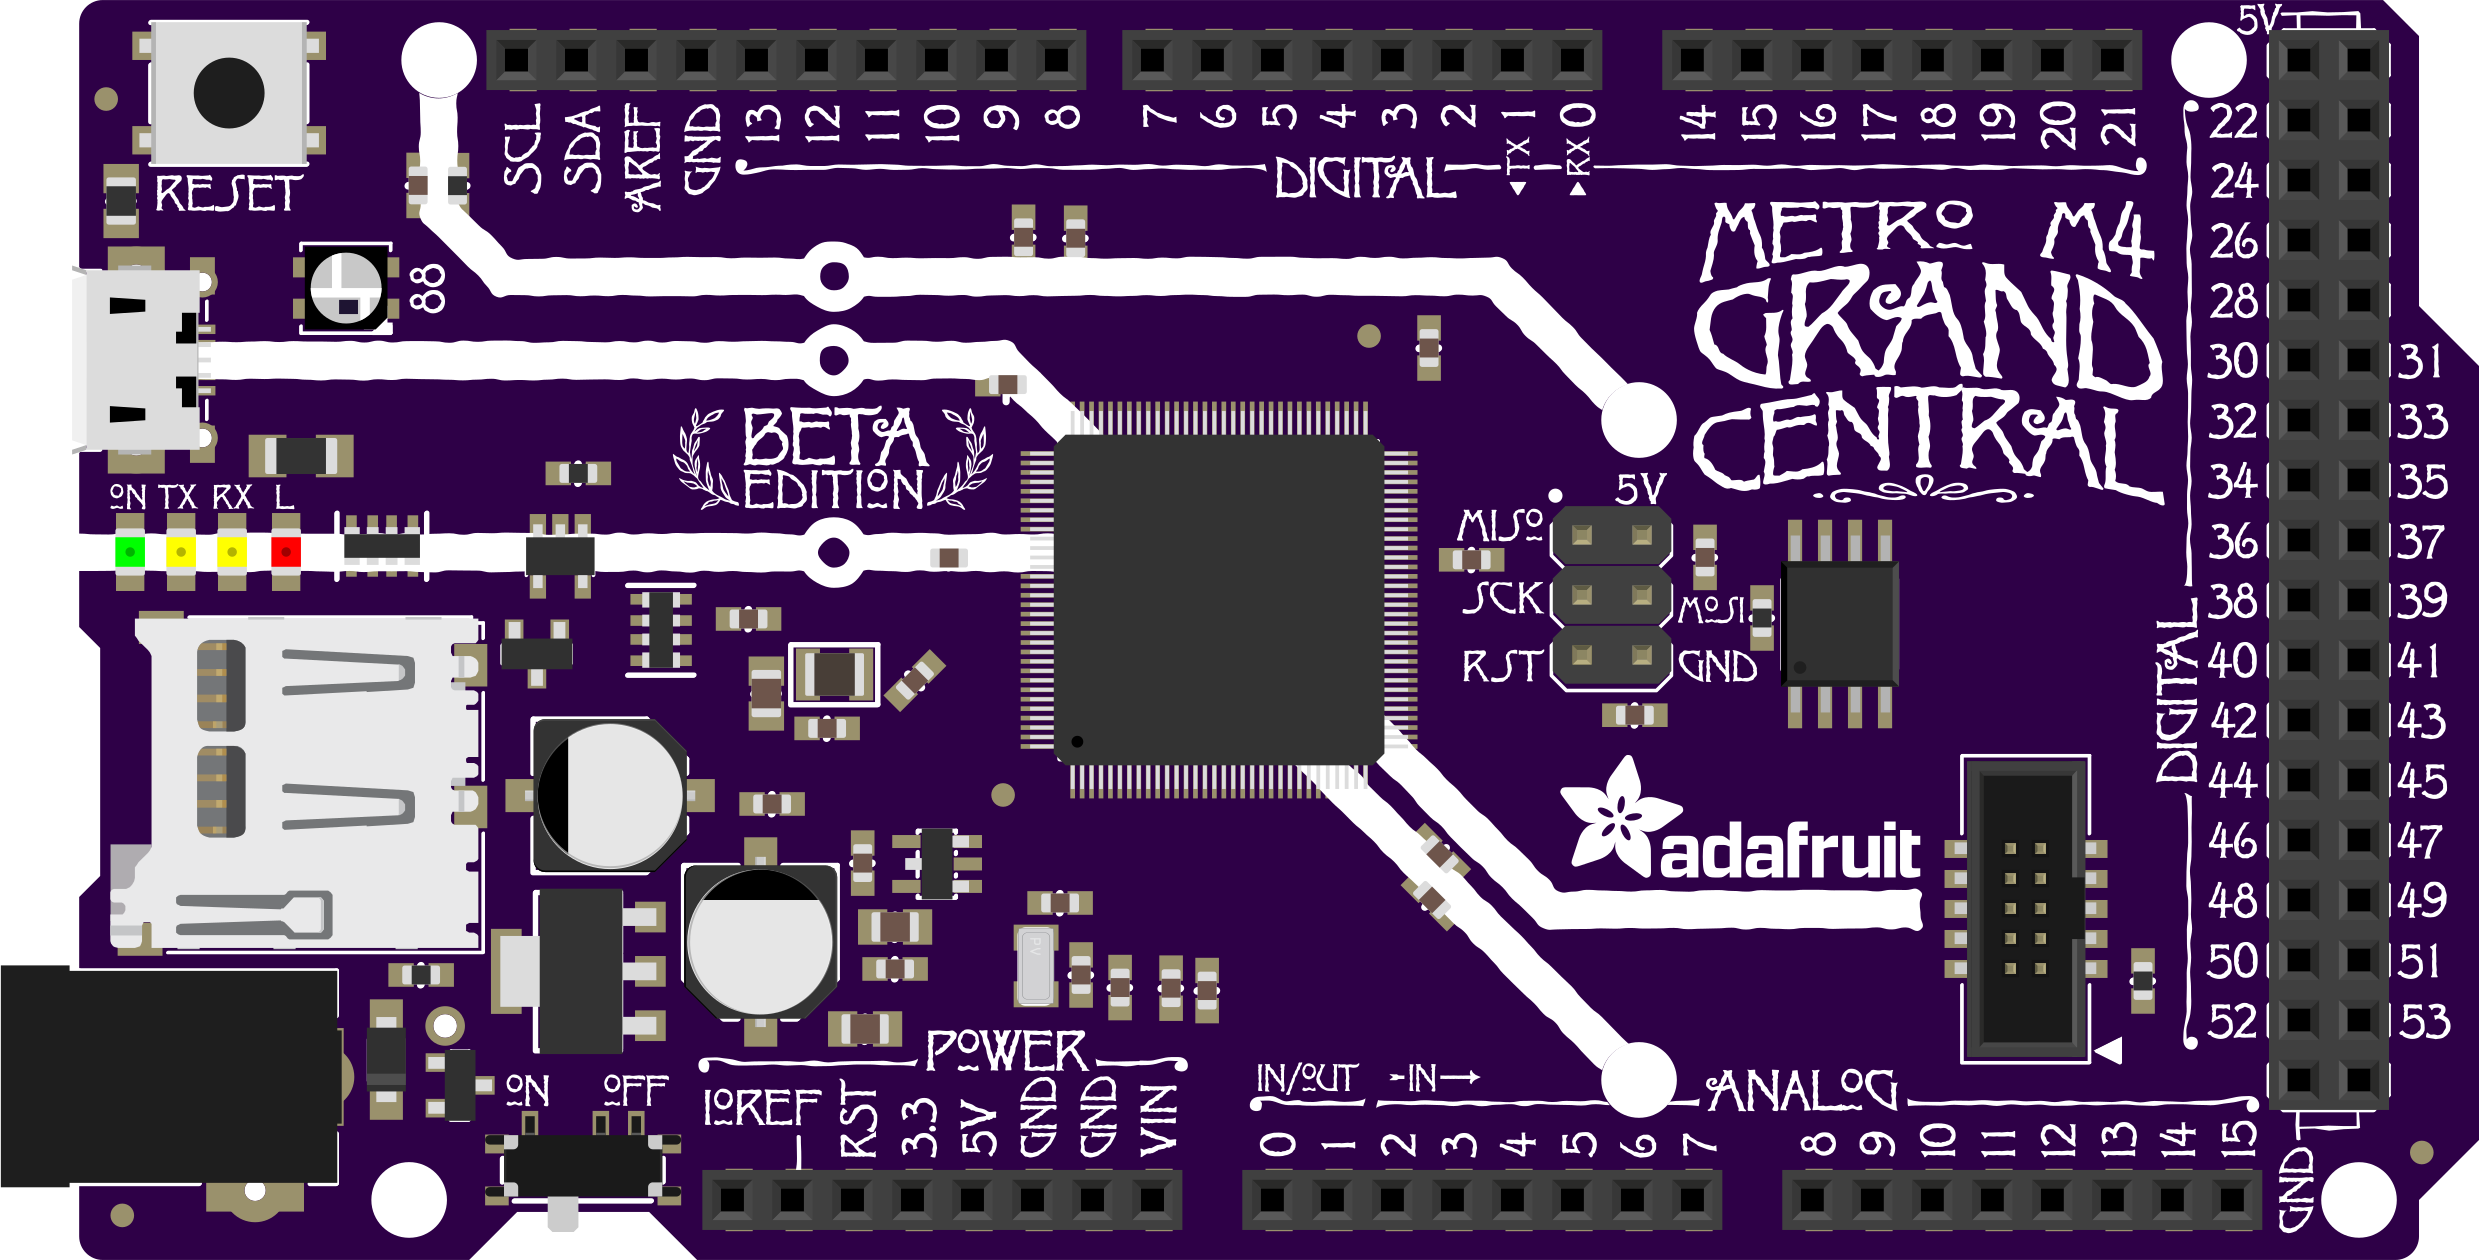

Image of Adafruit Grand Central M4 Express
Cirkit Designer LogoDesign with Adafruit Grand Central M4 Express in Cirkit Designer

Introduction

The Adafruit Grand Central M4 Express (Manufacturer Part ID: 4064) is a powerful microcontroller board designed for advanced electronics projects. It features an ARM Cortex-M4 processor, offering high performance and versatility for a wide range of applications. With ample I/O options, USB connectivity, and compatibility with the Arduino IDE and CircuitPython, this board is ideal for both hobbyists and professionals.

Explore Projects Built with Adafruit Grand Central M4 Express
Use Cirkit Designer to design, explore, and prototype these projects online. Some projects support real-time simulation. Click "Open Project" to start designing instantly!
Solar-Powered Environmental Data Logger with Adafruit Feather M0 Express
Image of Lake Thoreau Monitoring Station: A project utilizing Adafruit Grand Central M4 Express in a practical application
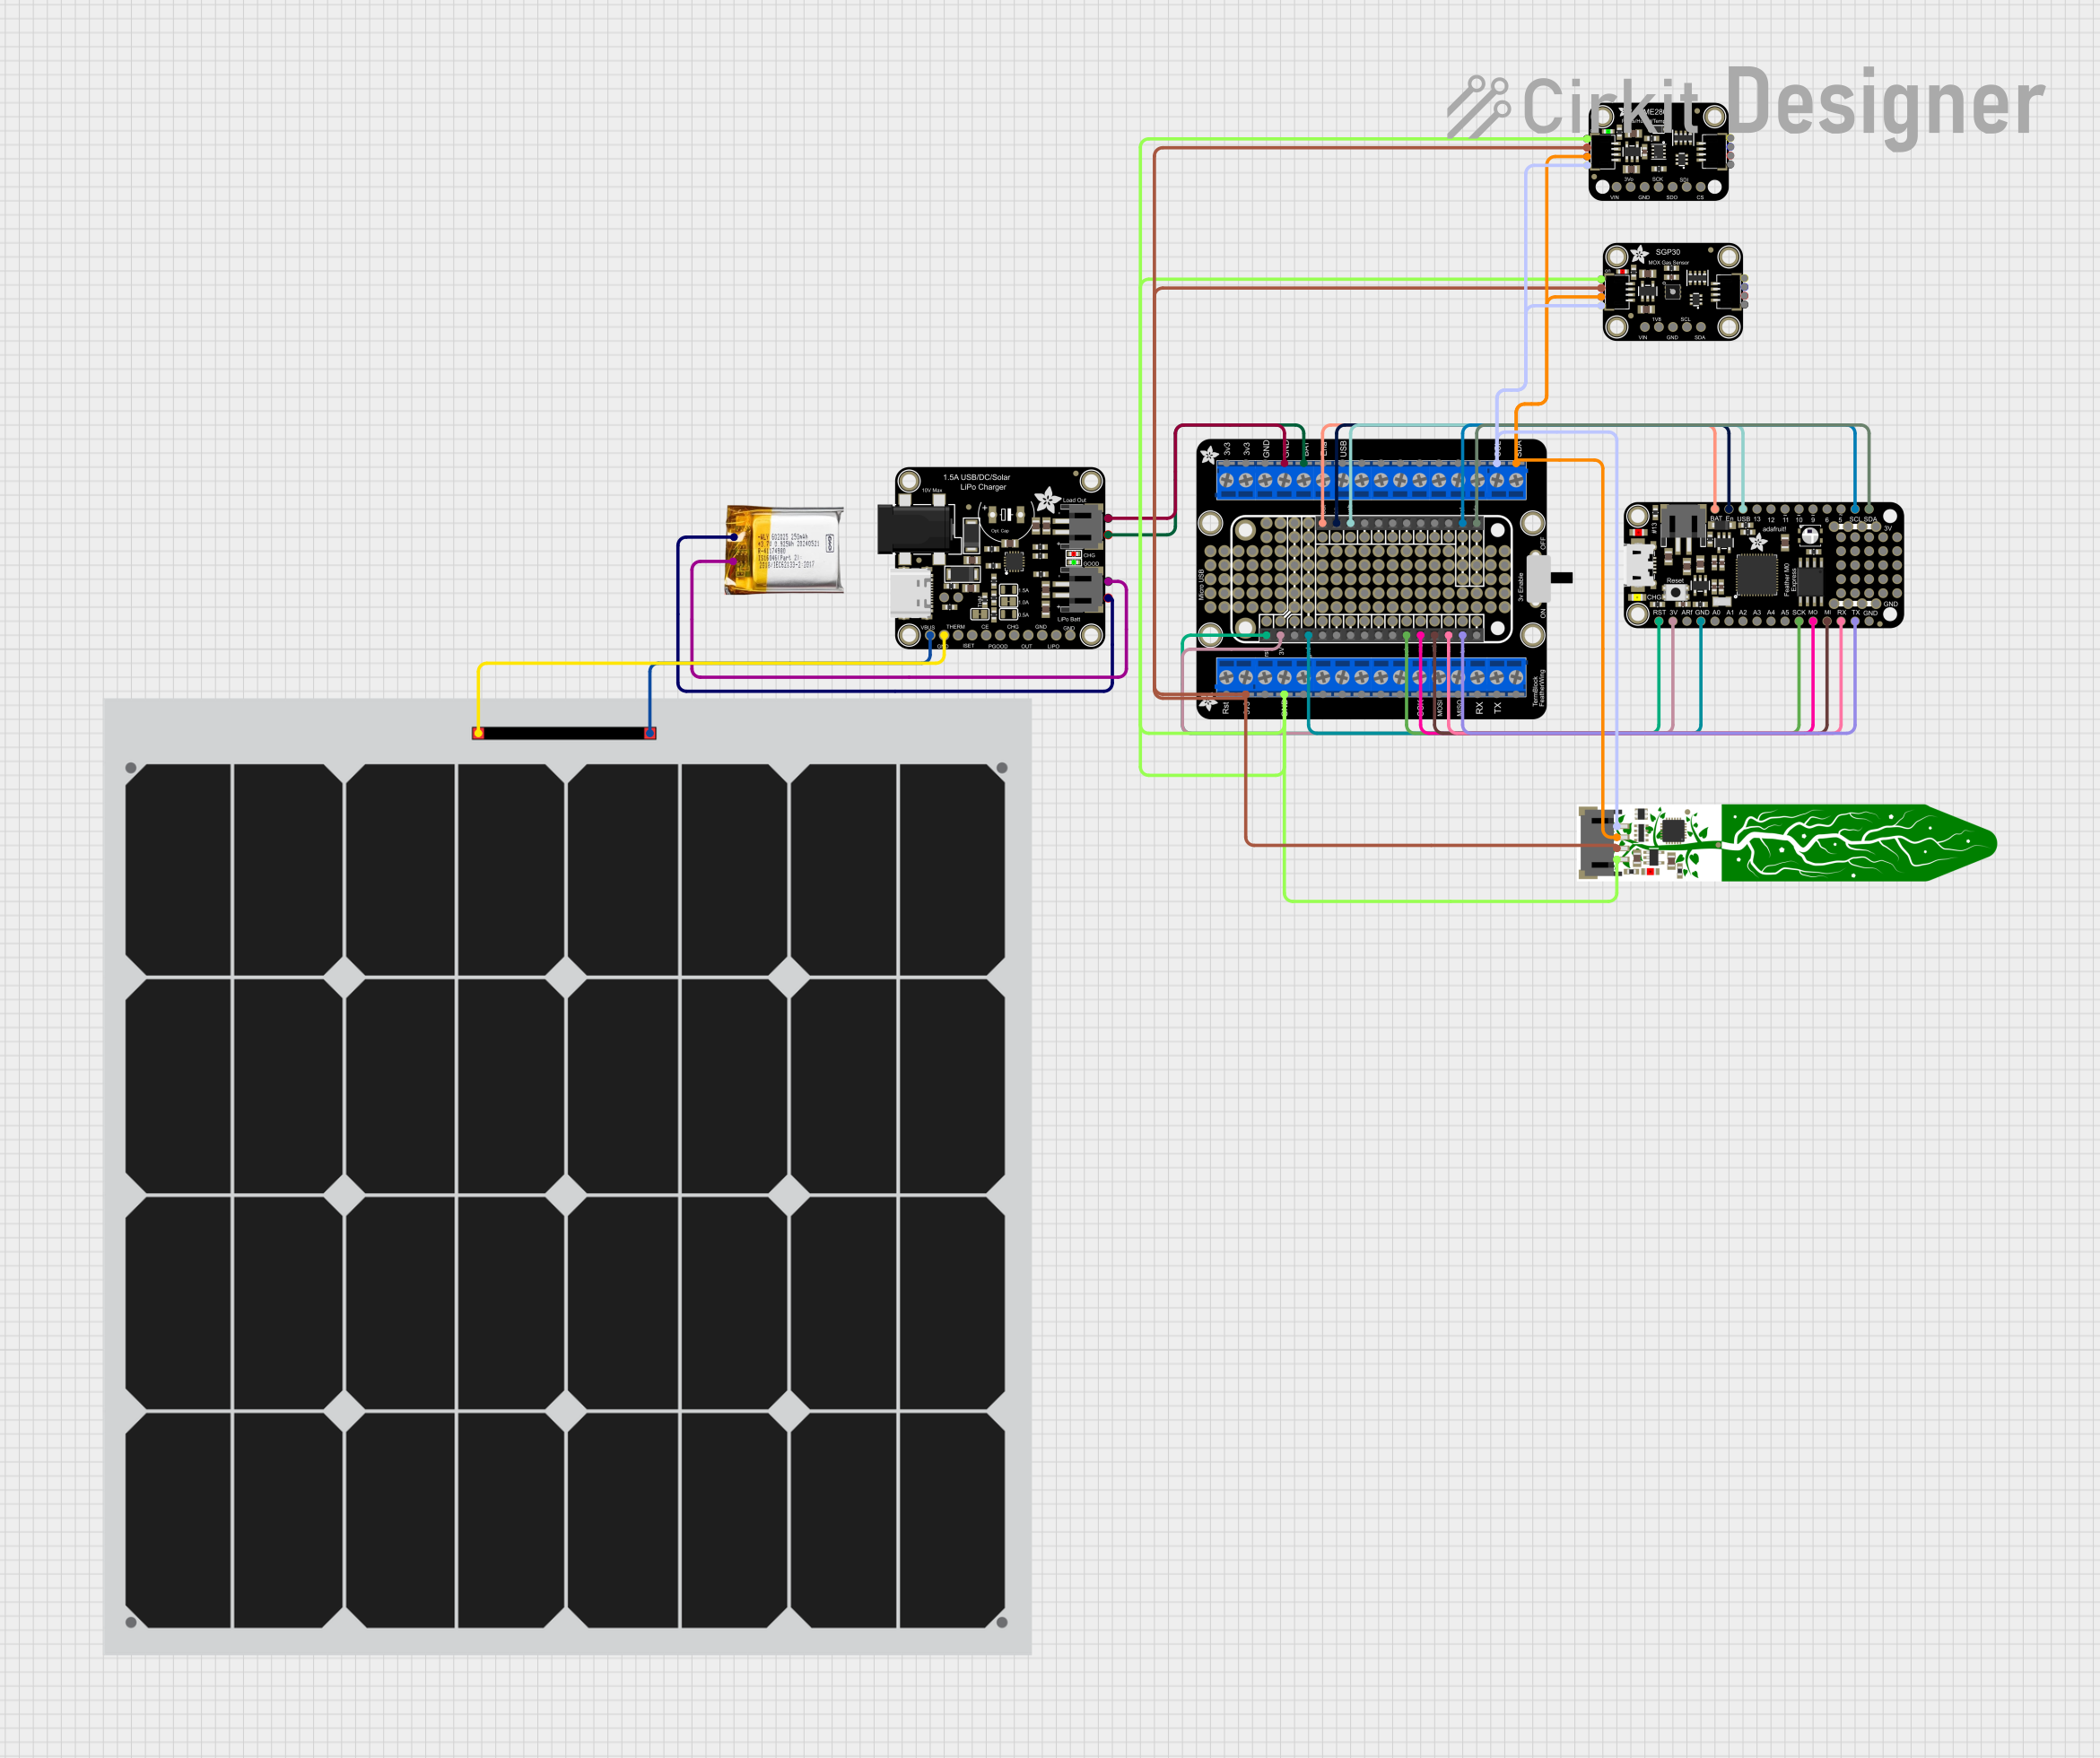
This circuit is designed for environmental data collection and logging, utilizing an Adafruit Feather M0 Express microcontroller as the central processing unit. It interfaces with a BME280 sensor for atmospheric temperature, humidity, and pressure measurements, an SGP30 sensor for monitoring air quality (eCO2 and TVOC), and a STEMMA soil sensor for detecting soil moisture and temperature. The system is powered by a solar panel and a 3.7v LiPo battery, managed by an Adafruit BQ24074 Solar-DC-USB Lipo Charger, and provides easy access to the microcontroller's connections through an Adafruit Terminal Breakout FeatherWing.
Cirkit Designer LogoOpen Project in Cirkit Designer
Arduino UNO Based Multi-Functional Tracking Device with GPS, GSM, and Wi-Fi Capabilities
Image of Accident Detection: A project utilizing Adafruit Grand Central M4 Express in a practical application
This circuit features an Arduino UNO as the central microcontroller, interfaced with a GPS NEO 6M module for location tracking, an esp8266 nodemcu for WiFi connectivity, and a SIM900A Mini module for GSM communication capabilities. Additionally, it includes an Adafruit ADXL335 accelerometer for motion sensing, and an LCD display for user interface, whose contrast is controlled by a potentiometer. The Arduino is programmed to coordinate these components, likely for a device that requires location tracking, wireless communication, and motion detection with a user-friendly display.
Cirkit Designer LogoOpen Project in Cirkit Designer
Arduino Pro Mini Based GPS and Temperature Tracking System with NRF24L01 Wireless Communication
Image of Copy of slave node: A project utilizing Adafruit Grand Central M4 Express in a practical application
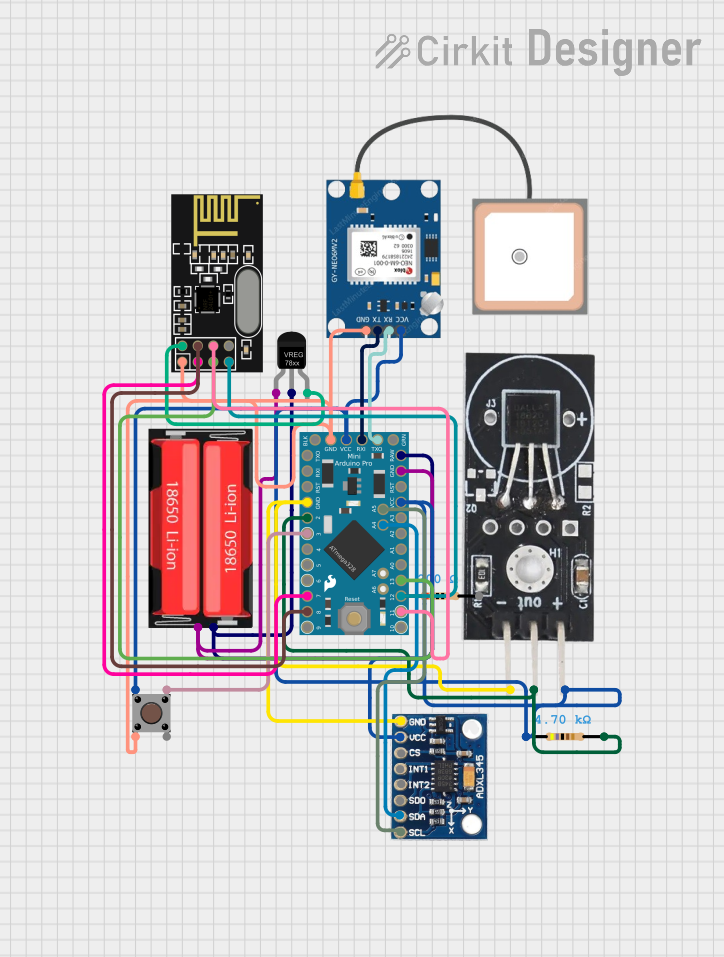
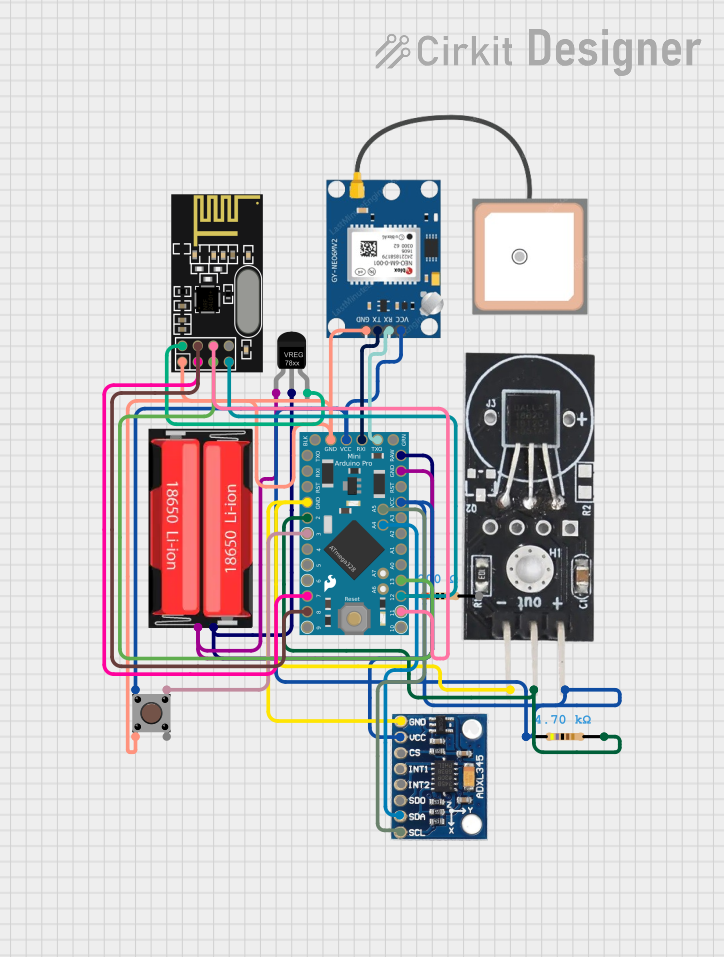
This circuit features an Arduino Pro Mini as the central microcontroller, interfaced with a GPS NEO 6M module for location tracking, an ADXL345 accelerometer for motion sensing, a DS18B20 temperature sensor for environmental monitoring, and an NRF24L01 module for wireless communication. The circuit is powered by an 18650 Li-Ion battery through a voltage regulator, ensuring stable power supply to the components. A pushbutton is included for user input, and resistors are used for pull-up/down configurations and current limiting purposes.
Cirkit Designer LogoOpen Project in Cirkit Designer
Arduino Pro Mini Based GPS and Temperature Tracking System with Wireless Communication
Image of slave node: A project utilizing Adafruit Grand Central M4 Express in a practical application
This circuit features an Arduino Pro Mini as the central microcontroller, interfaced with a DS18B20 temperature sensor, a GPS NEO 6M module for location tracking, an ADXL345 accelerometer for motion detection, and an NRF24L01 module for wireless communication. The Arduino is powered by a 18650 Li-Ion battery through a voltage regulator, ensuring a stable power supply. A pushbutton is connected to the Arduino for user input, and resistors are used for pull-ups and current limiting purposes.
Cirkit Designer LogoOpen Project in Cirkit Designer

Explore Projects Built with Adafruit Grand Central M4 Express

Use Cirkit Designer to design, explore, and prototype these projects online. Some projects support real-time simulation. Click "Open Project" to start designing instantly!
Image of Lake Thoreau Monitoring Station: A project utilizing Adafruit Grand Central M4 Express in a practical application
Solar-Powered Environmental Data Logger with Adafruit Feather M0 Express
This circuit is designed for environmental data collection and logging, utilizing an Adafruit Feather M0 Express microcontroller as the central processing unit. It interfaces with a BME280 sensor for atmospheric temperature, humidity, and pressure measurements, an SGP30 sensor for monitoring air quality (eCO2 and TVOC), and a STEMMA soil sensor for detecting soil moisture and temperature. The system is powered by a solar panel and a 3.7v LiPo battery, managed by an Adafruit BQ24074 Solar-DC-USB Lipo Charger, and provides easy access to the microcontroller's connections through an Adafruit Terminal Breakout FeatherWing.
Cirkit Designer LogoOpen Project in Cirkit Designer
Image of Accident Detection: A project utilizing Adafruit Grand Central M4 Express in a practical application
Arduino UNO Based Multi-Functional Tracking Device with GPS, GSM, and Wi-Fi Capabilities
This circuit features an Arduino UNO as the central microcontroller, interfaced with a GPS NEO 6M module for location tracking, an esp8266 nodemcu for WiFi connectivity, and a SIM900A Mini module for GSM communication capabilities. Additionally, it includes an Adafruit ADXL335 accelerometer for motion sensing, and an LCD display for user interface, whose contrast is controlled by a potentiometer. The Arduino is programmed to coordinate these components, likely for a device that requires location tracking, wireless communication, and motion detection with a user-friendly display.
Cirkit Designer LogoOpen Project in Cirkit Designer
Image of Copy of slave node: A project utilizing Adafruit Grand Central M4 Express in a practical application
Arduino Pro Mini Based GPS and Temperature Tracking System with NRF24L01 Wireless Communication
This circuit features an Arduino Pro Mini as the central microcontroller, interfaced with a GPS NEO 6M module for location tracking, an ADXL345 accelerometer for motion sensing, a DS18B20 temperature sensor for environmental monitoring, and an NRF24L01 module for wireless communication. The circuit is powered by an 18650 Li-Ion battery through a voltage regulator, ensuring stable power supply to the components. A pushbutton is included for user input, and resistors are used for pull-up/down configurations and current limiting purposes.
Cirkit Designer LogoOpen Project in Cirkit Designer
Image of slave node: A project utilizing Adafruit Grand Central M4 Express in a practical application
Arduino Pro Mini Based GPS and Temperature Tracking System with Wireless Communication
This circuit features an Arduino Pro Mini as the central microcontroller, interfaced with a DS18B20 temperature sensor, a GPS NEO 6M module for location tracking, an ADXL345 accelerometer for motion detection, and an NRF24L01 module for wireless communication. The Arduino is powered by a 18650 Li-Ion battery through a voltage regulator, ensuring a stable power supply. A pushbutton is connected to the Arduino for user input, and resistors are used for pull-ups and current limiting purposes.
Cirkit Designer LogoOpen Project in Cirkit Designer

Common Applications and Use Cases

  • Robotics and automation systems
  • IoT (Internet of Things) devices
  • Data logging and sensor interfacing
  • Advanced prototyping and development
  • Audio processing and DSP (Digital Signal Processing)
  • Educational projects and STEM learning

Technical Specifications

The Adafruit Grand Central M4 Express is packed with features to support complex projects. Below are its key technical specifications:

Key Technical Details

Specification Value
Processor ARM Cortex-M4 (ATSAMD51P20A)
Clock Speed 120 MHz
Flash Memory 1 MB
SRAM 256 KB
Operating Voltage 3.3V
Input Voltage (VIN) 6-12V
Digital I/O Pins 70
PWM Pins 15
Analog Input Pins 16 (12-bit ADC)
Analog Output Pins 2 (10-bit DAC)
Communication Interfaces UART, I2C, SPI, CAN
USB USB-C (native USB and debugging)
Dimensions 101.6mm x 50.8mm
Weight 28g

Pin Configuration and Descriptions

The board features a total of 70 GPIO pins, with multiple functionalities. Below is a summary of the pin configuration:

Pin Group Description
Power Pins VIN, 3.3V, GND, USB power input/output
Digital Pins 0-69 (can be used for GPIO, PWM, or communication protocols)
Analog Pins A0-A15 (12-bit ADC for reading analog signals)
DAC Pins A0, A1 (10-bit DAC for analog output)
Communication UART (TX/RX), I2C (SDA/SCL), SPI (MOSI/MISO/SCK), CAN
Debugging Pins SWD (Serial Wire Debug) for advanced debugging

Usage Instructions

The Adafruit Grand Central M4 Express is designed to be user-friendly and compatible with popular development environments like the Arduino IDE and CircuitPython. Follow the steps below to get started:

How to Use the Component in a Circuit

  1. Powering the Board:

    • Connect the board via the USB-C port for power and programming.
    • Alternatively, supply 6-12V to the VIN pin for external power.
  2. Programming the Board:

    • Install the Arduino IDE or CircuitPython on your computer.
    • For Arduino IDE:
      • Install the Adafruit SAMD Boards package via the Board Manager.
      • Select "Adafruit Grand Central M4" as the board type.
    • For CircuitPython:
      • Download the latest CircuitPython firmware from Adafruit's website.
      • Copy the firmware .uf2 file to the board's USB drive.
  3. Connecting Peripherals:

    • Use the GPIO pins for digital input/output.
    • Connect sensors to the analog pins (A0-A15) for reading analog signals.
    • Use the I2C, SPI, or UART pins for communication with other devices.
  4. Uploading Code:

    • Write your code in the Arduino IDE or CircuitPython editor.
    • Upload the code to the board via the USB-C connection.

Important Considerations and Best Practices

  • Voltage Levels: The board operates at 3.3V logic. Ensure all connected peripherals are compatible with 3.3V to avoid damage.
  • Pin Multiplexing: Many pins have multiple functions (e.g., GPIO, PWM, communication). Refer to the pinout diagram to configure them correctly.
  • Power Supply: When using external power, ensure the voltage is within the 6-12V range to avoid damaging the board.
  • Static Protection: Handle the board with care to prevent damage from electrostatic discharge (ESD).

Example Code for Arduino IDE

Below is an example of how to blink an LED connected to pin 13:

// Blink an LED connected to pin 13 on the Adafruit Grand Central M4 Express

void setup() {
  pinMode(13, OUTPUT); // Set pin 13 as an output
}

void loop() {
  digitalWrite(13, HIGH); // Turn the LED on
  delay(1000);            // Wait for 1 second
  digitalWrite(13, LOW);  // Turn the LED off
  delay(1000);            // Wait for 1 second
}

Troubleshooting and FAQs

Common Issues Users Might Face

  1. Board Not Recognized by Computer:

    • Ensure the USB-C cable is a data cable (not just a charging cable).
    • Check that the board is in bootloader mode by double-tapping the reset button.
  2. Code Upload Fails:

    • Verify that the correct board type is selected in the Arduino IDE.
    • Ensure the correct COM port is selected.
  3. Peripherals Not Working:

    • Double-check the wiring and connections.
    • Ensure the peripherals are compatible with 3.3V logic.
  4. Board Overheating:

    • Check for short circuits or excessive current draw from connected devices.

Solutions and Tips for Troubleshooting

  • Resetting the Board: Double-tap the reset button to enter bootloader mode and re-upload the firmware.
  • Debugging: Use the SWD pins for advanced debugging with a compatible debugger.
  • Consult Documentation: Refer to the official Adafruit Grand Central M4 Express guide for detailed instructions and troubleshooting tips.

By following this documentation, you can effectively utilize the Adafruit Grand Central M4 Express for your projects. Happy tinkering!