
How to Use Adafruit Feather M0 WINC1500: Examples, Pinouts, and Specs
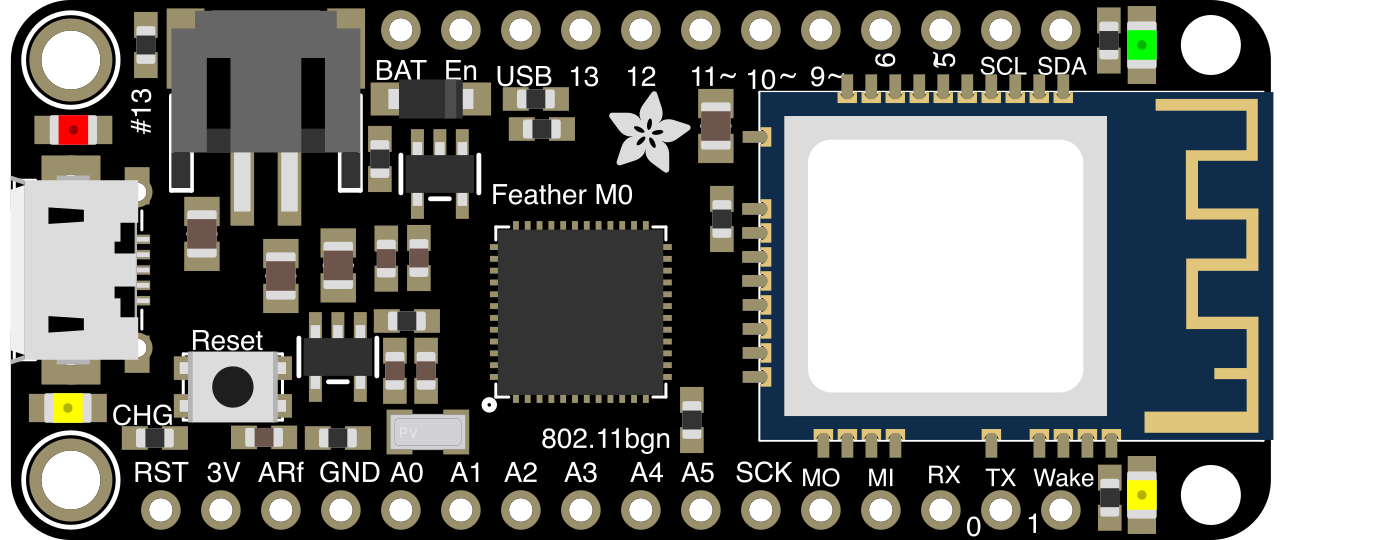
 Design with Adafruit Feather M0 WINC1500 in Cirkit Designer
Introduction
The Adafruit Feather M0 WINC1500 (Manufacturer Part ID: 3010) is a compact and versatile microcontroller board designed for Internet of Things (IoT) applications. It features an ARM Cortex-M0 processor and an integrated WINC1500 Wi-Fi module, enabling seamless wireless connectivity. This board is part of Adafruit's Feather ecosystem, which emphasizes portability, expandability, and ease of use.
Explore Projects Built with Adafruit Feather M0 WINC1500
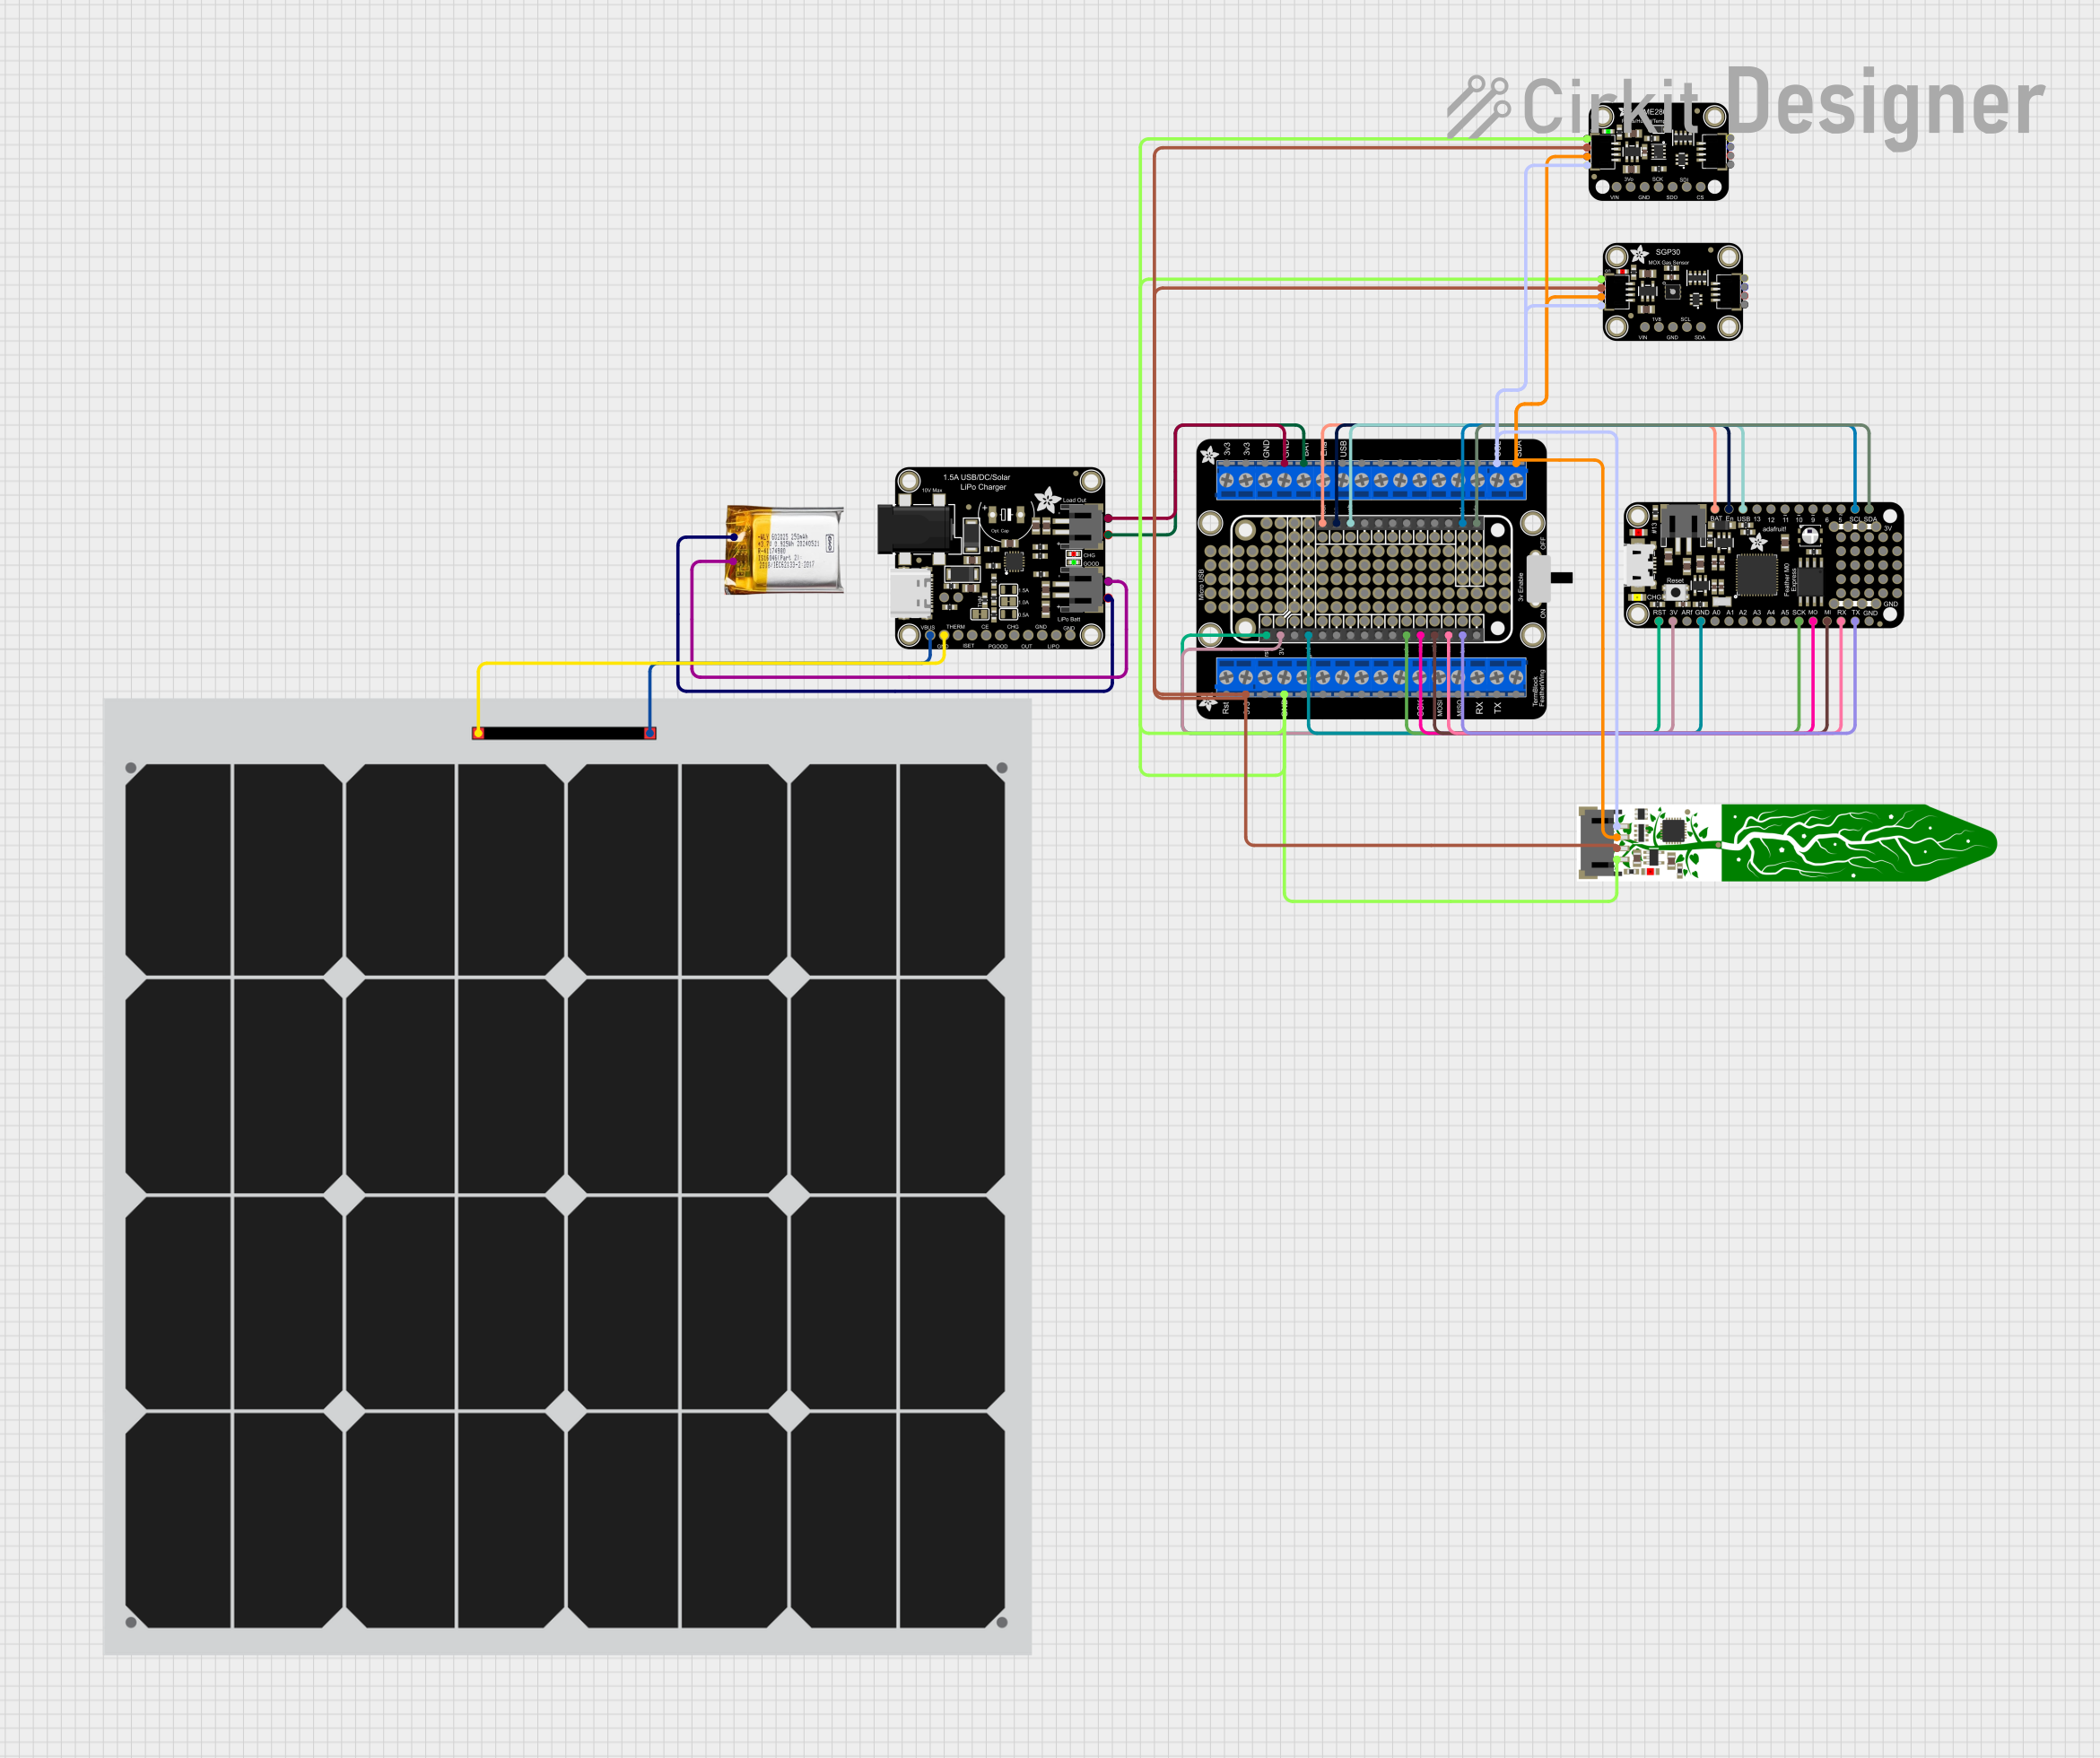 Open Project in Cirkit Designer
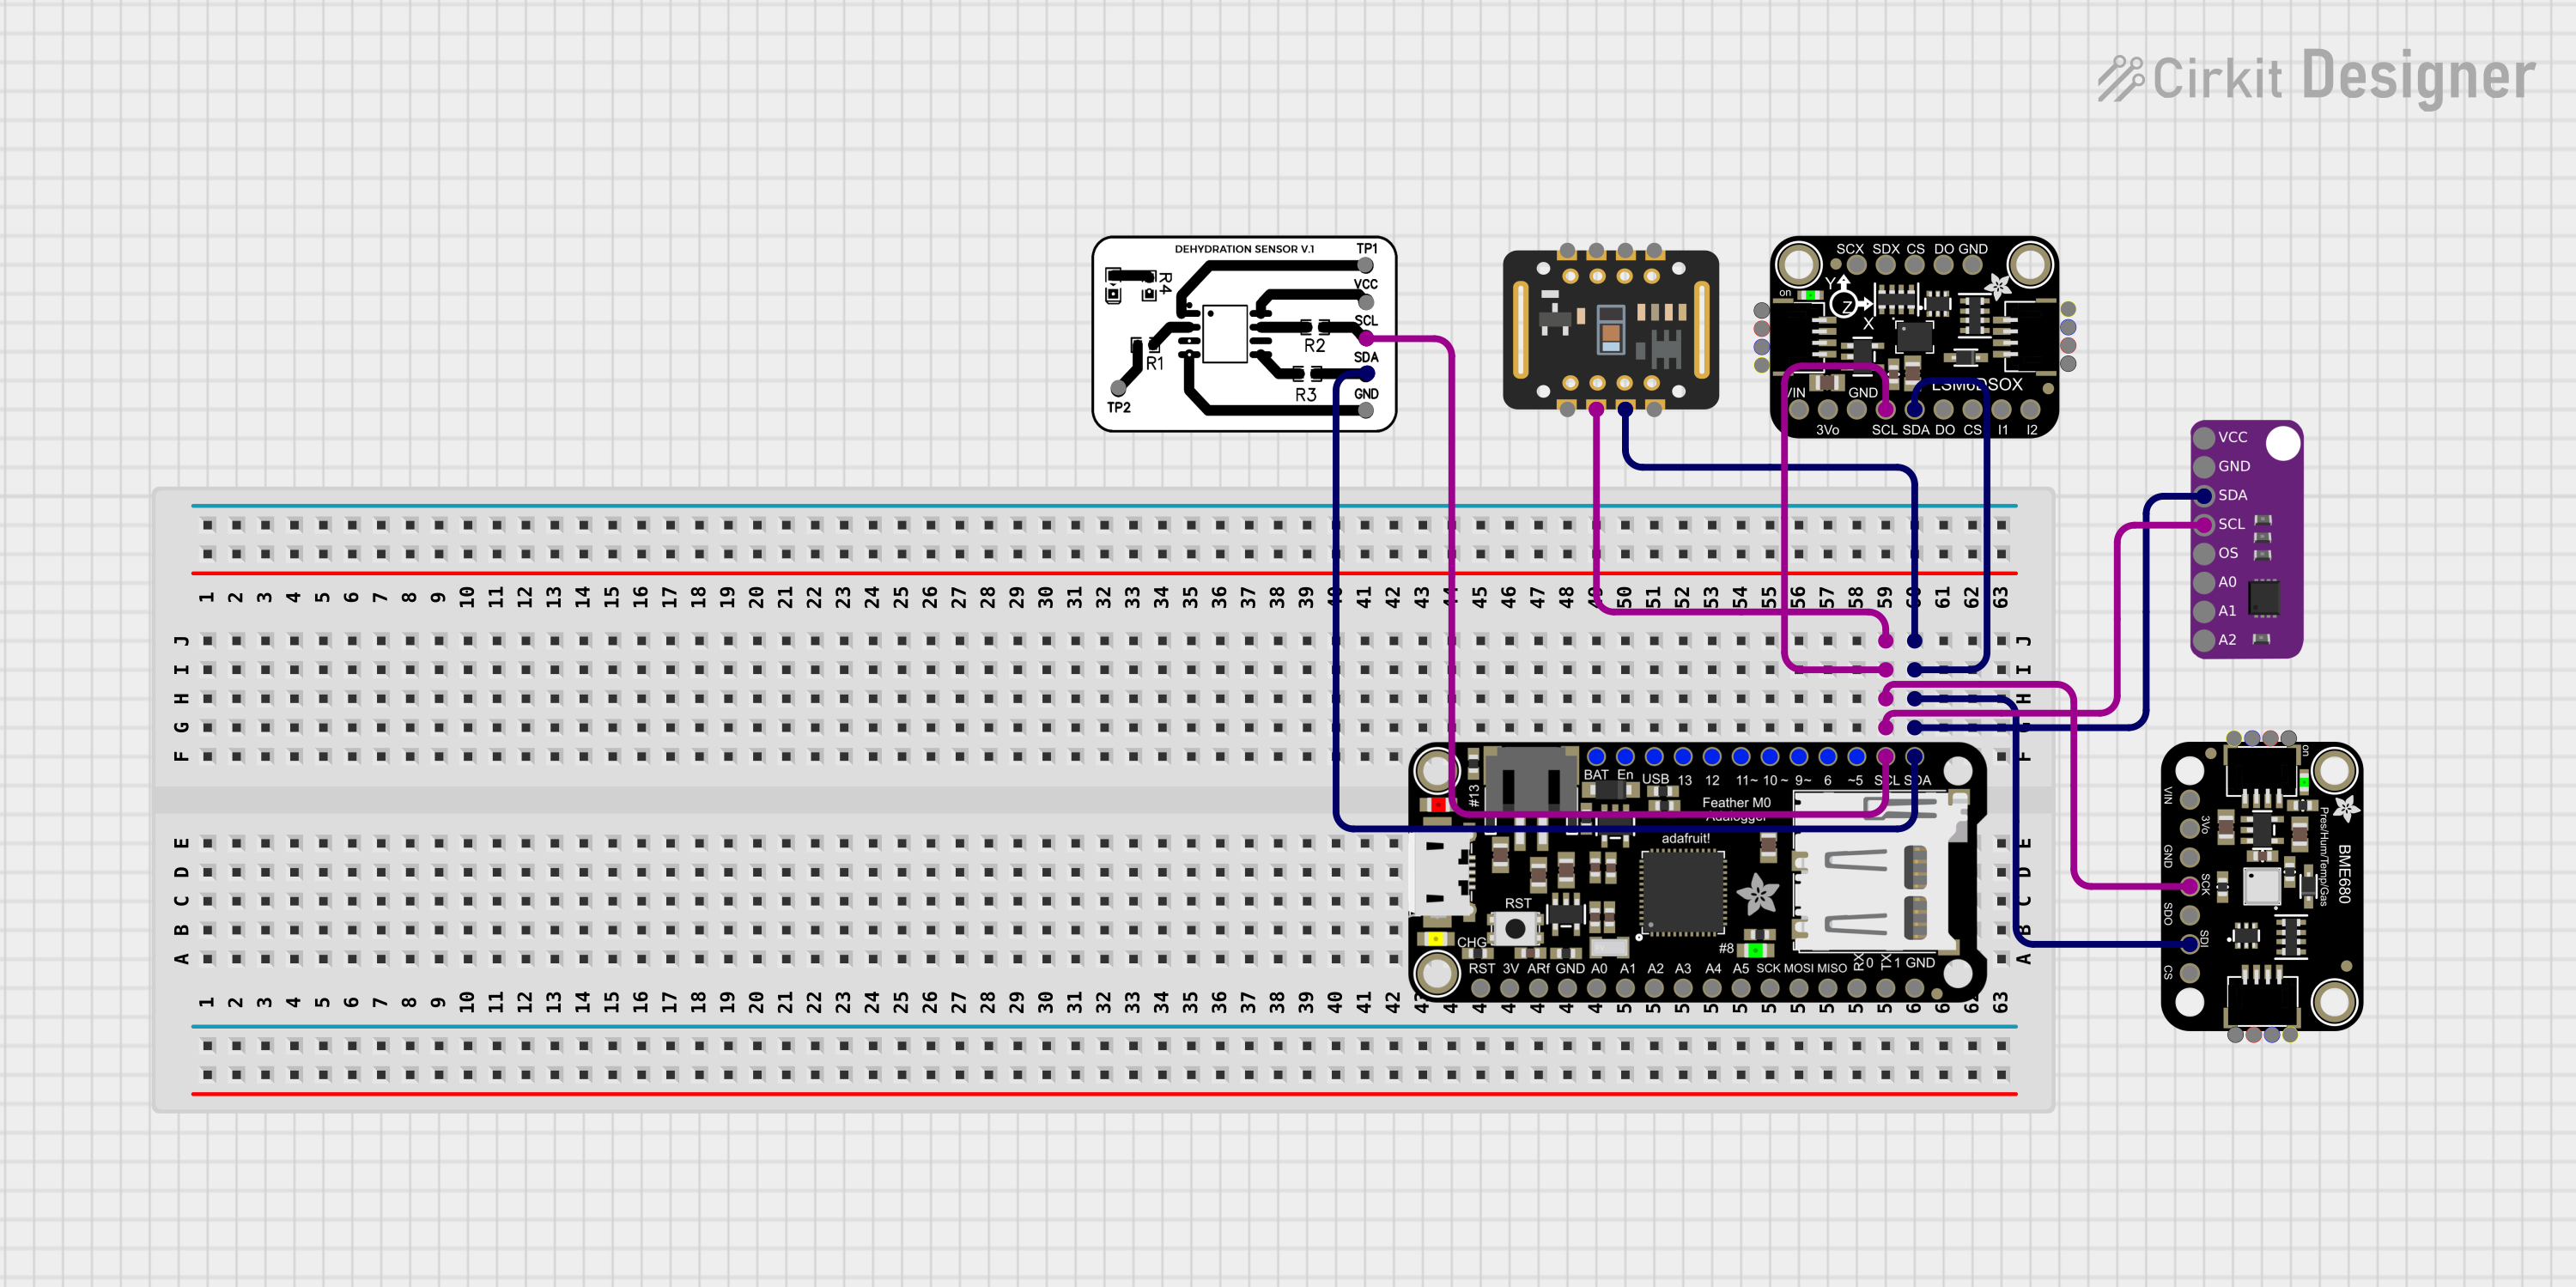 Open Project in Cirkit Designer
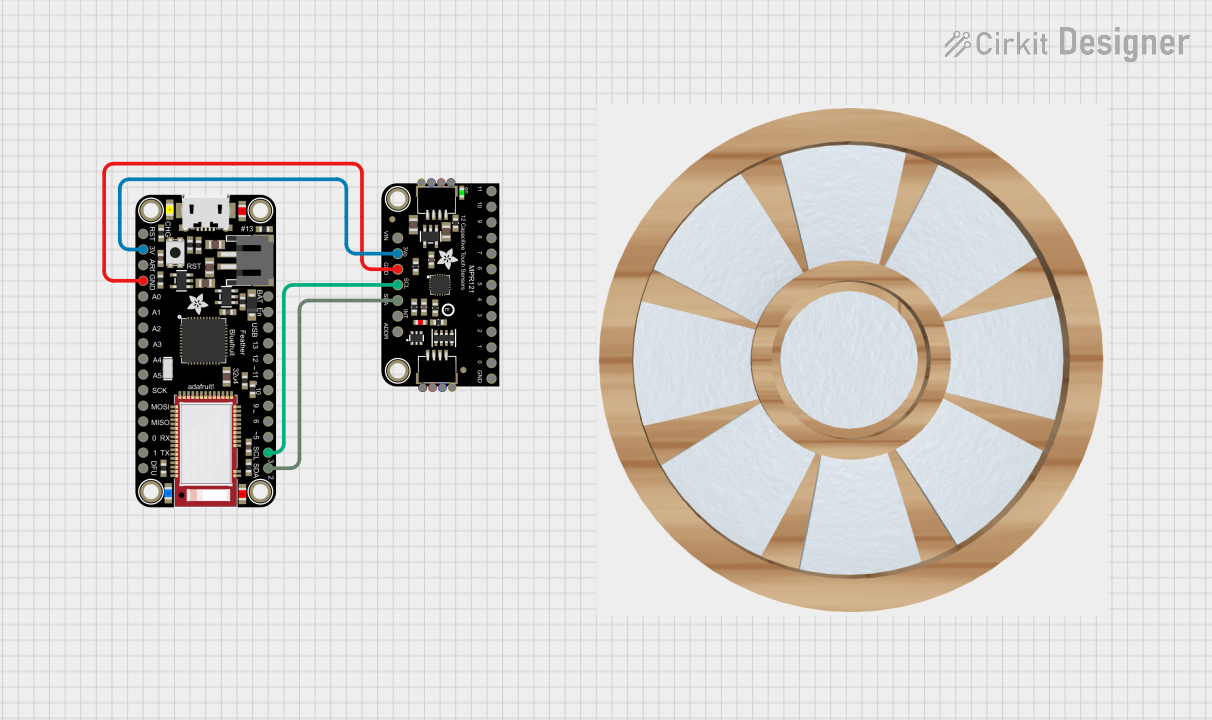 Open Project in Cirkit Designer
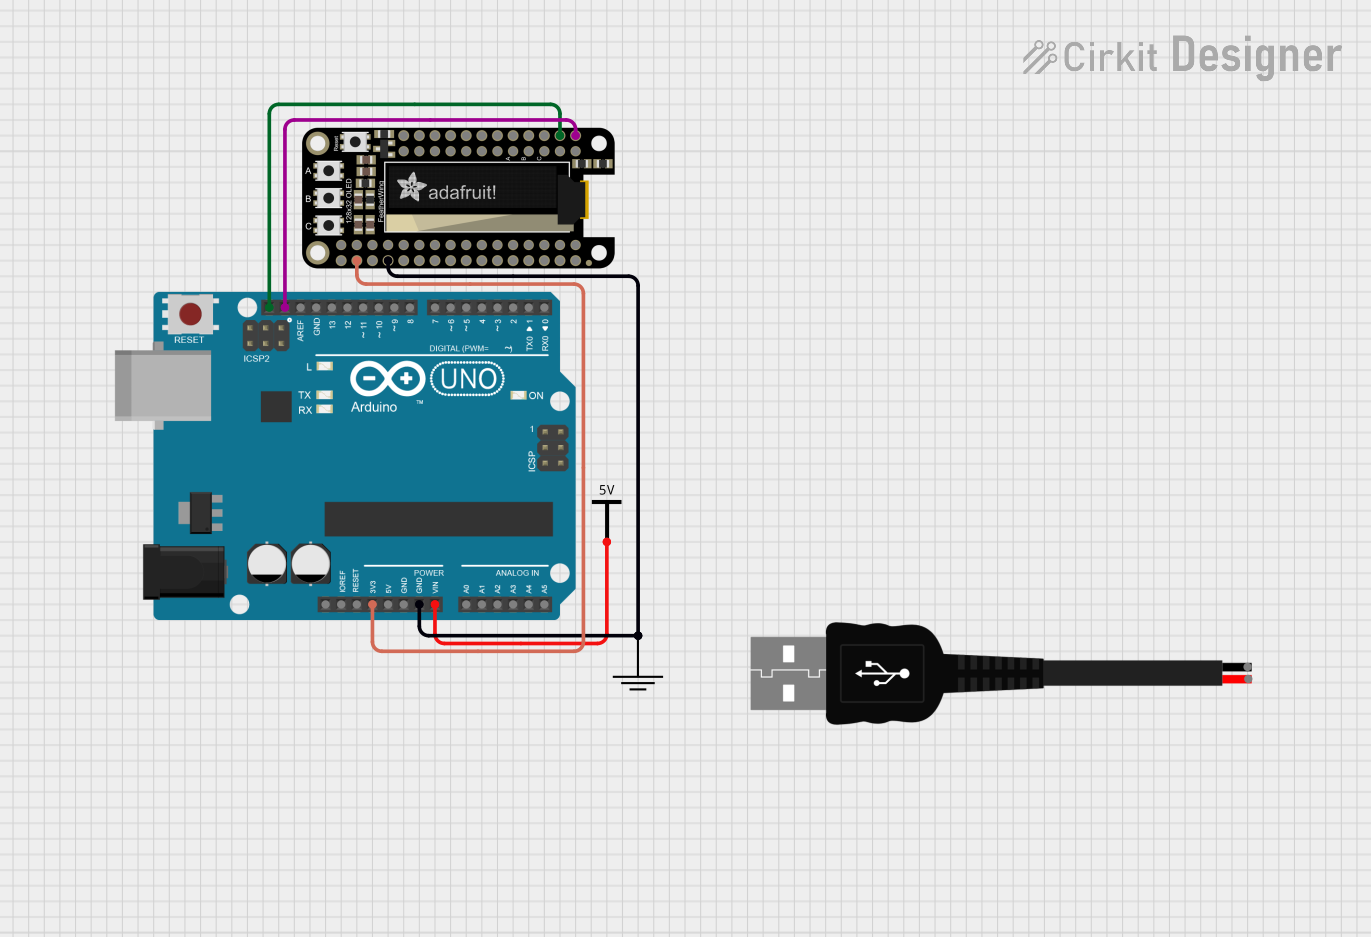 Open Project in Cirkit Designer
Explore Projects Built with Adafruit Feather M0 WINC1500
Open Project in Cirkit DesignerOpen Project in Cirkit DesignerOpen Project in Cirkit DesignerOpen Project in Cirkit DesignerCommon Applications and Use Cases
- IoT devices and smart home automation
- Wireless sensor networks
- Data logging and remote monitoring
- Prototyping Wi-Fi-enabled embedded systems
- Educational projects and workshops
Technical Specifications
The Adafruit Feather M0 WINC1500 combines powerful processing capabilities with integrated Wi-Fi, making it ideal for a wide range of applications. Below are its key technical details:
Key Technical Details
| Specification | Value |
|---|---|
| Microcontroller | ATSAMD21G18 ARM Cortex-M0 |
| Operating Voltage | 3.3V |
| Clock Speed | 48 MHz |
| Flash Memory | 256 KB |
| SRAM | 32 KB |
| Wi-Fi Module | WINC1500 (802.11 b/g/n) |
| Power Supply | USB or LiPo battery (3.7V) |
| Battery Charging Circuit | Integrated (500mA max charge rate) |
| GPIO Pins | 20 (8 PWM-capable) |
| Analog Input Pins | 6 (12-bit ADC) |
| Digital I/O Voltage Levels | 3.3V (not 5V-tolerant) |
| Communication Interfaces | UART, I2C, SPI |
| Dimensions | 51mm x 23mm x 8mm |
| Weight | 5.7g |
Pin Configuration and Descriptions
The Feather M0 WINC1500 has a standard pinout that supports a variety of peripherals and sensors. Below is the pin configuration:
| Pin Number | Pin Name | Description |
|---|---|---|
| 1 | USB | USB connection for programming and power |
| 2 | BAT | LiPo battery input |
| 3 | 3V3 | 3.3V regulated output |
| 4 | GND | Ground |
| 5 | A0 - A5 | Analog input pins (12-bit ADC) |
| 6 | D0 - D13 | Digital I/O pins |
| 7 | RX/TX | UART communication pins |
| 8 | SCL/SDA | I2C communication pins |
| 9 | SCK/MOSI/MISO | SPI communication pins |
| 10 | EN | Enable pin for power control |
| 11 | RST | Reset pin |
Usage Instructions
The Adafruit Feather M0 WINC1500 is designed to be user-friendly and compatible with the Arduino IDE. Below are the steps to get started and important considerations for using the board.
How to Use the Component in a Circuit
Powering the Board:
- Connect the board to your computer via a micro-USB cable for programming and power.
- Alternatively, connect a 3.7V LiPo battery to the BAT pin for portable operation.
Programming the Board:
- Install the Arduino IDE and add the Adafruit SAMD Boards package via the Board Manager.
- Select "Adafruit Feather M0" as the board type in the Arduino IDE.
- Install the required libraries for the WINC1500 Wi-Fi module, such as
WiFi101.
Connecting Peripherals:
- Use the GPIO pins to connect sensors, actuators, or other peripherals.
- Ensure that all connected devices operate at 3.3V logic levels to avoid damage.
Wi-Fi Setup:
- Use the WINC1500 module to connect to a Wi-Fi network.
- Below is an example Arduino sketch to connect to a Wi-Fi network and print the IP address:
#include <SPI.h>
#include <WiFi101.h>

// Replace with your network credentials
char ssid[] = "YourNetworkSSID";  // Your Wi-Fi SSID
char pass[] = "YourNetworkPassword";  // Your Wi-Fi password

void setup() {
  Serial.begin(115200);  // Initialize serial communication
  while (!Serial);       // Wait for the serial monitor to open

  Serial.println("Connecting to Wi-Fi...");
  int status = WiFi.begin(ssid, pass);

  if (status != WL_CONNECTED) {
    Serial.println("Failed to connect to Wi-Fi");
    while (true);  // Halt execution if connection fails
  }

  Serial.println("Connected to Wi-Fi!");
  Serial.print("IP Address: ");
  Serial.println(WiFi.localIP());  // Print the assigned IP address
}

void loop() {
  // Add your main code here
}
Important Considerations and Best Practices
- Voltage Levels: The Feather M0 operates at 3.3V logic. Avoid connecting 5V devices directly to its pins. Use level shifters if necessary.
- Battery Usage: When using a LiPo battery, ensure it is properly connected to the BAT pin. The onboard charging circuit will handle charging when USB power is connected.
- Wi-Fi Signal Strength: For optimal Wi-Fi performance, avoid placing the board near sources of interference, such as large metal objects or other wireless devices.
Troubleshooting and FAQs
Common Issues and Solutions
Board Not Recognized by Arduino IDE:
- Ensure the correct board type ("Adafruit Feather M0") is selected in the Arduino IDE.
- Install the necessary USB drivers for the Feather M0.
Wi-Fi Connection Fails:
- Double-check the SSID and password in your code.
- Ensure the Wi-Fi network is operational and within range.
- Update the
WiFi101library and WINC1500 firmware to the latest version.
Program Upload Fails:
- Press the reset button on the board twice to enter bootloader mode, then try uploading again.
Overheating or Power Issues:
- Verify that connected peripherals do not exceed the board's power limits.
- Use a proper power source (USB or LiPo battery) to avoid voltage drops.
FAQs
Q: Can I use the Feather M0 WINC1500 with 5V sensors?
A: No, the Feather M0 operates at 3.3V logic levels. Use a level shifter to interface with 5V sensors.
Q: How do I update the WINC1500 firmware?
A: Use the WiFi101 Firmware Updater tool in the Arduino IDE to update the firmware.
Q: Can I power the board with both USB and a battery simultaneously?
A: Yes, the onboard power management circuit will automatically switch between USB and battery power.
Q: Is the Feather M0 compatible with other FeatherWing add-ons?
A: Yes, the Feather M0 is part of the Feather ecosystem and supports a wide range of FeatherWing add-ons.
This concludes the documentation for the Adafruit Feather M0 WINC1500. For additional support, visit the Adafruit Learning System.