How to Use SOCKET: Examples, Pinouts, and Specs
Introduction
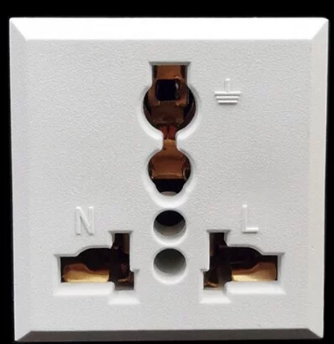
A socket is a device that provides a connection point for electrical components, enabling the easy insertion and removal of plugs or connectors. Sockets are widely used in electronics to facilitate modularity, simplify maintenance, and ensure secure electrical connections. They are available in various types, including IC sockets, power sockets, and communication sockets, each designed for specific applications.
Explore Projects Built with SOCKET

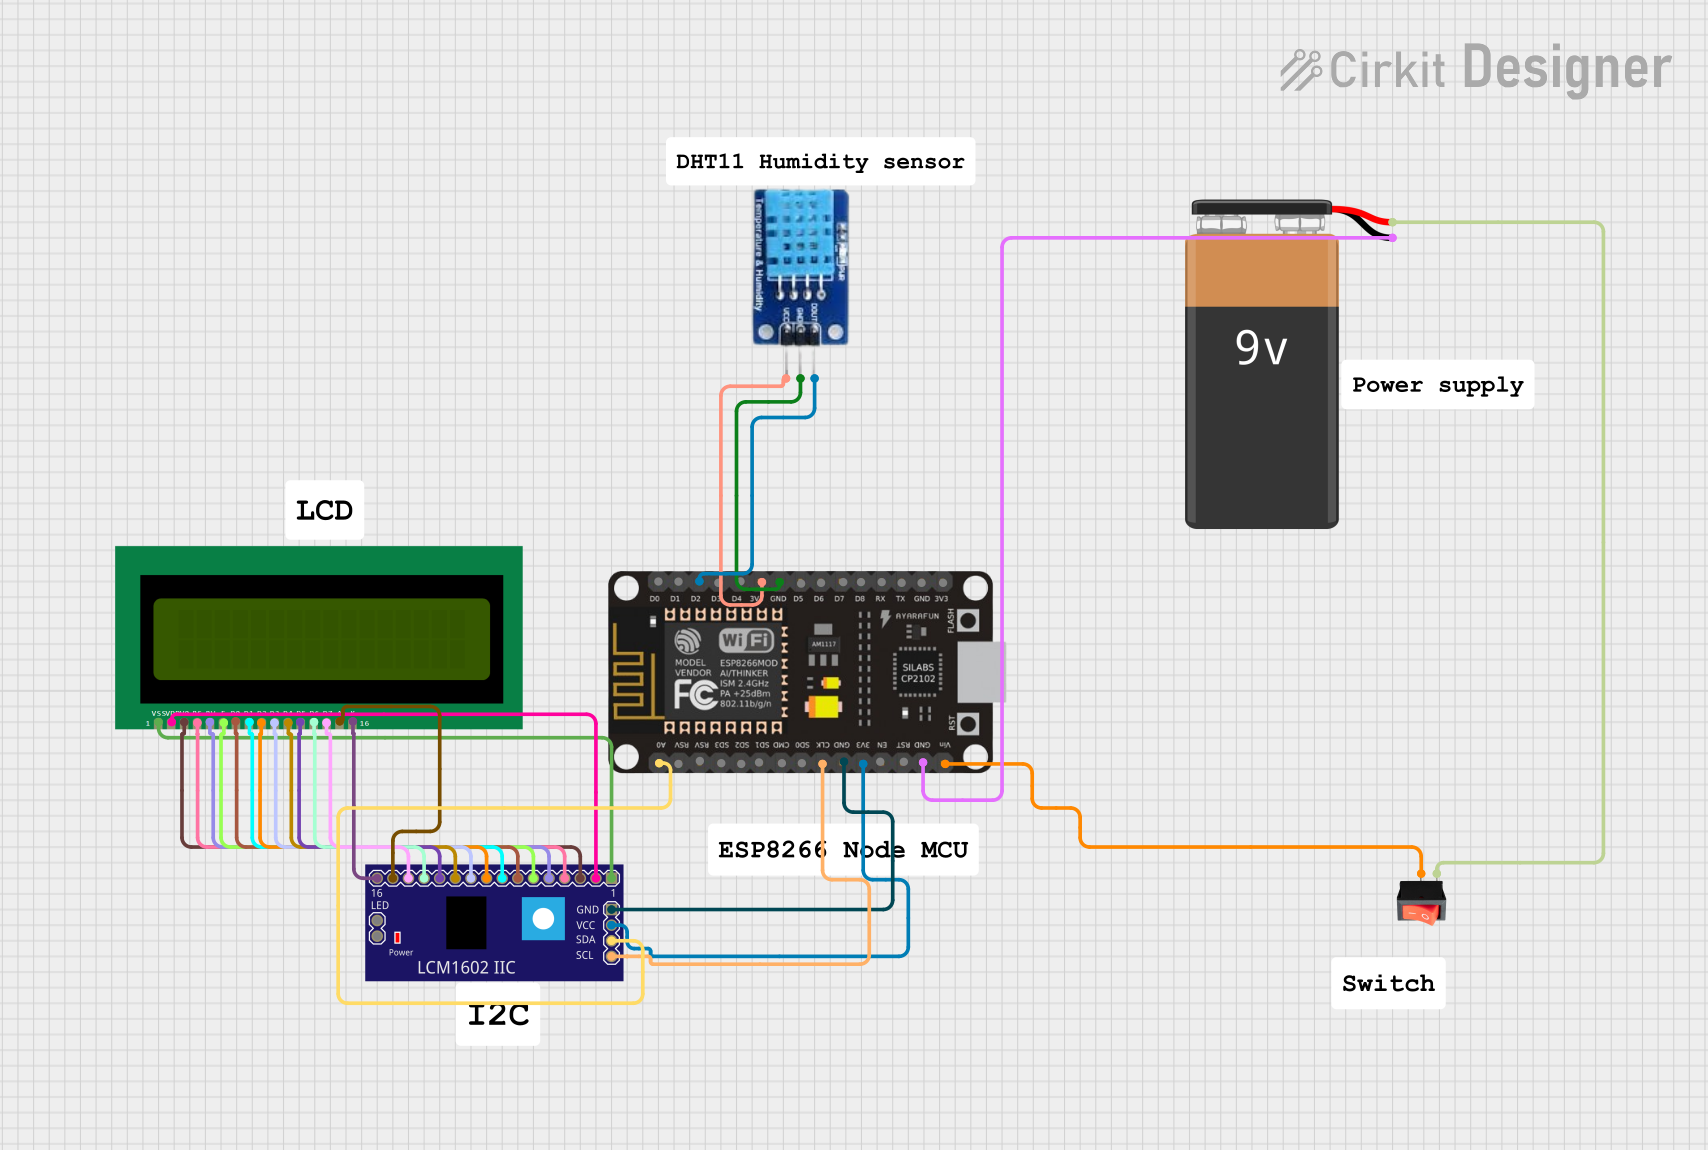

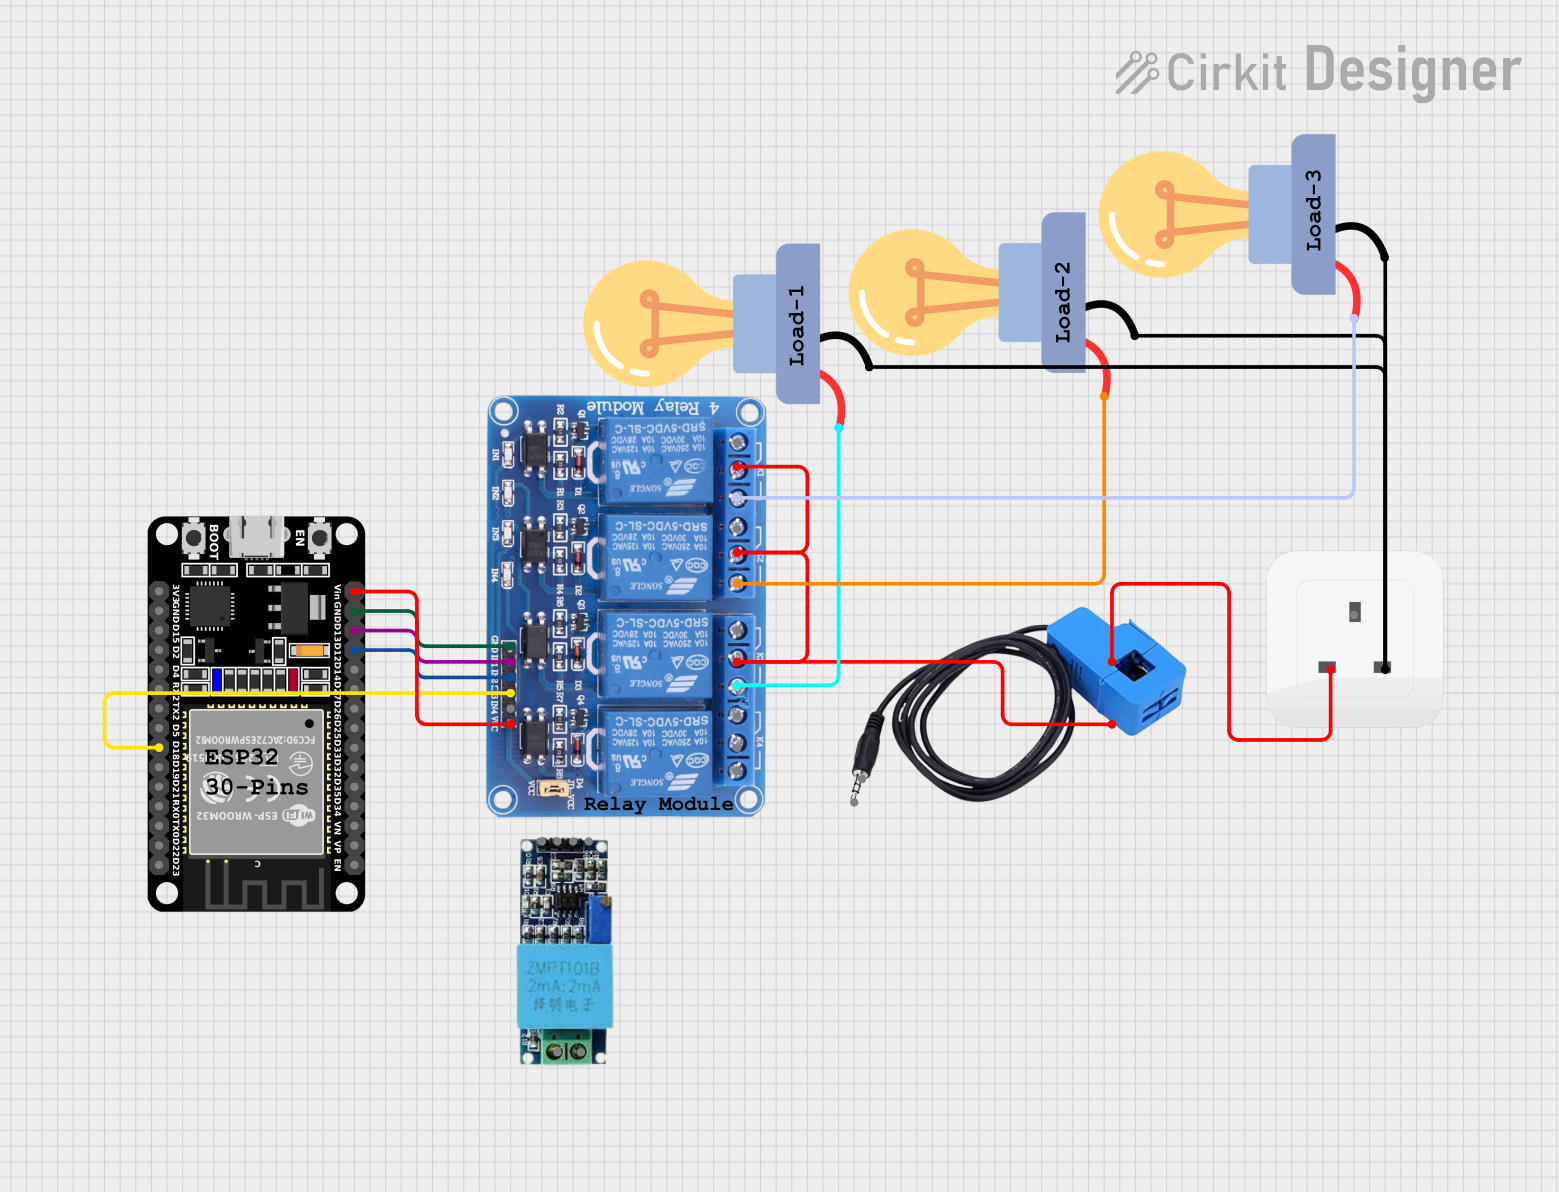
Explore Projects Built with SOCKET
Common Applications and Use Cases
- Integrated Circuit (IC) Sockets: Used to mount ICs on circuit boards without soldering, allowing for easy replacement or upgrades.
- Power Sockets: Provide a connection point for power supply plugs in electronic devices.
- Communication Sockets: Facilitate data transfer between devices, such as Ethernet or USB sockets.
- Test and Prototyping: Allow for temporary connections during circuit testing and development.
Technical Specifications
General Specifications
| Parameter | Value/Description |
|---|---|
| Material | Plastic (insulator) with metal (conductive contacts) |
| Voltage Rating | Typically 5V to 250V (varies by type and application) |
| Current Rating | 1A to 15A (depending on the socket type) |
| Operating Temperature | -40°C to +85°C (varies by material and design) |
| Durability | 500 to 10,000 insertion/removal cycles |
Pin Configuration and Descriptions
Example: 8-Pin IC Socket
| Pin Number | Description |
|---|---|
| 1 | IC pin 1 connection |
| 2 | IC pin 2 connection |
| 3 | IC pin 3 connection |
| 4 | IC pin 4 connection |
| 5 | IC pin 5 connection |
| 6 | IC pin 6 connection |
| 7 | IC pin 7 connection |
| 8 | IC pin 8 connection |
Example: Power Socket (DC Barrel Jack)
| Pin Name | Description |
|---|---|
| Positive (+) | Connects to the positive terminal of the power supply |
| Negative (-) | Connects to the negative terminal (ground) of the power supply |
Usage Instructions
How to Use the Component in a Circuit
- Select the Appropriate Socket: Choose a socket type that matches the component or plug you intend to connect (e.g., IC socket, DC barrel jack, or USB socket).
- Mount the Socket:
- For PCB-mounted sockets, solder the socket pins to the circuit board.
- For panel-mounted sockets, secure the socket to the panel using screws or nuts.
- Insert the Component or Plug: Gently insert the component (e.g., IC) or plug into the socket, ensuring proper alignment.
- Verify Connections: Check that all connections are secure and that the socket is properly seated.
Important Considerations and Best Practices
- Avoid Overcurrent: Ensure the socket's current rating matches or exceeds the current requirements of the connected device.
- Proper Alignment: Align the component or plug correctly to avoid damaging the socket or the connected device.
- Durability: Avoid excessive force during insertion or removal to prolong the socket's lifespan.
- Clean Contacts: Periodically clean the socket's contacts to maintain a reliable connection.
Example: Using a DC Barrel Jack with Arduino UNO
To power an Arduino UNO using a DC barrel jack, follow these steps:
- Connect the positive terminal of the power supply to the positive pin of the barrel jack.
- Connect the negative terminal of the power supply to the negative pin of the barrel jack.
- Plug the barrel jack into the Arduino UNO's power input socket.
Sample Code for Testing Power Supply
// This code blinks the onboard LED to verify that the Arduino UNO is powered
// correctly through the DC barrel jack.

void setup() {
  pinMode(LED_BUILTIN, OUTPUT); // Set the onboard LED pin as an output
}

void loop() {
  digitalWrite(LED_BUILTIN, HIGH); // Turn the LED on
  delay(1000);                     // Wait for 1 second
  digitalWrite(LED_BUILTIN, LOW);  // Turn the LED off
  delay(1000);                     // Wait for 1 second
}
Troubleshooting and FAQs
Common Issues
Loose Connections:
- Cause: The socket or plug is not properly seated.
- Solution: Reinsert the plug or component, ensuring proper alignment and a secure fit.
Intermittent Connections:
- Cause: Dirty or oxidized contacts.
- Solution: Clean the socket's contacts with isopropyl alcohol and a soft brush.
Overheating:
- Cause: Exceeding the socket's current or voltage rating.
- Solution: Use a socket with a higher current or voltage rating.
Component Damage:
- Cause: Incorrect alignment during insertion.
- Solution: Double-check the orientation of the component or plug before insertion.
FAQs
Q: Can I use an IC socket for high-frequency circuits?
A: Yes, but ensure the socket is designed for high-frequency applications to minimize signal loss.Q: How do I choose the right socket for my application?
A: Consider the voltage, current, and physical size requirements of your circuit, as well as the type of component or plug you need to connect.Q: Can I reuse a socket after desoldering it from a PCB?
A: Yes, but inspect the socket for damage or wear before reusing it.Q: What is the difference between a socket and a connector?
A: A socket is typically stationary and designed to receive a plug or component, while a connector often refers to a pair of mating components (e.g., plug and receptacle).