The CP2102 is a USB to UART bridge controller that provides a simple solution for updating RS-232 designs to USB using a minimum of components and PCB space. This component is widely used in various applications, including:
USB to serial communication
Embedded systems
Microcontroller programming
Data logging
Industrial automation
The CP2102 simplifies the process of connecting devices with UART interfaces to USB ports, making it an essential component for modern electronic designs.
Explore Projects Built with CP2102
Use Cirkit Designer to design, explore, and prototype these projects online. Some projects support real-time simulation. Click "Open Project" to start designing instantly!
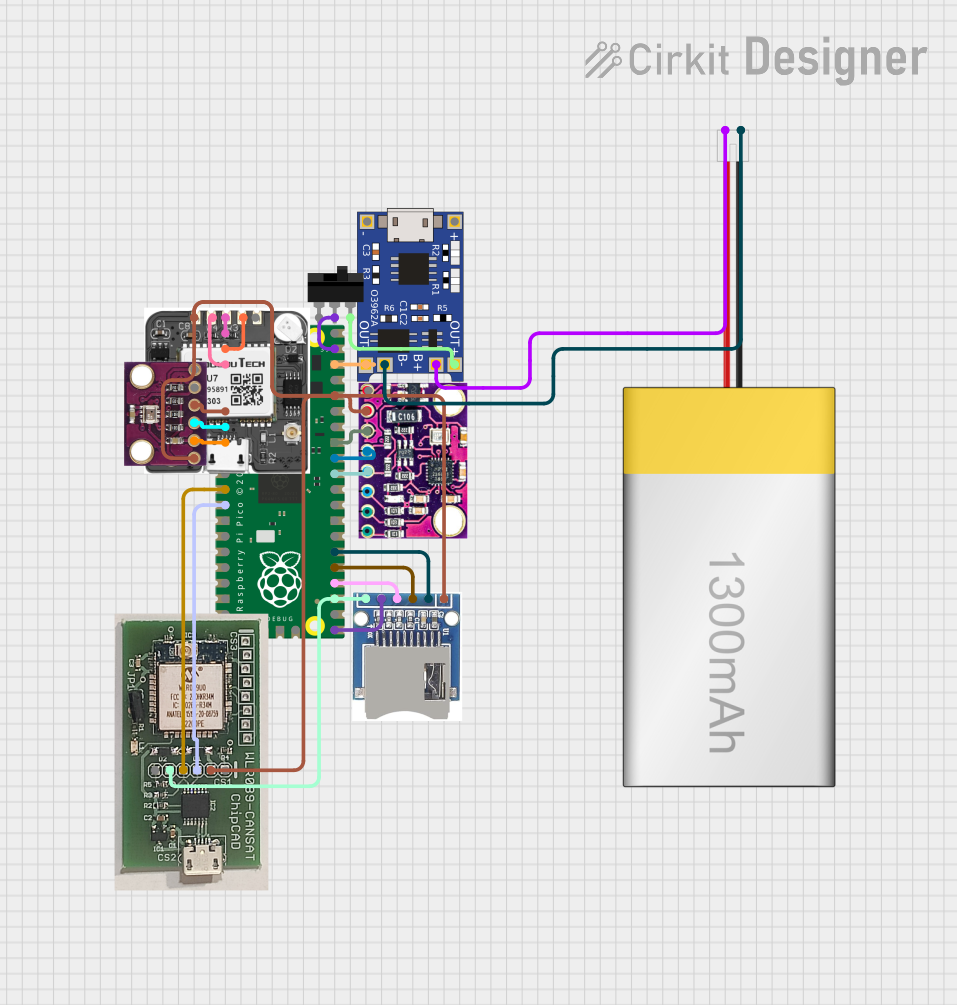
This circuit is a data acquisition and communication system powered by a LiPoly battery and managed by a Raspberry Pi Pico. It includes sensors (BMP280, MPU9250) for environmental data, a GPS module for location tracking, an SD card for data storage, and a WLR089-CanSAT for wireless communication. The TP4056 module handles battery charging, and a toggle switch controls power distribution.
This circuit features an Arduino Mega 2560 microcontroller interfaced with a SIM800L GSM module, two fingerprint scanners, an I2C LCD display, an IR sensor, and a piezo buzzer. Power management is handled by a PowerBoost 1000 Basic Pad USB, a TP4056 charging module, and a Li-ion 18650 battery, with an option to use a Mini AC-DC 110V-230V to 5V 700mA module for direct power supply. The primary functionality appears to be a security system with GSM communication capabilities, biometric access control, and visual/audible feedback.
This circuit consists of a TP4056 module connected to a 3.7V LiPo battery, providing a charging interface for the battery. The TP4056 manages the charging process by connecting its B+ and B- pins to the battery's positive and ground terminals, respectively.
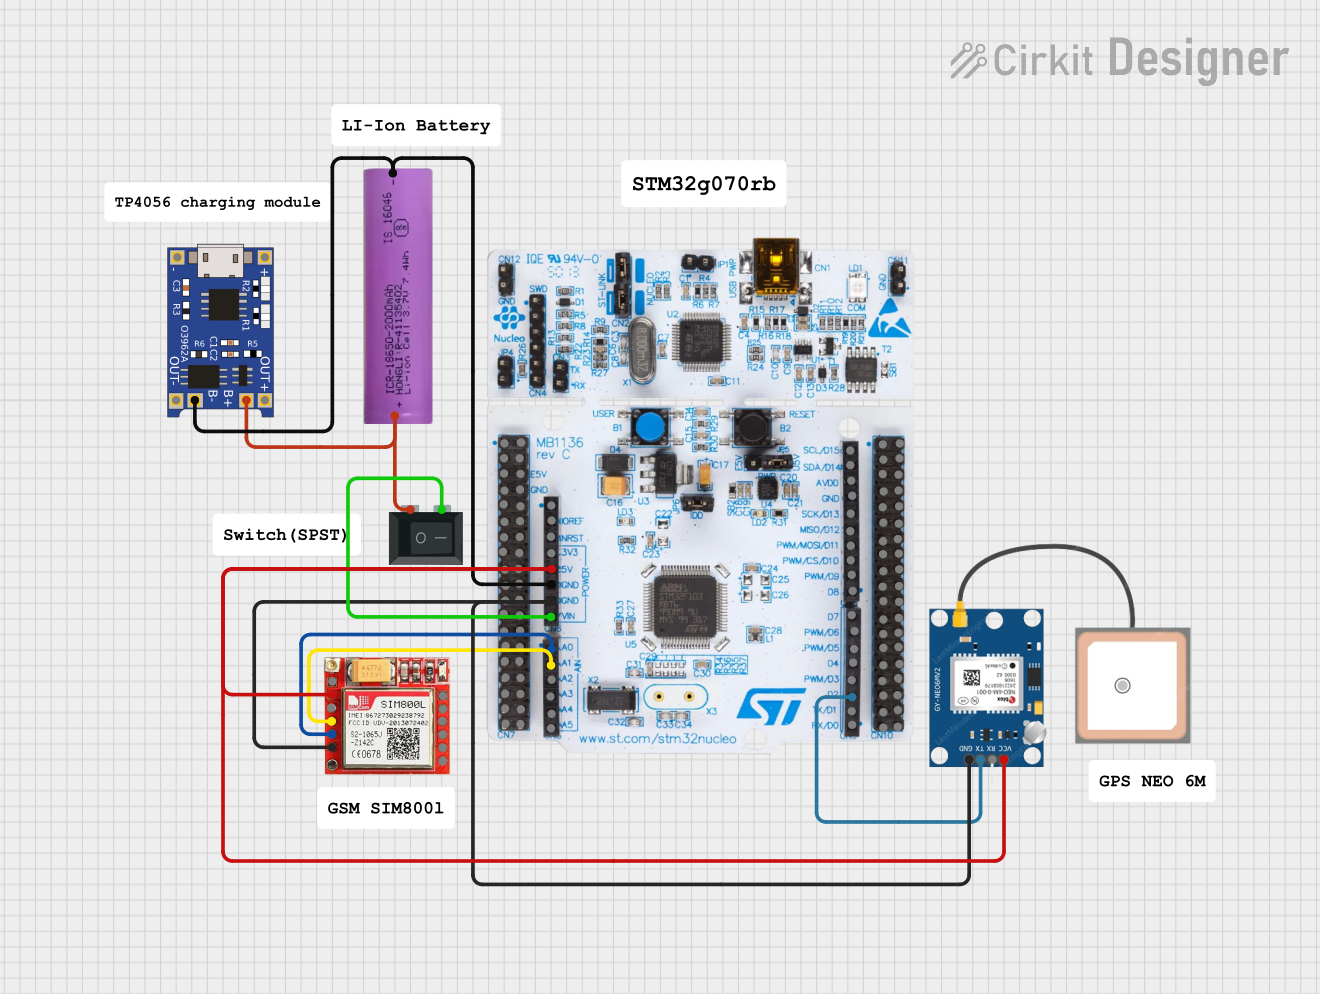
This circuit is an emergency alert system that uses a NUCLEO-F072RB microcontroller to send SMS alerts and make calls via a SIM800L GSM module, while obtaining location data from a GPS NEO 6M module. The system is powered by a Li-ion battery and includes a TP4056 module for battery charging and protection, with a rocker switch to control power to the microcontroller.
Power Supply: Connect the VDD pin to a 3.0V to 3.6V power supply and the GND pin to ground.
USB Connection: Connect the D+ and D- pins to the USB data lines. The VBUS pin should be connected to the USB bus power.
UART Connection: Connect the TXD and RXD pins to the UART interface of the microcontroller or other UART device.
Flow Control (Optional): If hardware flow control is required, connect the RTS and CTS pins accordingly.
Reset: Connect the RST pin to a reset circuit or leave it unconnected if not used.
Important Considerations and Best Practices
Ensure that the supply voltage is within the specified range (3.0V to 3.6V).
Use proper decoupling capacitors close to the VDD pin to filter out noise.
If not using certain pins (e.g., flow control pins), leave them unconnected.
Follow USB design guidelines to ensure reliable communication.
Example: Connecting CP2102 to Arduino UNO
To connect the CP2102 to an Arduino UNO for serial communication, follow these steps:
Connect the TXD pin of the CP2102 to the RX pin of the Arduino UNO.
Connect the RXD pin of the CP2102 to the TX pin of the Arduino UNO.
Connect the GND pin of the CP2102 to the GND pin of the Arduino UNO.
Connect the VDD pin of the CP2102 to the 3.3V pin of the Arduino UNO.
Example Code for Arduino UNO
// Example code to communicate with CP2102 using Arduino UNO

void setup() {
  Serial.begin(9600); // Initialize serial communication at 9600 baud rate
}

void loop() {
  if (Serial.available() > 0) {
    // Read incoming data from CP2102
    char incomingData = Serial.read();
    // Echo the received data back to the CP2102
    Serial.write(incomingData);
  }
}
Troubleshooting and FAQs
Common Issues and Solutions
No Communication with Device:
Ensure that the CP2102 is properly powered and connected.
Check the USB cable and port for any issues.
Verify that the correct COM port is selected in the software.
Device Not Recognized by Computer:
Install the necessary drivers for the CP2102.
Try connecting to a different USB port or using a different USB cable.
Data Corruption or Loss:
Ensure that the baud rate settings match between the CP2102 and the connected device.
Use proper shielding and grounding to minimize noise and interference.
FAQs
Q: How do I install the CP2102 drivers?
A: The drivers can be downloaded from the Silicon Labs website. Follow the installation instructions provided on the website.
Q: Can the CP2102 be used with 5V logic levels?
A: The CP2102 is designed for 3.3V logic levels. If you need to interface with 5V logic, use a level shifter.
Q: What is the maximum baud rate supported by the CP2102?
A: The CP2102 supports baud rates up to 1 Mbps.
Q: How do I reset the CP2102?
A: To reset the CP2102, pull the RST pin low momentarily.
By following this documentation, users can effectively integrate the CP2102 USB to UART bridge controller into their projects, ensuring reliable and efficient communication between USB and UART interfaces.


 Open Project in Cirkit Designer