How to Use Fan: Examples, Pinouts, and Specs
Introduction
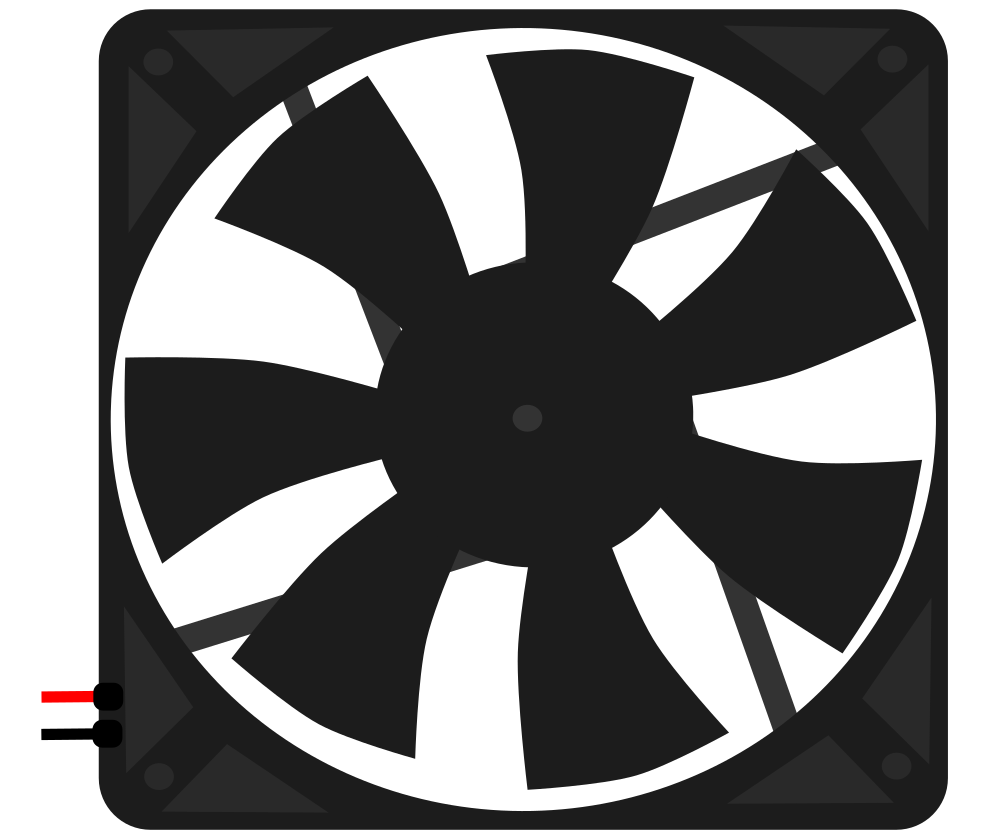
A fan is an electronic component that creates airflow for cooling or ventilation purposes. It is widely used in various applications, from personal computing devices like laptops and desktops to industrial machinery and HVAC (Heating, Ventilation, and Air Conditioning) systems. Fans are essential for maintaining optimal operating temperatures in electronic circuits, preventing overheating, and ensuring the longevity and reliability of electronic devices.
Explore Projects Built with Fan


Explore Projects Built with Fan
Technical Specifications
General Specifications
- Operating Voltage Range: Typically 5V, 12V, or 24V
- Current Consumption: Varies with size and model (e.g., 0.15A for a small 5V fan)
- Power Ratings: Dependent on size and voltage (e.g., 0.75W for a small 5V fan)
- Speed: Measured in RPM (revolutions per minute), varies by model
- Airflow: Measured in CFM (cubic feet per minute), varies by model
- Noise Level: Measured in dBA, varies by model and speed
- Bearing Type: Sleeve, ball, or fluid dynamic bearings
- Lifespan: Typically 30,000 - 70,000 hours depending on usage and bearing type
Pin Configuration and Descriptions
| Pin Number | Description | Notes |
|---|---|---|
| 1 | Ground (-) | Connect to system ground |
| 2 | Power (+) | Voltage as per fan specifications |
| 3 | Tachometer Signal | Optional, for RPM feedback |
| 4 | PWM Control Signal | Optional, for speed control |
Usage Instructions
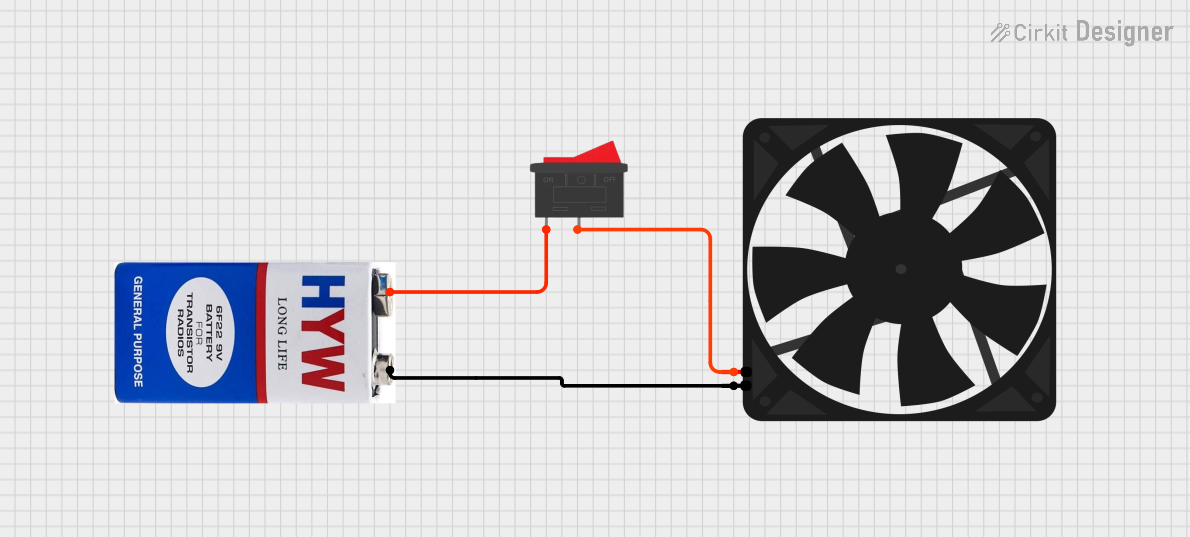
Connecting the Fan to a Circuit
- Power Supply: Ensure that the fan's voltage rating matches the power supply voltage. Incorrect voltage can damage the fan or cause it to operate improperly.
- Polarity: Connect the positive (+) terminal of the power supply to the power pin of the fan, and the negative (-) terminal to the ground pin.
- Control (Optional): If the fan supports PWM (Pulse Width Modulation) for speed control, connect the PWM control pin to a PWM-capable output on your microcontroller.
- Tachometer (Optional): If you wish to monitor the fan's speed, connect the tachometer pin to a digital input on your microcontroller.
Best Practices
- Avoid obstructing the fan's intake or exhaust to ensure proper airflow.
- Use appropriate wire gauge for the fan's current rating to prevent excessive voltage drop and overheating of wires.
- Secure the fan to prevent vibrations and ensure stable operation.
- Regularly clean the fan blades and intake areas to maintain optimal performance.
Example Code for Arduino UNO
The following example demonstrates how to control a 4-pin PWM fan using an Arduino UNO:
#include <Arduino.h>

const int pwmFanPin = 9; // PWM pin connected to the fan

void setup() {
  pinMode(pwmFanPin, OUTPUT);
  analogWrite(pwmFanPin, 0); // Start with the fan off
}

void loop() {
  // Increase fan speed gradually
  for (int speed = 0; speed <= 255; speed++) {
    analogWrite(pwmFanPin, speed);
    delay(20);
  }
  // Decrease fan speed gradually
  for (int speed = 255; speed >= 0; speed--) {
    analogWrite(pwmFanPin, speed);
    delay(20);
  }
}
This code will gradually increase the fan speed to its maximum and then decrease it back to a stop. The analogWrite function is used to send a PWM signal to the fan, controlling its speed.
Troubleshooting and FAQs
Common Issues
- Fan not starting: Check the power supply voltage and polarity. Ensure the fan is properly connected and that there are no loose connections.
- Noisy operation: Ensure the fan is securely mounted and that nothing is obstructing the fan blades.
- Inconsistent speed: Verify that the PWM signal is being generated correctly. Check for any signal interference or loose connections.
FAQs
Q: Can I control the speed of any fan with PWM? A: Not all fans support PWM control. Check the fan's datasheet to confirm if it has PWM capability.
Q: How can I reverse the direction of the fan? A: The direction of the fan cannot be reversed unless it is specifically designed to do so. Attempting to reverse the polarity may damage the fan.
Q: What is the purpose of the tachometer pin? A: The tachometer pin provides a pulse signal that corresponds to the fan's speed, allowing you to monitor and verify the fan's operation.
Q: Can I run a 12V fan on a 5V supply? A: Running a 12V fan on a 5V supply will result in reduced performance and may not start the fan due to insufficient voltage. Always use the recommended voltage.
Remember to consult the fan's datasheet for specific information regarding its operation and limitations.