How to Use ESP32-S3 Touch LCD 1.28: Examples, Pinouts, and Specs
Introduction
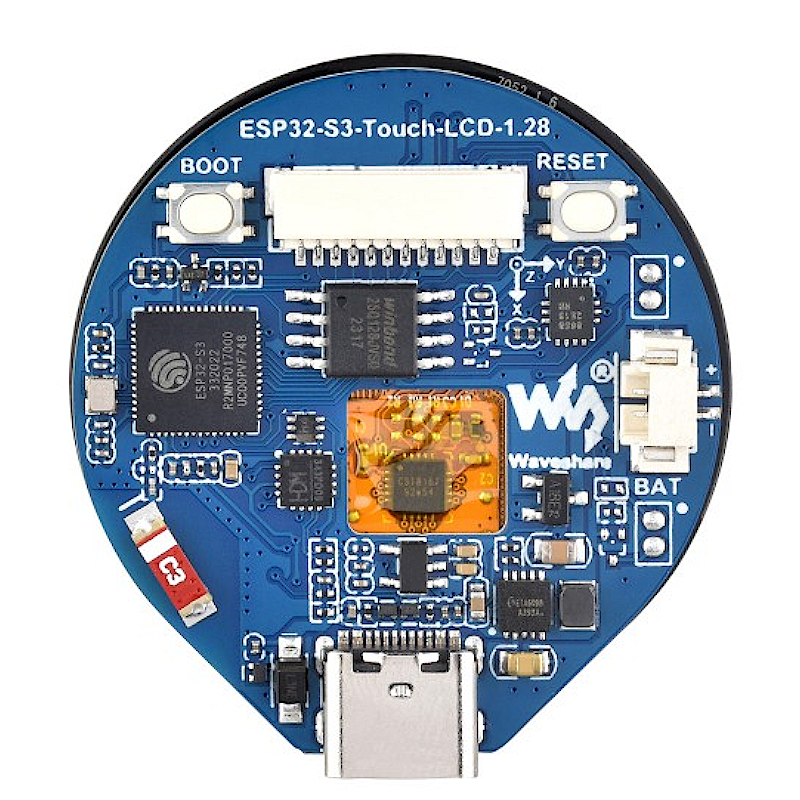
The ESP32-S3 Touch LCD 1.28 is a compact touchscreen display module that integrates the powerful ESP32-S3 microcontroller. This module features a 1.28-inch vibrant LCD screen with touch capabilities, making it an excellent choice for interactive IoT applications and embedded systems. With built-in Wi-Fi and Bluetooth connectivity, it enables seamless communication and control in smart devices, wearables, and home automation projects.
Explore Projects Built with ESP32-S3 Touch LCD 1.28


Explore Projects Built with ESP32-S3 Touch LCD 1.28
Common Applications:
- Smart home devices (e.g., thermostats, lighting controls)
- Wearable technology
- IoT dashboards and control panels
- Portable data loggers
- Educational and prototyping projects
Technical Specifications
Key Technical Details:
| Parameter | Value |
|---|---|
| Microcontroller | ESP32-S3 (Xtensa® 32-bit LX7 dual-core processor) |
| Display Size | 1.28 inches |
| Display Type | TFT LCD with capacitive touch |
| Resolution | 240 x 240 pixels |
| Connectivity | Wi-Fi 802.11 b/g/n, Bluetooth 5.0 LE |
| Flash Memory | Up to 16 MB |
| PSRAM | Up to 8 MB |
| Operating Voltage | 3.3V |
| Power Consumption | ~240 mA (active), ~10 µA (deep sleep) |
| Interface | SPI for display, I2C for touch |
| Dimensions | Compact form factor (approx. 40mm x 40mm) |
| Operating Temperature | -40°C to +85°C |
Pin Configuration and Descriptions:
| Pin Name | Type | Description |
|---|---|---|
| VIN | Power Input | Main power input (3.3V recommended) |
| GND | Ground | Ground connection |
| SCK | SPI Clock | SPI clock signal for the LCD |
| MOSI | SPI Data Out | SPI data output for the LCD |
| MISO | SPI Data In | SPI data input (optional, not used in some configurations) |
| CS | SPI Chip Select | Chip select for the LCD |
| RST | Reset | Resets the module |
| INT | Interrupt | Interrupt pin for touch input |
| SDA | I2C Data | I2C data line for touch controller |
| SCL | I2C Clock | I2C clock line for touch controller |
Usage Instructions
How to Use the ESP32-S3 Touch LCD 1.28 in a Circuit:
- Power the Module: Connect the VIN pin to a 3.3V power source and GND to ground.
- Connect the SPI Interface:
- Connect the SCK, MOSI, and CS pins to the corresponding SPI pins on your microcontroller.
- If required, connect the MISO pin for bidirectional communication.
- Connect the I2C Interface:
- Use the SDA and SCL pins to interface with the touch controller.
- Reset and Interrupt:
- Use the RST pin to reset the module when needed.
- Connect the INT pin to handle touch interrupts.
- Install Required Libraries:
- For Arduino IDE, install the
TFT_eSPIlibrary for display control and theWirelibrary for I2C communication.
- For Arduino IDE, install the
Example Code for Arduino UNO:
#include <TFT_eSPI.h>  // Include the TFT library for display control
#include <Wire.h>      // Include the Wire library for I2C communication

TFT_eSPI tft = TFT_eSPI();  // Create an instance of the TFT library

void setup() {
  tft.init();               // Initialize the display
  tft.setRotation(1);       // Set display orientation (0-3)
  tft.fillScreen(TFT_BLACK); // Clear the screen with black color

  tft.setTextColor(TFT_WHITE, TFT_BLACK); // Set text color (foreground, background)
  tft.setTextSize(2);        // Set text size
  tft.setCursor(10, 10);     // Set cursor position
  tft.println("Hello, ESP32-S3!"); // Display text on the screen

  // Initialize I2C for touch input
  Wire.begin();             // Start I2C communication
}

void loop() {
  // Example: Display a rectangle that changes color every second
  static bool toggle = false;
  if (toggle) {
    tft.fillRect(50, 50, 100, 100, TFT_RED); // Draw a red rectangle
  } else {
    tft.fillRect(50, 50, 100, 100, TFT_BLUE); // Draw a blue rectangle
  }
  toggle = !toggle;          // Toggle the color
  delay(1000);               // Wait for 1 second
}
Important Considerations:
- Power Supply: Ensure a stable 3.3V power source to avoid damage to the module.
- Pin Mapping: Verify the pin connections in your code and hardware setup.
- Library Configuration: For the
TFT_eSPIlibrary, configure theUser_Setup.hfile to match your hardware connections. - Touch Calibration: If touch input is inaccurate, use a calibration sketch provided by the library.
Troubleshooting and FAQs
Common Issues and Solutions:
Display Not Turning On:
- Check the power supply and ensure the VIN and GND pins are correctly connected.
- Verify that the SPI connections (SCK, MOSI, CS) are properly wired.
Touch Input Not Working:
- Ensure the I2C lines (SDA, SCL) are connected and not swapped.
- Check if the touch controller requires initialization in your code.
Flickering or Distorted Display:
- Verify the SPI clock speed in your code. Reduce it if necessary.
- Ensure proper grounding to avoid noise interference.
Module Not Responding:
- Reset the module using the RST pin.
- Confirm that the correct libraries are installed and configured.
FAQs:
Can I use this module with a 5V microcontroller?
- No, the ESP32-S3 Touch LCD 1.28 operates at 3.3V. Use a level shifter if interfacing with 5V logic.
What is the maximum distance for I2C communication?
- I2C is designed for short distances (typically less than 1 meter). Use proper pull-up resistors for reliable communication.
How do I update the firmware on the ESP32-S3?
- Use the ESP32-S3's USB interface or an external programmer to flash new firmware using tools like the Arduino IDE or ESP-IDF.
Is the display sunlight-readable?
- The 1.28-inch LCD is not optimized for direct sunlight but works well in indoor environments.
This documentation provides a comprehensive guide to using the ESP32-S3 Touch LCD 1.28 module effectively in your projects.