How to Use Water Level Sensor: Examples, Pinouts, and Specs

 Design with Water Level Sensor in Cirkit Designer
Introduction
The Water Level Sensor is a device designed to detect and measure the level of water in a tank, reservoir, or other liquid-containing systems. It is commonly used in automation systems to control water pumps, trigger alarms, or monitor water levels in real-time. This sensor is an essential component in applications such as water management systems, irrigation systems, and home automation projects.
Explore Projects Built with Water Level Sensor

 Open Project in Cirkit Designer
 Open Project in Cirkit Designer
 Open Project in Cirkit Designer
 Open Project in Cirkit Designer
Explore Projects Built with Water Level Sensor

 Open Project in Cirkit Designer
 Open Project in Cirkit Designer
 Open Project in Cirkit Designer
 Open Project in Cirkit Designer
Common Applications and Use Cases
- Automatic water pump control in tanks
- Water level monitoring in reservoirs
- Flood detection systems
- Smart irrigation systems
- Home automation projects
- Industrial liquid level monitoring
Technical Specifications
The Water Level Sensor typically consists of a series of conductive traces that detect water levels based on conductivity. Below are the key technical details:
Key Technical Details
- Operating Voltage: 3.3V to 5V DC
- Output Type: Analog and Digital
- Current Consumption: < 20mA
- Detection Range: 0 to 100% of the sensor length
- Material: PCB with conductive traces
- Dimensions: Varies by model (e.g., 65mm x 20mm for standard sensors)
Pin Configuration and Descriptions
The Water Level Sensor usually has three pins for interfacing with microcontrollers or other devices. The pinout is as follows:
| Pin | Name | Description |
|---|---|---|
| 1 | VCC | Power supply pin. Connect to 3.3V or 5V DC. |
| 2 | GND | Ground pin. Connect to the ground of the circuit. |
| 3 | Signal | Output pin. Provides an analog voltage proportional to the water level detected. |
Usage Instructions
How to Use the Component in a Circuit
Connect the Sensor:
- Connect the VCC pin to a 3.3V or 5V power source.
- Connect the GND pin to the ground of your circuit.
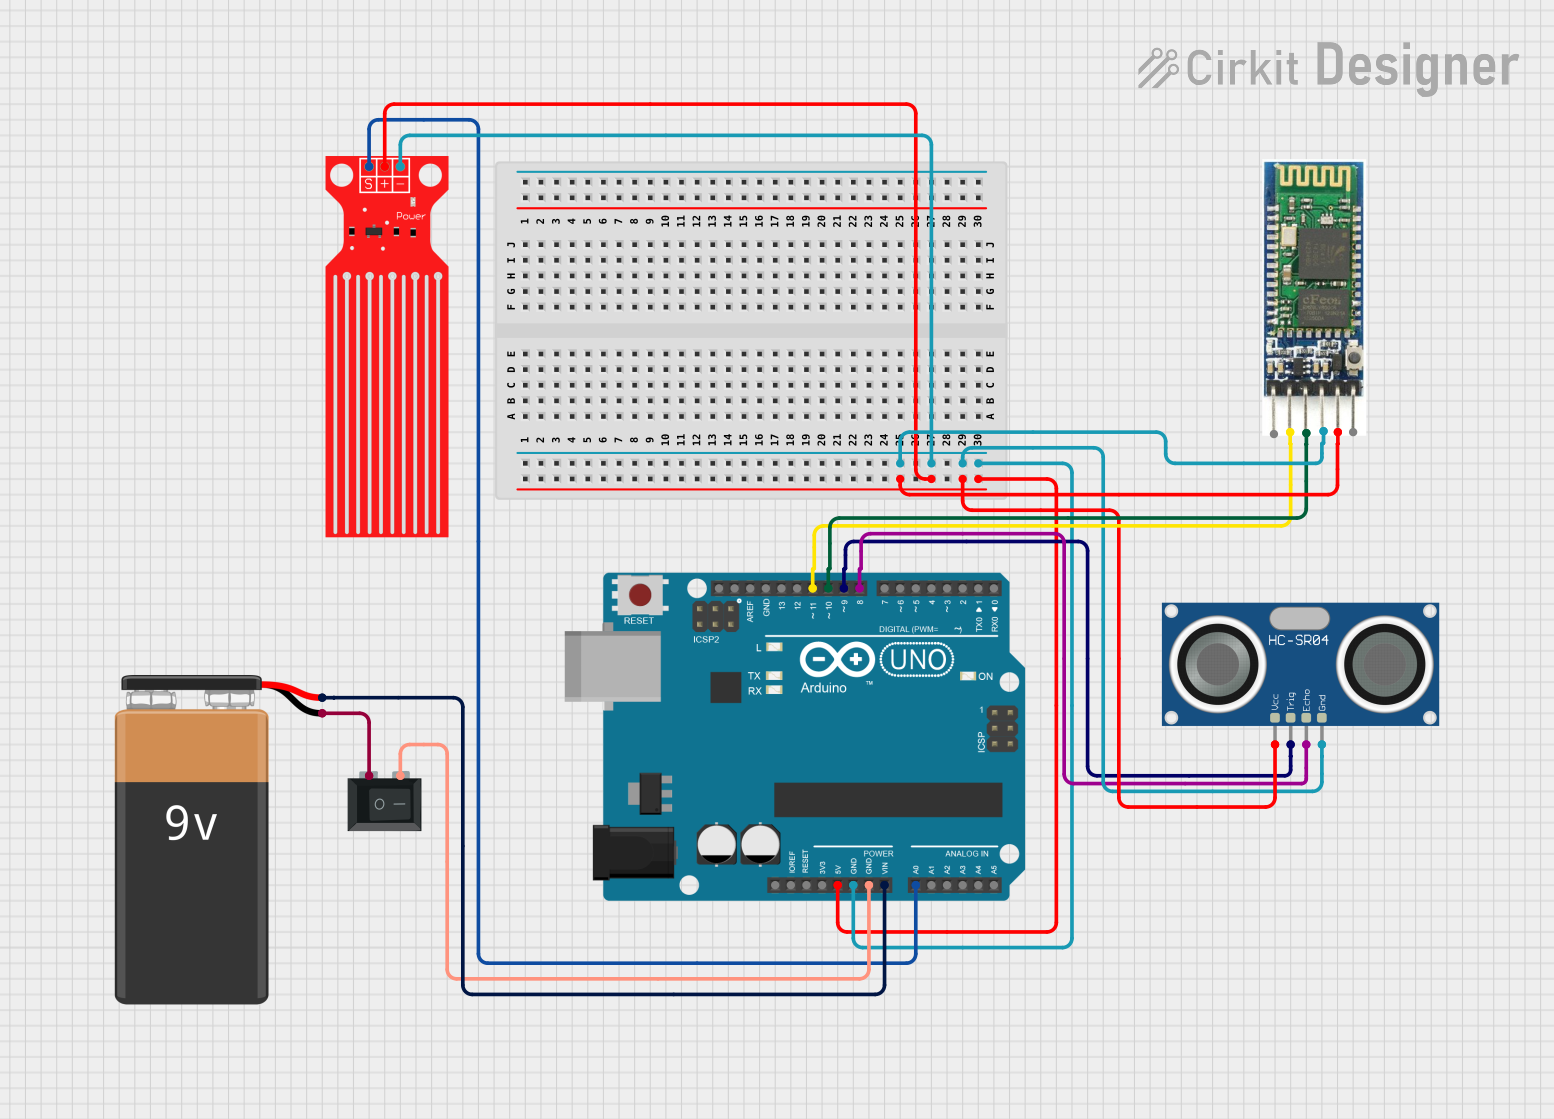
- Connect the Signal pin to an analog input pin of your microcontroller (e.g., Arduino).
Read the Output:
- The sensor outputs an analog voltage that corresponds to the water level. A higher voltage indicates a higher water level.
Optional Digital Output:
- Some models include a comparator circuit with a potentiometer to adjust the threshold for digital output. This can be used to trigger alarms or other actions when the water level crosses a set point.
Important Considerations and Best Practices
- Avoid Submersion: Do not submerge the entire sensor in water. Only the conductive traces should come into contact with the liquid.
- Clean Regularly: Ensure the sensor is clean and free of debris to maintain accurate readings.
- Power Supply: Use a stable power supply to avoid fluctuations in readings.
- Corrosion Prevention: If used in harsh environments, consider applying a protective coating to the sensor to prevent corrosion.
Example Code for Arduino UNO
Below is an example of how to use the Water Level Sensor with an Arduino UNO to read and display the water level:
// Define the analog pin connected to the sensor's Signal pin
const int waterLevelPin = A0;

void setup() {
  // Initialize serial communication for debugging
  Serial.begin(9600);
}

void loop() {
  // Read the analog value from the sensor
  int sensorValue = analogRead(waterLevelPin);

  // Map the sensor value to a percentage (0-100%)
  int waterLevel = map(sensorValue, 0, 1023, 0, 100);

  // Print the water level to the Serial Monitor
  Serial.print("Water Level: ");
  Serial.print(waterLevel);
  Serial.println("%");

  // Add a short delay for stability
  delay(500);
}
Troubleshooting and FAQs
Common Issues and Solutions
No Output or Incorrect Readings:
- Solution: Check the wiring and ensure the sensor is properly connected to the microcontroller. Verify that the power supply voltage matches the sensor's requirements.
Fluctuating Readings:
- Solution: Ensure the sensor is clean and free of debris. Use a stable power supply to minimize noise.
Sensor Not Responding:
- Solution: Verify that the sensor is not damaged. Check for continuity in the conductive traces and ensure the pins are securely connected.
Corrosion on Sensor:
- Solution: Apply a protective coating to the sensor or use it in environments with minimal exposure to corrosive elements.
FAQs
Q: Can this sensor detect non-conductive liquids?
A: No, the Water Level Sensor relies on the conductivity of the liquid to detect levels. It is not suitable for non-conductive liquids like oil.
Q: How do I adjust the digital output threshold?
A: If your sensor includes a potentiometer, you can turn it to set the desired threshold for the digital output.
Q: Can I use this sensor with a 3.3V microcontroller?
A: Yes, the sensor is compatible with both 3.3V and 5V systems. Ensure the power supply matches your microcontroller's voltage.
Q: Is the sensor waterproof?
A: Only the conductive traces are designed to come into contact with water. The rest of the sensor should remain dry to avoid damage.