Cirkit Designer Logo
Cirkit Designer
Your all-in-one circuit design IDE
Home / 
Component Documentation

How to Use WC KNOP: Examples, Pinouts, and Specs
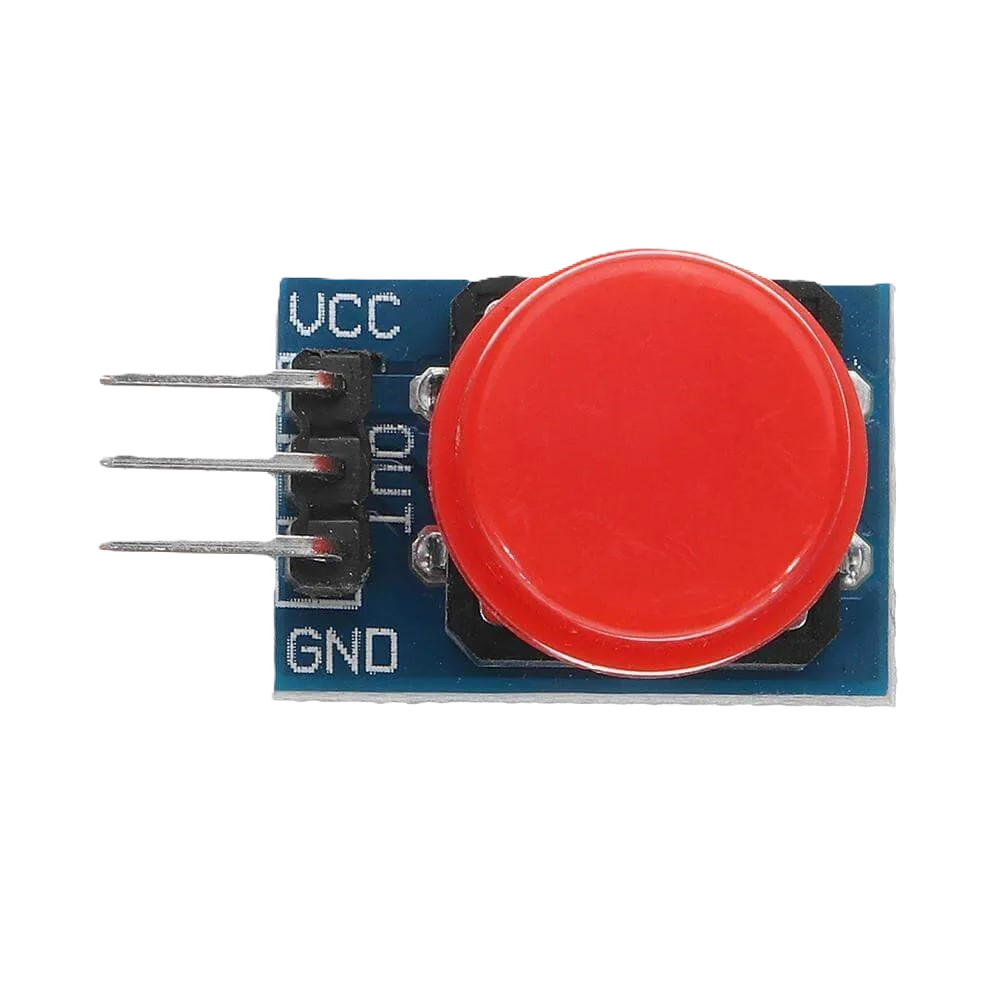

Image of WC KNOP
Cirkit Designer LogoDesign with WC KNOP in Cirkit Designer

Introduction

  • The WC knop, or toilet button, is a mechanical switch designed to activate the flushing mechanism of a toilet. It is typically mounted on the toilet tank and operates by pressing or pushing the button, which triggers the release of water from the tank into the bowl.
  • Common applications include residential, commercial, and public restrooms where a reliable and user-friendly flushing mechanism is required.

Explore Projects Built with WC KNOP
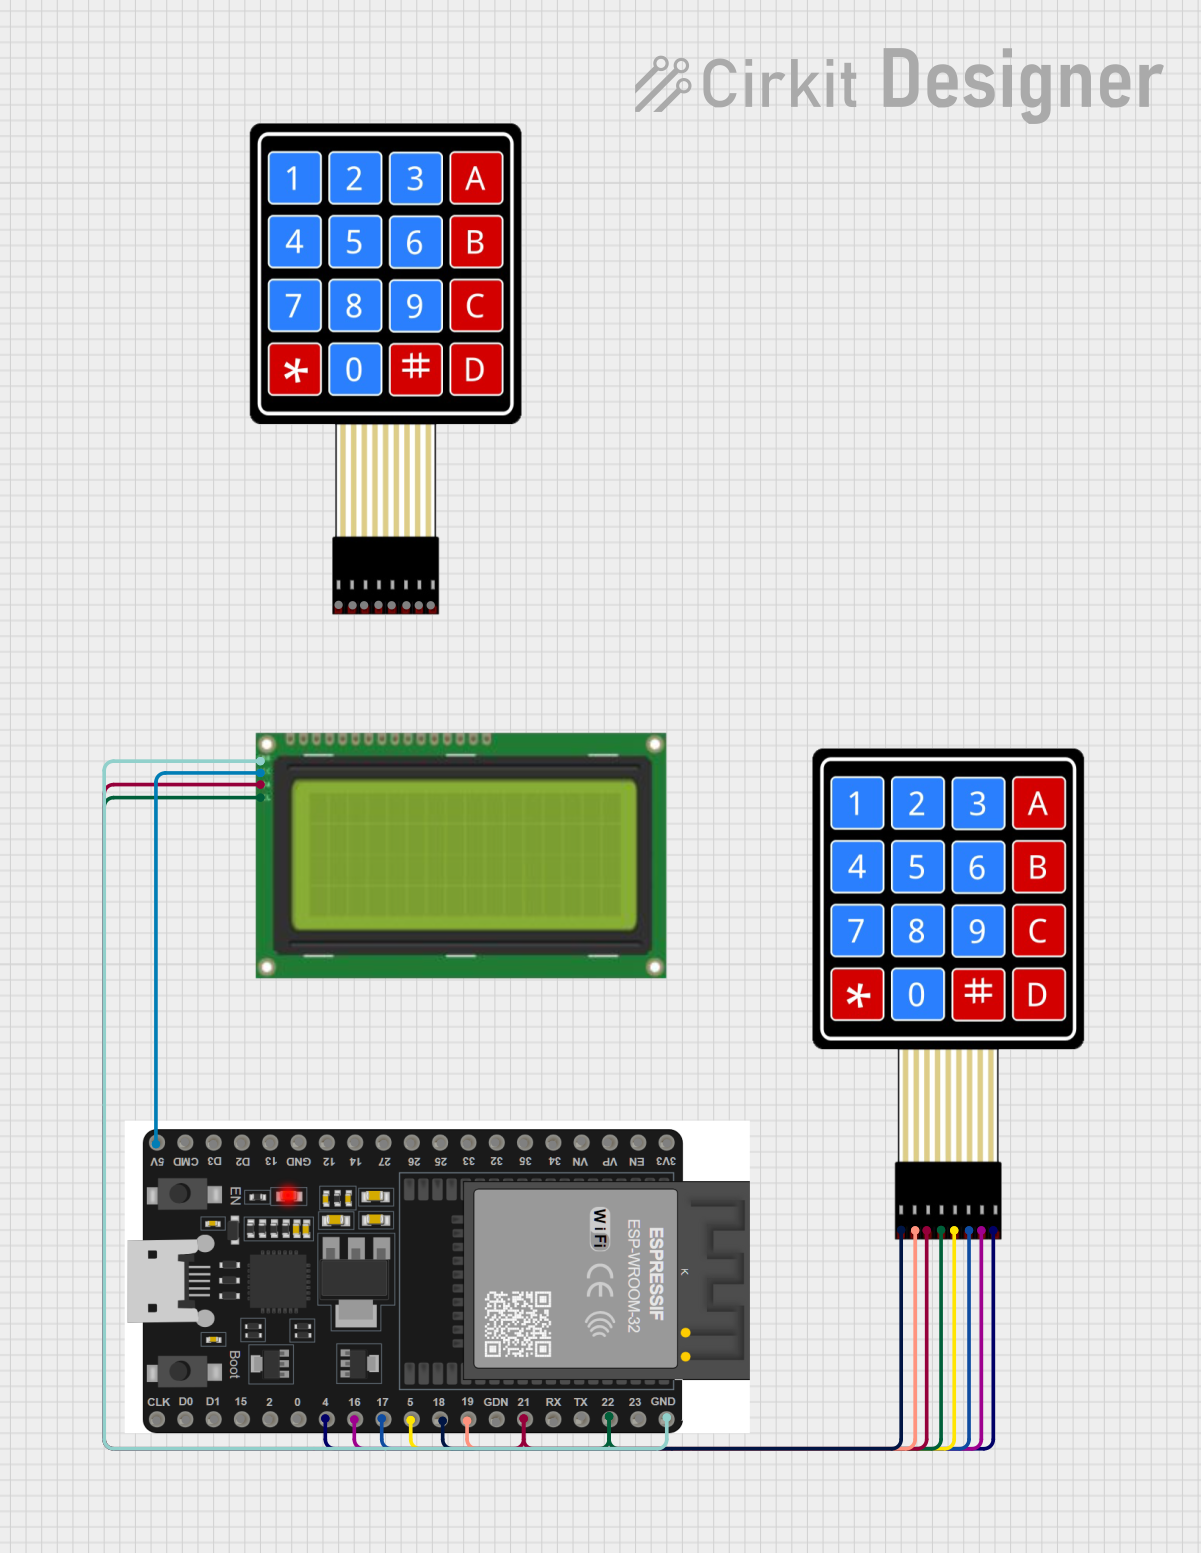
Use Cirkit Designer to design, explore, and prototype these projects online. Some projects support real-time simulation. Click "Open Project" to start designing instantly!
Wi-Fi Controlled Access System with ESP32, Keypad, and LCD Display
Image of tryyyyy: A project utilizing WC KNOP in a practical application
This circuit is a Wi-Fi-enabled access control system using an ESP32 microcontroller, a 4x4 membrane keypad, and a 20x4 I2C LCD. The system allows users to enter a password via the keypad, which is verified by the ESP32; if correct, it activates a relay and displays the status on the LCD, while also providing web-based configuration and time synchronization via NTP.
Cirkit Designer LogoOpen Project in Cirkit Designer
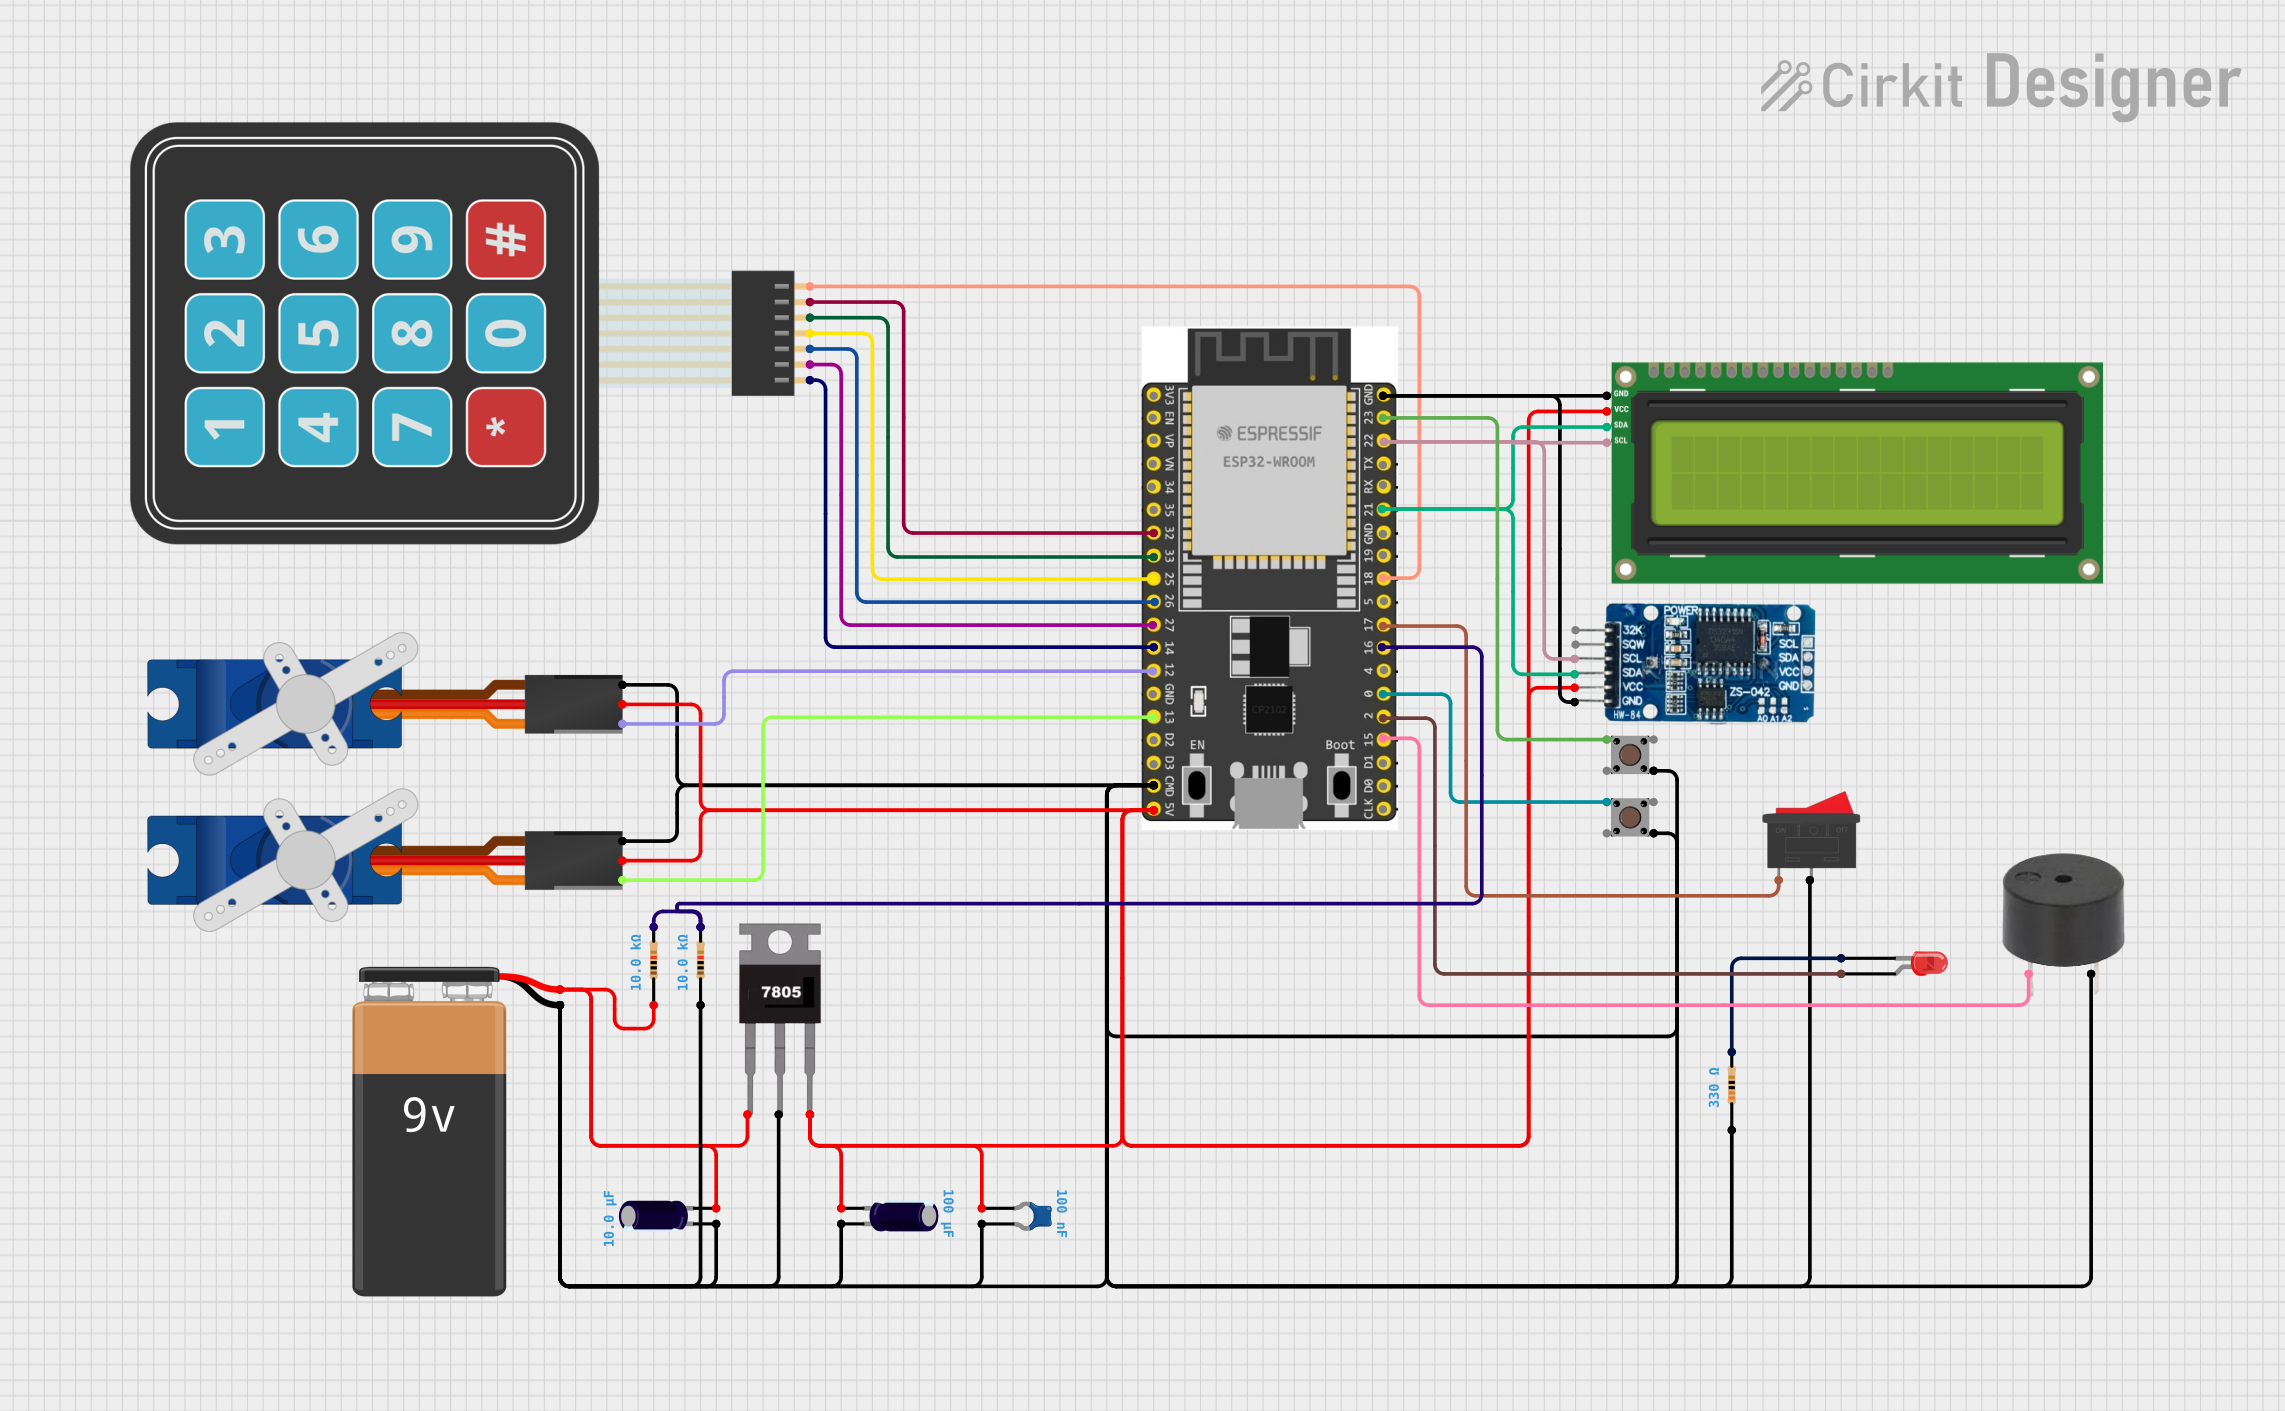
ESP32-Based Smart Medication Dispenser with Wi-Fi Connectivity and RTC Scheduling
Image of VAC: A project utilizing WC KNOP in a practical application
This circuit features an ESP32 microcontroller interfaced with a membrane matrix keypad, an I2C LCD screen, a real-time clock (RTC DS3231), two servos, a buzzer, and additional components like resistors and capacitors for stabilization and current limiting. The ESP32 runs embedded code to manage a keypad-based user interface, display information on the LCD, and control alarms and servo positions based on the RTC input, likely for a timed locking/unlocking mechanism or scheduled alert system. The circuit includes a WiFi setup for remote connectivity and EEPROM for non-volatile storage of configurations and schedules.
Cirkit Designer LogoOpen Project in Cirkit Designer
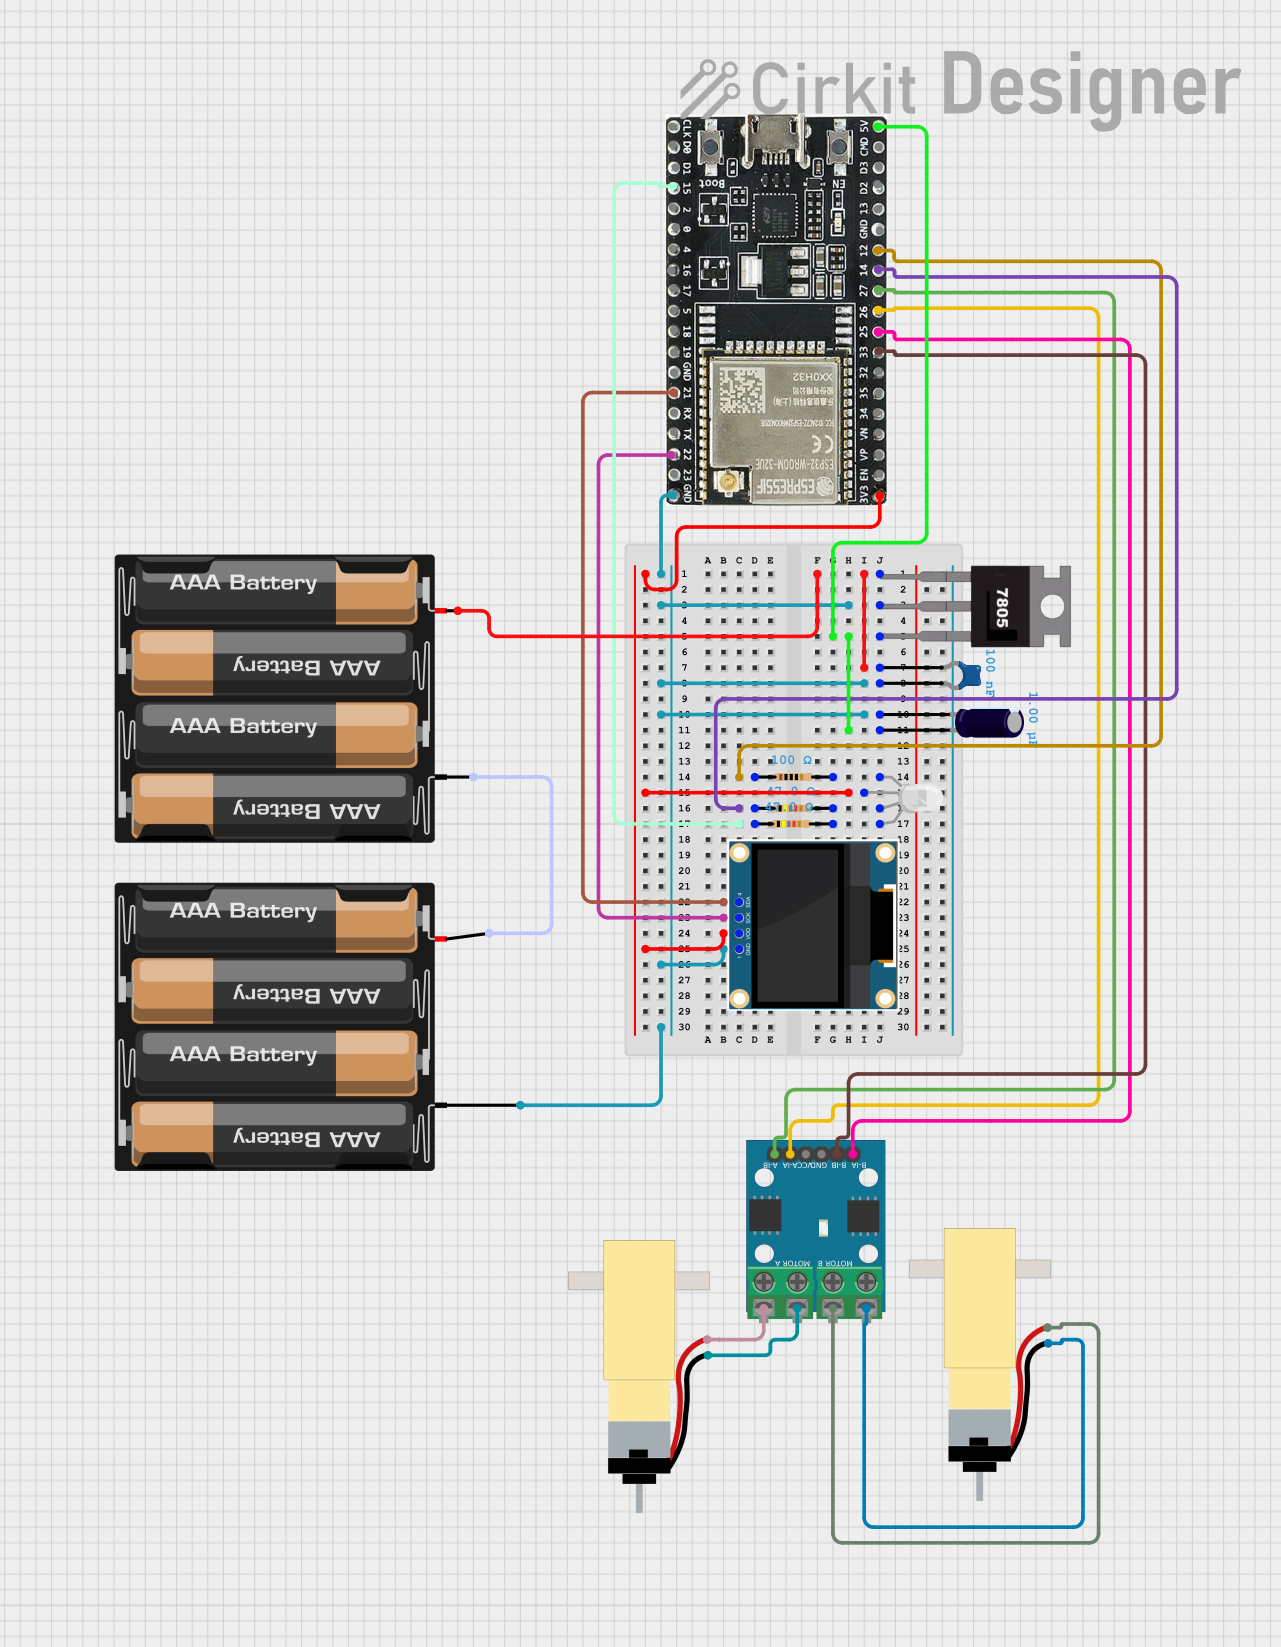
ESP32-WROOM-32UE Wi-Fi Controlled Robotic Car with OLED Display and RGB LED
Image of mkrl bot: A project utilizing WC KNOP in a practical application
This circuit is a WiFi-controlled robotic system powered by an ESP32 microcontroller. It features an OLED display for status messages, an RGB LED for visual feedback, and dual hobby gearmotors driven by an L9110 motor driver for movement. The system is powered by a 4 x AAA battery pack regulated to 5V using a 7805 voltage regulator.
Cirkit Designer LogoOpen Project in Cirkit Designer
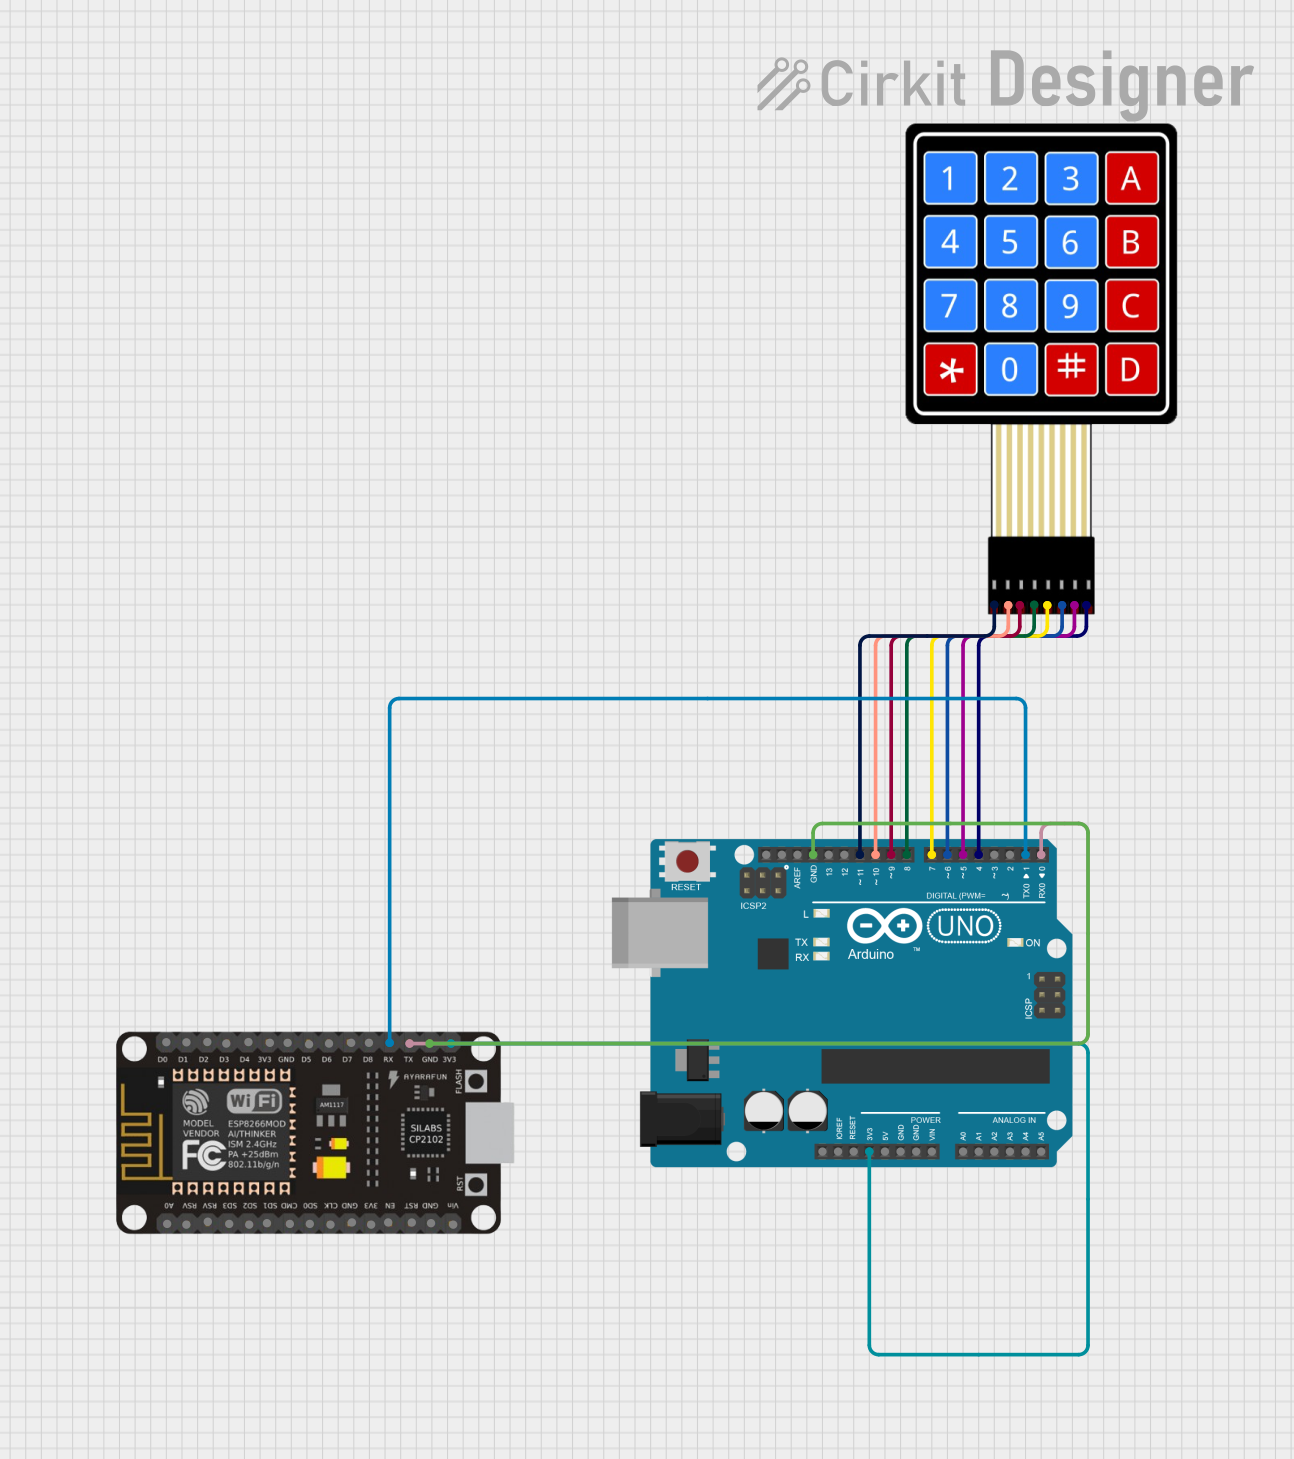
Arduino and ESP8266 Nodemcu Based Keypad Security System with Email Notifications
Image of pass: A project utilizing WC KNOP in a practical application
This circuit features an Arduino UNO interfaced with a 4x4 membrane matrix keypad for user input and an ESP8266 NodeMCU for WiFi connectivity. The Arduino is programmed to handle keypad inputs, allowing for password entry and changes, while the ESP8266 is set up to send email notifications upon specific password events. The two microcontrollers communicate via serial connection, with the Arduino sending password status messages to the ESP8266, which then triggers email alerts based on the received information.
Cirkit Designer LogoOpen Project in Cirkit Designer

Explore Projects Built with WC KNOP

Use Cirkit Designer to design, explore, and prototype these projects online. Some projects support real-time simulation. Click "Open Project" to start designing instantly!
Image of tryyyyy: A project utilizing WC KNOP in a practical application
Wi-Fi Controlled Access System with ESP32, Keypad, and LCD Display
This circuit is a Wi-Fi-enabled access control system using an ESP32 microcontroller, a 4x4 membrane keypad, and a 20x4 I2C LCD. The system allows users to enter a password via the keypad, which is verified by the ESP32; if correct, it activates a relay and displays the status on the LCD, while also providing web-based configuration and time synchronization via NTP.
Cirkit Designer LogoOpen Project in Cirkit Designer
Image of VAC: A project utilizing WC KNOP in a practical application
ESP32-Based Smart Medication Dispenser with Wi-Fi Connectivity and RTC Scheduling
This circuit features an ESP32 microcontroller interfaced with a membrane matrix keypad, an I2C LCD screen, a real-time clock (RTC DS3231), two servos, a buzzer, and additional components like resistors and capacitors for stabilization and current limiting. The ESP32 runs embedded code to manage a keypad-based user interface, display information on the LCD, and control alarms and servo positions based on the RTC input, likely for a timed locking/unlocking mechanism or scheduled alert system. The circuit includes a WiFi setup for remote connectivity and EEPROM for non-volatile storage of configurations and schedules.
Cirkit Designer LogoOpen Project in Cirkit Designer
Image of mkrl bot: A project utilizing WC KNOP in a practical application
ESP32-WROOM-32UE Wi-Fi Controlled Robotic Car with OLED Display and RGB LED
This circuit is a WiFi-controlled robotic system powered by an ESP32 microcontroller. It features an OLED display for status messages, an RGB LED for visual feedback, and dual hobby gearmotors driven by an L9110 motor driver for movement. The system is powered by a 4 x AAA battery pack regulated to 5V using a 7805 voltage regulator.
Cirkit Designer LogoOpen Project in Cirkit Designer
Image of pass: A project utilizing WC KNOP in a practical application
Arduino and ESP8266 Nodemcu Based Keypad Security System with Email Notifications
This circuit features an Arduino UNO interfaced with a 4x4 membrane matrix keypad for user input and an ESP8266 NodeMCU for WiFi connectivity. The Arduino is programmed to handle keypad inputs, allowing for password entry and changes, while the ESP8266 is set up to send email notifications upon specific password events. The two microcontrollers communicate via serial connection, with the Arduino sending password status messages to the ESP8266, which then triggers email alerts based on the received information.
Cirkit Designer LogoOpen Project in Cirkit Designer

Technical Specifications

  • Type: Mechanical switch
  • Material: Typically made of durable plastic or metal (e.g., stainless steel, chrome-plated brass)
  • Operation: Push-button mechanism
  • Mounting: Tank-mounted
  • Compatibility: Designed to work with various flushing systems, including single-flush and dual-flush mechanisms.

Pin Configuration and Descriptions

The WC knop does not have electrical pins, as it is a purely mechanical component. Instead, it consists of the following key parts:

Part Name Description
Button Cap The visible part of the knop that is pressed by the user.
Actuator Rod A rod or lever that connects the button to the flushing mechanism.
Mounting Thread A threaded section used to secure the knop to the toilet tank.
Seal/Gasket A rubber or silicone gasket that prevents water leakage around the knop.

Usage Instructions

  1. Installation:

    • Remove the old WC knop (if replacing an existing one) by unscrewing the mounting thread.
    • Insert the new WC knop into the designated hole on the toilet tank lid.
    • Secure the knop by tightening the mounting thread from underneath the lid. Ensure the seal/gasket is properly seated to prevent leaks.
  2. Operation:

    • Press the button cap to activate the flushing mechanism. For dual-flush systems, the knop may have two buttons or sections: one for a partial flush and another for a full flush.
  3. Important Considerations:

    • Ensure compatibility with your toilet's flushing system before purchasing a WC knop.
    • Avoid using excessive force when pressing the button to prevent damage to the actuator rod or internal mechanism.
    • Periodically check the seal/gasket for wear and replace it if necessary to maintain a watertight seal.

Troubleshooting and FAQs

Common Issues

  1. The WC knop feels loose or wobbly:

    • Solution: Tighten the mounting thread to secure the knop in place. Ensure the gasket is properly aligned.
  2. The toilet does not flush when the knop is pressed:

    • Solution: Check the actuator rod for misalignment or disconnection from the flushing mechanism. Reattach or adjust as needed.
  3. Water leaks around the knop:

    • Solution: Inspect the seal/gasket for damage or wear. Replace the gasket if necessary.
  4. The knop is difficult to press:

    • Solution: Clean the knop and actuator rod to remove any debris or buildup. Lubricate moving parts with a non-toxic, water-resistant lubricant if needed.

FAQs

  • Q: Can I use a WC knop with any toilet?
    A: Not all WC knops are universally compatible. Check the specifications of your toilet's flushing system to ensure compatibility.

  • Q: How often should I replace the WC knop?
    A: A WC knop can last several years with proper use and maintenance. Replace it if it becomes damaged or fails to function properly.

  • Q: Can I install a WC knop myself, or do I need a plumber?
    A: Most WC knops are easy to install and can be replaced without professional assistance. However, if you encounter difficulties, consult a plumber.

  • Q: What materials are best for a durable WC knop?
    A: Metal knops (e.g., stainless steel or chrome-plated brass) are more durable and resistant to wear compared to plastic ones. However, high-quality plastic knops can also be reliable and cost-effective.