How to Use Adafruit Charlieplex 9x16 Cool White: Examples, Pinouts, and Specs
Introduction
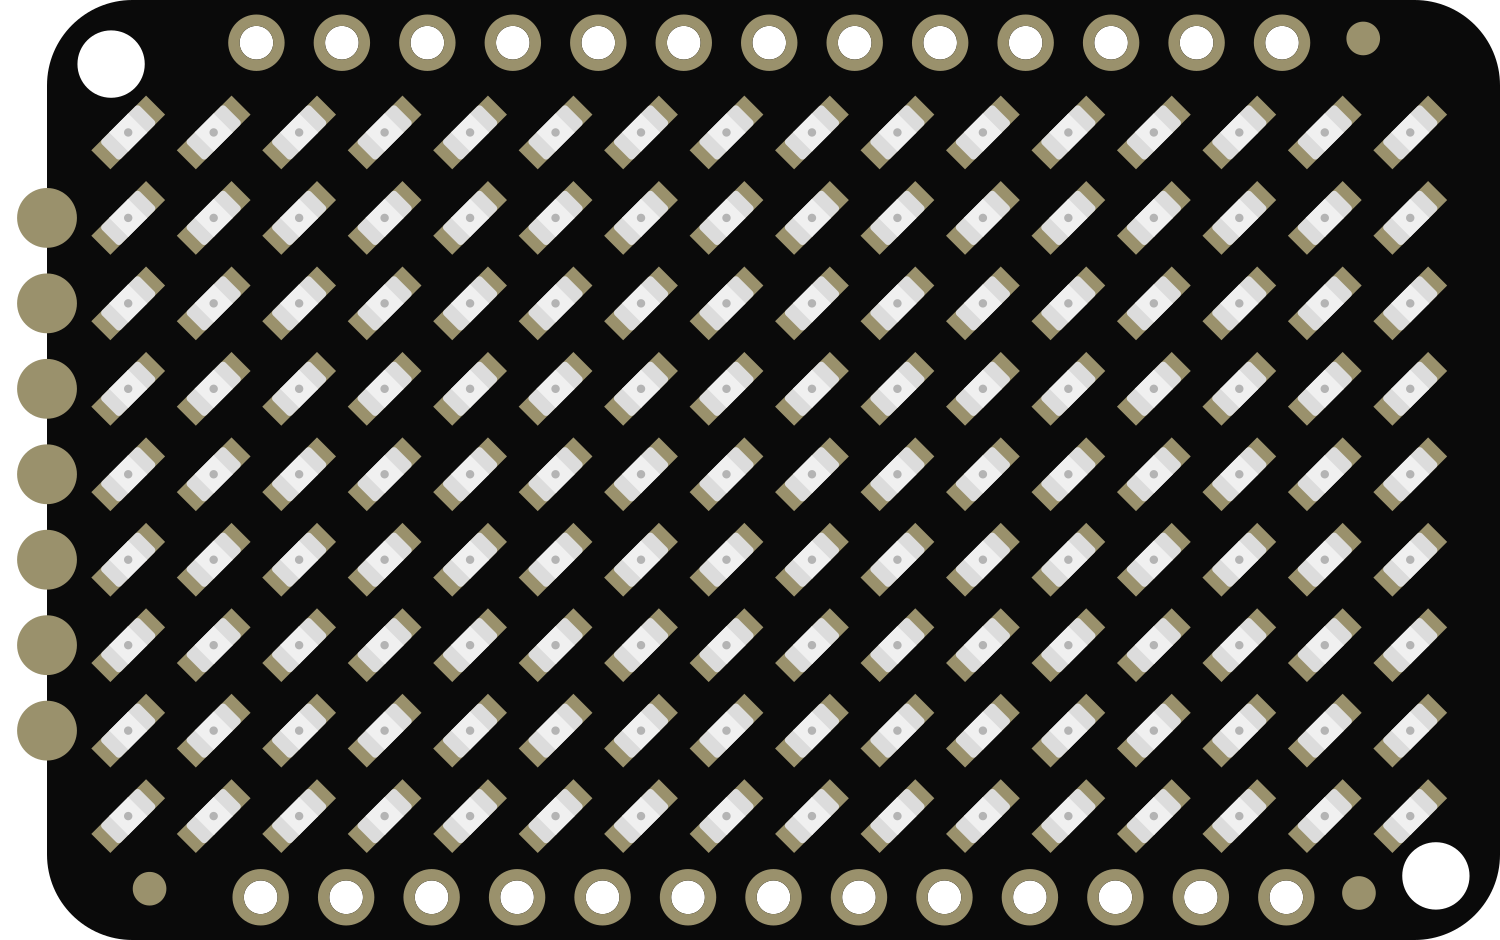
The Adafruit Charlieplex 9x16 Cool White LED Matrix is a versatile and efficient electronic component designed for displaying patterns, animations, and text. With a total of 144 cool white LEDs arranged in a 9x16 grid, this LED matrix uses the charlieplexing technique to control individual LEDs with fewer I/O pins than would be possible with traditional multiplexing. This makes it an ideal choice for projects with limited GPIO availability, such as wearables, small handheld devices, and compact displays.
Explore Projects Built with Adafruit Charlieplex 9x16 Cool White


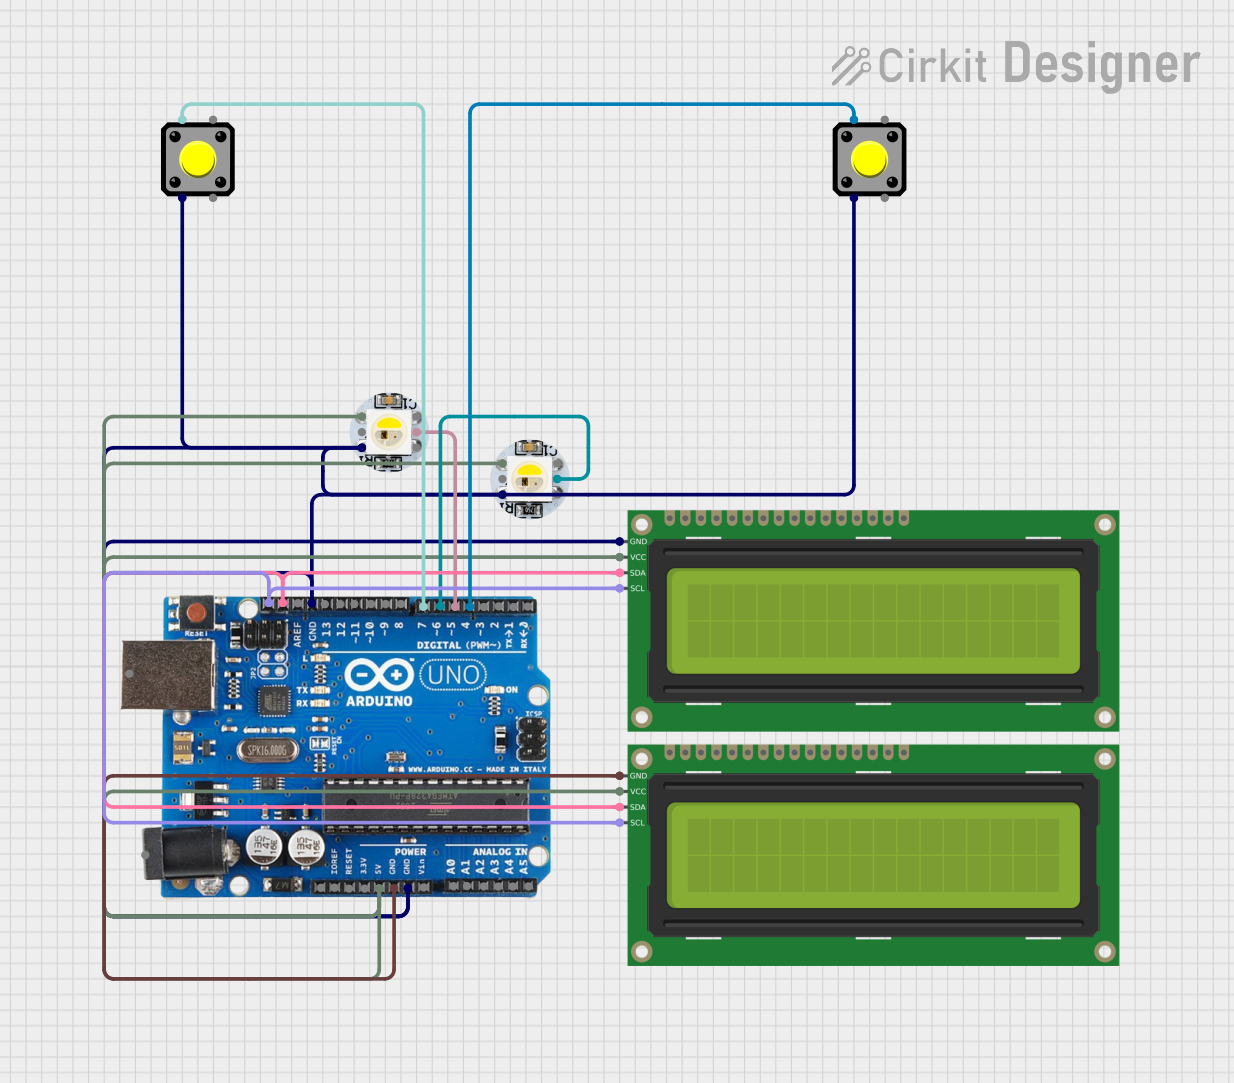
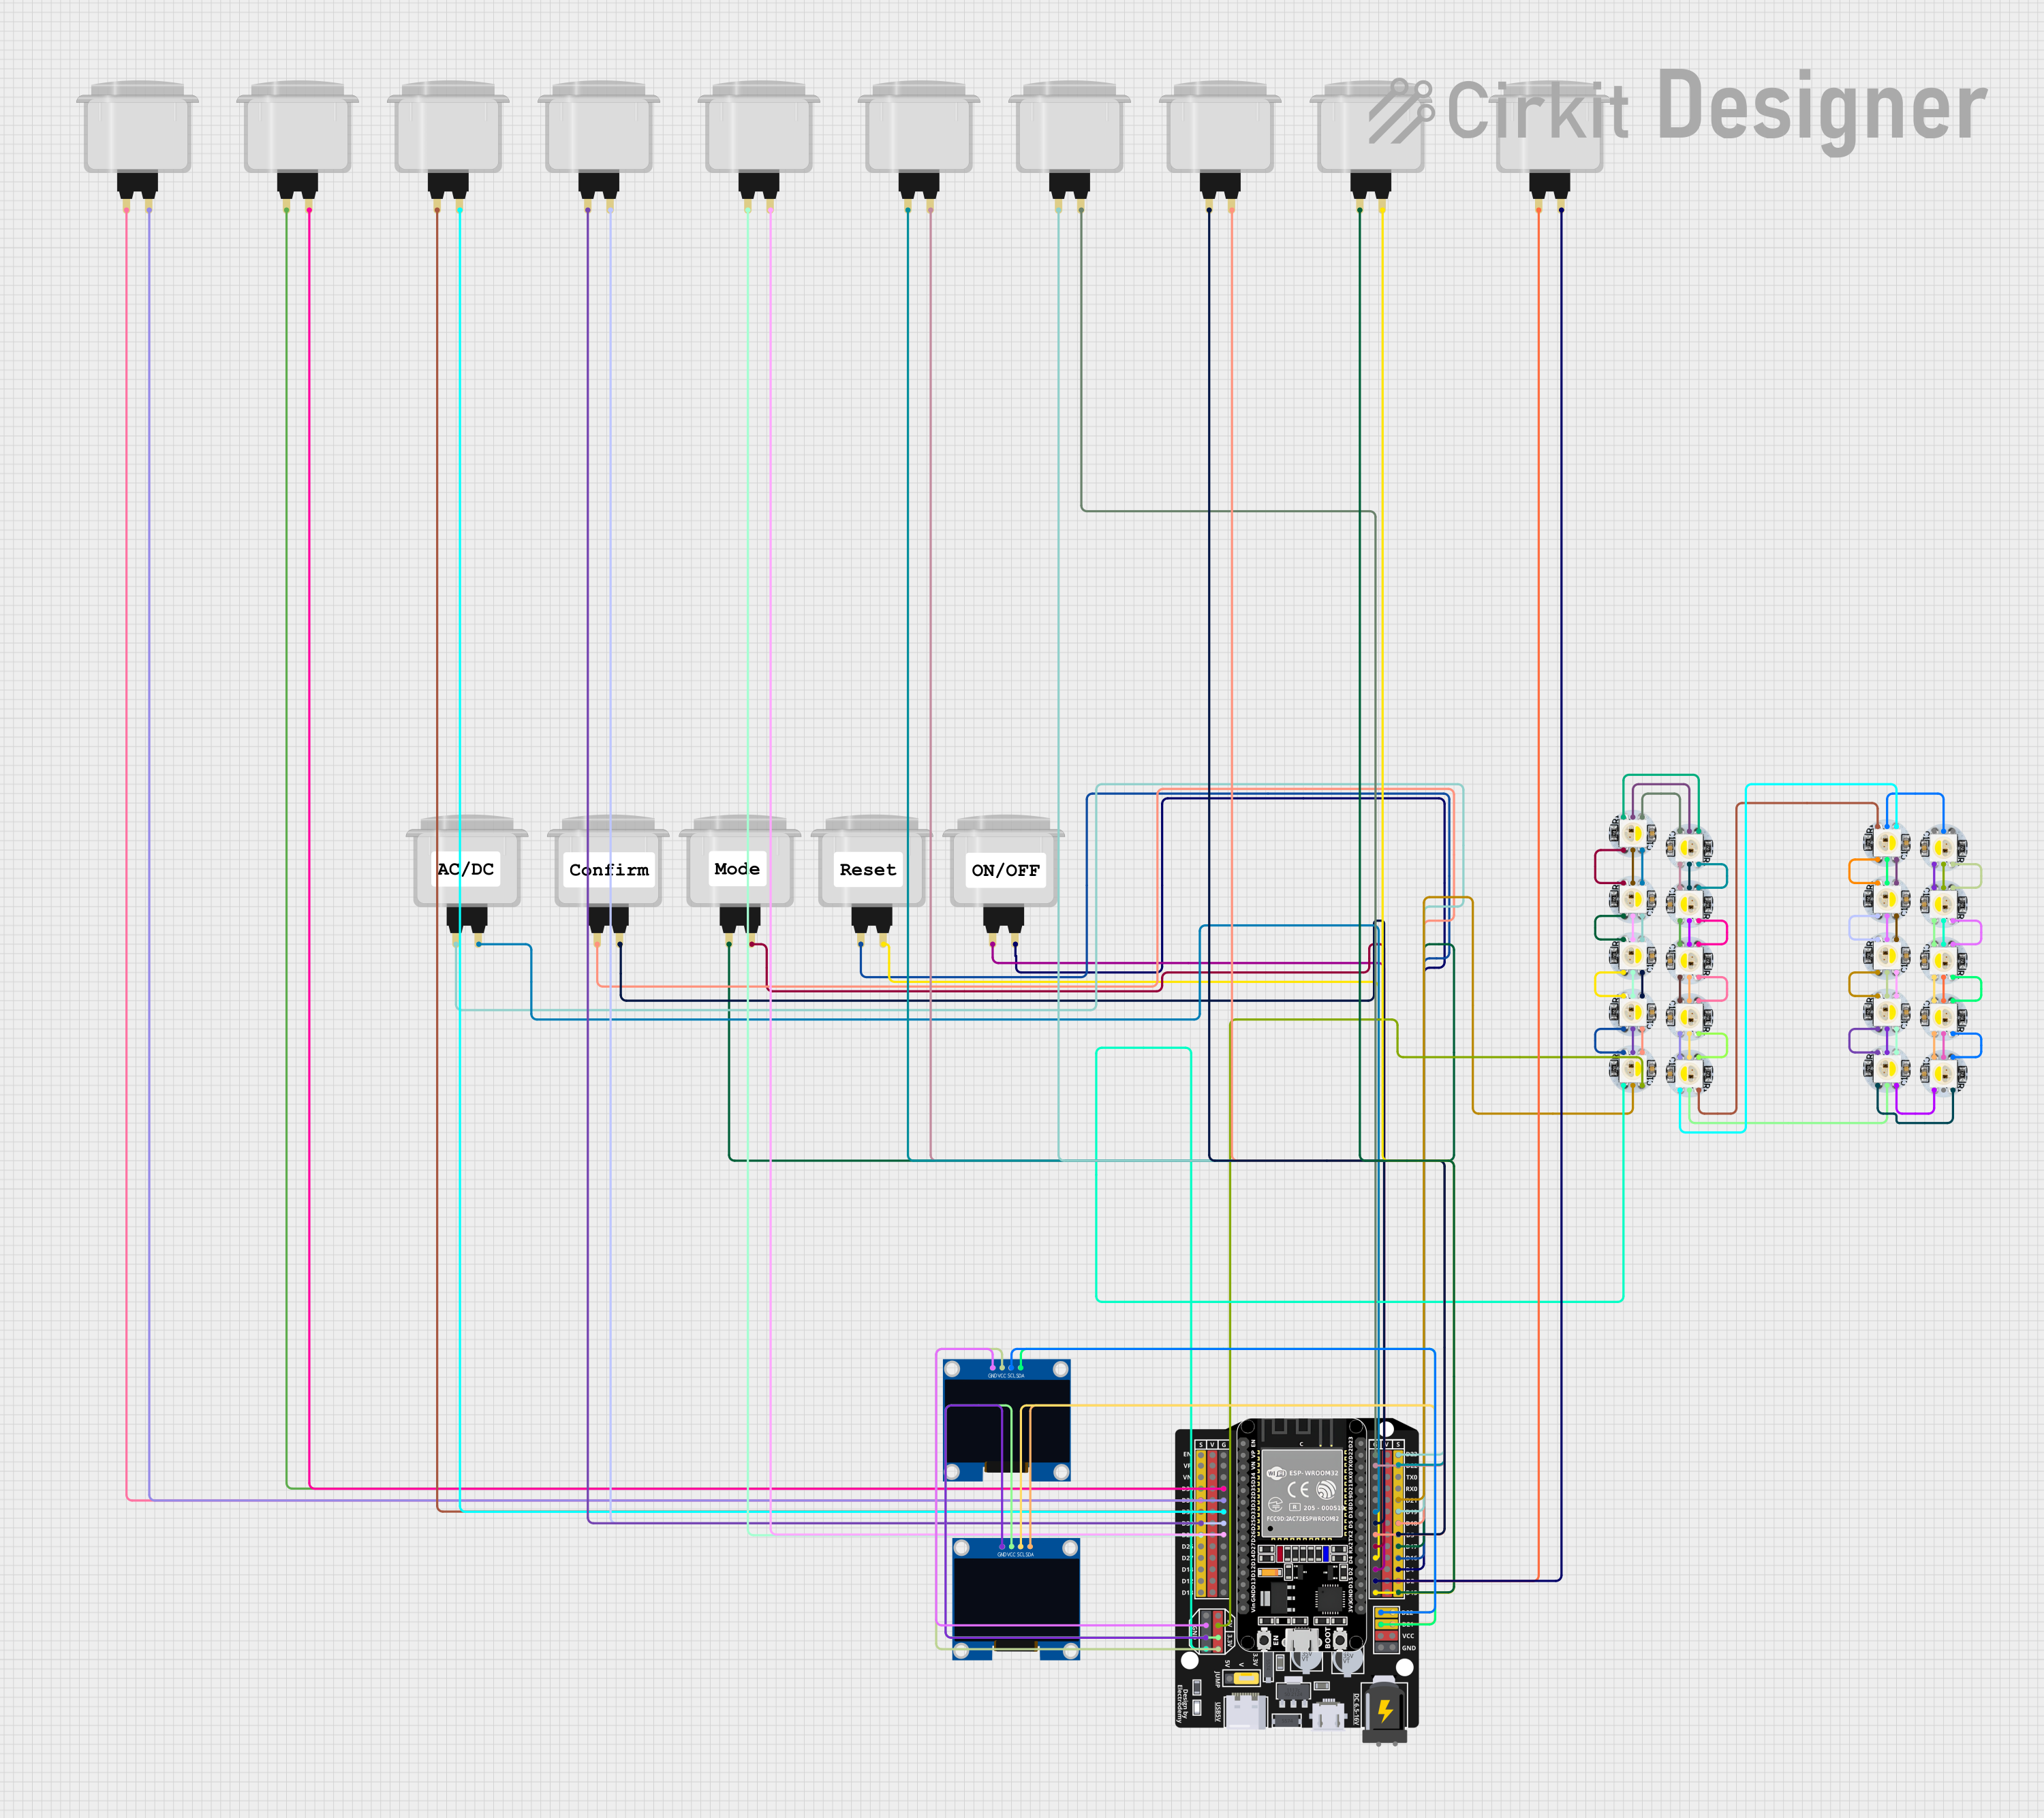
Explore Projects Built with Adafruit Charlieplex 9x16 Cool White
Common Applications and Use Cases
- Wearable electronics
- Small-scale information displays
- Decorative lighting
- Visual notifications for devices
- Prototyping for larger LED displays
Technical Specifications
Key Technical Details
- Operating Voltage: 3.3V - 5V
- Max Current (per LED): 20mA
- Max Current (total): ~100mA (when all LEDs are on)
- LED Color: Cool White
- Matrix Size: 9x16 (144 LEDs)
- Communication: I2C interface
Pin Configuration and Descriptions
| Pin Number | Name | Description |
|---|---|---|
| 1 | GND | Ground connection |
| 2 | VCC | Power supply (3.3V - 5V) |
| 3 | SDA | I2C Data line |
| 4 | SCL | I2C Clock line |
| 5 | ADDR | I2C Address selection (connect to GND or VCC) |
Usage Instructions
How to Use the Component in a Circuit
- Power Connections: Connect the VCC pin to your power supply (3.3V - 5V) and the GND pin to the ground.
- I2C Connections: Connect the SDA and SCL pins to the corresponding I2C data and clock lines on your microcontroller (e.g., Arduino UNO).
- Address Selection: If using multiple matrices, set unique I2C addresses by connecting the ADDR pin to either GND or VCC.
Important Considerations and Best Practices
- Ensure that the power supply is within the specified voltage range to prevent damage.
- Limit the number of LEDs lit at the same time to manage power consumption and prevent overheating.
- Use pull-up resistors on the I2C lines if your microcontroller does not have built-in pull-ups.
- When daisy-chaining multiple matrices, verify that the total current does not exceed the power supply capabilities.
Example Code for Arduino UNO
#include <Wire.h>
#include <Adafruit_IS31FL3731.h>

// Initialize the Charlieplex matrix
Adafruit_IS31FL3731 matrix = Adafruit_IS31FL3731();

void setup() {
  Wire.begin(); // Start I2C
  matrix.begin(); // Initialize the LED matrix
}

void loop() {
  // Display a pattern on the matrix
  for (int i = 0; i < 144; i++) {
    matrix.drawPixel(i % 16, i / 16, 50); // Set brightness to 50 out of 255
    delay(100);
    matrix.drawPixel(i % 16, i / 16, 0); // Turn off the LED
  }
}
Ensure that the Adafruit_IS31FL3731 library is installed in your Arduino IDE before uploading this code to your Arduino UNO.
Troubleshooting and FAQs
Common Issues
- LEDs Not Lighting Up: Check the power supply connections and ensure that the I2C lines are properly connected to the microcontroller.
- Dim or Flickering LEDs: Verify that the power supply can handle the current draw, and check for loose connections.
- I2C Communication Errors: Ensure that there are no address conflicts and that pull-up resistors are in place if needed.
Solutions and Tips for Troubleshooting
- Double-check wiring against the pin configuration table.
- Use a multimeter to verify that the correct voltage is reaching the matrix.
- If using multiple matrices, ensure each has a unique I2C address.
- Check the Arduino Serial Monitor for error messages that can help diagnose issues.
FAQs
Q: Can I use this matrix with a 3.3V system? A: Yes, the matrix can operate at 3.3V, but the LEDs may appear dimmer compared to a 5V supply.
Q: How many matrices can I chain together? A: You can chain multiple matrices as long as the total current does not exceed the power supply capacity and each matrix has a unique I2C address.
Q: Do I need external resistors for the LEDs? A: No, the matrix has built-in resistors for current limiting.
For further assistance, consult the Adafruit support forums or the product's official documentation.