
How to Use 3x 3.7V Battery: Examples, Pinouts, and Specs
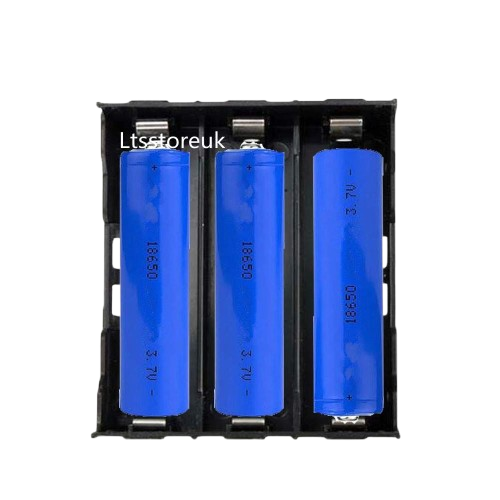
 Design with 3x 3.7V Battery in Cirkit Designer
Introduction
The 3x 3.7V Battery is a set of three lithium-ion batteries, each with a nominal voltage of 3.7 volts. These batteries are widely used in portable electronics, electric vehicles, and energy storage systems due to their high energy density, lightweight design, and rechargeable nature. When connected in series or parallel configurations, they can provide higher voltage or capacity, making them versatile for various applications.
Explore Projects Built with 3x 3.7V Battery
 Open Project in Cirkit Designer
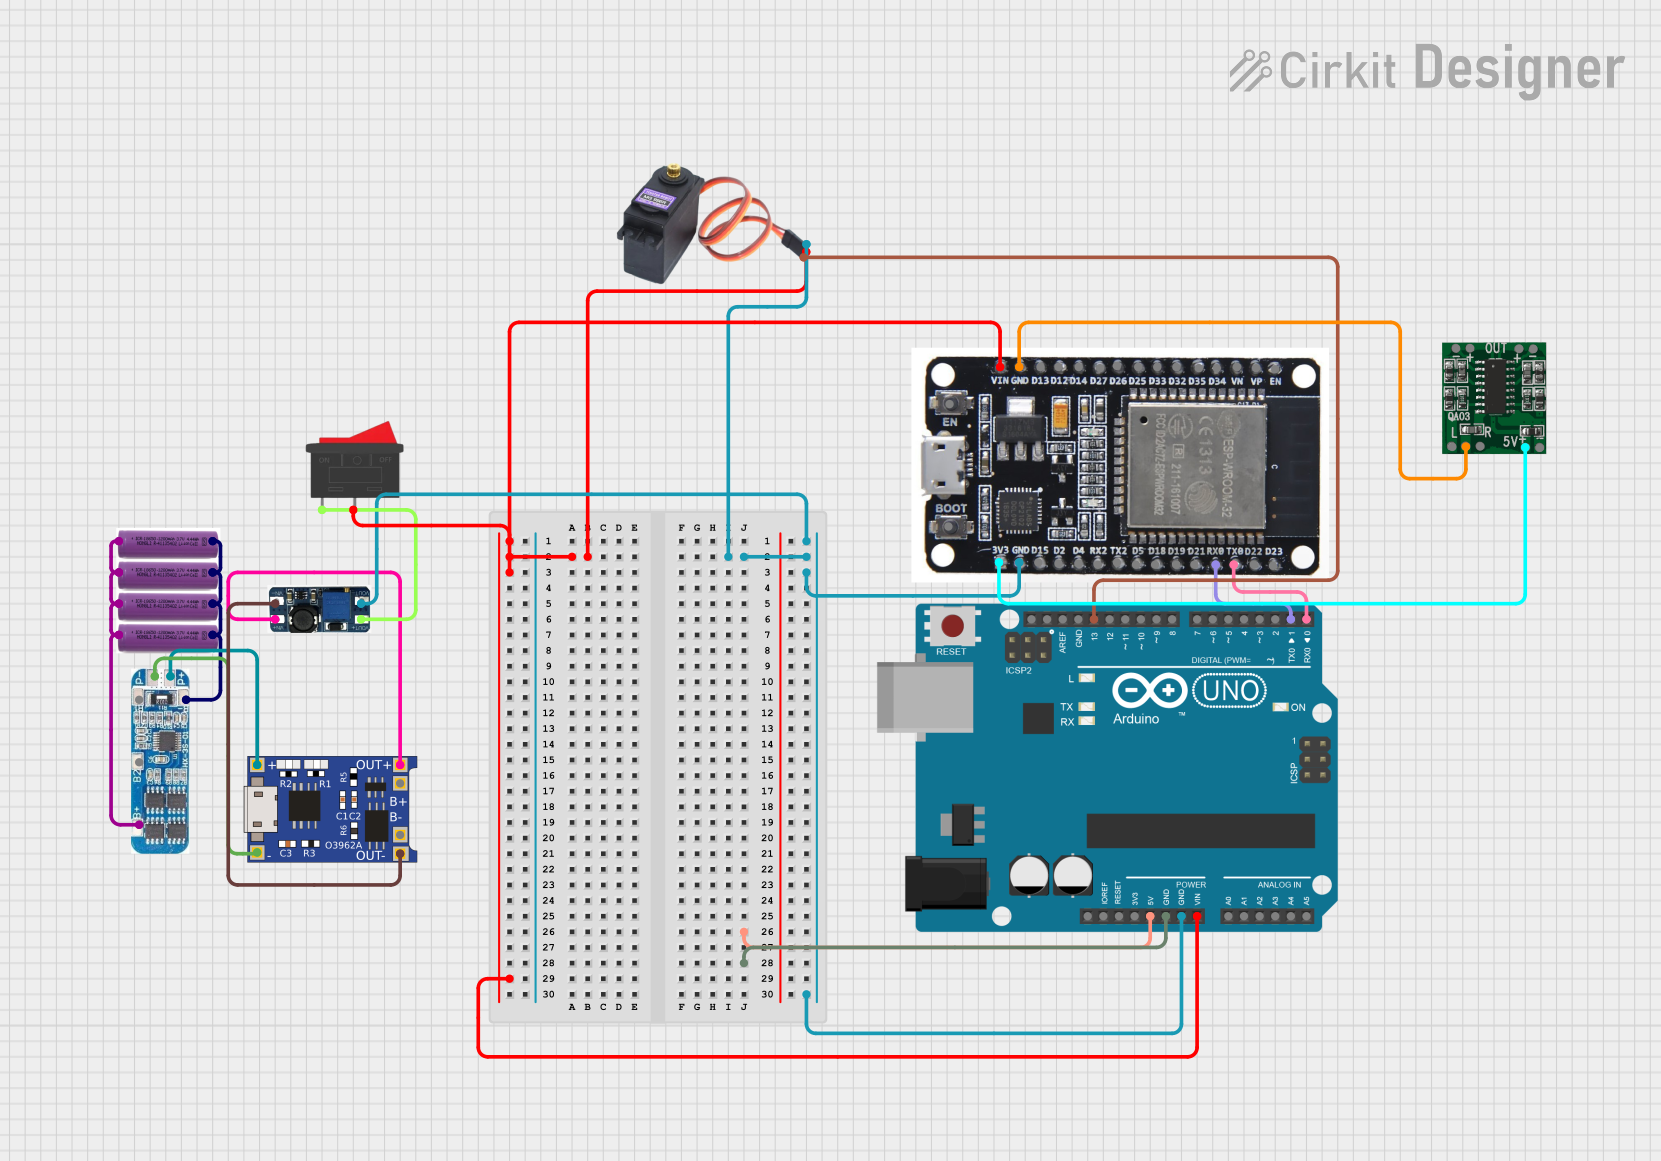 Open Project in Cirkit Designer
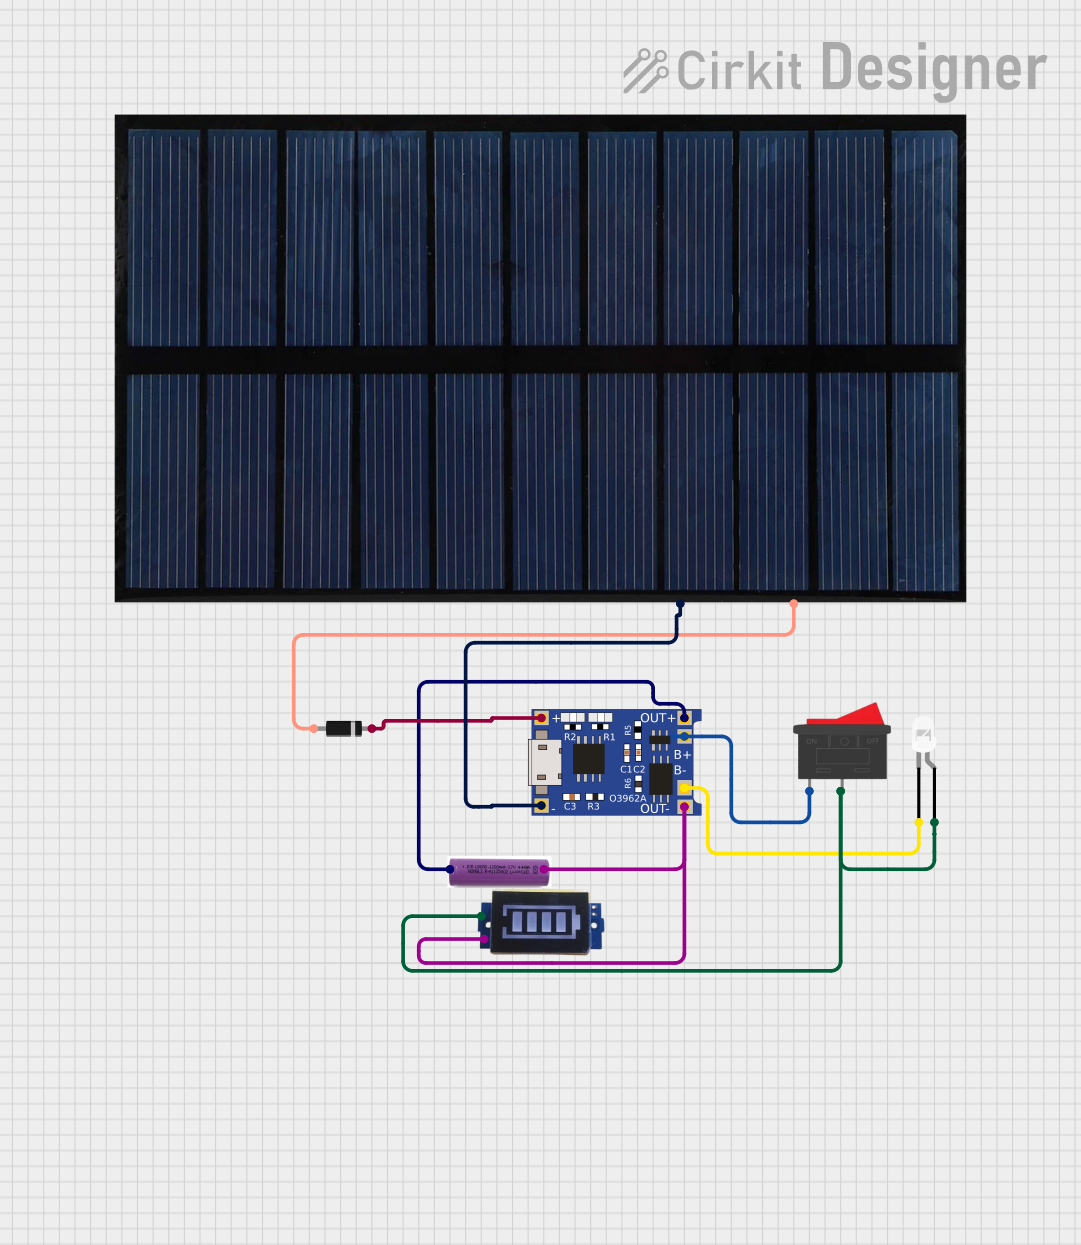 Open Project in Cirkit Designer
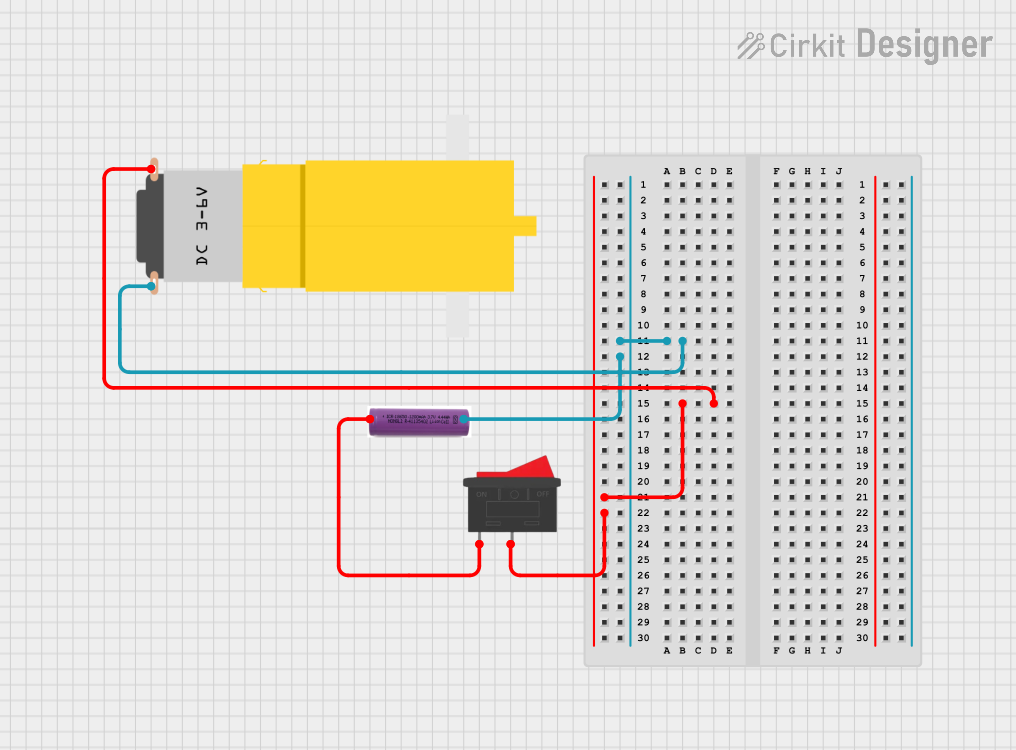 Open Project in Cirkit Designer
Explore Projects Built with 3x 3.7V Battery
Open Project in Cirkit DesignerOpen Project in Cirkit DesignerOpen Project in Cirkit DesignerOpen Project in Cirkit DesignerCommon Applications
- Powering portable devices such as smartphones, cameras, and drones
- Energy storage in electric vehicles and e-bikes
- Backup power supplies for embedded systems
- DIY electronics projects and robotics
Technical Specifications
Below are the key technical details for the 3x 3.7V Battery set:
| Parameter | Specification |
|---|---|
| Nominal Voltage (per cell) | 3.7V |
| Maximum Voltage (per cell) | 4.2V |
| Minimum Voltage (per cell) | 3.0V (discharge cutoff) |
| Capacity (per cell) | Typically 2000–3500mAh (varies by model) |
| Chemistry | Lithium-Ion |
| Configuration | 3 batteries (can be series or parallel) |
| Maximum Discharge Current | 1C to 3C (varies by model) |
| Charging Voltage | 4.2V ± 0.05V (per cell) |
| Charging Current | Typically 0.5C to 1C (per cell) |
| Operating Temperature | -20°C to 60°C |
| Storage Temperature | -20°C to 45°C |
Pin Configuration and Descriptions
Lithium-ion batteries typically have two terminals: positive (+) and negative (-). Below is a table describing the terminals:
| Pin | Label | Description |
|---|---|---|
| 1 | Positive (+) | Connects to the positive terminal of the circuit |
| 2 | Negative (-) | Connects to the ground or negative terminal of the circuit |
When using a battery pack with a built-in protection circuit module (PCM), additional pins may be present for balancing or monitoring.
Usage Instructions
Connecting the Batteries
Determine Configuration:
- Series Connection: Connect the positive terminal of one battery to the negative terminal of the next. This increases the total voltage (e.g., 3 batteries in series = 11.1V nominal).
- Parallel Connection: Connect all positive terminals together and all negative terminals together. This increases the total capacity (e.g., 3 batteries in parallel = 3x the capacity of one battery).
Use a Battery Holder or Solder Carefully:
- Use a battery holder for easy installation and replacement.
- If soldering, avoid overheating the battery terminals to prevent damage.
Add a Protection Circuit:
- Use a Battery Management System (BMS) to prevent overcharging, over-discharging, and short circuits.
Charging:
- Use a lithium-ion battery charger with a constant current/constant voltage (CC/CV) charging profile.
- Ensure the charger matches the battery's voltage and current specifications.
Important Considerations
- Avoid Overcharging: Never exceed 4.2V per cell to prevent overheating or damage.
- Prevent Deep Discharge: Do not discharge below 3.0V per cell to maintain battery health.
- Monitor Temperature: Avoid using the batteries in extreme temperatures.
- Storage: Store batteries at 40–60% charge in a cool, dry place for long-term storage.
Example: Using with Arduino UNO
To power an Arduino UNO with a 3x 3.7V Battery pack (in series for 11.1V nominal), follow these steps:
- Connect the positive terminal of the battery pack to the Arduino's VIN pin.
- Connect the negative terminal of the battery pack to the Arduino's GND pin.
- Ensure the battery pack voltage does not exceed 12V to avoid damaging the Arduino.
Sample Code: Monitoring Battery Voltage with Arduino
// This code reads the battery voltage using an analog pin and displays it
// on the serial monitor. Ensure a voltage divider is used if the battery
// voltage exceeds the Arduino's ADC input range (5V for most boards).

const int batteryPin = A0; // Analog pin connected to the voltage divider
const float voltageDividerRatio = 3.7; // Adjust based on your resistor values

void setup() {
  Serial.begin(9600); // Initialize serial communication
}

void loop() {
  int sensorValue = analogRead(batteryPin); // Read the analog input
  float batteryVoltage = (sensorValue * 5.0 / 1023.0) * voltageDividerRatio;

  // Print the battery voltage to the serial monitor
  Serial.print("Battery Voltage: ");
  Serial.print(batteryVoltage);
  Serial.println(" V");

  delay(1000); // Wait for 1 second before the next reading
}
Troubleshooting and FAQs
Common Issues
Battery Not Charging:
- Cause: Faulty charger or damaged battery.
- Solution: Check the charger output voltage and current. Replace the battery if necessary.
Battery Drains Quickly:
- Cause: Over-discharge or aging battery.
- Solution: Avoid deep discharges and replace old batteries.
Overheating During Use:
- Cause: Excessive current draw or short circuit.
- Solution: Use a BMS and ensure the load does not exceed the battery's discharge rating.
Arduino Not Powering On:
- Cause: Insufficient voltage or incorrect wiring.
- Solution: Verify the battery pack voltage and connections.
FAQs
Can I use these batteries without a BMS?
- It is not recommended. A BMS ensures safe operation by preventing overcharging, over-discharging, and short circuits.
How do I calculate the total capacity in parallel?
- Add the capacities of all batteries. For example, three 3000mAh batteries in parallel provide 9000mAh.
What happens if I overcharge the batteries?
- Overcharging can cause overheating, swelling, or even explosion. Always use a proper charger.
Can I mix batteries with different capacities?
- No, mixing batteries with different capacities or charge levels can lead to uneven discharge and potential damage.
By following these guidelines, you can safely and effectively use the 3x 3.7V Battery set in your projects.