
How to Use ESP32-S3 N16R8: Examples, Pinouts, and Specs
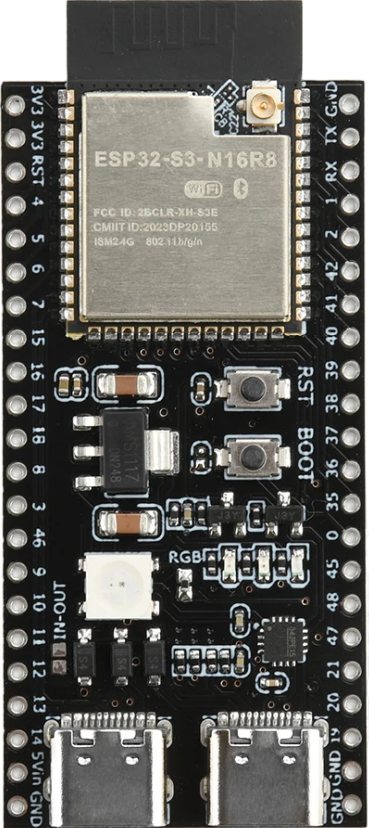
 Design with ESP32-S3 N16R8 in Cirkit Designer
Introduction
The ESP32-S3 N16R8 is a powerful microcontroller designed for advanced IoT applications and complex processing tasks. It features integrated Wi-Fi and Bluetooth connectivity, making it ideal for wireless communication in smart devices. With 16MB of flash memory and 8MB of RAM, the ESP32-S3 N16R8 is well-suited for applications requiring high processing power, such as AI, machine learning, and multimedia processing.
Explore Projects Built with ESP32-S3 N16R8
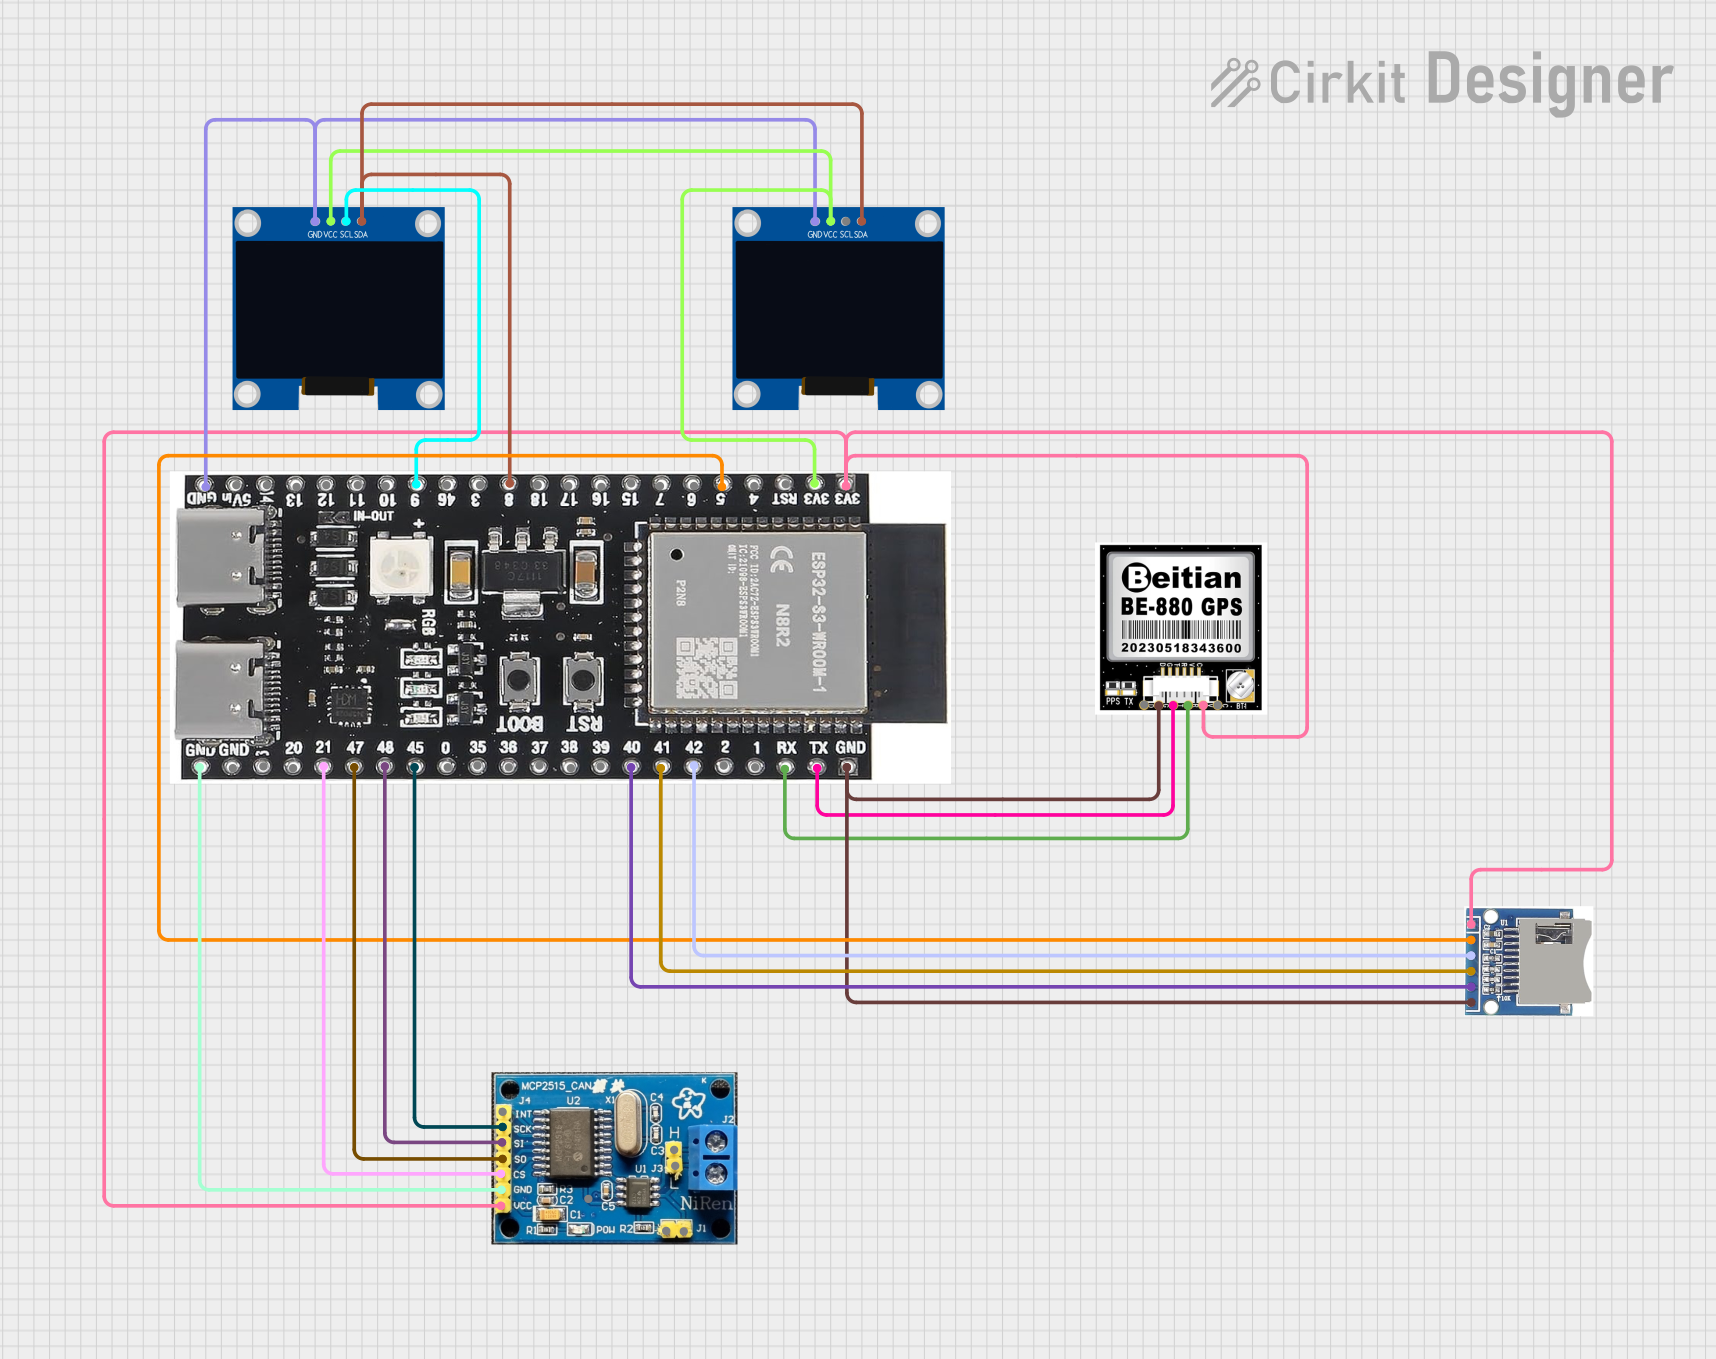 Open Project in Cirkit Designer
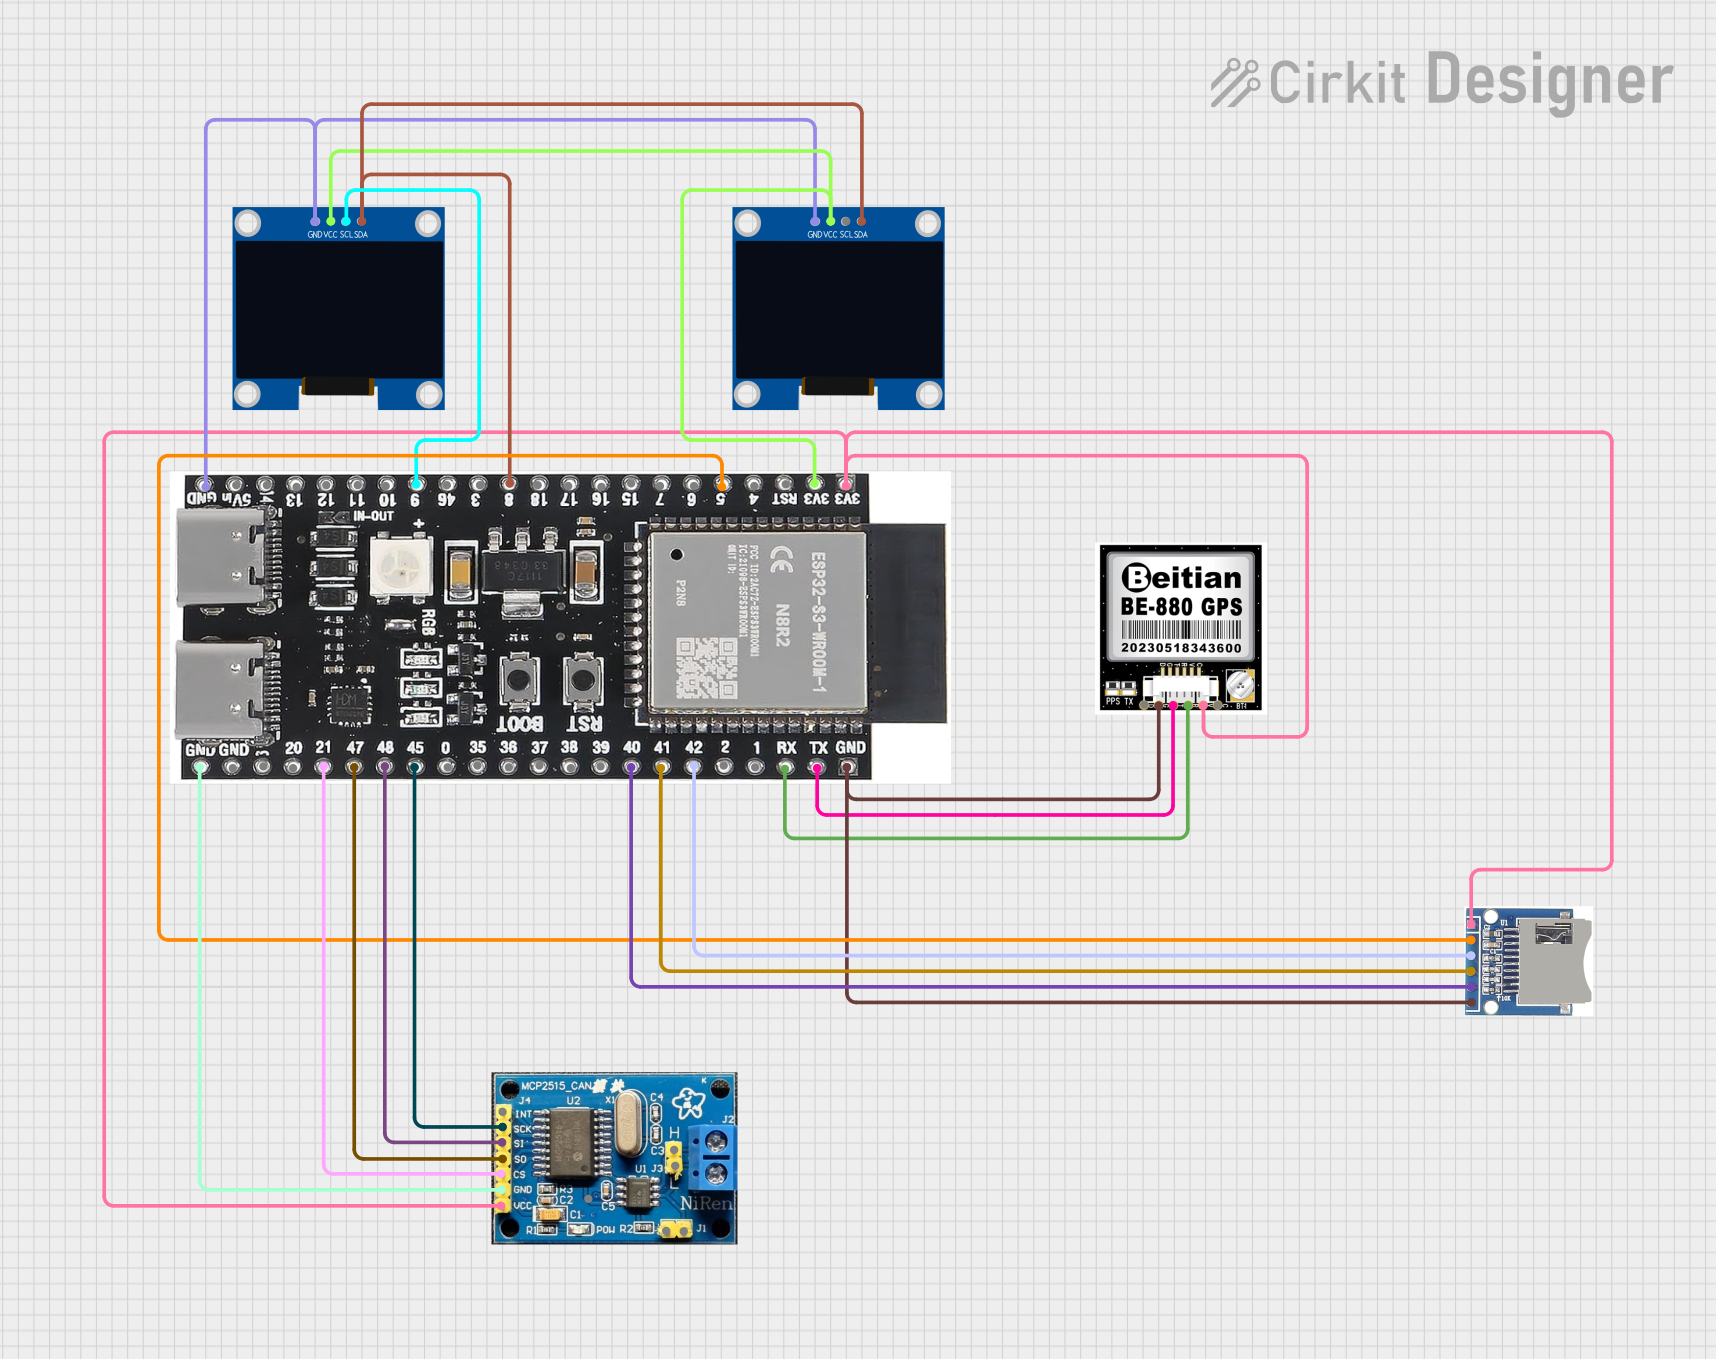 Open Project in Cirkit Designer
 Open Project in Cirkit Designer
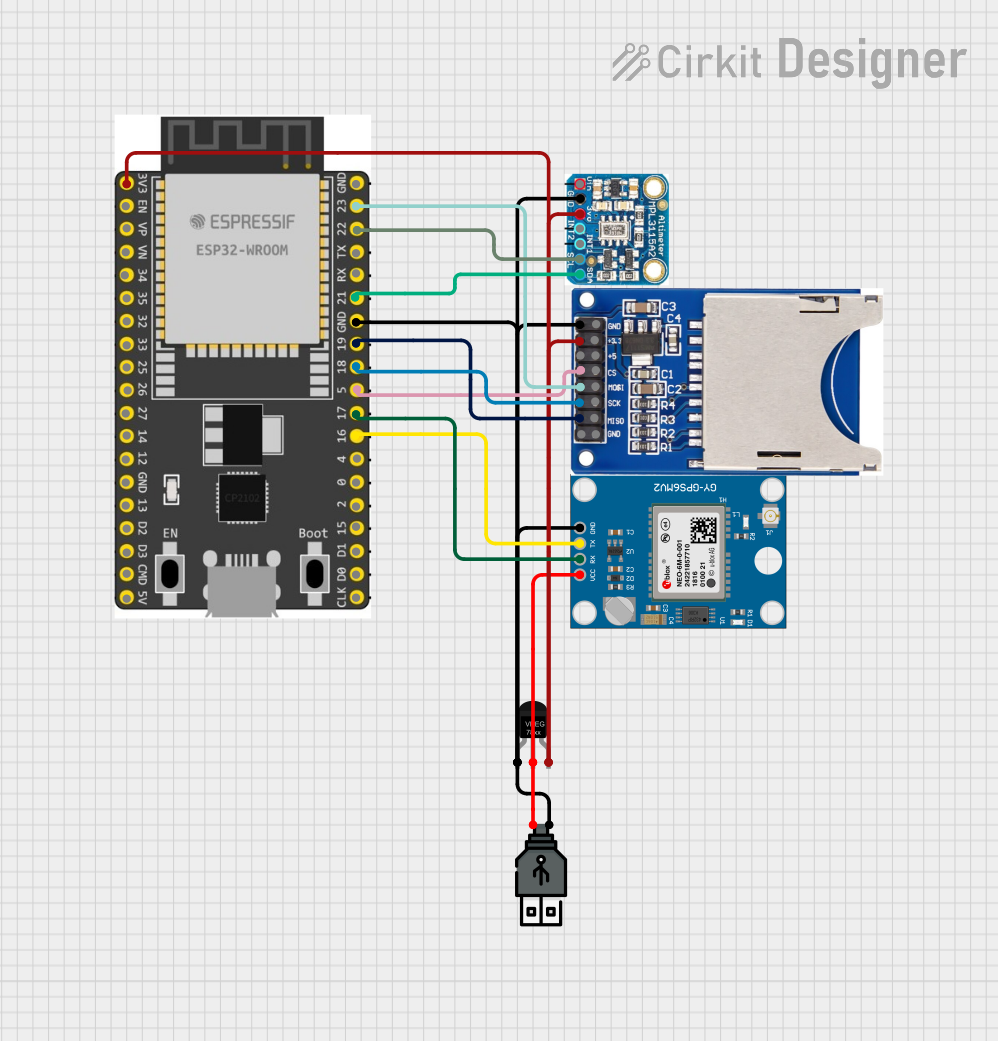 Open Project in Cirkit Designer
Explore Projects Built with ESP32-S3 N16R8
Open Project in Cirkit DesignerOpen Project in Cirkit DesignerOpen Project in Cirkit DesignerOpen Project in Cirkit DesignerCommon Applications and Use Cases
- IoT devices and smart home automation
- Wearable technology
- AI and machine learning applications
- Multimedia streaming and processing
- Industrial automation and control systems
- Wireless communication hubs
Technical Specifications
The ESP32-S3 N16R8 offers robust performance and connectivity features. Below are its key technical specifications:
General Specifications
| Parameter | Value |
|---|---|
| Microcontroller | ESP32-S3 |
| Flash Memory | 16MB |
| RAM | 8MB |
| Wi-Fi Standard | 802.11 b/g/n (2.4 GHz) |
| Bluetooth Standard | Bluetooth 5.0 (LE) |
| Operating Voltage | 3.0V to 3.6V |
| Operating Temperature | -40°C to +85°C |
| GPIO Pins | 45 |
| ADC Channels | 20 |
| Communication Interfaces | UART, SPI, I2C, I2S, CAN, PWM |
Pin Configuration and Descriptions
The ESP32-S3 N16R8 has a rich set of GPIO pins and peripheral interfaces. Below is a summary of its pin configuration:
| Pin Name | Functionality | Description |
|---|---|---|
| GPIO0 | Input/Output, Boot Mode Selection | Used for boot mode selection during startup. |
| GPIO1 | UART TX | Transmit pin for UART communication. |
| GPIO2 | Input/Output, ADC Channel 1 | General-purpose I/O or ADC input. |
| GPIO3 | UART RX | Receive pin for UART communication. |
| GPIO4 | Input/Output, PWM, ADC Channel 2 | General-purpose I/O or PWM/ADC input. |
| GPIO5 | Input/Output, SPI CLK | SPI clock signal. |
| GPIO6-11 | Flash Memory Interface | Reserved for internal flash memory. |
| GPIO12 | Input/Output, ADC Channel 3 | General-purpose I/O or ADC input. |
| GPIO13 | Input/Output, PWM | General-purpose I/O or PWM output. |
| GPIO14 | Input/Output, I2C SDA | Data line for I2C communication. |
| GPIO15 | Input/Output, I2C SCL | Clock line for I2C communication. |
Note: Some GPIO pins are reserved for internal functions (e.g., flash memory interface). Refer to the ESP32-S3 datasheet for a complete pinout.
Usage Instructions
The ESP32-S3 N16R8 is versatile and can be used in a variety of applications. Below are the steps to use it in a circuit and some best practices.
How to Use the ESP32-S3 N16R8 in a Circuit
- Power Supply: Provide a stable 3.3V power supply to the ESP32-S3. Use a voltage regulator if your source voltage exceeds 3.6V.
- Boot Mode: Connect GPIO0 to GND during startup to enter bootloader mode for programming.
- Peripherals: Connect peripherals (e.g., sensors, actuators) to the GPIO pins. Use appropriate pull-up or pull-down resistors if required.
- Programming: Use the USB interface or UART pins to upload code. The ESP32-S3 is compatible with the Arduino IDE, ESP-IDF, and other development environments.
Example: Connecting to an Arduino UNO
The ESP32-S3 can communicate with an Arduino UNO via UART or I2C. Below is an example of using the ESP32-S3 with the Arduino IDE to blink an LED:
// Example: Blink an LED using ESP32-S3
// Connect an LED to GPIO2 with a 220-ohm resistor.

#define LED_PIN 2  // Define the GPIO pin connected to the LED

void setup() {
  pinMode(LED_PIN, OUTPUT);  // Set GPIO2 as an output pin
}

void loop() {
  digitalWrite(LED_PIN, HIGH);  // Turn the LED on
  delay(1000);                  // Wait for 1 second
  digitalWrite(LED_PIN, LOW);   // Turn the LED off
  delay(1000);                  // Wait for 1 second
}
Important Considerations and Best Practices
- Power Supply: Ensure a clean and stable power supply to avoid unexpected resets or malfunctions.
- GPIO Voltage Levels: The GPIO pins operate at 3.3V logic levels. Avoid connecting 5V signals directly to the pins.
- Heat Management: For high-performance applications, consider adding a heatsink or ensuring proper ventilation to manage heat dissipation.
- Firmware Updates: Regularly update the firmware to benefit from the latest features and bug fixes.
Troubleshooting and FAQs
Common Issues and Solutions
ESP32-S3 Not Detected by Computer
- Cause: Missing USB drivers or faulty USB cable.
- Solution: Install the correct USB-to-serial drivers (e.g., CP210x or CH340) and use a known-good cable.
Program Upload Fails
- Cause: Incorrect boot mode or wrong COM port selected.
- Solution: Ensure GPIO0 is connected to GND during programming and select the correct COM port in the IDE.
Wi-Fi Connection Issues
- Cause: Incorrect SSID/password or weak signal strength.
- Solution: Double-check the credentials and ensure the ESP32-S3 is within range of the Wi-Fi router.
Overheating
- Cause: High processing load or inadequate ventilation.
- Solution: Reduce the workload or improve heat dissipation with a heatsink.
FAQs
Q: Can the ESP32-S3 N16R8 run AI models?
A: Yes, the ESP32-S3 supports AI and machine learning applications, thanks to its powerful dual-core processor and ample RAM.
Q: Is the ESP32-S3 compatible with Arduino libraries?
A: Yes, the ESP32-S3 is compatible with most Arduino libraries, though some may require minor modifications.
Q: How do I reset the ESP32-S3?
A: Press the reset button on the development board or toggle the EN (enable) pin.
Q: Can I use the ESP32-S3 with a 5V power supply?
A: No, the ESP32-S3 operates at 3.3V. Use a voltage regulator to step down 5V to 3.3V.
This concludes the documentation for the ESP32-S3 N16R8. For further details, refer to the official datasheet and technical reference manual.