How to Use Fan: Examples, Pinouts, and Specs

Introduction
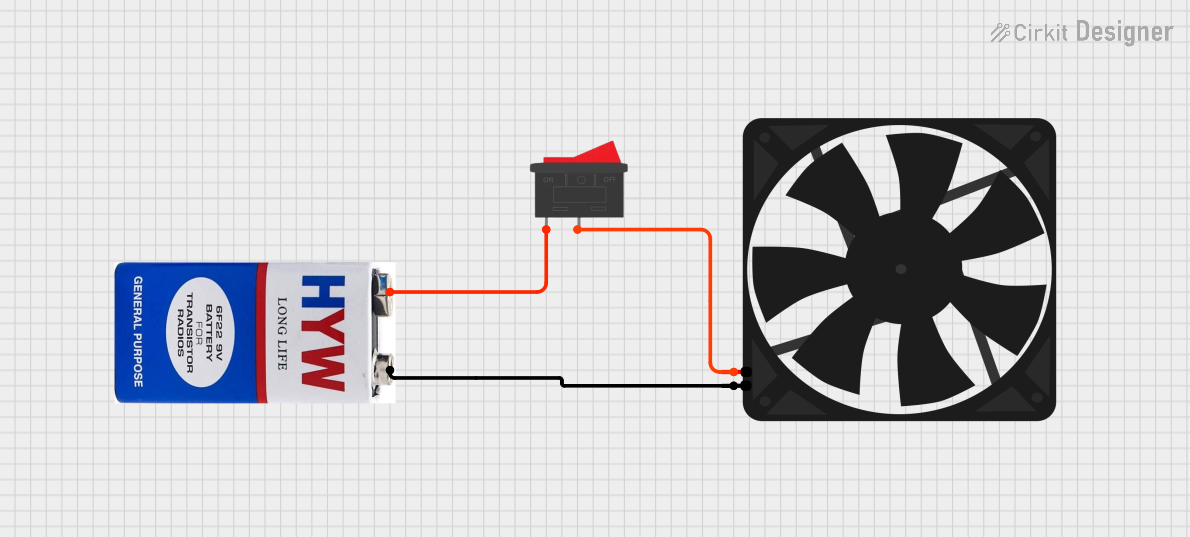
A fan is a device that creates airflow by rotating blades, commonly used for cooling and ventilation in electronic circuits and systems. Fans are essential in maintaining optimal operating temperatures for various electronic components, preventing overheating, and ensuring reliable performance. They are widely used in computer systems, power supplies, and other electronic devices that generate heat during operation.
Explore Projects Built with Fan


Explore Projects Built with Fan
Technical Specifications
Key Technical Details
| Parameter | Value |
|---|---|
| Voltage Rating | 5V, 12V, 24V |
| Current Rating | 0.1A to 1A |
| Power Rating | 0.5W to 12W |
| Speed | 1000 RPM to 5000 RPM |
| Airflow | 10 CFM to 100 CFM |
| Noise Level | 20 dBA to 40 dBA |
| Bearing Type | Sleeve, Ball, Fluid Dynamic |
| Connector Type | 2-pin, 3-pin, 4-pin |
Pin Configuration and Descriptions
2-Pin Fan
| Pin Number | Name | Description |
|---|---|---|
| 1 | VCC | Positive power supply |
| 2 | GND | Ground |
3-Pin Fan
| Pin Number | Name | Description |
|---|---|---|
| 1 | VCC | Positive power supply |
| 2 | GND | Ground |
| 3 | TACH | Tachometer signal (RPM) |
4-Pin Fan
| Pin Number | Name | Description |
|---|---|---|
| 1 | VCC | Positive power supply |
| 2 | GND | Ground |
| 3 | TACH | Tachometer signal (RPM) |
| 4 | PWM | Pulse Width Modulation |
Usage Instructions
How to Use the Fan in a Circuit
Power Supply Connection:
- Connect the VCC pin of the fan to the positive terminal of the power supply.
- Connect the GND pin of the fan to the ground terminal of the power supply.
Control and Monitoring:
- For 3-pin fans, connect the TACH pin to a microcontroller or monitoring system to read the fan's RPM.
- For 4-pin fans, connect the PWM pin to a PWM-capable microcontroller pin to control the fan speed.
Important Considerations and Best Practices
- Voltage Compatibility: Ensure the fan's voltage rating matches the power supply voltage.
- Current Rating: Verify that the power supply can provide sufficient current for the fan.
- Mounting: Securely mount the fan to avoid vibrations and noise.
- Airflow Direction: Install the fan in the correct orientation to ensure proper airflow.
- PWM Control: Use appropriate PWM frequencies (typically 25kHz) for smooth fan speed control.
Example: Connecting a 4-Pin Fan to an Arduino UNO
Circuit Diagram
Arduino UNO       4-Pin Fan
-----------       ---------
5V  -----------   VCC
GND -----------   GND
D3  -----------   PWM
D2  -----------   TACH
Arduino Code
// Define pin connections
const int fanPWM = 3; // PWM control pin
const int fanTACH = 2; // Tachometer pin

void setup() {
  pinMode(fanPWM, OUTPUT); // Set PWM pin as output
  pinMode(fanTACH, INPUT); // Set TACH pin as input
  Serial.begin(9600); // Initialize serial communication
}

void loop() {
  analogWrite(fanPWM, 128); // Set fan speed to 50% duty cycle

  // Read and print fan RPM
  int rpm = readFanRPM();
  Serial.print("Fan RPM: ");
  Serial.println(rpm);

  delay(1000); // Wait for 1 second
}

int readFanRPM() {
  // Function to read fan RPM from TACH pin
  // Implementation depends on fan specifications
  // and may require additional circuitry
  return 0; // Placeholder value
}
Troubleshooting and FAQs
Common Issues Users Might Face
Fan Not Spinning:
- Solution: Check power supply connections and ensure the voltage matches the fan's rating.
Fan Speed Not Controllable:
- Solution: Verify PWM signal connection and ensure the microcontroller pin supports PWM.
High Noise Levels:
- Solution: Ensure the fan is securely mounted and check for any obstructions in the airflow path.
Incorrect RPM Readings:
- Solution: Verify the TACH pin connection and ensure the microcontroller is correctly reading the signal.
FAQs
Can I use a 12V fan with a 5V power supply?
- No, using a 12V fan with a 5V power supply will result in insufficient voltage, causing the fan to underperform or not spin at all.
How do I control the fan speed using PWM?
- Connect the PWM pin of the fan to a PWM-capable microcontroller pin and use the
analogWritefunction to set the desired duty cycle.
- Connect the PWM pin of the fan to a PWM-capable microcontroller pin and use the
What is the purpose of the TACH pin?
- The TACH pin provides a tachometer signal that can be used to monitor the fan's RPM, allowing for precise speed control and monitoring.
Can I use a 3-pin fan with a 4-pin connector?
- Yes, you can connect a 3-pin fan to a 4-pin connector by leaving the PWM pin unconnected. The fan will run at full speed.
By following this documentation, users can effectively integrate and utilize fans in their electronic circuits and systems, ensuring optimal cooling and performance.